O6RM7BTNIKE, AY4301
Garmin Canada Inc.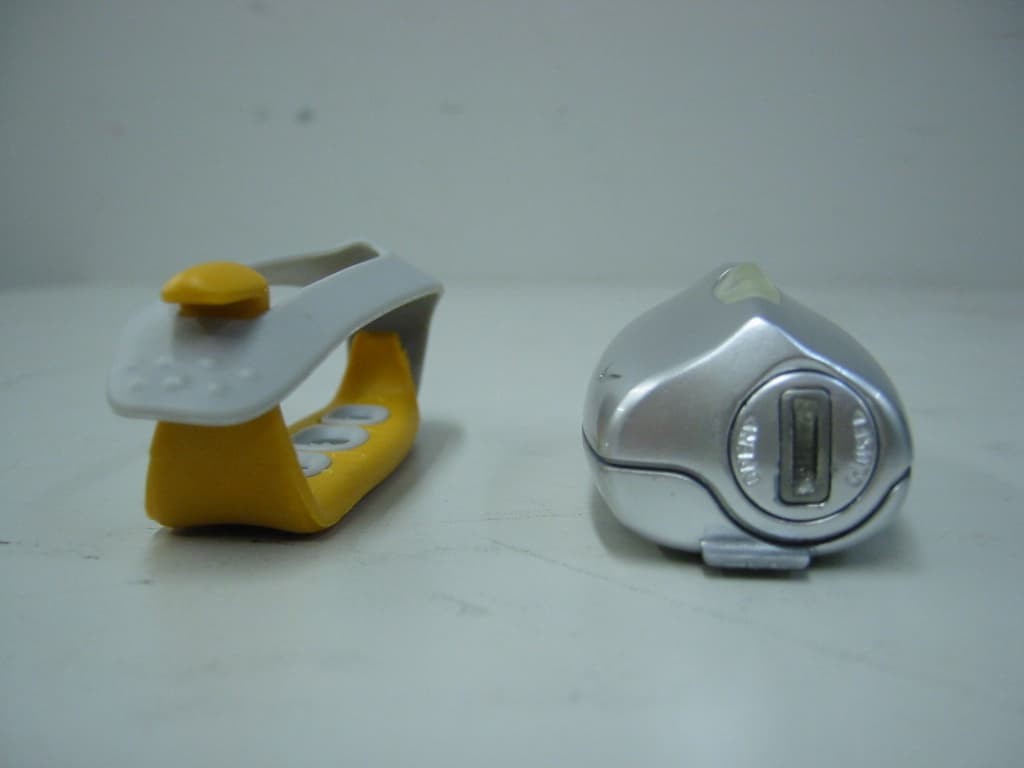
Click to zoom
Application Details
- Equipment Class
- DSS - Part 15 Spread Spectrum Transmitter
- Date of Grant
- Jul 28, 2004
- Application Purpose
- Original Equipment
- Date of Application
- Jul 28, 2004
- Equipment Note
- NIKE, AY4301
- Frequency Range
- 2402.00000000 - 2480.00000000
- Company
- Garmin Canada Inc.
- Country
- Canada
Documents & Files
Document Text
Text extracted from the exhibit documents filed with the FCC. Open a document above to read the original.
Users Manual
Max7BT Model Name Attn.: Arcelia Maldonado EMC Compliance Management Group 670 National Avenue, Mountain View, CA 94043 Date: July 23, 2004 To Whom It May Concern: Concerning the product model name. The Max7BT will be labeled and sold under the model name “AY4301”. Please refer to the product labeling for additional information. Yours Sincerely, Victor Beda EET UUnnpplluugg ssaaffeellyy To avoid loss of data, disconnect your player safely. Exit any active application working with your player. PPCC uusseerrss : click on the task tray. MMaacc uusseerrss : Drag and drop your player into TTrraasshh before disconnecting. Remove the USB cable. 5 AATTTTEENNTTIIOONN!! WINDOWS 98SE USERS: To avoid installation problems, DDOO NNOOTT CCOONNNNEECCTT your player to your computer until AAFFTTEERR installation completes. PPrreeppaarraattiioonnss CCoonnnneecctt ppllaayyeerr ttoo ccoommppuutteerr Open the USB cover. Connect your player to your computer using the supplied USB cable. 3 IInnssttaallll Insert the supplied CD into your computer’s CD-ROM drive. Follow screen instructions to complete installation. 1 OOrrggaanniizzee aanndd ttrraannssffeerr mmuussiicc vviiaa DDMMMM // MMUUSSIICCMMAATTCCHH Launch DMM/ MUSICMATCH on your PC from Windows desktop or SSttaarrtt menu. Launch DMM on your MAC from desktop or MMaacciinnttoosshh HHDD . Organize and transfer music files from your computer to your player. 4 TIP Please refer to your computer’s manual for the exact position of your USB port. Look for the USB symbol on the processing unit of your computer. ✔ CChhaarrggee Open the USB cover. Connect the supplied charger to the USB port and the main power supply. For extended battery power, please charge for at least 4 hours for first time use. 2 TIP This indicator shows your battery information during charging. ✔ PPoowweerr oonn aanndd eennjjooyy!! Press and hold 22;;for 2 seconds to power on if the player does not power on automatically. Enjoy your new running / music experience! 6 1 PSA26028thmay.qxd 28/5/04 18:26 Page 1 NNaammee ooff PPaarrttss 1 −−// ++ Volume control, press −− to decrease; press ++ to increase 222;;Press and hold to power on / off; press briefly to play / pause 311Left 4 LLCCDD ddiissppllaayy Dynamically displays menu, options and track information 5 HHeeaaddpphhoonneess jjaacckk Connects headphones or waistband remote control 6 VVooiiccee ffeeeeddbbaacckk Activates running feedback 7 RRuunn Starts / stops recording running activities 833 , 55Up / Previous / Fast rewind 922Right 044 , 66Down / Next / Fast forward ! UUSSBB ppoorrtt // Open cover to connect to computer / charge your player CChhaarrggiinngg ssoocckkeett @ SSDDMM Power ON / OFF speed and distance monitor 2 PSA26028thmay.qxd 28/5/04 18:26 Page 2 MMeennuu NNaavviiggaattiioonn MMuussiicc PPllaayylliissttss AArrttiissttss AAllbbuummss GGeennrreess AAllll TTrraacckkss RRaaddiioo SSeettttiinnggssSSttrroobbee lliigghhtt SShhuuffffllee && RReeppeeaatt DDBBBB EEqquuaalliizzeerr BBaacckklliigghhtt CCoonnttrraasstt LLaanngguuaaggee SSyynncchhrroonniizzee Press and hold 22;;to power on. Press and hold 11for the root menu. See specific chapters for details of each setting. 2 e.g. Playlist001... PlaylistXXX e.g. A ... Z Preset 1 Preset 10 Autosearch ... 33 11 22 44 Up Down Left Right 1 44 e.g. A ... Z e.g. A ... Z e.g. A ... Z RRuunnnniinngg HHiissttoorryy List of Freerun logs by date CCaalliibbrraattiioonn MMaannuuaall AAuuttoommaattiicc FFaaccttoorryy sseettttiinnggss VVooiiccee ffeeeeddbbaacckk DDiissttaannccee uunniittss 3 PSA26028thmay.qxd 28/5/04 18:26 Page 3 Press and hold 22;;to power on. From the root menu, press 22to enter the music mode. Any radio playback will stop as you enter the music mode. 1 Press 33to scroll up or 44to scroll down for your option. Press 22for next or 11for previous levels of library. Press 22;;to play. 2 MMuussiicc MMooddee:: BBaassiicc OOppeerraattiioonn Library optionsArtists list Playscreen Press 33 ,33for the previous or 44, for the next track. Press 33 to play the same track again. Press and hold 44to fast forward or 33 to rewind in a track during playback. 4 Press and hold 22;;to power off. Your player will save your current music playback status and resume next time you power on. 5 Press 22;;to pause during playback. 3 *Actual display varies with use 4 TIP > To display library options during playback, press 11. > To display the root menu, press and hold 11. ✔ PSA26028thmay.qxd 28/5/04 18:26 Page 4 MMuussiicc MMooddee:: LLiibbrraarryy OOppttiioonnss aanndd FFaasstt SSccrroolllliinngg Press 33 to scroll up or 44 to scroll down for your library option. Press 22 on AArrttiisstt to display the artist library Press 22for the next or 11for the previous level of library. 2 Artists list in alphabetical order Press and hold 44for 2 seconds to scroll down quickly. Press and hold 33for 2 seconds to scroll up quickly. Release button to stop scrolling. 3 Browsing tracks quickly. 1 *Actual display varies with use 5 PSA26028thmay.qxd 28/5/04 18:26 Page 5 6 IInnssttaalllliinngg tthhee ssppeeeedd aanndd ddiissttaannccee mmoonniittoorr Use an appropriately-sized coin to twist clockwise to open the speed monitor battery door. Remove the plastic insert (first time users only). Insert an AAA alkaline battery with matching polarity. Replace the battery door, pressing fully in and twist anti-clockwise to secure the closing. 1 Press and hold 22;;for 2 seconds to power on your player. Press SSDDMM for 2 seconds to power on the monitor. You monitor will blink. The monitor is now ready to record your running activities. 3 Unhook the rubber strap and detach the clip. Loosen shoelaces and slide monitor clip under laces. Securely attach the monitor to your running shoe. The monitor should rest just below where laces tie and be secure enough to stay in place during running for optimal accuracy. 2 TBD TBD After running is completed, terminate the logging (see page 11). Press and hold SSDDMM for 2 seconds to power off your monitor af…
Text truncated - open the document above for the full version.
Users Manual
Max7BT Model Name Attn.: Arcelia Maldonado EMC Compliance Management Group 670 National Avenue, Mountain View, CA 94043 Date: July 23, 2004 To Whom It May Concern: Concerning the product model name. The Max7BT will be labeled and sold under the model name “AY4301”. Please refer to the product labeling for additional information. Yours Sincerely, Victor Beda EET UUnnpplluugg ssaaffeellyy To avoid loss of data, disconnect your player safely. Exit any active application working with your player. PPCC uusseerrss : click on the task tray. MMaacc uusseerrss : Drag and drop your player into TTrraasshh before disconnecting. Remove the USB cable. 5 AATTTTEENNTTIIOONN!! WINDOWS 98SE USERS: To avoid installation problems, DDOO NNOOTT CCOONNNNEECCTT your player to your computer until AAFFTTEERR installation completes. PPrreeppaarraattiioonnss CCoonnnneecctt ppllaayyeerr ttoo ccoommppuutteerr Open the USB cover. Connect your player to your computer using the supplied USB cable. 3 IInnssttaallll Insert the supplied CD into your computer’s CD-ROM drive. Follow screen instructions to complete installation. 1 OOrrggaanniizzee aanndd ttrraannssffeerr mmuussiicc vviiaa DDMMMM // MMUUSSIICCMMAATTCCHH Launch DMM/ MUSICMATCH on your PC from Windows desktop or SSttaarrtt menu. Launch DMM on your MAC from desktop or MMaacciinnttoosshh HHDD . Organize and transfer music files from your computer to your player. 4 TIP Please refer to your computer’s manual for the exact position of your USB port. Look for the USB symbol on the processing unit of your computer. ✔ CChhaarrggee Open the USB cover. Connect the supplied charger to the USB port and the main power supply. For extended battery power, please charge for at least 4 hours for first time use. 2 TIP This indicator shows your battery information during charging. ✔ PPoowweerr oonn aanndd eennjjooyy!! Press and hold 22;;for 2 seconds to power on if the player does not power on automatically. Enjoy your new running / music experience! 6 1 PSA26028thmay.qxd 28/5/04 18:26 Page 1 NNaammee ooff PPaarrttss 1 −−// ++ Volume control, press −− to decrease; press ++ to increase 222;;Press and hold to power on / off; press briefly to play / pause 311Left 4 LLCCDD ddiissppllaayy Dynamically displays menu, options and track information 5 HHeeaaddpphhoonneess jjaacckk Connects headphones or waistband remote control 6 VVooiiccee ffeeeeddbbaacckk Activates running feedback 7 RRuunn Starts / stops recording running activities 833 , 55Up / Previous / Fast rewind 922Right 044 , 66Down / Next / Fast forward ! UUSSBB ppoorrtt // Open cover to connect to computer / charge your player CChhaarrggiinngg ssoocckkeett @ SSDDMM Power ON / OFF speed and distance monitor 2 PSA26028thmay.qxd 28/5/04 18:26 Page 2 MMeennuu NNaavviiggaattiioonn MMuussiicc PPllaayylliissttss AArrttiissttss AAllbbuummss GGeennrreess AAllll TTrraacckkss RRaaddiioo SSeettttiinnggssSSttrroobbee lliigghhtt SShhuuffffllee && RReeppeeaatt DDBBBB EEqquuaalliizzeerr BBaacckklliigghhtt CCoonnttrraasstt LLaanngguuaaggee SSyynncchhrroonniizzee Press and hold 22;;to power on. Press and hold 11for the root menu. See specific chapters for details of each setting. 2 e.g. Playlist001... PlaylistXXX e.g. A ... Z Preset 1 Preset 10 Autosearch ... 33 11 22 44 Up Down Left Right 1 44 e.g. A ... Z e.g. A ... Z e.g. A ... Z RRuunnnniinngg HHiissttoorryy List of Freerun logs by date CCaalliibbrraattiioonn MMaannuuaall AAuuttoommaattiicc FFaaccttoorryy sseettttiinnggss VVooiiccee ffeeeeddbbaacckk DDiissttaannccee uunniittss 3 PSA26028thmay.qxd 28/5/04 18:26 Page 3 Press and hold 22;;to power on. From the root menu, press 22to enter the music mode. Any radio playback will stop as you enter the music mode. 1 Press 33to scroll up or 44to scroll down for your option. Press 22for next or 11for previous levels of library. Press 22;;to play. 2 MMuussiicc MMooddee:: BBaassiicc OOppeerraattiioonn Library optionsArtists list Playscreen Press 33 ,33for the previous or 44, for the next track. Press 33 to play the same track again. Press and hold 44to fast forward or 33 to rewind in a track during playback. 4 Press and hold 22;;to power off. Your player will save your current music playback status and resume next time you power on. 5 Press 22;;to pause during playback. 3 *Actual display varies with use 4 TIP > To display library options during playback, press 11. > To display the root menu, press and hold 11. ✔ PSA26028thmay.qxd 28/5/04 18:26 Page 4 MMuussiicc MMooddee:: LLiibbrraarryy OOppttiioonnss aanndd FFaasstt SSccrroolllliinngg Press 33 to scroll up or 44 to scroll down for your library option. Press 22 on AArrttiisstt to display the artist library Press 22for the next or 11for the previous level of library. 2 Artists list in alphabetical order Press and hold 44for 2 seconds to scroll down quickly. Press and hold 33for 2 seconds to scroll up quickly. Release button to stop scrolling. 3 Browsing tracks quickly. 1 *Actual display varies with use 5 PSA26028thmay.qxd 28/5/04 18:26 Page 5 6 IInnssttaalllliinngg tthhee ssppeeeedd aanndd ddiissttaannccee mmoonniittoorr Use an appropriately-sized coin to twist clockwise to open the speed monitor battery door. Remove the plastic insert (first time users only). Insert an AAA alkaline battery with matching polarity. Replace the battery door, pressing fully in and twist anti-clockwise to secure the closing. 1 Press and hold 22;;for 2 seconds to power on your player. Press SSDDMM for 2 seconds to power on the monitor. You monitor will blink. The monitor is now ready to record your running activities. 3 Unhook the rubber strap and detach the clip. Loosen shoelaces and slide monitor clip under laces. Securely attach the monitor to your running shoe. The monitor should rest just below where laces tie and be secure enough to stay in place during running for optimal accuracy. 2 TBD TBD After running is completed, terminate the logging (see page 11). Press and hold SSDDMM for 2 seconds to power off your monitor af…
Text truncated - open the document above for the full version.
Attestation Statements
Registering your model with PHILIPS makes you eligible for all of the valuable benefits listed below, sodon't miss out. Complete and return your Product Registration Card at once to ensure: Return your Product Registration Card today to get the very most from your purchase. For Customer Use Enter below the Serial No. which islocated on the rear of the cabinet.Retain this information for future reference.Model No. ____________________Serial No. ____________________ Know these safety symbols This “bolt of lightning” indicatesuninsulated material within yourunit may cause an electrical shock. For the safety of everyone in your house-hold, please do not remove product covering. The “exclamation point” calls atten-tion to features for which you should read the enclosed literature closely to pre-vent operating and maintenance problems.WARNING: To reduce the risk of fire or electric shock, this apparatus should not beexposed to rain or moisture, and objectsfilled with liquids, such as vases, should notbe placed on this apparatus.CAUTION: To prevent electric shock, match wide blade of plug to wide slot, fullyinsert.ATTENTION : Pour éviter les choc élec- triques, introduire la lame la plus large dela fiche dans la borne correspondante de laprise et pousser jusqu’au fond. *Proof of Purchase Returning the enclosed card guaran-tees that your date of purchase willbe on file, so no additional paper-work will be required from you toobtain warranty service. *Product Safety Notification By registering your product, you'llreceive notification - directly fromthe manufacturer - in the rare caseof a product recall or safety defect. *Additional Benefits of ProductOwnershipRegistering your product guaranteesthat you'll receive all of the privilegesto which you're entitled, includingspecial money-saving offers. Congratulations on your purchase,and welcome to the PSA family!Dear product owner:Thank you for your confidence in PSA products.You’veselected one of the best-built, best-backed products avail-able today.We’ll do everything in our power to keep youhappy with your purchase for many years to come.As a member of the PSA product family, you’re entitledto protection by one of the most comprehensive war-ranties and outstanding service networks in the industry.What’s more, your purchase guarantees you’ll receive allthe information and special offers for which you qualify,plus easy access to accessories from our convenienthome shopping network.Most importantly, you can count on our uncompromisingcommitment to your total satisfaction.All of this is our way of saying welcome - and thanks forinvesting in our PSA product.P.S. To get the most from your purchase, besure to complete and return your ProductRegistration Card at once. CAUTION RISK OF ELECTRIC SHOCK DO NOT OPEN CAUTION: TO REDUCE THE RISK OF ELECTRIC SHOCK, DO NOT REMOVE COVER (OR BACK). NO USER-SERVICEABLE PARTS INSIDE. REFER SERVICING TO QUALIFIED SERVICE PERSONNEL. PSA220 MP3 Portable Sport Audio by Philips PSA250 MP3 MAX PSA260 MP3 RUN Note : This equipment has been tested and found to comply with the limits for a Class B digital device, pursuant topart 15 of the FCC Rules. These limits are designed to providereasonable protection against harmful interference in a residential installation. This equipment generates, uses, and canradiate radio frequency energy and, if not installed and used inaccordance with the instruction manual, may cause harmfulinterference to radio communications. However, there is no guarantee that interference will not occur in a particular installation. If this equipment does cause harmful interferenceto radio or television reception, which can be determined byturning the equipment off and on, the user is encouraged to tryto correct the interference by one or more of the followingmeasures : – Relocate the receiving antenna. – Increase the separation between the equipment and receiver. – Connect the equipment into an outlet on a circuit different from that to which the receiver is connected. – Consult the dealer or an experienced radio/TV technician for help. The set complies with the FCC-Rules, Part 15. Operation is subject to the following two conditions:1. This device may not cause harmful interference, and2. This device must accept any interference received, including interference that may cause undesired operation. Remarque : Cet équipement a été testé et a été certifié conforme aux limites imposées pour un appareil numérique deClasse B, conformément à la partie 15 des réglements FCC. Ceslimites sont définies aux fins d'assurer une protection raisonnable contre les interférences nuisibles dans une installation résidentielle. Cet équipement génère, utilise et émetdes fréquences radio qui, en cas d'une mauvaise installation oud'une utilisation non-conforme aux instructions de ce manueld'utilisation peuvent causer des interférences nuisibles aux communications radio. Il n'y a toutefois aucune garantie que desinterférences nuisibles ne se produiront pas dans une installationdonnée. Si cet équipement cause des interférences nuisibles avecvotre poste radio ou de télévision, ce que vous pouvez détermineren éteignant et en rallumant votre équipement, il est conseillé àl'utilisateur d'essayer de pallier à ces interférences nuisibles enprenant l'une ou l'autre des mesures suivantes: – Changez la position de l'antenne de réception. – Augmentez la séparation entre l'équipement et le récepteur. – Branchez l'équipement sur une source d'alimentation différente de celle sur laquelle le récepteur est branché. – Consultez votre distributeur ou un technicien qualifié en la matière pour assistance. L’appareil répond aux normes FCC, Part 15. Fonctionnement soumis aux deux conditions suivantes :1. Cet appareil ne doit pas provoquer d’interférences nuisibles, et2. Cet appareil doit accepter toute interférence reçue, y compris les interférences susceptibles de provoquer un fonctionement peu satisfaisant. Nota : Este aparato ha sido probado y cumple …
Text truncated - open the document above for the full version.
External Photos
Model Name: Nike, AY4301 Tested Model Name: Max7BT EUT Front Side View with Strap Model Name: Nike, AY4301 Tested Model Name: Max7BT Back Side View with Strap Model Name: Nike, AY4301 Tested Model Name: Max7BT Top View without Strap Model Name: Nike, AY4301 Tested Model Name: Max7BT Back Side View without Strap Model Name: Nike, AY4301 Tested Model Name: Max7BT Battery Side View without Strap
ID Label/Location Info
Model Name: Nike, AY4301 Tested Model Name: Max7BT Label Location
Internal Photos
Model Name: Nike, AY4301 Tested Model Name: Max7BT EUT Inside View with Battery Model Name: Nike, AY4301 Tested Model Name: Max7BT EUT Inside View without Battery Model Name: Nike, AY4301 Tested Model Name: Max7BT EUT Component Top View Model Name: Nike, AY4301 Tested Model Name: Max7BT EUT Component Bottom View
Test Report
670 National Avenue, Mountain View, CA 94043 Tel. (650) 988-0900 Fax (650) 988-6647 www.emclab2000.com FCC 15.247 Test Report Final Model Name: Nike, AY4301 Tested Model Name: Max7BT FCC ID: o6rm7bt IC: 3797A-M7BT Prepared for Dynastream Innovations, Inc. According to FCC Part 15.247 Frequency Hopping Spread Spectrum Device Test Report #: DYN-0406-4150-FCC Job Number #: DYN-0407-1000-TCB Prepared by: Arcelia Maldonado QC Manager: Tony Wang Test Report Released by: July 23, 2004 ⎯⎯⎯⎯⎯⎯⎯⎯⎯ ⎯⎯⎯⎯⎯⎯ Tony Wang Date NVLAP Lab code: 200068-0 ISO/IEC 17025:1999, ISO 9002:1994 List of Attached Files Exhibit Type File Description File Name Test Report Test Report report.pdf Operation Description Technical Description description.pdf Test Report Maximum Output Power Plots maxop.pdf Test Report 20 dB Bandwidth Plots 20dB.pdf Test Report Number of Hopping Frequencies, and Hopping Channel Frequency Separation hchano.pdf Test Report Average Channel Occupancy Time avetime.pdf Test Report Out of Band Emissions Plots obe.pdf Test Report Band Edge Plots be.pdf External Photos External Photos external-photos.pdf Internal Photos Internal Photos internal-photos.pdf Set-up Photos Test Set-up Photos setup-photos.pdf Block Diagram Block Diagram block.pdf Schematics Circuit Diagram circuit.pdf ID Label/Location Label Artwork and Location label.pdf User Manual User Manual manual.pdf Max7BT Model Name Attn.: Arcelia Maldonado EMC Compliance Management Group 670 National Avenue, Mountain View, CA 94043 Date: July 23, 2004 To Whom It May Concern: Concerning the product model name. The Max7BT will be labeled and sold under the model name “AY4301”. Please refer to the product labeling for additional information. Yours Sincerely, Victor Beda EET Test Location EMC Compliance Management Group is located at 670 National Ave., Mountain View, CA 94043, USA. Accreditation Bodies EMC Compliance Management Group is a fully accredited Test Laboratory for ITE, ISM and Telecommunications Products. In compliance with the site registration requirements of Section 2.948 of the FCC Rules to perform EMI measurements for the general public. Accredited by the National Voluntary Laboratory Accreditation Program for the specific scope of accreditation under Lab Code # 200068-0. Table of Contents GOVERNMENT DISCLAIMER NOTICE __________________________ 1 REPRODUCTION CLAUSE _____________________________________ 1 ADMINISTRATIVE DATA ______________________________________ 2 EUT DESCRIPTION ___________________________________________ 2 TEST SUMMARY ______________________________________________ 3 TEST MODE JUSTIFICATION __________________________________ 5 EQUIPMENT MODIFICATION __________________________________ 5 TEST SYSTEM DETAILS _______________________________________ 6 TEST METHODOLOGY ________________________________________ 7 1. FCC 15.247 (B) (1) MAXIMUM PEAK OUTPUT POWER _______ 8 2. FCC 15.247 (A) (1) (III) HOPPING CHANNEL 20 DB RF BANDWIDTH ________________________________________________ 10 3. FCC 15.247 (A) (1) (III) HOPPING CHANNEL CARRIER FREQUENCY SEPARATION: __________________________________ 11 4. FCC 15.247 (A) (1) (III) NUMBER OF HOPPING FREQUENCIES: _____________________________________________________________ 12 5. FCC 15.247 (A) (1) (III) AVERAGE CHANNEL OCCUPANCY TIME ________________________________________________________ 13 6. FCC 15.247 (C) OUT OF BAND ____________________________ 14 7. FCC 15.247 (C) BAND EDGE_______________________________ 15 8. FCC 15.205 (A) RADIATED EMISSIONS IN RESTRICTED BANDS ______________________________________________________ 17 9. FCC 15.209 (A) RADIATED EMISSION MEASUREMENT _____ 23 10. FCC 15.207 (A) CONDUCTED EMISSION MEASUREMENT___ __________________________________________________________26-26 EMC Test Report #: DYN-0406-4150-FCC Prepared for Dynastream Innovations, Inc. Prepared by EMC Compliance Management Group Page 1 of 26 Government Disclaimer Notice When government drawing, specification, or other data are used for any purpose other than in connection with a definitely related government procurement operation, the United States Government thereby incurs no responsibility nor any obligation whatsoever; and the fact that the Government may have formulated, furnished, or in any way supplied the said drawing, specifications, or other data, is not to be regarded by implication or otherwise in any manner licensing the holder or any other person or corporation, or conveying any rights or permission to manufacture, use, or sell patented invention that may in any way be related thereto. This report must not be used to claim product endorsement by NVLAP or any agency of the U.S. Government. Reproduction Clause Any reproduction of this document must be done in full. No single part of this document may be reproduced without permission from EMC Compliance Management Group, 670 National Ave., Mountain View, CA 94043. EMC Test Report #: DYN-0406-4150-FCC Prepared for Dynastream Innovations, Inc. Prepared by EMC Compliance Management Group Page 2 of 26 ADMINISTRATIVE DATA Test Sample : Bluetooth Enabled Speed and Distance Monitoring System Model Name : Nike, AY4301 Tested Model Name : Max7BT Serial Number : Engineering Sample Date Tested : June 10 th - 14 th , 2004 Manufacturer : Dynastream Innovations, Inc. 228 River Avenue, Cochrane, Alberta, Canada Telephone : (403) 932-9292 Fax : (403) 932-6521 EUT Description Dynastream Innovations, Inc., tested model name Max7BT (referred to as the EUT in this report) is a Bluetooth Enabled Speed and Distance Monitoring System. EMC Test Report #: DYN-0406-4150-FCC Prepared for Dynastream Innovations, Inc. Prepared by EMC Compliance Management Group Page 3 of 26 Test Summary The Electromagnetic Compatibility requirements on tested model name Max7BT for this test are stated below. All results listed in this report relate exclusively to this above-mentioned model as the Equipment Under Test. This report confers no approval or endorsement upon any other c…
Text truncated - open the document above for the full version.
Test Setup Photos
EUT Test Setup Photo for Tested Model Name: Max7BT Maximum Peak Output Power Front View Close-Up View EUT Test Setup Photo for Tested Model Name: Max7BT Band Edge Test Set-Up Front View Radiated Emissions Test Setup Photos for Tested Model Name: Max7BT Radiated Emissions in Restricted Bands Test Set-Up Radiated Emissions in Restricted Bands Test Set-Up EUT Test Setup Photos for Tested Model Name: Max7BT Radiated Emission Measurement Test Set-Up Radiated Emission Measurement Test Set-Up
Contact Information
Applicant
Jim Rooney(President)
Test Firm
EMC Compliance Management GroupPaul Chen
Technical Specifications
| # | Rule Parts | Frequency Range | Power Output |
|---|---|---|---|
| 1 | 15C | 2.40 GHz - 2.48 GHz | 1.00 mW |
Other Applications from Garmin Canada Inc.
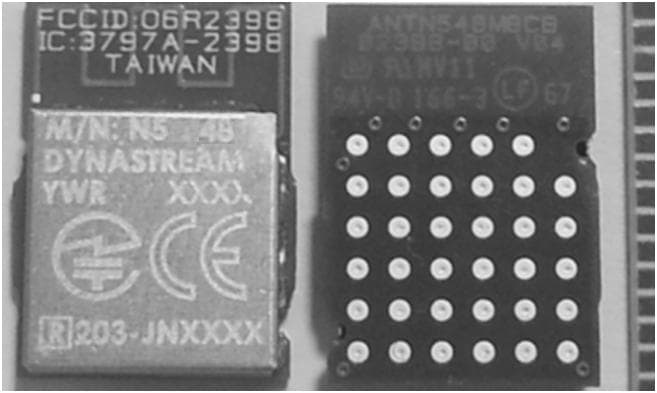
O6R2398
Mar 04, 2014N5
Equipment Class
DXX - Part 15 Low Power Communication Device Transmitter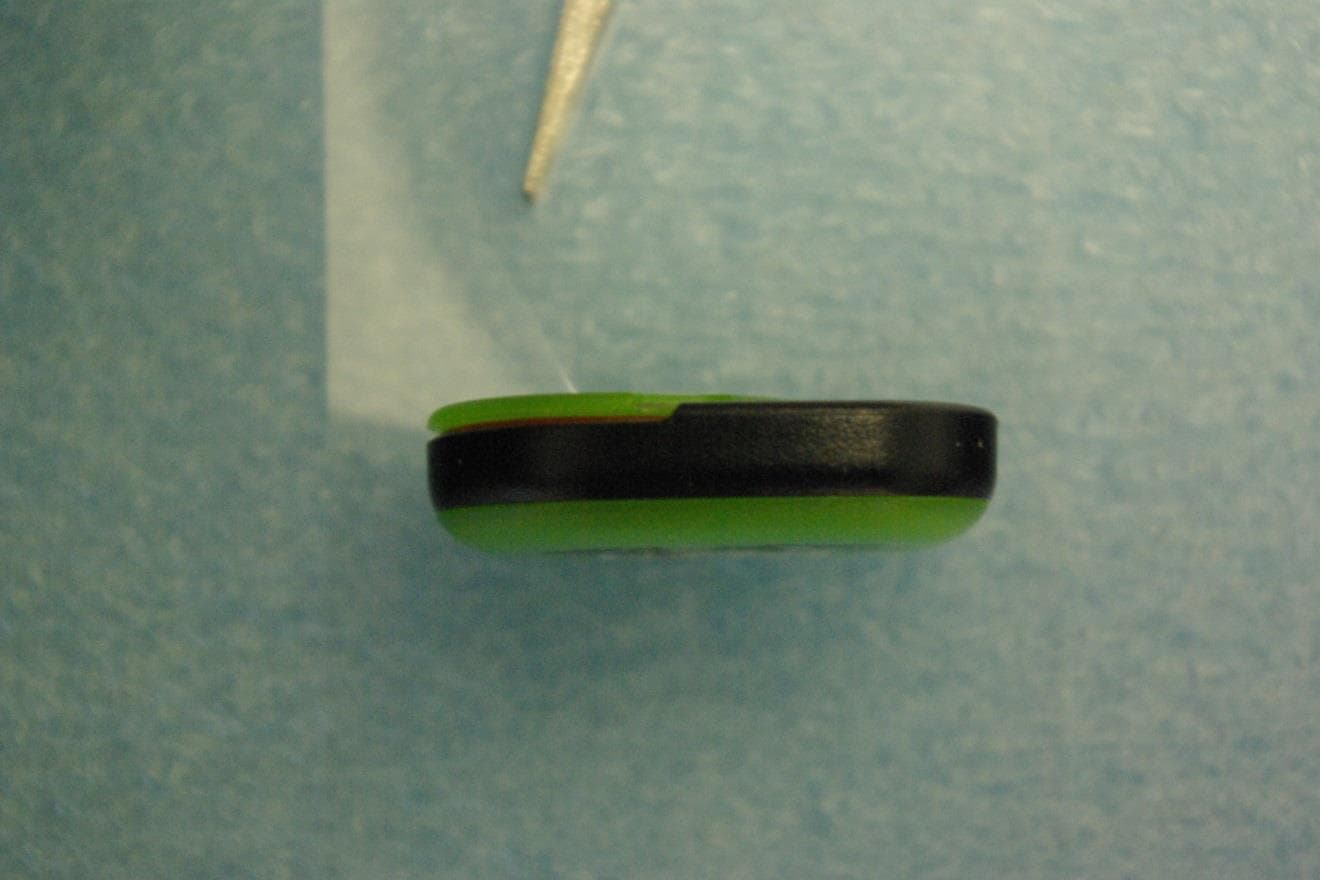
O6R02162
Jun 19, 2013LOW POWER TRANSMITTER (2400-2483.5)
Equipment Class
DXX - Part 15 Low Power Communication Device Transmitter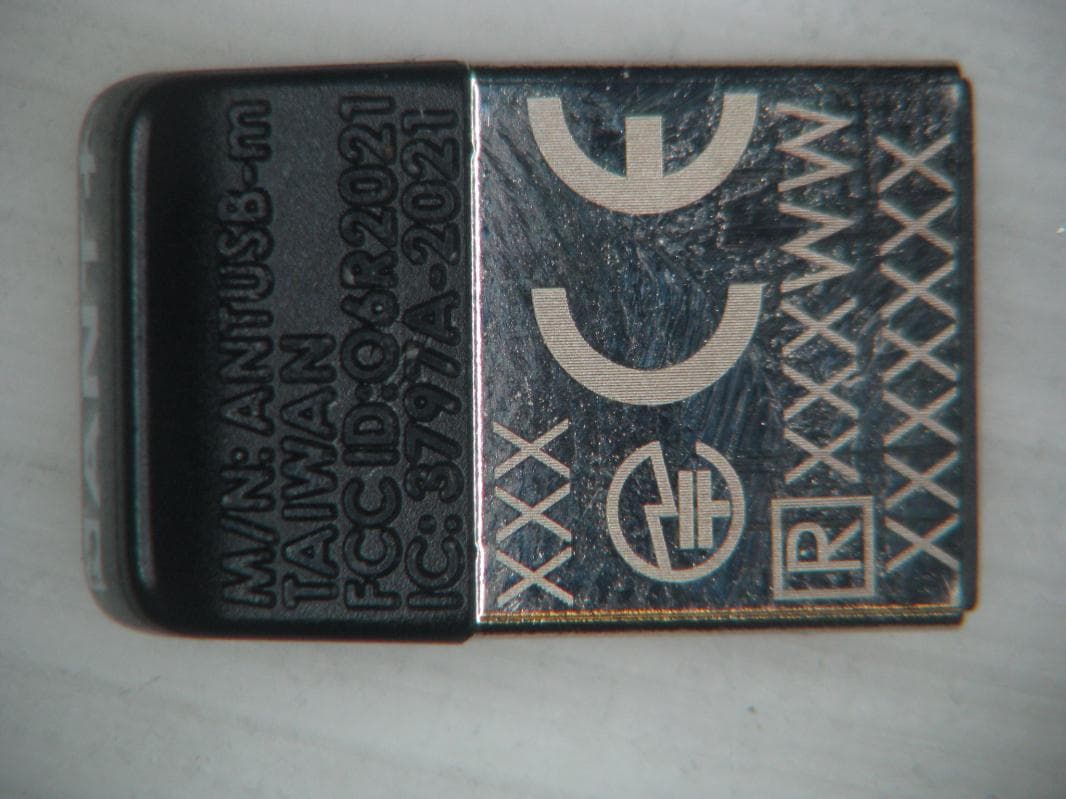
O6R2021
Jan 08, 2013LOW POWER TRANSMITTER (2400-2483.5 MHz)
Equipment Class
DXX - Part 15 Low Power Communication Device Transmitter
O6R1823
Sep 20, 2011LOW POWER TRANSMITTER (2400-2483.5 MHz)
Equipment Class
DXX - Part 15 Low Power Communication Device Transmitter
O6R01715
Jun 26, 2011LOW POWER TRANSMITTER (2400-2483.5 MHz)
Equipment Class
DXX - Part 15 Low Power Communication Device Transmitter