QV4-LRL0004Keypad Transmitter
Enterprise Electronics, L.L.C.
Click to zoom
Application Details
- Equipment Class
- DSC - Part 15 Security/Remote Control Transmitter
- Date of Grant
- Dec 28, 2005
- Application Purpose
- Original Equipment
- Date of Application
- Dec 28, 2005
- Equipment Note
- Keypad Transmitter
- Frequency Range
- 314.40000000 - 315.50000000
- Country
- United States
Documents & Files
Document Text
Text extracted from the exhibit documents filed with the FCC. Open a document above to read the original.
Users Manual
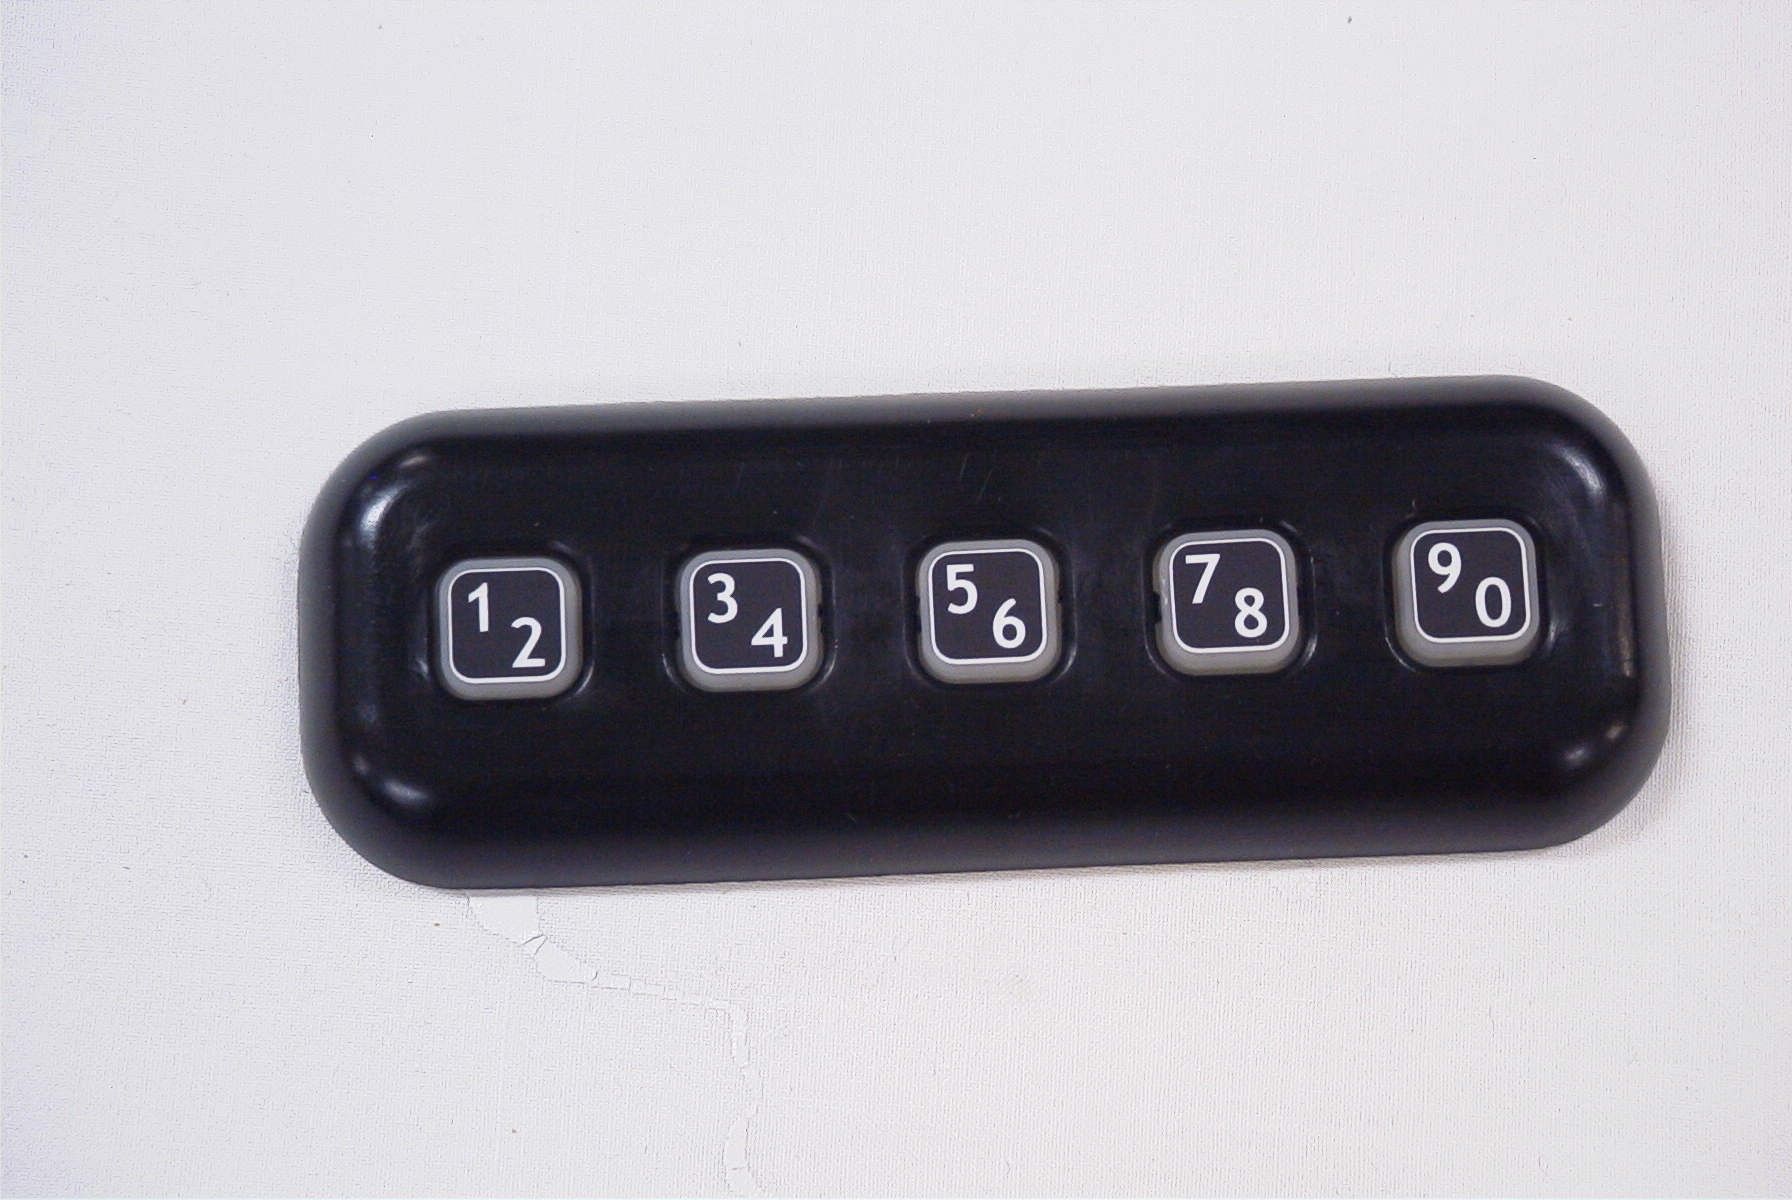
GENUINE PARTS INSTALLATION INSTRUCTIONS 1 of 2 999KE AR000 II 12/12/05 1. DESCRIPTION: Keyless Entry Pad 2. APPLICATION: All Nissan and Infiniti vehicles with key fob. Not applicable to vehicles with I-Key vehicles or 1999 – 2006 Sentra. 3. PART NUMBER: 999KE AR000 4. CAUTIONS AND NOTES CAUTION • Nissan and Infiniti vehicles support a maximum of 5 keyless entry products (key fobs and keypad.) When a sixth unit is programmed the first will become inactive. Refer to your owner’s manual for more information. • For proper adhesion, mounting surface should be at least 60°F (15°C.) This device complies with part 15 of the FCC rules and with RS-210 of Industry Canada. Operation is subject to the following two conditions: (1) This device may not cause harmful interference, and (2) This device must accept any interference received, including interference that may cause undesired operation. CAUTION: Changes or modifications not expressly approved by the party responsible for compliance could void the user’s authority to operate this equipment. NOTE • Do not attach the keypad to the vehicle until after it has been programmed. • When pressing the controls on the keypad, press the middle of the controls to ensure a good activation. • After five seconds of idle time, the keypad will reset itself. When programming or using the keypad, avoid delays between button presses. It may be helpful to read each section of these instructions before proceeding. • To preserve battery life, the backlight will only turn on during low light conditions. • Do not set a code that uses five of the same number. • Do not use five numbers in sequential order. • The factory set code will work even if you have set your own personal code. • If you set a second personal code it will erase your first personal code. • Place this sheet with the vehicle owner’s manual when complete. 5. PROGRAMMING THE VEHICLE TO RECOGNIZE THE KEYPAD 1. Close all doors. 2. Insert key into and remove it from ignition key cylinder quickly and repeatedly until hazard warning lamps flash twice. Each vehicle is different, so it may take between 6 and 12 times before this will happen. 3. Insert ignition key into cylinder and turn to ACC position within five seconds of step 2. 4. Push the 7/8 and 9/0 buttons on the keypad simultaneously. The hazard warning lamps will then flash twice. 5. Open driver side door to end programming functions. Check operation of keyless entry system by pressing the 7/8 and 9/0 buttons simultaneously. If the doors do not lock, repeat section 5 starting at step 1. Remember that each programming step must be completed within five seconds of the previous step. If the problem persists, check the vehicle owner’s manual for programming key fobs, and check with a Nissan dealership to confirm that the keypad is compatible with your vehicle. INSTALLATION INSTRUCTIONS – Keyless Entry Pad 2 of 2 999KE AR000 II 12/12/05 6. PROGRAMMING A PERSONAL ENTRY CODE 1. Enter the unique factory set code, as indicated to the right. 2. Within five seconds, press and hold 1/2 button. While pressing the 1/2 button, press and hold the 5/6 button for at least 2 seconds until the 9/0 key flashes twice or the door unlocks. Release both buttons. 3. Within five seconds, enter your desired personal 5-digit code. Each number must be entered within five seconds of each other. 4. The doors will again lock then unlock to confirm that your personal code has been programmed to the module. To remove your personal code: 1. Enter the unique factory code, then within five seconds press and hold the 1/2 button, then press and hold the 7/8 button for at least two seconds until the 9/0 key flashes twice or the door will again lock then unlock to confirm that your personal code has been removed. Release both buttons. 7. ADHERING KEYPAD TO THE VEHICLE CAUTION • Do not adhere to moveable glass or windshield. • The tape is very sticky and will stick fast once contact is made. Use care when positioning keypad. Use masking tape to mark keypad position and alignment before positioning keypad. Figure 1 1. This product is designed to attach to your car door, centered between the door handle and the window sill. See Figure 1. Mounting surface must be relatively flat. Hold keypad up to desired mounting surface to confirm that all tape will contact mounting surface. 2. Clean the vehicle surface where the keypad is to be adhered with a 50-50 solution of alcohol and water and let dry. 3. Pull the tape tabs off the keypad, center the keypad and press onto door surface. Be sure to press firmly on all edges to ensure proper adhesion of the tape. 8. USING THE KEYPAD 1. To unlock the driver’s door, enter your personal 5-digit code or the factory set code. Each number must be pressed within five seconds of each other. 2. To unlock all doors, press the 3/4 control within three seconds of entering a valid keypad code. Hold down 3/4 control to lower windows, if equipped. 3. To unlock the trunk, press and hold the 5/6 control within three seconds of entering a valid keypad code. Use the 5/6 to open or close power lift gate if equipped. 4. To unlock and slide the power sliding doors, press and hold the 7/8 button to open or close the passenger side door within three seconds of entering a valid keypad code. Press and hold the 9/0 button for the driver side door. 5. To lock all doors, press the 7/8 and the 9/0 keys simultaneously. If all doors are closed, the horn will chirp once; if any door is ajar, the horn will not chrip. NOTE: Horn may not chirp – see Owner’s Manual.
ID Label/Location Info
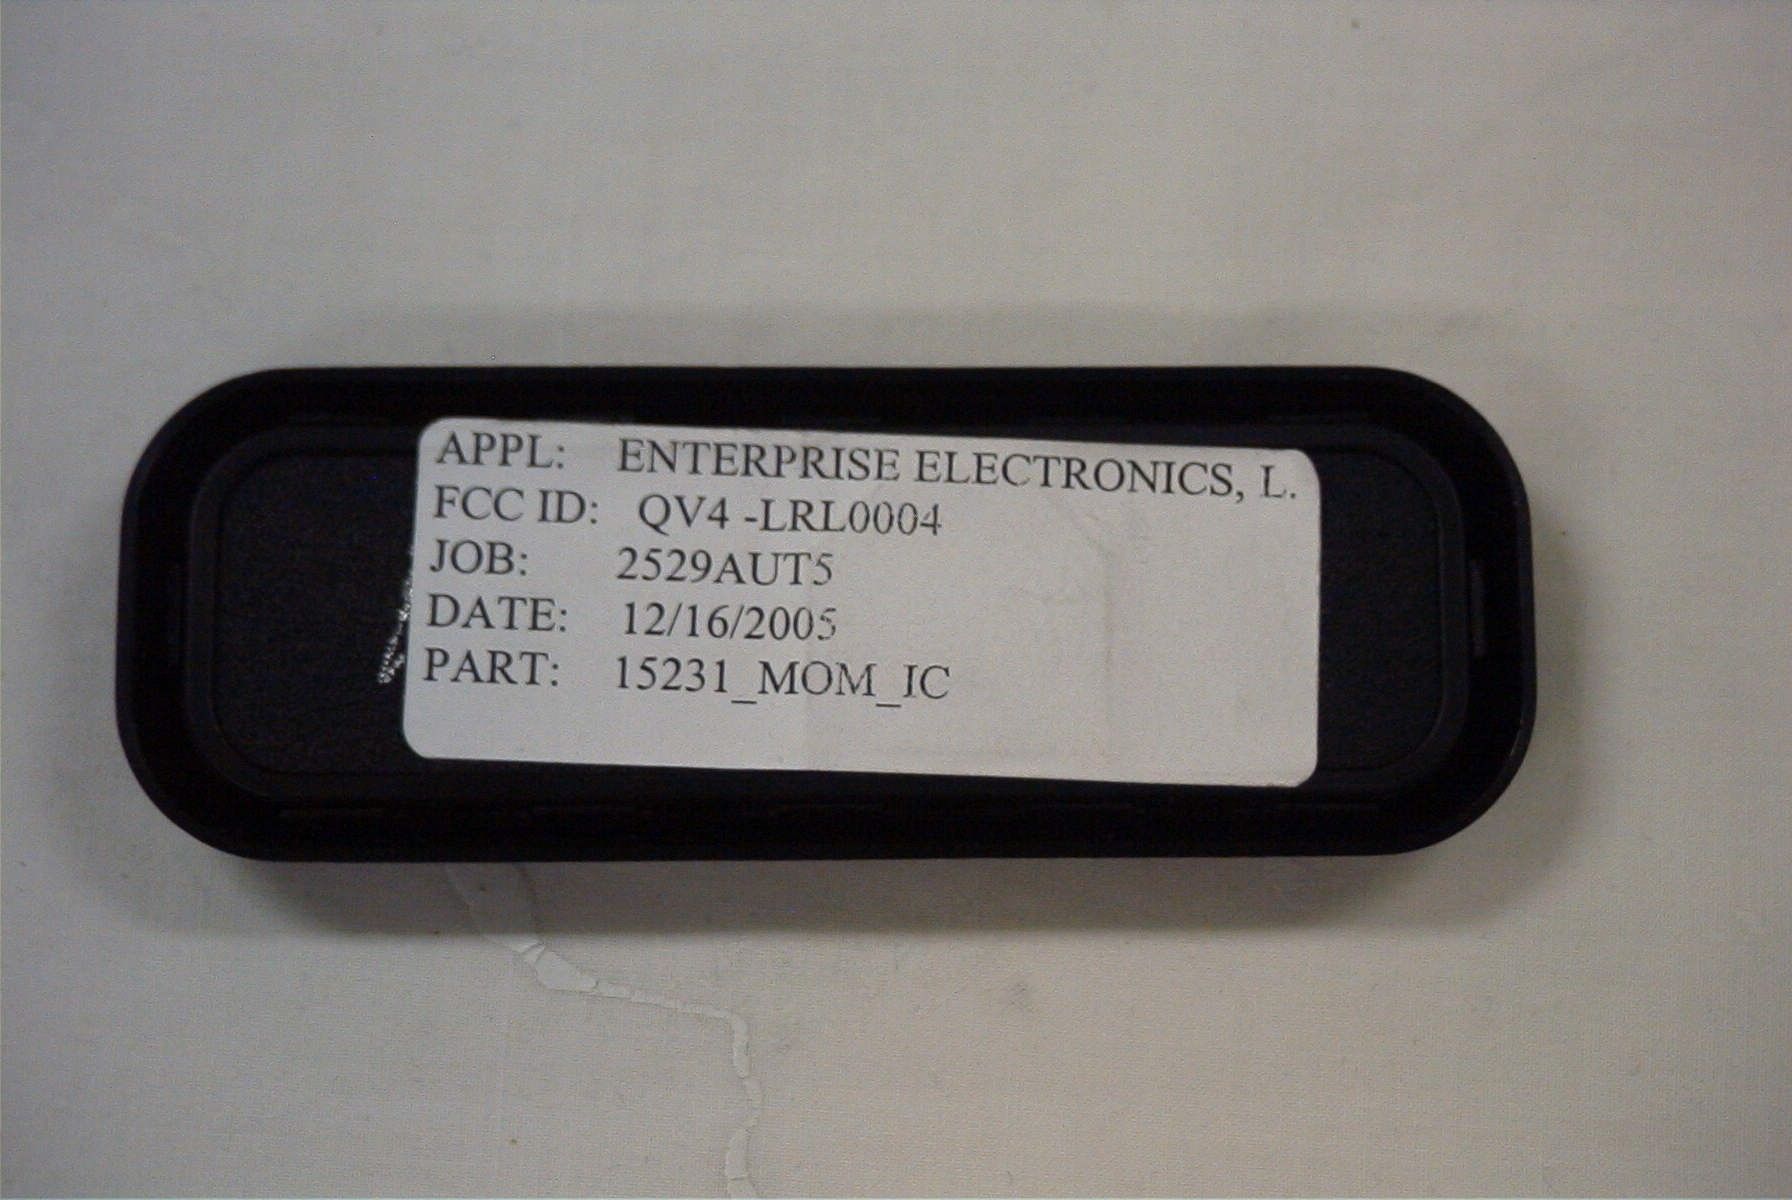
I Dec 2D D5 i2:33p PROTO DiMENSIONS 588-532-7972 p.2 , ! . I ! I , i .-q- ~ 0 :00 0: 0 0; . I; , --; 1 'I ---', I~ rv !' -1 ~ I ; I j « ~- I L() --- '" 'V C) Ln -~ ~ .,., I 00 U f U L) - L ; I I I f ,
Test Report
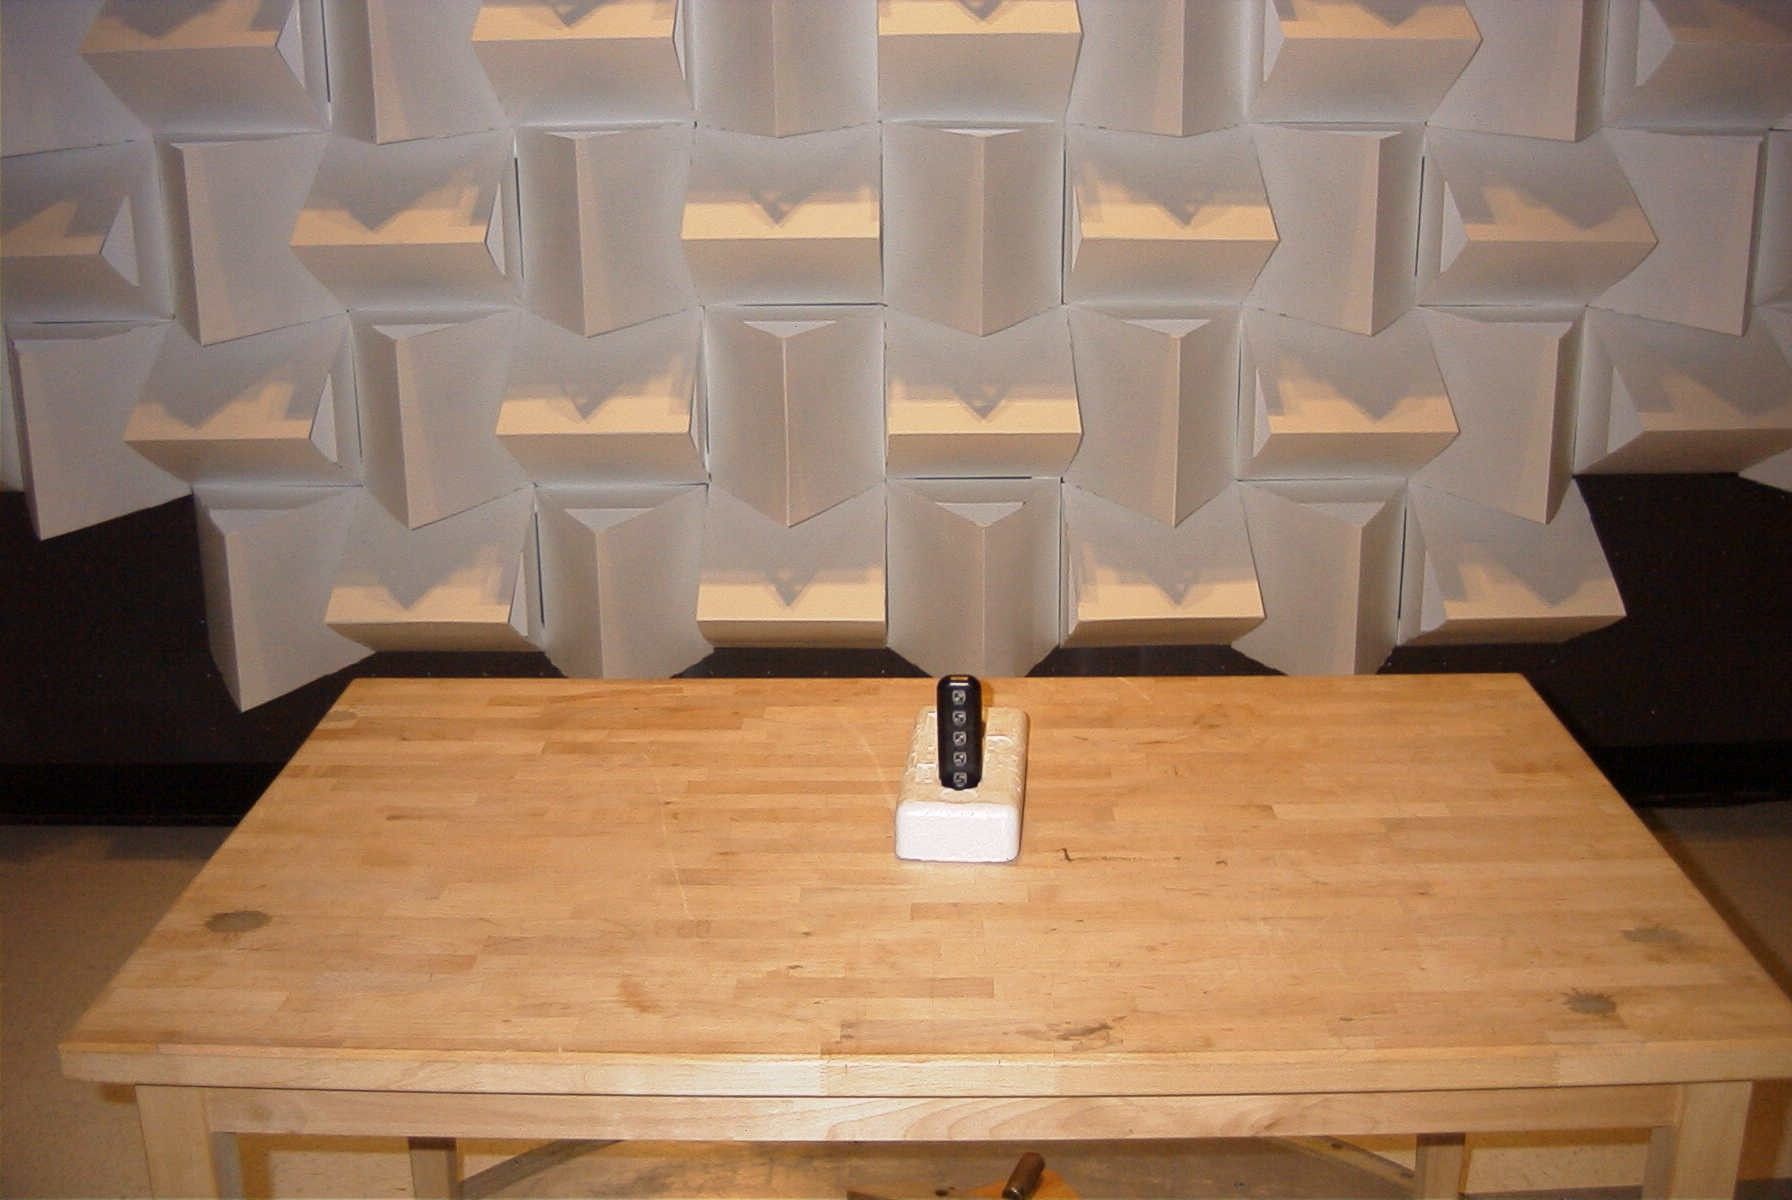
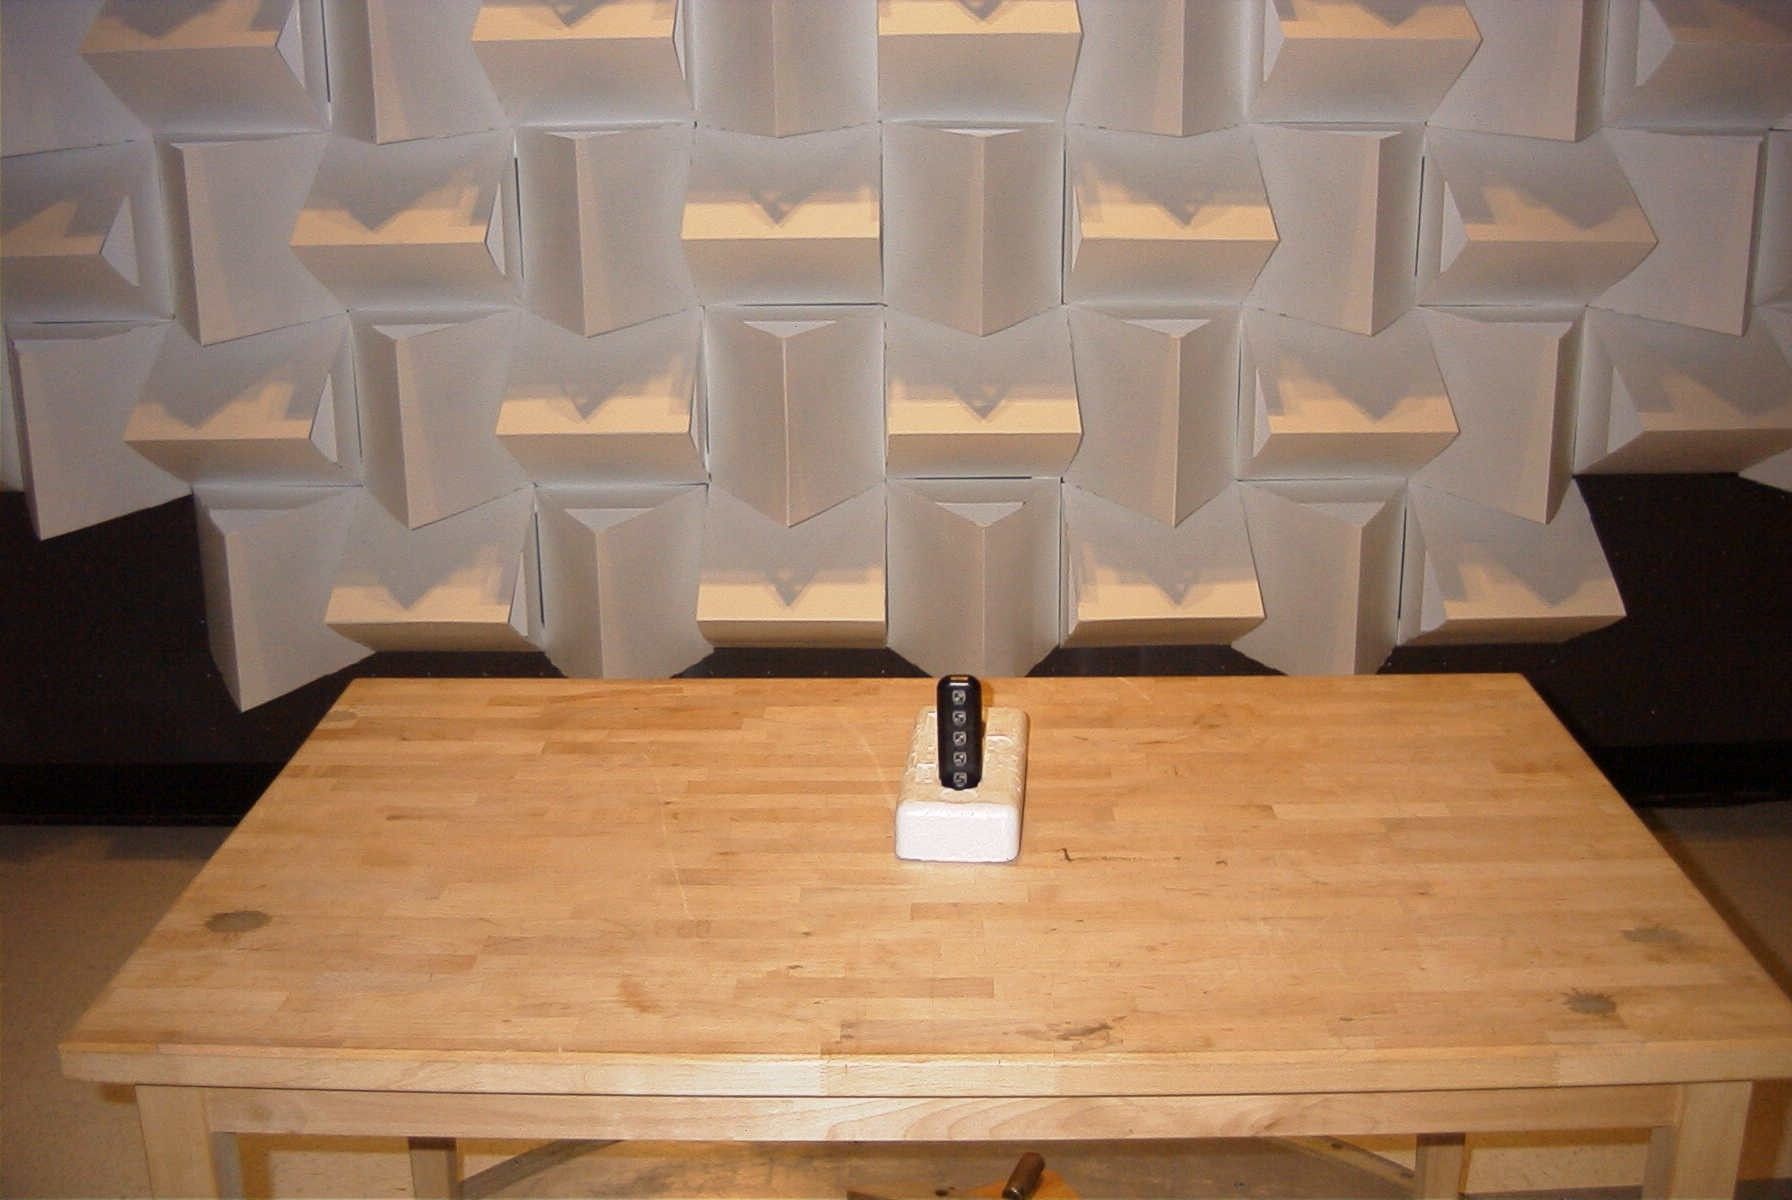
TIMCO ENGINEERING INC. 849 NW State Road 45 Newberry, Florida 32669 http://www.timcoengr.com 888.472.2424 F 352.472.2030 email: [email protected] APPLICANT: ENTERPRISE ELECTRONICS, L.L.C. FCC ID: QV4-LRL0004 Test Report Product Name: KEYPAD TRANSMITTER FCC ID: QV4-LRL0004 Applicant: ENTERPRISE ELECTRONICS, L.L.C. 2120 AUSTIN DRIVE ROCHESTER HILLS MI 48309 USA Date Receipt: 12/16/2005 Date Tested: 12/16/2005 REPORT #: E\ENTERPRISE_QV4\2529AUT5\2529AUT5TestReport.doc COVER SHEET TIMCO ENGINEERING INC. 849 NW State Road 45 Newberry, Florida 32669 http://www.timcoengr.com 888.472.2424 F 352.472.2030 email: [email protected] APPLICANT: ENTERPRISE ELECTRONICS, L.L.C. FCC ID: QV4-LRL0004 TABLE OF CONTENTS APPLICANT: ENTERPRISE ELECTRONICS, L.L.C. FCC ID: QV4-LRL0004 TEST REPORT CONTAINING: PAGE 1-2...........TEST EQUIPMENT LIST & TEST PROCEDURE PAGE 3-5............RADIATION INTERFERENCE TEST DATA PAGE 6.............CALCULATION OF DUTY CYCLE PAGE 7.............OCCUPIED BANDWIDTH EXHIBIT INCLUDING: CONFIDENTIAL REQUEST LETTER BLOCK DIAGRAM SCHEMATIC PARTS LIST INSTRUCTION MANUAL LABEL SAMPLE LABEL LOCATION EXTERNAL PHOTOGRAPHS INTERNAL PHOTOGRAPHS OPERATIONAL DESCRIPTION TEST SET UP PHOTOGRAPH REPORT #: E\ENTERPRISE_QV4\2529AUT5\2529AUT5TestReport.doc TABLE OF CONTENTS TIMCO ENGINEERING INC. 849 NW State Road 45 Newberry, Florida 32669 http://www.timcoengr.com 888.472.2424 F 352.472.2030 email: [email protected] APPLICANT: ENTERPRISE ELECTRONICS, L.L.C. FCC ID: QV4-LRL0004 EMC Equipment List Device Manufacturer Model Serial Number Cal/Char Date Due Date 3-Meter OATS TEI N/A N/A Listed 1/13/03 1/12/06 3/10-Meter OATS TEI N/A N/A Listed 3/27/04 3/26/07 Tan Tower Spectrum Analyzer HP 8566B Opt 462 3138A07786 3144A20661 CAL 12/7/05 12/7/07 Tan Tower RF Preselector HP 85685A 3221A01400 CAL 12/7/05 12/7/07 Tan Tower Quasi- Peak Adapter HP 85650A 3303A01690 CAL 12/8/05 12/8/07 Tan Tower Preamplifier HP 8449B-H02 3008A00372 CAL 12/8/05 12/8/07 Blue Tower Spectrum Analyzer HP 8568B 2928A04729 2848A18049 CAL 4/13/05 4/13/07 Blue Tower RF Preselector HP 85685A 2926A00983 CAL 9/5/05 9/5/07 Blue Tower Quasi-Peak Adapter HP 85650A 2811A01279 CAL 4/13/05 4/13/07 Silver Tower Spectrum Analyzer HP 8566B Opt 462 3552A22064 3638A08608 CAL 12/8/04 12/8/06 Silver Tower RF Preselector HP 85685A 2620A00294 CAL 4/27/04 4/27/06 Silver Tower Quasi-Peak Adapter HP 85650A 3303A01844 CAL 12/8/04 12/8/06 Open-Frame Tower Preamplifier HP 8449B 3008A01075 CAL 8/8/05 8/8/07 Biconnical Antenna Electro-Metrics BIA-25 1171 CAL 4/29/05 4/29/07 Biconnical Antenna Eaton 94455-1 1096 CAL 8/17/04 8/17/06 Biconnical Antenna Eaton 94455-1 1057 CAL 3/18/03 3/18/05 Log-Periodic Antenna Electro-Metrics LPA-25 1122 CAL 8/26/04 8/26/06 REPORT #: E\ENTERPRISE_QV4\2529AUT5\2529AUT5TestReport.doc Page 1 of 7 TIMCO ENGINEERING INC. 849 NW State Road 45 Newberry, Florida 32669 http://www.timcoengr.com 888.472.2424 F 352.472.2030 email: [email protected] APPLICANT: ENTERPRISE ELECTRONICS, L.L.C. FCC ID: QV4-LRL0004 TEST PROCEDURE GENERAL: This report shall NOT be reproduced except in full without the written approval of TIMCO ENGINEERING, INC. RADIATION INTERFERENCE: The test procedure used was ANSI STANDARD C63.4-2003 using a HEWLETT PACKARD spectrum analyzer with a preselector. The bandwidth of the spectrum analyzer was 100 kHz with an appropriate sweep speed. The analyzer was calibrated in dB above a microvolt at the output of the antenna. The resolution bandwidth was 100 kHz and the video bandwidth was 300 kHz. The ambient temperature of the UUT was 98.3ºF with a humidity of 40%. FORMULA OF CONVERSION FACTORS: The Field Strength at 3m was established by adding the meter reading of the spectrum analyzer (which is set to read in units of dBuV) to the antenna correction factor supplied by the antenna manufacturer. The antenna correction factors are stated in terms of dB. The gain of the Preselector was accounted for in the Spectrum Analyzer Meter Reading. Example: Freq (MHz) METER READING + ACF = FS 33 20 dBuV + 10.36 dB = 30.36 dBuV/m @ 3m ANSI STANDARD C63.4-2003 10.1.7 MEASUREMENT PROCEDURES: The UUT was placed on a table 80 cm high and with dimensions of 1m by 1.5m. The UUT was placed in the center of the table. The table used for radiated measurements is capable of continuous rotation. The spectrum was scanned from 30 MHz to 10th harmonic of the fundamental. Peak readings were taken in three (3) orthogonal planes and the highest readings were converted to average readings based on the duration of "ON" time. When an emission was found, the table was rotated to produce the maximum signal strength. At this point, the antenna was raised and lowered from 1m to 4m. The antenna was placed in both the horizontal and vertical planes. Measurements were made by TIMCO ENGINEERING INC. at the registered open field test site located at 849 N.W. State Road 45, Newberry, Fl 32669. REPORT #: E\ENTERPRISE_QV4\2529AUT5\2529AUT5TestReport.doc Page 2 of 7 TIMCO ENGINEERING INC. 849 NW State Road 45 Newberry, Florida 32669 http://www.timcoengr.com 888.472.2424 F 352.472.2030 email: [email protected] APPLICANT: ENTERPRISE ELECTRONICS, L.L.C. FCC ID: QV4-LRL0004 APPLICANT: ENTERPRISE ELECTRONICS, L.L.C. FCC ID: QV4-LRL0004 NAME OF TEST: RADIATION INTERFERENCE RULES PART NO.: 15.231 REQUIREMENTS: Fundamental Field Strength Field Strength of Frequency of Fundamental Harmonics and Spurious MHz dBuV Emissions (dBuV/m @ 3m) 40.66 to 40.70 67.04 47.04 70 to 130 61.94 41.94 130 to 174 61.94 to 71.48 41.94 to 51.48 174 to 260 71.48 51.48 260 to 470 71.48 to 81.94 51.48 to 61.94 470 and above 81.94 61.94 THE LIMIT FOR AVERAGE FIELD STRENGTH dBuV/m FOR THE FUNDAMENTAL FREQUENCY = 75.62 dBuV/m. NO FUNDAMENTAL IS ALLOWED IN THE RESTRICTED BANDS. THE LIMIT FOR AVERAGE FIELD STRENGTH dBuV/m FOR THE HARMONICS AND SPURIOUS FREQUENCIES = 60.82 dBuV/m. SPURIOUS IN THE RESTRICTED BANDS MUST BE LESS THAN 54 dBuV/m OR 15.209. TEST DATA: Emission Frequency MHz * Meter Reading dBuV Ant. Po…
Text truncated - open the document above for the full version.
Contact Information
Applicant
Jeff Vogel(VP Engineering)
Test Firm
Timco Engineering, Inc.S Sanders
Technical Specifications
| # | Rule Parts | Frequency Range | Power Output |
|---|---|---|---|
| 1 | 15.231 | 314.4 MHz - 315.5 MHz | - |
Other Applications from Enterprise Electronics, L.L.C.

QV4-315
Apr 16, 2024315 MHz Keypad
Equipment Class
DSC - Part 15 Security/Remote Control Transmitter
QV4-LRL053
Jul 18, 2013RF KEYPAD
Equipment Class
DSC - Part 15 Security/Remote Control Transmitter
QV4-LRL0006
Aug 07, 2007KEYPAD TRANSMITTER
Equipment Class
DSC - Part 15 Security/Remote Control Transmitter
QV4-LRL0005
Nov 14, 2006KEYLESS ENTRY PAD
Equipment Class
DSC - Part 15 Security/Remote Control Transmitter
QV4-LRL0001
Feb 12, 2003Keypad Transmitter
Equipment Class
DSC - Part 15 Security/Remote Control Transmitter