TMAELK-6021MINI DOOR AND WINDOW TRANSCEIVER
ELK Products, Inc.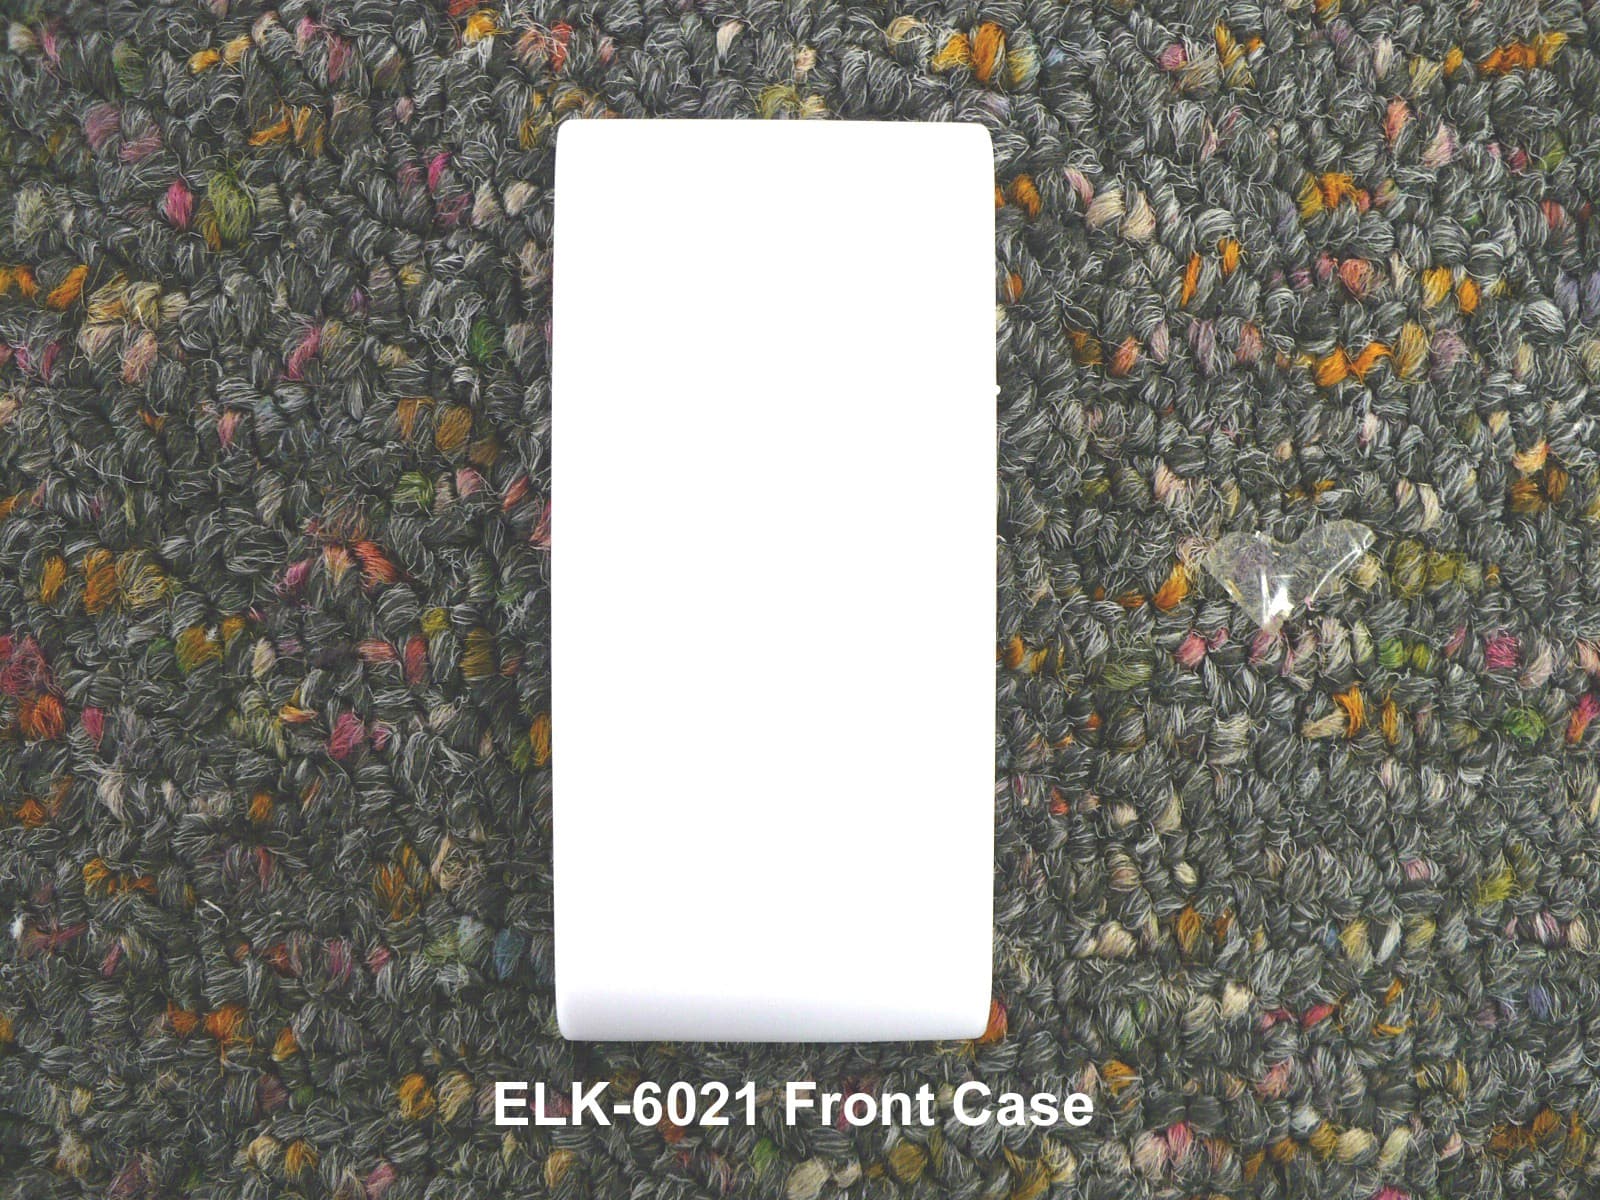
Click to zoom
Application Details
- Equipment Class
- DXX - Part 15 Low Power Communication Device Transmitter
- Date of Grant
- Aug 08, 2011
- Application Purpose
- Original Equipment
- Date of Application
- Aug 08, 2011
- Equipment Note
- MINI DOOR AND WINDOW TRANSCEIVER
- Frequency Range
- 902.96000000 - 926.68000000
- Company
- ELK Products, Inc.
- Country
- United States
Documents & Files
Document Text
Text extracted from the exhibit documents filed with the FCC. Open a document above to read the original.
Users Manual
The ELK-6021 Wireless Mini Door & Window Sensor is anextremely small and low profile sensor. It’s unique designmakes it ideal for use where physical size and esthetics areimportant. Applications include: double hung wood or vinylwindows, entryways, sliding doors, etc. The 6021 iscompatible with Elk’s Two-Way W ireless Technology Receivers, which currently includes the ELK-M1 modelM1XRFTW. Stand-alone “Slave receivers” with voltage/relay outputs are also being designed. Wireless Mini Door and Window Sensor ELK-6021 Mounting and Installation Installation Tip: Temporarily mount sensor in its in tended location prior to enrollment with the receiver/panel. This helps ensure the location and mounting orientation are ideal for reliable performance. Mount the sensor permanently afterenrollment and testing. Perform a Walk Test of all sensors before leaving the job. 1. Insert the edge of a coin or flat blade screwdriver in slot and twist to remove front housing from backplate.2. Do not install the Battery at this time.3. Doors: Install the sensor backplate on the door frame (jamb) and the magnet on the door. Place the sensor as high up aspossible, but never lower than 12” from the floor. This is to help avoid foot traffic damage.W indows: Install the sensor backplate on the widest surface (generally the top) of the lower sash and the magnet on the inside edge of the upper sash where the two meet. 4. Avoid locations of high moisture or where ambient operating temperatures are outside the specifications.5. The double faced adhesive pads (supplied) are adequate for temporary and many permanent attachments, particularly on surfaces that cannot be drilled or tapped. However we do recommend the use of the #4 flathead sheet metal screws(supplied) when possible for a more permanent installation. 7. Be certain that the alignment marks on the sensor and the magnet are aligned and facing each other, and that the gap between the two does not exceed the maximum operating gap listed in the Specifications.Like the sensor itself, the magnet accepts double faced adhesive pads. Should you prefer to use screws it will be necessaryto separate the front from the back and drill two 1/8” holes in backplate for screws. Mount the back using #4 flat sheet metalscrews and snap on the front.IMPORTANT: Low profile wireless sensors generally do not perform well on metal doors, metal jambs, or other metalsurfaces due to the close proximity of sensor’s internal antenna to the metal. If it does become necessary to do so,we recommend using non-metallic spacers approximately 1/4” thick (wood, plastic, etc.) or thick double faced tapebehind the sensor and the magnet. This will help by spacing the antenna away from the metal surface. Avoidmounting wireless sensors in close proximity to large metal objects (refrigerators, toolboxes, ductwork, etc.) Enrolling, Programming, and Testing with M1 Control1. Enter Keypad Installer Level Programming and navigate to Menu 14 - Wireless Definitions 2. Press the right arrow and scroll or navigate to Option 3 - Learn Wireless Transmitter.3. Press the right arrow and scroll or navigate to the first desired zone number.4. Press the right arrow to activate the enroll mode. The keypad will display Push Transmitter Button and the M1 will speak “Press Transmitter button for zone xx. 5. Immediately insert the transmitter battery. If battery is already installed, remove it and wait 5 seconds, then re-install. A special enrollment command is sent to the receiver and the battery must be removed long enough for the circuit to recognizea power on startup. 6. Upon successful enrollment the keypad will briefly display the ID of the new transmitter and M1 will speak “Zone xx Enrollment.” [If not successful try removing the battery, waiting 5 seconds and re-install again.] The Transmitter ID (TXID) is 6 hexadecimal digits. The 1st digit will be “A” for a Dr/Wnd sensor followed by 5 digits of“0” to “F”. Examples: A12345, A9ABCF. This TXID is printed on the sensor and packaging.The default Loop assignment is “0”, but may also be a 2. 7. The Rapid Enroll feature of M1 will advance to the next zone automatically. M1 will speak “Press Transmitter button for zone xx (the next zone) and wait for you to install the battery in the next transmitter. 8. For each additional transmitter begin at step 4. When enrollment is completed press the ELK key twice.9. Navigate to Menu 5 - Zone Definitions and program the Zone Definition for each wireless sensor.10. Perform a Test of every sensor using the Keypad Walk Test (User Menu 3). SPECIFICA TIONS: Low Profile Dimensions: .25” x 1.125” x 2.375”Operating Gap (Transmitter to Magnet): .250 nominalBattery: CR2032 coin cell, 3 volt. Service life of up to 5 years dependent on transmission power level and usage.Frequency: 902 Mhz - 928 Mhz (frequency hopping over 50 channels)Supervisor Check-in Intervals: Factory set at ~61 secondsTransmission Duration (on-time): 50 milliseconds to transmit its data and receive an acknowledgement.Anti-Jamming: Frequency hopping and short transmission time makes Elk’s sensor difficult to detect or jam.BATTERY INST ALLA TION AND REPLACEMENT The engraved or printed side of the battery is the positive terminal. It must be installed into the ELK-6021 with the engravedprinting visible. To remove battery carefully wedge the end of a small screwdriver or end of a paperclip under the back edge.Be carefull not to bend or catch the metal contact leafs or the spring wire that protrudes out from under the battery.W arning: Do not reverse the battery direction. 2.37 " 1.11 " .24 " Magnet/ Switch Alignment Marks .41 " Using ElkRP Remote Program Software to add Wireless Sensors to M11. Install the battery in the Sensor. It doesn’t matter if the sensor is mounted or not-mounted. 2. On the ElkRP Account Details screen open the Wireless Setup.3. Navigate to the Transmitters tab and double click the desired Zone number.4. Place a check mark in the Enabled box. Select the de…
Text truncated - open the document above for the full version.
External Photos
ELK PRODUCTS INC. FCC ID: TMAELK-6021 EXTERNAL PHOTOS
Internal Photos
ELK PRODUCTS INC. FCC ID: TMAELK-6021 INTERNAL PHOTOS
Contact Information
Applicant
Donald Sanders Lamb, Jr.(Sr. Engineer)
Test Firm
Timco Engineering, Inc.Bruno Clavier
Technical Specifications
| # | Rule Parts | Frequency Range | Power Output |
|---|---|---|---|
| 1 | 15C | 902.96 MHz - 926.68 MHz | - |
Other Applications from ELK Products, Inc.
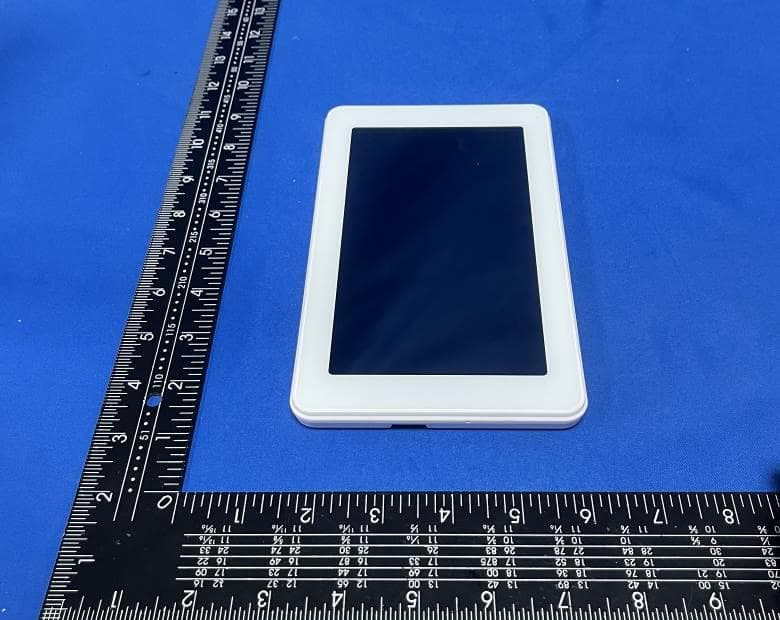
TMA-ELK7TS
Dec 14, 20237 inch Color Touch Screen for Alarm Engine and Ml Controls
Equipment Class
DTS - Digital Transmission System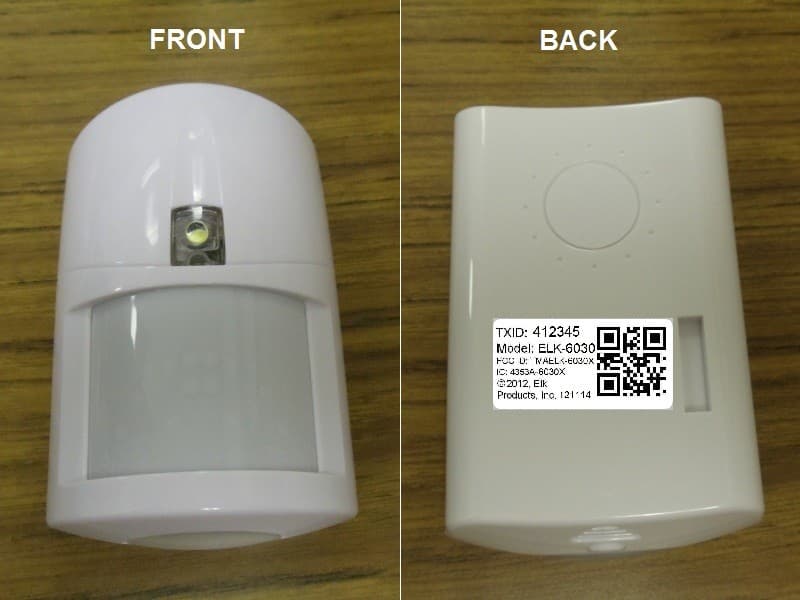
TMAELK-6030X
Mar 07, 2013PIR Sensor
Equipment Class
DXX - Part 15 Low Power Communication Device Transmitter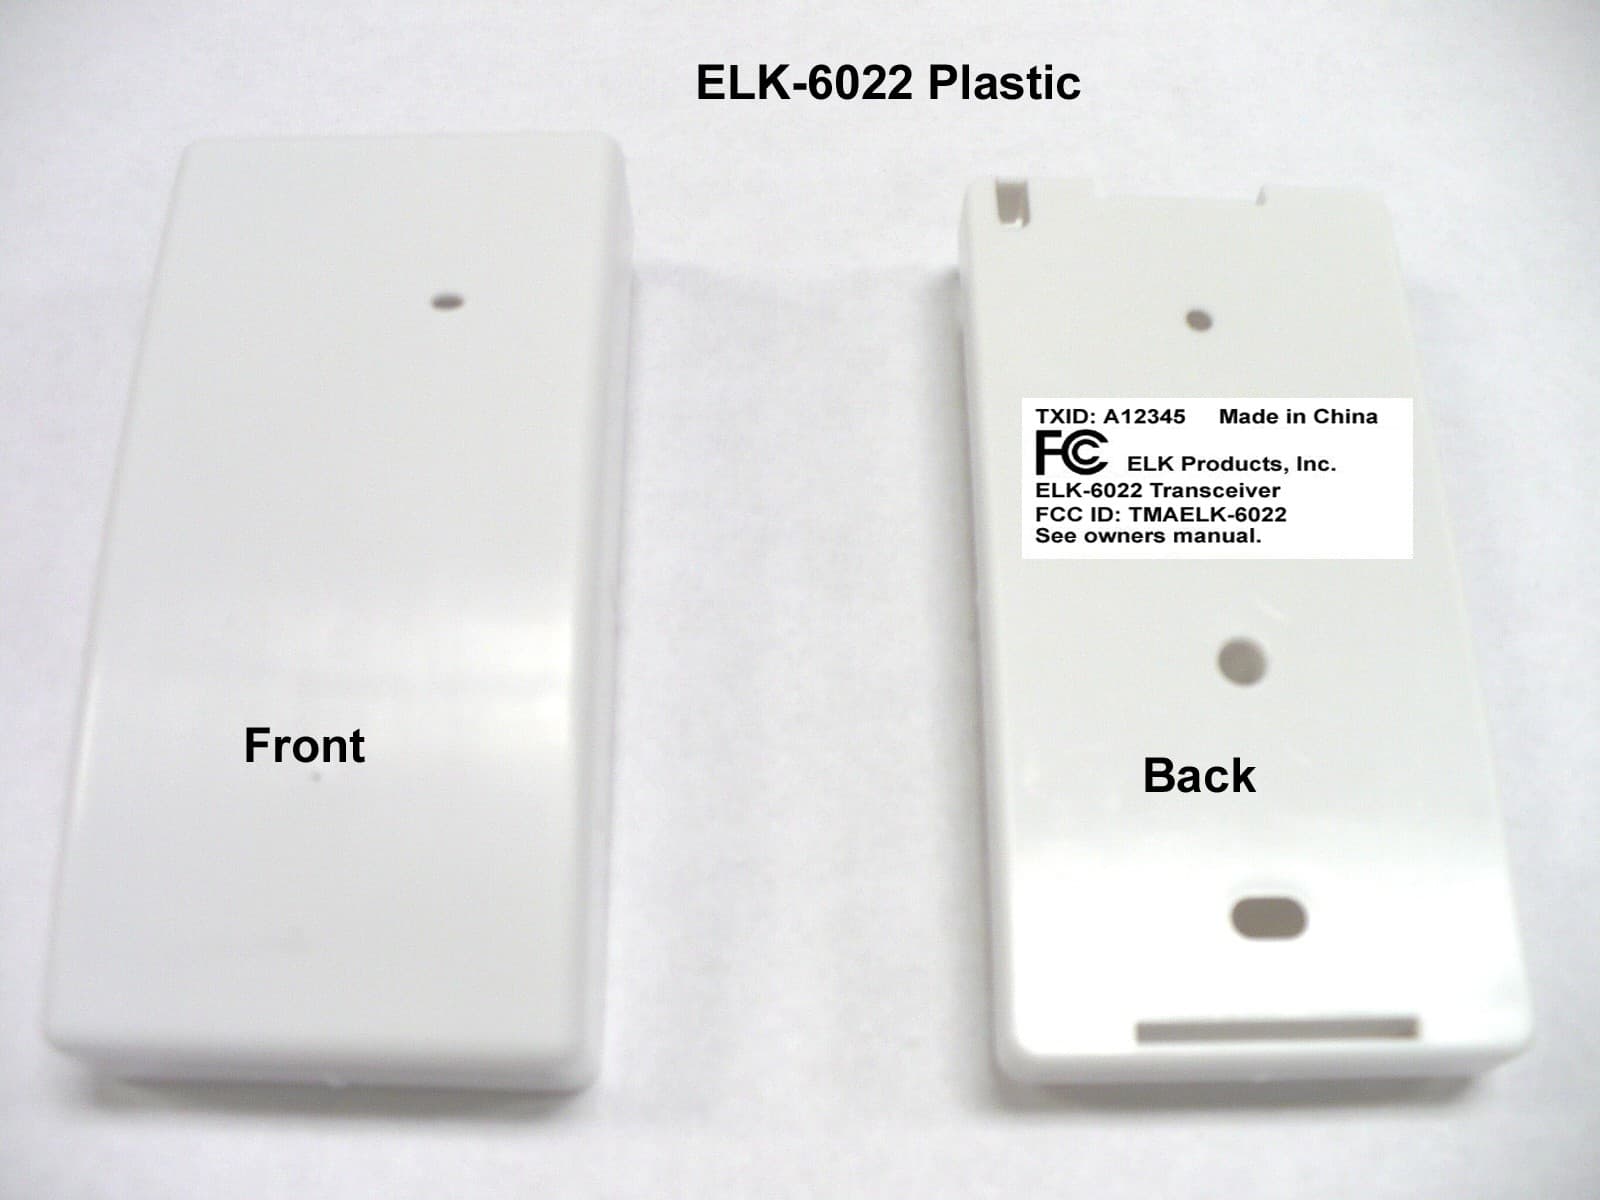
TMAELK-6022
Apr 16, 2012TRANSCEIVER
Equipment Class
DXX - Part 15 Low Power Communication Device Transmitter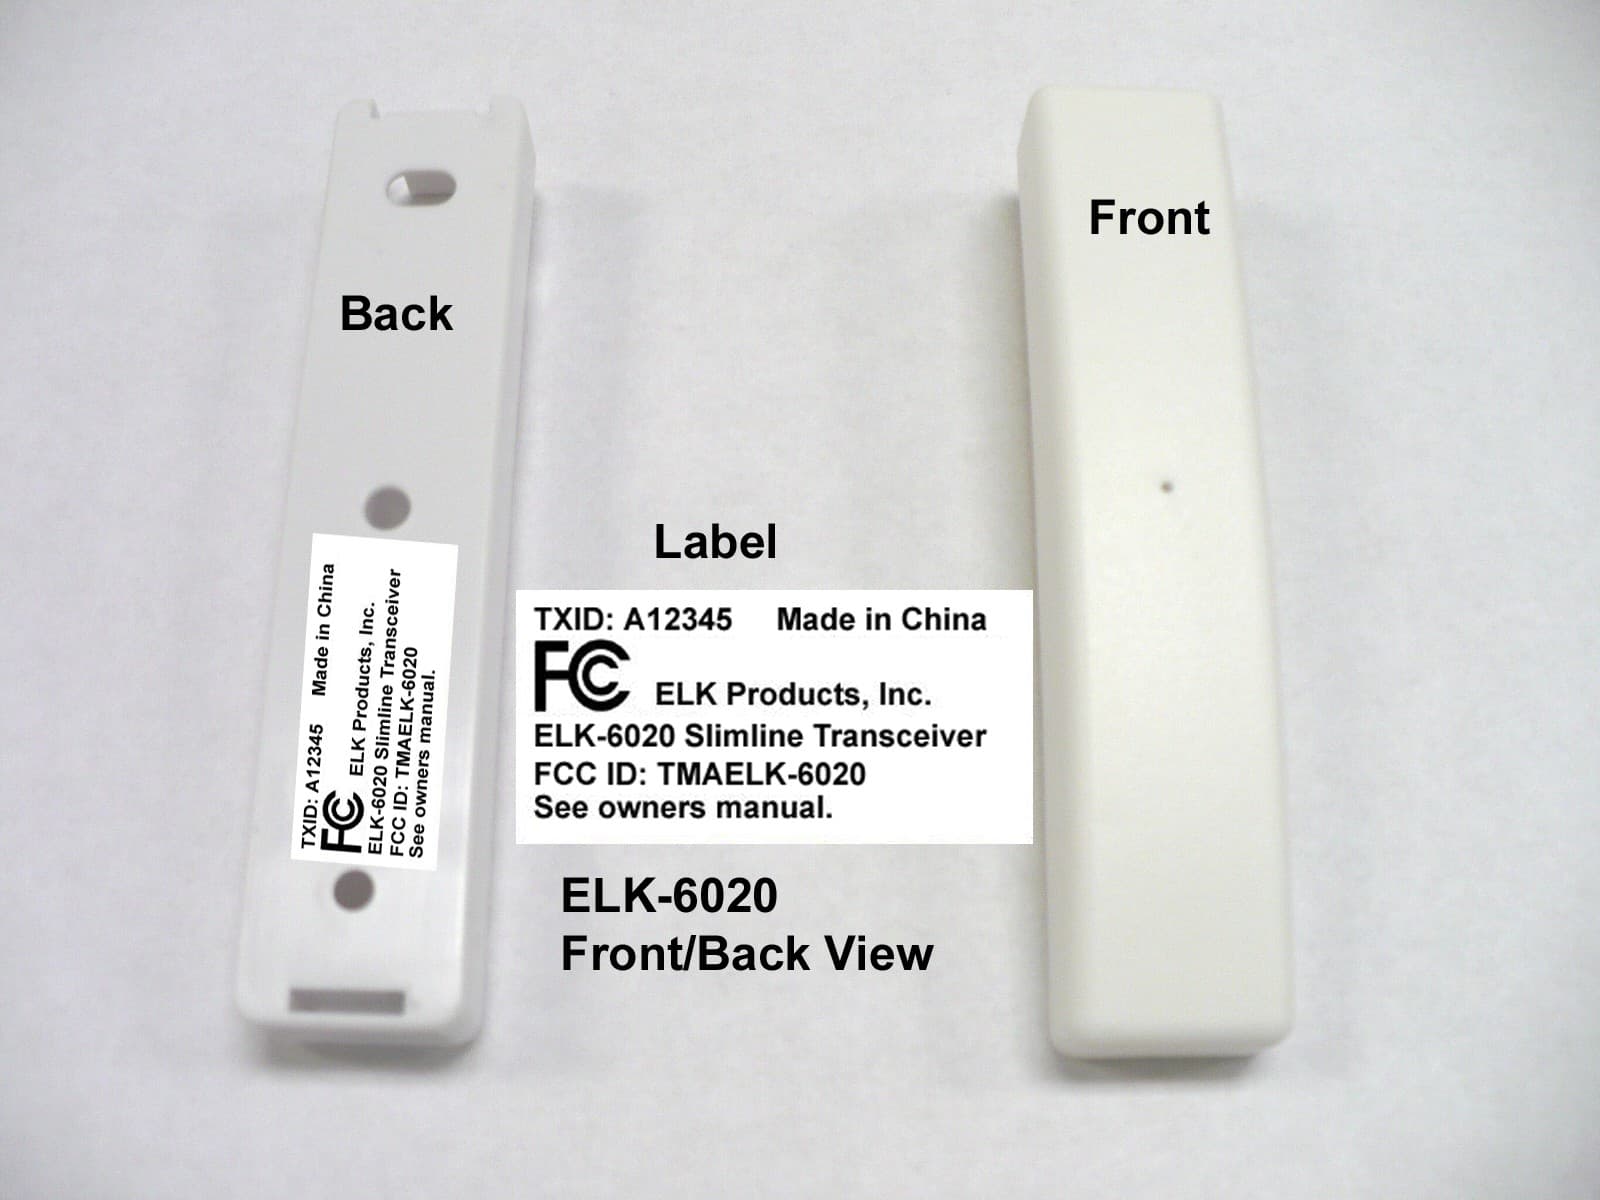
TMAELK-6020
Apr 16, 2012TRANSCEIVER
Equipment Class
DXX - Part 15 Low Power Communication Device Transmitter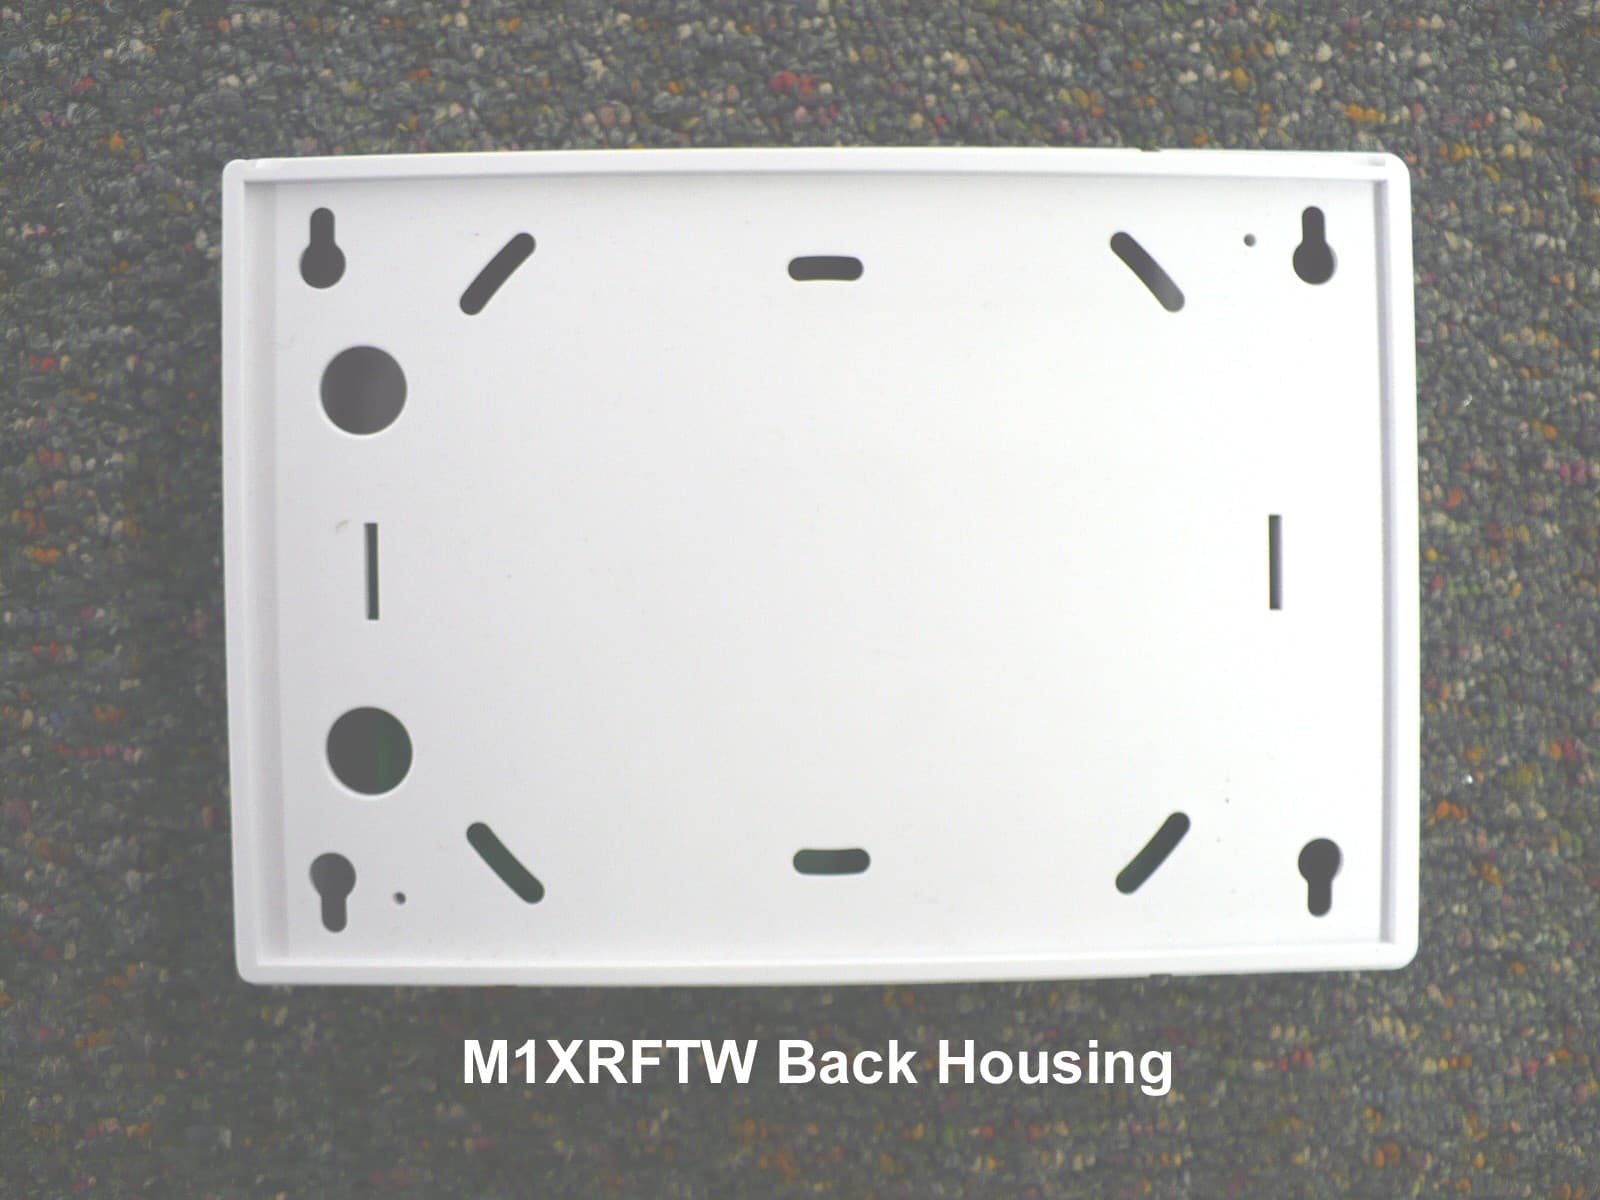
TMAELK-M1XRFTW
Aug 08, 2011ELK M1 INTERFACE TRANSCEIVER
Equipment Class
DSS - Part 15 Spread Spectrum Transmitter