UWJP25MBluetooth Printer
Blue Bamboo (HK) Limited
Click to zoom
Application Details
- Equipment Class
- DSS - Part 15 Spread Spectrum Transmitter
- Date of Grant
- May 31, 2007
- Application Purpose
- Original Equipment
- Date of Application
- May 31, 2007
- Equipment Note
- Bluetooth Printer
- Frequency Range
- 2402.00000000 - 2480.00000000
- Company
- Blue Bamboo (HK) Limited
- Country
- China
Documents & Files
Document Text
Text extracted from the exhibit documents filed with the FCC. Open a document above to read the original.
Users Manual
P25M Installation Guide http://www.bluebamboo.com 1 P25M Bluetooth Printer Quick Installation Guide P25M Installation Guide http://www.bluebamboo.com 2 FCC compliance statement “This device complies with part 15 of the FCC Rules. Operation is subject to the following two conditions: (1) This device may not cause harmful interference, and (2) this device must accept any interference received, including interference that may cause undesired operation.” Industry Canada Standard "This Class (B) digital apparatus complies with Canadian ICES-003." Cet appareil numérique de la classe (B) est conforme à la norme NMB-003 du Canada. Changes or modifications not expressly approved by the party responsible for compliance could void the user`s authority to operate the equipment. SAR INFORMATION FCC ID:UWJP25M which this declaration relates is in conformity with the article C95.1-1999 of essential requirements and other relevant requirements of the ANSI The product is desktop based and the radio part is about 20cm far away from human body in common using. Simulation of MPE (Maximum permissible exposure) for the product indicates that the product is compliant with the following standards and/or other normative documents: SAR (art C95.1-1999): ANSI It is a registered trademark of BLUEBAMBOO All other trademark is the properties of their respective companies. Certification: The production has approved by FCC ID: UWJP25M Li-ion Battery has approved by UN.DOT and CE certification. Power charge has approved by CCC, TUV GS, cULus, CE and FCC certification P25M Installation Guide http://www.bluebamboo.com 3 1 Unpacking P25 Printer When opening the original shipping carton, carefully inspect the contents. It should include the following items listed below. If any items are damaged or missing, please contact your dealer. Figure 1: Unpacking P25 Printer P25M Installation Guide http://www.bluebamboo.com 4 2 Installation 2.1 Hardware features Figure 2: Hardware features 2.2 Inserting the paper roll To install the paper roll in the printer, follow these steps: 1. Open the paper cover by applying your finger pressure to both sides of the printer cover, squeeze to release the lock. 2. Rotate the paper cover up and back. Note that the cover is fixed. It is not necessary to remove it from the printer. P25M Installation Guide http://www.bluebamboo.com 5 Figure 3: Open the paper cover 3. Remove the paper roll and insert to a new roll, paper feeds from the bottom and allowing the free paper to extend outside the printer door. 4. Insert the paper roll in the printer as the picture shows: P25M Installation Guide http://www.bluebamboo.com 6 Figure 4: Install paper roll 5. Press the cover down until it snaps in place. Allow a small amount of paper to extend outside the cover. P25M Installation Guide http://www.bluebamboo.com 7 Figure 5: Pull out a small amount of paper 2.3 Battery supply 2.3.1 Installing/ Removing the battery pack Installing: The battery pack is located at the bottom of the printer. To install it please follow these steps: 1.Remove the isolation film on battery if the battery is a new one. 2.Place the battery pack as shown: P25M Installation Guide http://www.bluebamboo.com 8 Figure 6: Arrow to show the direction 3.Insert the battery pack, and press until it clicks into place. Removal: 1. Release the battery pack by pressing the lock tab. P25M Installation Guide http://www.bluebamboo.com 9 Figure 7: Remove battery 2. Remove the battery pack. 2.3.2 Battery and charge 1.Insert the DC plug of power adaptor into the power jack of printer; 2.Insert the AC plug of power adaptor into AC power supply; 3.Start battery charge, and red LED light continuously; 4.Finish charging, the red LED turn off. Figure 8: Battery recharge Warning: Notice: 1. If the red LED turns on for a short time and then turn off quickly when starting the battery charge procedure, there are two probable reason: first is you have completed battery charging, no need to charge again, second is this battery doesn’t work, please change it. 2. The red LED should turn on during charging and turn off after charging, please care for its status is right or not. P25M Installation Guide http://www.bluebamboo.com 10 3 Using the printer 3.1 Control panel Buttons z The POWER button switches the power on/off. In order to power off the power, you should press the POWER button for more than 1s. z The FEED button advances the paper roll. Paper is advanced continuously until the button is released. z The Mode button prints the self-test sample paper when pressed together with feed button. z The Feed button enter into boot loader mode when pressed together with power button LED There is a tricolor LED indicator only:blue, green, red Constantly lit Bluetooth module is available Blue Flashing data transaction via Bluetooth Constantly lit Power on, normal status Green Flashing data transaction via USB Constantly lit Charging Flashing intermittently with Blue LED An error has occurred Red Off Charging finished Error description Remedy Check Steps flashing type There is no more paper Add paper 1 The paper cover is open Close the paper cover 2 B,R,B,R.... An transmission error oc- curred Check the transmission status 3 B,R,R,B,R,R.... An overheat error occurred Wait until the print head cools down 4 B,R,R,R,B,R,R,R.... Battery voltage is too low Charge the battery 5 B,R,R,R,R,B,R,R,R,R.... P25M Installation Guide http://www.bluebamboo.com 11 Version History Version Author Date Description 1.0 Initial Version 1.1 Simon 2006-12-19 Modified 3.1, the part of LED
Cover Letter(s)
Name: Huian Gao Title: Compliance Engineer Telephone:+86-2153084181 Fax: +86-2153084187 Email: [email protected] Date: Apr 24, 2007 Federal Communications Commission, Authorization & Evaluation Division, 7435 Oakland Mills Road, Columbia, MD 21046 RE: Deleared changed circuit (base on P25) FCC ID: UWJP25M Model Number : P25-M Dear Sir, I need add a MSR( Magnetic Stripe Reader) funtion circuit form maitnboard port connect to MSR port by cable. MSR is integrity circuit modul machine. The MSR names PA- HED1007S-41. After add MSR function, called model numebr :P25-M and FCC ID : UWJP25M. At base on P25 the other circuit, base function, bluetooth modul with antenna and plastic frame do not any changed except add MSR function circuit. The MSR mechinical plastic put anear outer body.The above is specific description by bluebamboo declared to FCC. Thank you for appreciation. Signatory: On behalf of BLUE BAMBOO LIMITED (HK)
Cover Letter(s)
Name: Huian Gao Title: Compliance Engineer Telephone:+86-2153084181 Fax: +86-2153084187 Email: [email protected] Date: Apr 24, 2007 Federal Communications Commission, Authorization & Evaluation Division, 7435 Oakland Mills Road, Columbia, MD 21046 RE: Certification Application FCC ID: UWJP25M Confidentiality Request Pursuant to Section 0.459 of the Commission’s Rule, the Applicant hereby requests confidential treatment of information accompanying this Application as outlined below: - Block Diagram - Schematics - Operational Description - Part list/Tune-Up-Procedure The above materials contain trade secrets and proprietary information not customarily released to the prublic. The public disclosure of these matters might be harmful to the Applicant and provide unjustified benefits to its competitors. Thank you for your attention in this matter. Signatory: On behalf of BLUE BAMBOO LIMITED (HK)
Cover Letter(s)
March 7, 2007 Equipment Authorization Division Office of Engineering and Technology Federal Communications Commission 7435 Oakland Mills Road Columbia, MD 21046 Ref: FCC ID: UWJP25M Dear Sirs: BLUE BAMBOO LIMIITED(HK) requests acceptance of the labeling proposal described below for Bluetooth Printer bearing FCC identifier UWJP25M. The subject Bluetooth Printer are compact handheld models as shown in figure 1, authorized under 47CFR Part15C for Bluetooth Printer services. Figure 1. Because the majority of the Bluetooth Printer housing is composed of display, , operating controls,and a removable battery pack, there is extremely limited space available to attach the required label carrying the FCC identifier. Attaching the label to the battery pack is not acceptable because the battery pack is a removable item. For this reason, BLUE BAMBOO LIMIITED(HK) proposes placing the label carrying the FCC identifier inside the battery compartment as shown in figure 2. Figure 2. The consumer packaging for these models includes the battery pack as a separate item, NOT installed on the radio. As such, the FCC identifier will be readily visible to the user before the battery pack is installed and whenever the battery pack is removed or replaced. In this location, the label will also be protected from physical abuse and remain readable for the anticipated life of the device. The consumer packaging for these models is a "gift box" which does not allow the transceiver to be seen at time of purchase. In order to meet the requirements of 47CFR Part 2.925 (d), BLUE BAMBOO LIMIITED(HK) will add the FCC identifier " UWJP25M" to the outside of the consumer "gift box" packaging. Thank you for your attention to this matter. Sincerely, Huian Gao March 7, 2007
External Photos
photos
Test Report
Report No.: SZ07030016E01 Page 2 of 59 TABLE OF CONTENTS 1. TEST CERTIFICATION ...........................................................................................................4 2. GENERAL INFORMATION ....................................................................................................5 2.1 EUT Description .........................................................................................................................5 2.2 Test Standards and Results ........................................................................................................6 2.3 Facilities and Accreditations ......................................................................................................7 2.3.1 Facilities ....................................................................................................................................7 2.3.2 Test Environment Conditions....................................................................................................7 3. 47 CFR PART 15C REQUIREMENT ......................................................................................8 3.1 Number of Hopping Frequency.................................................................................................8 3.1.1 Requirement ..............................................................................................................................8 3.1.2 Test Description ........................................................................................................................8 3.1.3 Test Result .................................................................................................................................8 3.2 Peak Output Power .................................................................................................................. 11 3.2.1 Requirement ............................................................................................................................11 3.2.2 Test Description ......................................................................................................................11 3.2.3 Test Result ...............................................................................................................................11 3.3 20dB Bandwidth .......................................................................................................................14 3.3.1 Requirement ............................................................................................................................14 3.3.2 Test Description ......................................................................................................................14 3.3.3 Test Result ...............................................................................................................................14 3.4 Peak Power Spectral Density ...................................................................................................15 3.4.1 Definition ................................................................................................................................15 3.4.2 Test Configuration...................................................................................................................15 3.4.3 Test procedure .........................................................................................................................15 3.4.4 Test results...............................................................................................................................15 3.5 Carried Frequency Separation ................................................................................................18 3.5.1 Requirement ............................................................................................................................18 3.5.2 Test Description ......................................................................................................................18 3.5.3 Test Result ...............................................................................................................................18 3.6 Time of Occupancy (Dwell time) .............................................................................................19 Report No.: SZ07030016E01 Page 3 of 59 3.6.1 Requirement ............................................................................................................................19 3.6.2 Test Description ......................................................................................................................19 3.6.3 Test Result ...............................................................................................................................19 3.7 Conducted Spurious Emissions ...............................................................................................22 3.7.1 Requirement ............................................................................................................................22 3.7.2 Test Description ......................................................................................................................22 3.7.3 Test Result ...............................................................................................................................22 3.8 Band Edge .................................................................................................................................26 3.8.1 Requirement ............................................................................................................................26 3.8.2 Test Description ......................................................................................................................26 3.8.3 Test Result ...............................................................................................................................26 3.9 Conducted Emission ........................................................................…
Text truncated - open the document above for the full version.
Test Setup Photos
Test setup photo
Contact Information
Applicant
Huian Gao
Test Firm
ShenZhen Electronic Product Quality Testing CenterXingsun Lin
Technical Specifications
| # | Rule Parts | Frequency Range | Power Output |
|---|---|---|---|
| 1 | 15C | 2.40 GHz - 2.48 GHz | 1.50 mW |
Other Applications from Blue Bamboo (HK) Limited
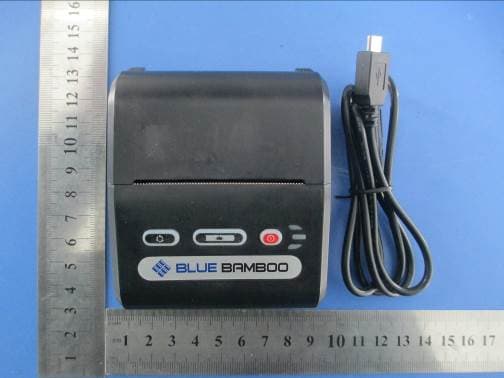
UWJP10
Feb 23, 2014Printer
Equipment Class
DSS - Part 15 Spread Spectrum Transmitter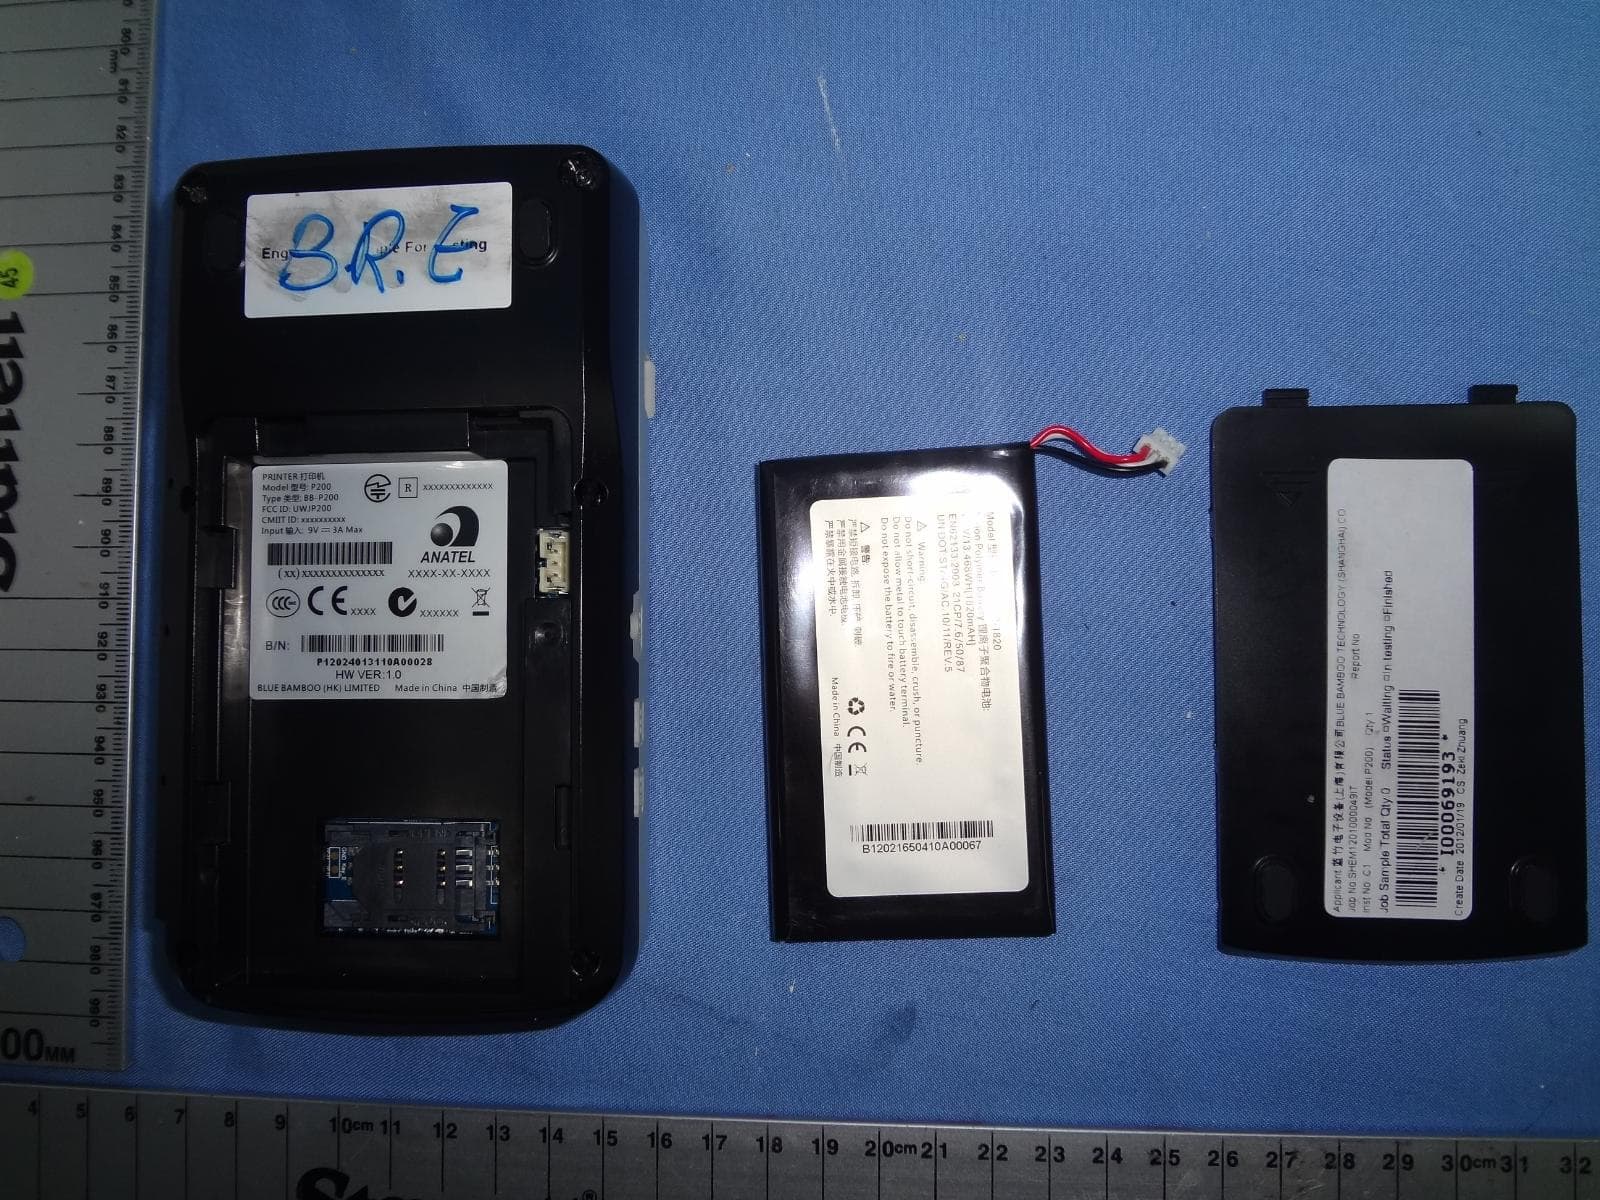
UWJP200
Apr 30, 2012P200
Equipment Class
DSS - Part 15 Spread Spectrum Transmitter
UWJCT100
Dec 29, 2009RFID DEVICE
Equipment Class
DXX - Part 15 Low Power Communication Device Transmitter
UWJH50CM08B2
Dec 11, 2007Bluetooth Module
Equipment Class
DSS - Part 15 Spread Spectrum Transmitter
UWJP25
Mar 08, 2007Bluetooth Printer
Equipment Class
DSS - Part 15 Spread Spectrum Transmitter