XBAFT099Smart Dimmer 6,Dimmer,Dimmer 6
Aeon Labs LLC.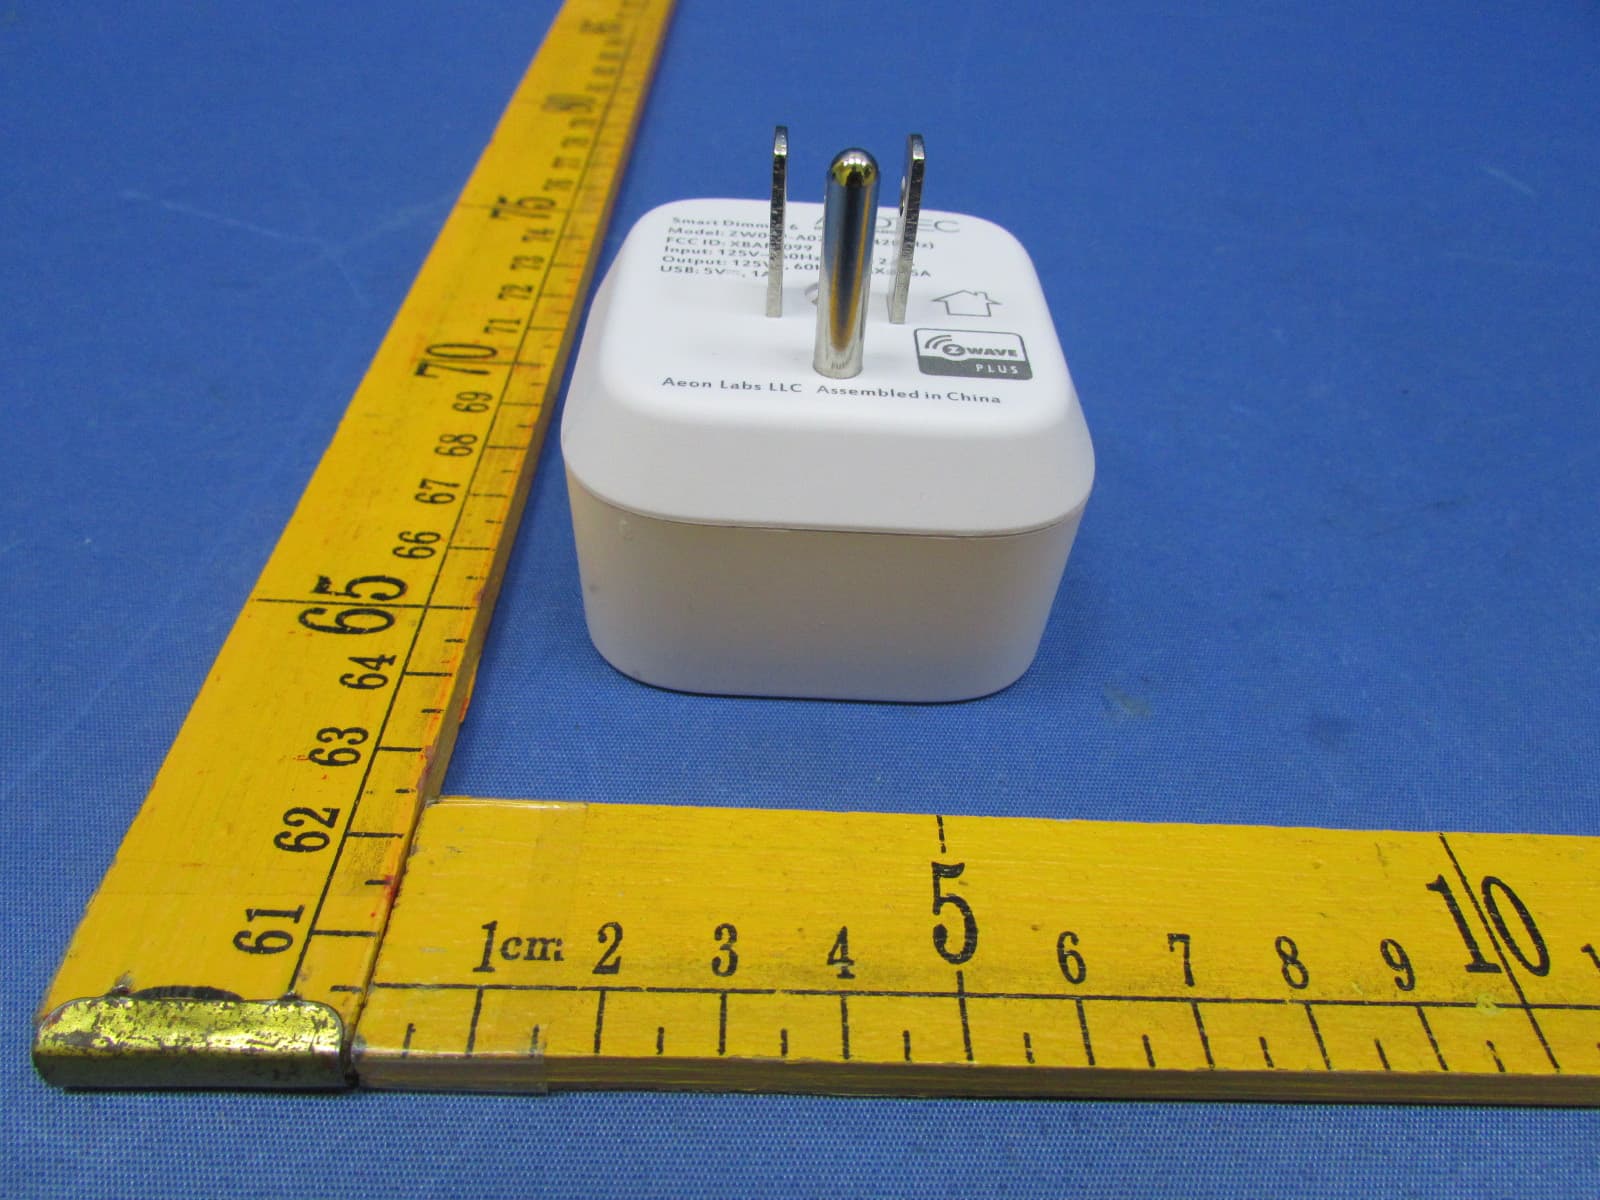
Click to zoom
Application Details
- Equipment Class
- DXT - Part 15 Low Power Transceiver, Rx Verified
- Date of Grant
- Dec 23, 2015
- Application Purpose
- Original Equipment
- Date of Application
- Dec 23, 2015
- Equipment Note
- Smart Dimmer 6,Dimmer,Dimmer 6
- Frequency Range
- 908.42000000 - 908.42000000
- Company
- Aeon Labs LLC.
- Country
- United States
Documents & Files
Document Text
Text extracted from the exhibit documents filed with the FCC. Open a document above to read the original.
Users Manual
View the expanded manual: http://aeotec.com/support Aeotec by Aeon Labs Smart Dimmer. Aeotec Smart Dimmer 6 is a low-cost Z-Wave Dimmer plug-in module specifically used to enable Z-Wave command and control (on/off/dim) of any incandescent bulbs, dimmable LED bulbs, halogen bulbs with or without transformers. It can report immediate wattage consumption or kWh energy usage over a period of time. In the event of power failure, non-volatile memory retains all programmed information relating to the unit’s operating status. Its surface has a Smart RGB LED, which can be used for indicating the output load status or strength of the wireless signal. You can configure its indication colour according to your favour. The Smart Dimmer 6 is a security Z-wave device and supports Over The Air (OTA) feature for the products firmware upgrade. ® Familiarize yourself with your Smart Dimmer. Getting your Smart Dimmer up and running is as simple as plugging it into a wall socket and linking it to your Z-Wave network. The following instructions tell you how to add your Smart Dimmer to your Z-Wave network via Aeotec by Aeon Labs’ Z-Stick or Minimote controller. If you are using other products as your main Z-Wave controller, such as a Z-Wave gateway, please refer to the part of their respective manual that tells you how to add new devices to your network. If you’re using a Z-Stick: Quick start. 1. 2. 3. 4. 5. 6. 7. If you’re using a Minimote: 1. Decide on where you want your Smart Dimmer to be placed and plug it in to a wall socket. Its RGBLED will blink when you press the Action Button on the Smart Dimmer. Take your Minimote to your Smart Dimmer. Press the Include button on your Minimote. Press the Action Button on your Smart Dimmer. If Smart Dimmer has been successfully added to your Z-Wave network, its RGB LED will no longer blink. If the adding was unsuccessful and theLED continues to blink, then repeat the instructions from step 4. Press any button on your Minimote to take it out of inclusion mode. With your Smart Dimmer now working as a part of your smart home, you’ll be able to configure it from your home control software. Please refer to your software’s user guide for precise instructions on configuring Smart Dimmer to your needs. The colour of RGB LED will change according to the output load power level when it is in Energy mode: Version LED indication Output (W) US Green[0W, 800W) Yellow[180W, 240W) Red[240W, ∞) AU Green[0W, 345W) Yellow[345W, 460W) Red[460W, ∞) You can also configure the brightness of RGB LED when the Smart Dimmer is in Energy mode, Momentary Indicate mode, or Night Light mode. Your Smart Dimmer can be removed from your Z-Wave network at any time.You’ll need to use your Z-Wave network’s main controller to do this and the following instructions which will tell you how to do this using an Aeotec by Aeon Labs’Z-Stick or Minimote controller. If you are using other products as your main Z-Wave controller, please refer to the part of their respective manuals that tells you how remove devices from your network. Removing your Smart Dimmer from a Z-Wave network. If you’re using a Z-Stick: 1. 2. 3. 4. 5. 6. If your Z-Stick is plugged into a gateway or a computer, unplug it. Take your Z-Stick to your Smart Dimmer. Press the Action Button on your Z-Stick. Press the Action Button on your Smart Dimmer. If your Smart Dimmer has been successfully removed from your network, its RGB LED will blink. If the removal was unsuccessful, the RGB LED will not blink. Press the Action Button on the Z-Stick to take it out of removal mode. If you’re using a Minimote: 1. 2. 3. 4. 5. Take your Minimote to your Smart Dimmer. Press the Remove Button on your Minimote. Press the Action Button on your Smart Dimmer. If your Smart Dimmer has been successfully removed from your network, its RGB LED will blink. If the removal was unsuccessful, the RGB LED will not blink. Press any button on your Minimote to take it out of removal mode. Decide on where you want your Smart Dimmer to be placed and plug it in to a wall outlet. Its RGB LED will blink when you press the Action Button on the Smart Dimmer. If your Z-Stick is plugged into a gateway or a computer, unplug it. Take your Z-Stick to your Smart Dimmer. Press the Action Button on your Z-Stick. Press the Action Button on your Smart Dimmer. If Smart Dimmer has been successfully added to your Z-Wave network, its RGB LED will no longer blink. If the adding was unsuccessful and the LED continues to blink, then repeat the instructions from step 4. Press the Action Button on the Z-Stick to take it out of inclusion mode, and then return it to your gateway or computer. 2. 3. 4. 5. 6. Version LED indication Output (W) EU Green[0W, 345W) Yellow[345W, 460W) Red[460W, ∞) Changing LED mode. You can change the mode of how the LED acts through configuring the Smart Dimmer. There are 3 different modes: Energy mode, Momentary indicate mode, and Night light mode. Energy mode will allow the LED to follow the state of the Smart Dimmer, when the dimmer is on, the LED will be on, and while the dimmer is off, the LED will remain off. Momentary indicate mode will momentarily turn the LED on for 5 seconds then turn off after every state change in the dimmer. Night light mode will allow the LED to be turned on and off during your selected time of day you have configured for it. Parameter 81 [4 byte dec] is the parameter that will set one of the 3 different modes. If you set this configuration to: (0) Energy Mode (1) Momentary Indicate Mode (2) Night Light Mode Advanced functions. Dimmer Model number: FT09 9-A02. Max standby power: 0.8W. USB output: DC 5V±5%, 1000mA. Operating temperature: 0 to 40 . C C Relative humidity: 8% to 80%. S upported load type: Incandescent bulbs, dimmable LED bulbs, halogen bulbs with or without transformers. Operating distance: Up to 100 feet/30 metres indoors or 390 feet/120 metres outdoors. AC input: Technical specifications. Version Input Working band AU 230V 50Hz, Max:…
Text truncated - open the document above for the full version.
Cover Letter(s)
Aeon Labs LLC. Federal Communications Commission Authorization and Evaluation Division Date:2015/11/11 Confidentiality Request regarding application for certification of FCC ID:XBAFT099. Pursuant to Sections 0.457 and 0.459 of the Commission’s Rules, we hereby request confidential treatment of information accompanying this application as outlined below: Exhibit Type File Name Schematics Block Diagram Operational Description XBAFT099_SCH.pdf XBAFT099_BlockDiagram.pdf XBAFT099_CircuitDescription.pdf The above materials contain trade secrets and proprietary information not customarily released to the public. The public disclosure of these materials may be harmful to the applicant and provide unjustified benefits to its competitors. The applicant understands that pursuant to Section 0.457 of the Rules, disclosure of this application and all accompanying documentation will not be made before the date of the Grant for this application. Sincerely, Aeon Labs LLC. ................................................... Signature ................................................... William Li / Director of Business Development
Cover Letter(s)
Aeon Labs LLC. FCC ID:XBAFT099 POWER OF ATTORNEY Date:2015/11/11 Federal Communications Commission Authorization and Evaluation Division 7435 Oakland Mills Road Columbia, MD 21046 To Whom It May Concern: We, the undersigned, hereby authorize Waltek Services (ShenZhen) Co., Ltd. (Philo Zhong) on our behalf, to apply to the Federal Communications Commission on our equipment. Any and all acts carried out by Waltek Services (ShenZhen) Co., Ltd. (Philo Zhong) on our behalf shall have the same effect as acts of our own. This authorization expires on 2016/11/10. This is to advise that we are in full compliance with the Anti-Drug Abuse Act. We,Aeon Labs LLC. are not subject to a denial of federal benefits pursuant to Section 5301 of the Anti-Drug Act of 1988, 21 USC853a, and no party to the application is subject to a denial of federal benefits pursuant to that section. Sincerely, Aeon Labs LLC. ................................................... Signature ................................................... William Li/Director of Business Development
External Photos
Waltek Services (Shenzhen) Co.,Ltd. http://www.waltek.com.cn Photographs - Constructional Details Model FT099-A02- External P hotos Waltek Services (Shenzhen) Co.,Ltd. http://www.waltek.com.cn Waltek Services (Shenzhen) Co.,Ltd. http://www.waltek.com.cn
ID Label/Location Info
FCC Label Sample and Label Location for model: FT099-A02 The Label must not be a stick-on paper. The Label on these products must be permanently affixed to the product and readily visible at the time of purchase and must last the expected lifetime of the equipment not be readily detachable.
Internal Photos
Waltek Services (Shenzhen) Co.,Ltd. http://www.waltek.com.cn Model FT099-A02 - Internal P hotos Waltek Services (Shenzhen) Co.,Ltd. http://www.waltek.com.cn Embedded Antenna Waltek Services (Shenzhen) Co.,Ltd. http://www.waltek.com.cn Waltek Services (Shenzhen) Co.,Ltd. http://www.waltek.com.cn NFC ANT Waltek Services (Shenzhen) Co.,Ltd. http://www.waltek.com.cn
Test Report
TEST REPORT Waltek Services (Shenzhen) Co.,Ltd. http://www.waltek.com.cn Page 1 of 29 Reference No. .................... : WTS15S1137348E FCC ID ................................ : XBAFT099 Applicant ............................ : Aeon Labs LLC. Address .............................. : 121 Buckingham Drive Unit 36 Santa Claras California United States Manufacturer .................... : Fantem Technologies (Shenzhen) Co., Ltd Address .............................. : North,3/F, Yitoa Technology Industrial Park, Baihua Yuan Rd., The Second Industrial Area, Guangming Sub-district Office, Guangming New District, Shenzhen, Guangdong, China Product Name .................... : Smart Dimmer 6,Dimmer,Dimmer 6 Model No. ........................... : ZW099-A02,FT099-A02,ZW114-A02 Brand .................................. : N/A Standards ........................... : FCC CFR47 Part 15 Section 15.249: 2015 Date of Receipt sample .... : Nov.13, 2015 Date of Test ....................... : Nov.14, 2015 ~ Nov. 25 , 2015 Date of Issue ...................... : Dec. 23, 2015 Test Result ......................... : Pass Remarks: The results shown in this test report refer only to the sample(s) tested, this test report cannot be reproduced, except in full, without prior written permission of the company. The report would be invalid without specific stamp of test institute and the signatures of compiler and approver. Prepared By: Waltek Services (Shenzhen) Co., Ltd. Address: 1/F., Fukangtai Building, West Baima Road, Songgang Street, Baoan District, Shenzhen, Guangdong, China Tel :+86-755-83551033 Fax:+86-755-83552400 Compiled by: Approved by: Zero Zhou / Test Engineer Philo Zhong / Manager Reference No.: WTS15S1137348E Page 2 of 29 Waltek Services (Shenzhen) Co.,Ltd. http://www.waltek.com.cn 2 Test Summary Test Items Test Requirement Result Conducted Emissions 15.207 PASS Radiated Emission 15.249(a) 15.209 15.205(a) PASS Periodic Operation 15.35(c) PASS Outside of Band Emission 15.249 15.205 15.209 PASS 20dB Bandwidth 15:215(c) PASS Antenna Requirement 15.203 PASS Reference No.: WTS15S1137348E Page 3 of 29 Waltek Services (Shenzhen) Co.,Ltd. http://www.waltek.com.cn 3 Contents Page 1 COVER PAGE ........................................................................................................................................... 1 2 TEST SUMMARY .................................................................................................................................................. 2 3 CONTENTS ............................................................................................................................................................ 3 4 GENERAL INFORMATION .................................................................................................................................. 4 4.1 GENERAL DESCRIPTION OF E.U.T. ........................................................................................................... 4 4.2 DETAILS OF E.U.T. ..................................................................................................................................... 4 4.3 TEST FACILITY ............................................................................................................................................ 4 5 EQUIPMENT USED DURING TEST................................................................................................................... 5 5.1 EQUIPMENTS LIST ...................................................................................................................................... 5 5.2 MEASUREMENT UNCERTAINTY .................................................................................................................. 6 5.3 TEST EQUIPMENT CALIBRATION ................................................................................................................ 6 6 CONDUCTED EMISSION .................................................................................................................................... 7 6.1 E.U.T. OPERATION .................................................................................................................................... 7 6.2 EUT SETUP ................................................................................................................................................ 7 6.3 MEASUREMENT DESCRIPTION ................................................................................................................... 7 6.4 TEST RESULT ............................................................................................................................................. 8 7 RADIATION EMISSION TEST ........................................................................................................................... 10 7.1 EUT OPERATION ...................................................................................................................................... 10 7.2 TEST SETUP ............................................................................................................................................. 11 7.3 SPECTRUM ANALYZER SETUP ................................................................................................................. 12 7.4 TEST PROCEDURE.................................................................................................................................... 13 7.5 TEST RESULT ........................................................................................................................................... 14 8 PERIODIC OPERATION ..................................................................................................................................... 16 9 OUTSIDE OF BAND EMISSION ....................................................................................................................... 17 9.1 TEST PROCEDURE......................................................................…
Text truncated - open the document above for the full version.
Test Setup Photos
Waltek Services (Shenzhen) Co.,Ltd. http://www.waltek.com.cn Photographs- Model FT099-A02 Test Setup P hotograph – Radiation Emission Test frequency 4.096MHz to 30MHz at test site 2# Test frequency from 30MHz to 1GHz at test site 2# Waltek Services (Shenzhen) Co.,Ltd. http://www.waltek.com.cn Test frequency above 1GHz at test site 1# Photograph – Conducted Emission Test Setup at Test Site 1#
Contact Information
Applicant
William Li(Director of Business Development)
Test Firm
Waltek Services(Shenzhen) Co., Ltd.philo zhong
Technical Specifications
| # | Rule Parts | Frequency Range | Power Output |
|---|---|---|---|
| 1 | 15C | 908.42 MHz - 908.42 MHz | - |
Other Applications from Aeon Labs LLC.
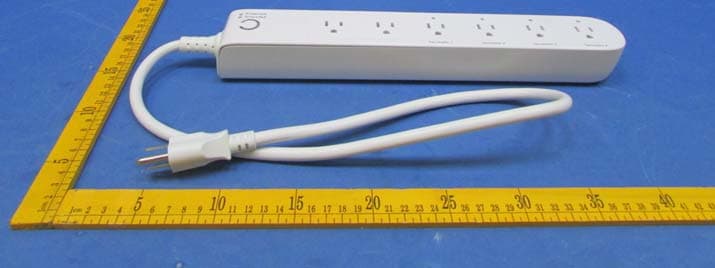
XBAZW069
Jan 25, 2016Smart Strip Gen5,Strip Gen5
Equipment Class
DXT - Part 15 Low Power Transceiver, Rx Verified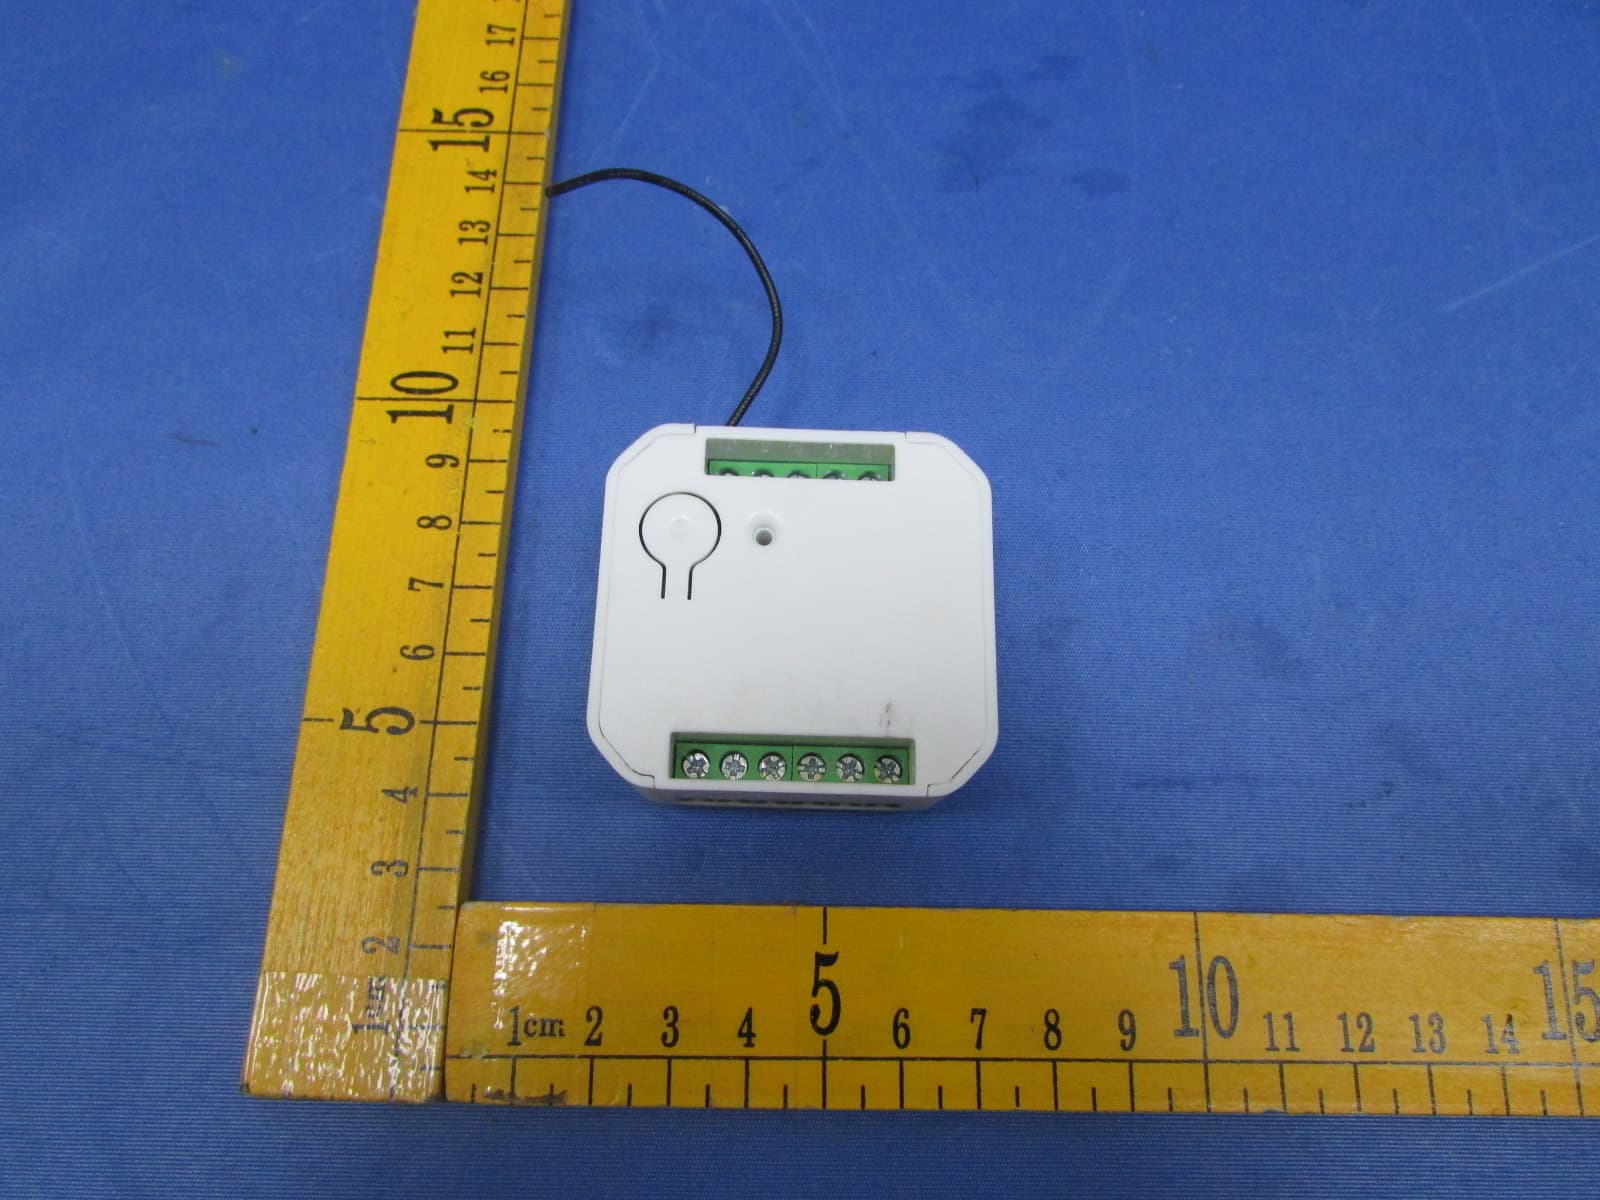
XBADSC14104
Dec 28, 2015DSC17103-ZWUS,DSC14104-ZWUS
Equipment Class
DXT - Part 15 Low Power Transceiver, Rx Verified
XBAZW120
Nov 30, 2015Door/Window Sensor Gen5
Equipment Class
DXT - Part 15 Low Power Transceiver, Rx Verified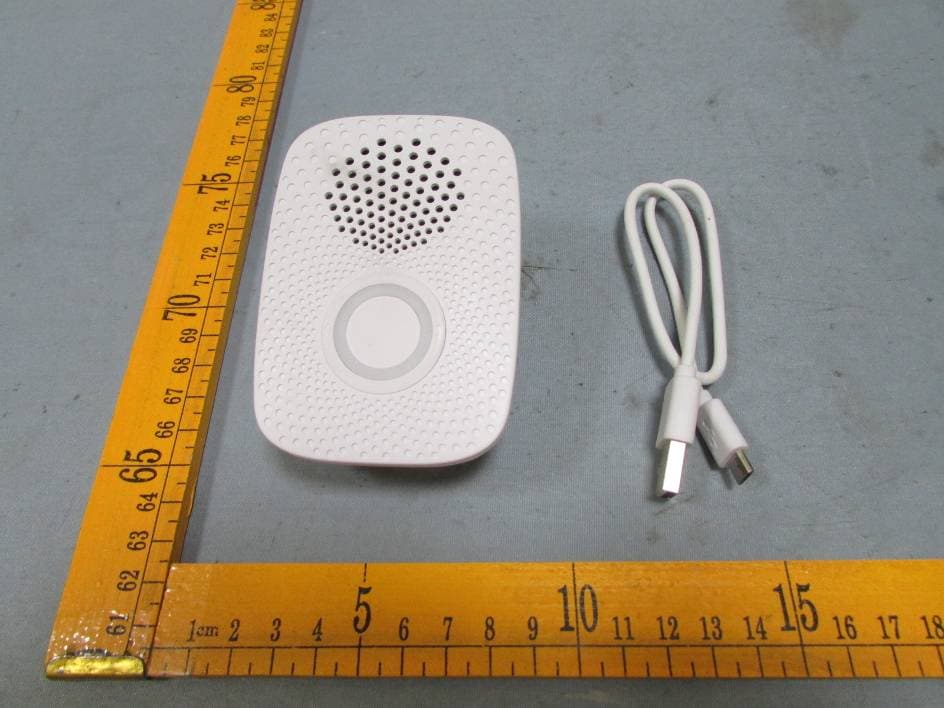
XBAZW056
May 21, 2015Doorbell Gen5
Equipment Class
DXT - Part 15 Low Power Transceiver, Rx Verified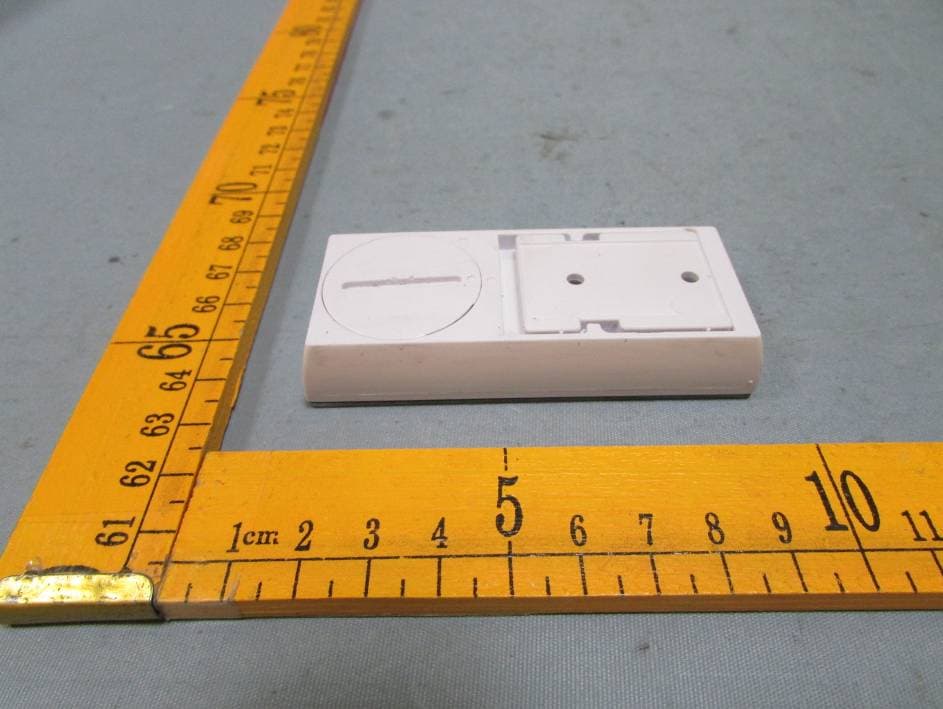
XBAZW056SENSOR
May 20, 2015Doorbell Gen5(Garage Sensor)
Equipment Class
DSC - Part 15 Security/Remote Control Transmitter