XJN-DV181SBDIGITAL VIDEO CAMERA
SHUOYING INDUSTRIAL (SHENZHEN) CO., LTD.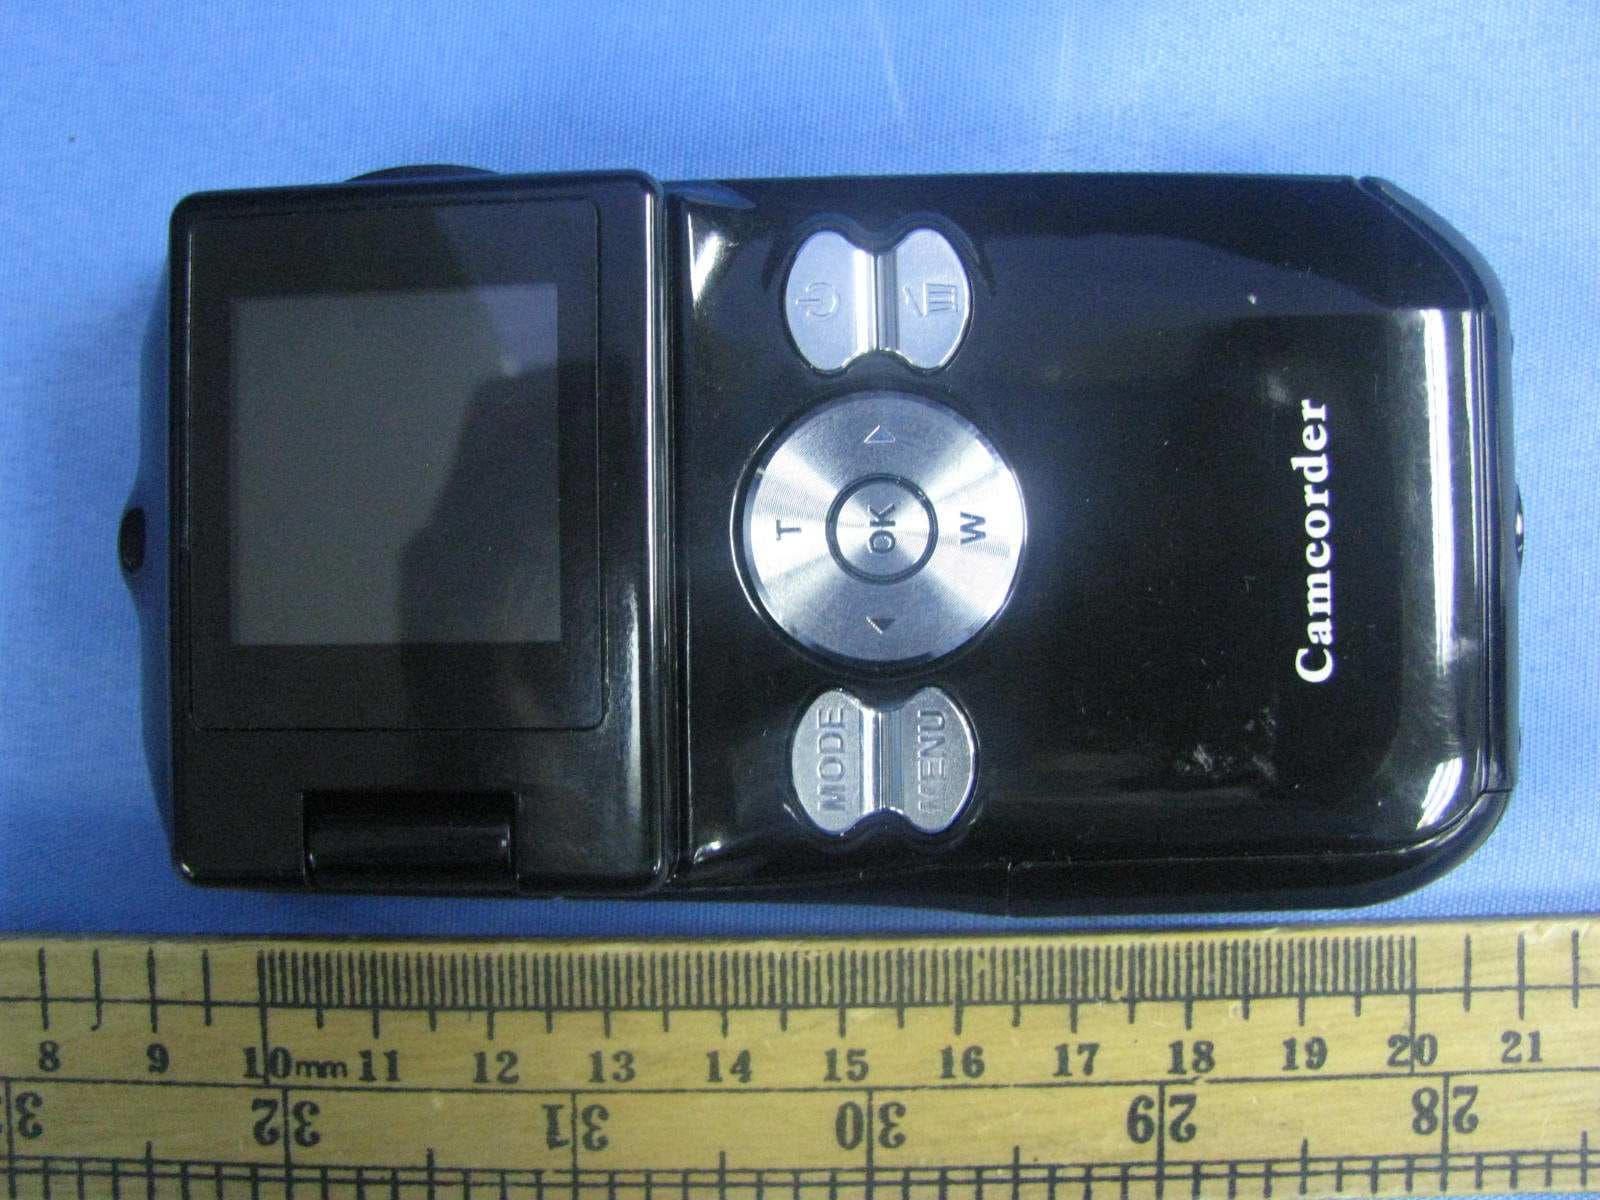
Click to zoom
Application Details
- Equipment Class
- JBP - Part 15 Class B Computing Device Peripheral
- Date of Grant
- Oct 13, 2011
- Application Purpose
- Original Equipment
- Date of Application
- Oct 13, 2011
- Equipment Note
- DIGITAL VIDEO CAMERA
- Country
- China
Documents & Files
Document Text
Text extracted from the exhibit documents filed with the FCC. Open a document above to read the original.
Users Manual
1 4 What’s Included 2 Parts of the Camera 3 Initial Setup 1. AV Out Port 2. Wrist Strap Connector 3. Tripod Socket 4. USB Connector 5. USB Lever 6. LED Indicator Light 7. Microphone 8. Lens 9. Speaker 10. Mode Button 11. Menu Button 12. Left / Resolution Button 13. Shutter / OK Button 14. LCD Screen 15. Up / Zoom In Button 16. SD Memory Card Slot 17. Power Button 18. Delete Button 19. Right Button 20. Down / Zoom Out Button 21. Battery Compartment Installing the Battery Installing the Memory Card Turning On the Camera Using the Camera SD Memory Card (up to 16 GB) needed for normal use. Insert 3 x AAA (1.5V) batteries. Alkaline batteries recommended (not inlcuded). Photo Capture Mode Video Capture Mode Playback Mode (Photos & Videos) Use this mode to capture photos with your camera. After powering on your camera, press the MODE button once to open the Photo Capture mode. To take a photo, aim your camera as desired and press the “Shutter” button. The photo will be automatically saved to the memory card. To access the various menus for the Photo Capture mode, press the MENU button while in the Photo Capture mode. For more information, please refer to the camera’s User Manual in the software or online. Your camera has di erent modes for the various camera functions. You can switch modes by pressing the MODE button on your camera after the camera has been powered ON. Use this mode to capture videos with your digital camera. This is the default mode when the camera is powered ON. To take a video, aim your camera as desired and press the “Shutter” button to start the recording. A red recording indicator will appear while the recording is in progress. To stop the recording, press the “Shutter” button again. The video will be automatically saved to the memory card. To access the various menus for the Video Capture mode, press the MENU button while in the Video Capture mode. For more information, please refer to the camera’s User Manual in the software or online. Use this mode to view and manage the videos and photos saved to the SD memory card. After powering on your camera, press the MODE button twice to open the Playback mode. You can scroll through the videos and photos that you captured with your camera to view or delete as desired. To access the various menus for the Playback mode for videos and photos, press the MENU button while in the Playback mode. For more information, please refer to the camera’s User Manual in the software or online. Main Camera Modes 1. Digital Camcorder 2. AV Cable 3. Installation CD 4. Wrist Strap 5. Built-in USB Connector (not shown) SD Memory Card not included Accessing the menu Selecting the modes 1 16 21 321 14 15 11 12 13 20 19 10 5 4 6 9 17 18 8 7 2 3 4 360x290mm 105 1. warning: Warning: Changes or modi cations to this unit not expressly approved by the party responsible for compliance could void the user’s authority to operate the equipment. 2Class B digital device or peripheral or cordless phone,Note: NOTE: This equipment has been tested and found to comply with the limits for a Class B digital device, pursuant to Part 15 of the FCC Rules. These limits are designed to provide reasonable protection against harmful interference in a residential installation. This equipment generates, uses and can radiate radio frequency energy and, if not installed and used in accordance with the instructions, may cause harmful interference to radio communications. However, there is no guarantee that interference will not occur in a particular installation. If this equipment does cause harmful interference to radio or television reception, which can be determined by turning the equipment o and on, the user is encouraged to try to correct the interference by one or more of the following measures: • Reorient or relocate the receiving antenna. • Increase the separation between the equipment and receiver. • Connect the equipment into an outlet on a circuit different from that to which the receiver is connected. • Consult the dealer or an experienced radio/TV technician for help. Shielded cables must be used with this unit to ensure compliance with the Class B FCC limits.
Block Diagram
Block Diagram DSP Working frequency: 96MHz SEENSOR Working frequency: 24MHz SDRAM (4*16 SDRAM ) USB Jack SD CARD POWER: 4.5Vdc Oscillator: 24.00MHZ AV Out LENS Key LCD Oscillator: 32.768kHz
External Photos
External Photos
ID Label/Location Info
Label Artwork and Location FCC ID: XJN-DV181SB This device complies with Part 15 of the FCC Rules. Operation is subject to the following two conditions : (1) this device may not cause harmful interference, and (2) this device must accept any interf erence received, including interference that may cause undesired operation. L LL Label size: 44 * 27mm abel size: 44 * 27mmabel size: 44 * 27mm abel size: 44 * 27mm Label Location
Internal Photos
Internal Photos
Test Setup Photos
Conducted Photos
Test Setup Photos
Radiated Photos
Contact Information
Applicant
Tony Pan
Technical Contact
Intertek Testing Services Shenzhen Ltd. Kejiyuan BShawn Xing
[email protected](86-755) 8614 0603
6F, D Block, Huahan Building, Langshan Road · Shenzhen · China
Non-Technical Contact
Intertek Testing Services Shenzhen Ltd. Kejiyuan BShawn Xing
[email protected](86-755) 8614 0603
Test Firm
Intertek Testing Services Shenzhen Ltd.Shawn Xing
Technical Specifications
| # | Rule Parts | Frequency Range | Power Output |
|---|---|---|---|
| 1 | 15B | - | - |
Other Applications from SHUOYING INDUSTRIAL (SHENZHEN) CO., LTD.
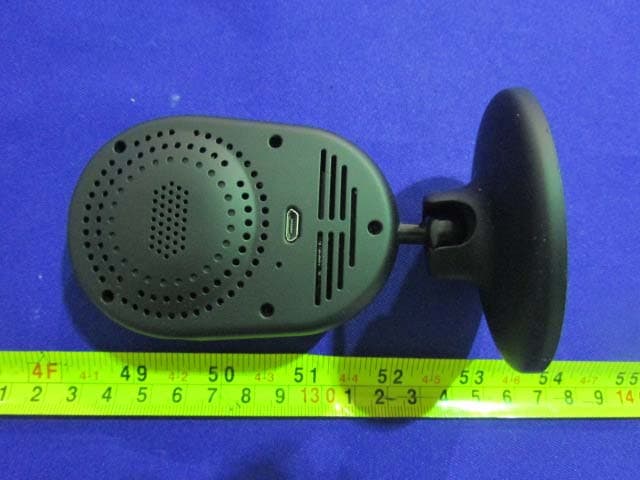
XJN-IPC019
Sep 07, 2015IP Camera
Equipment Class
DTS - Digital Transmission System
XJN-PA7062X
Dec 27, 2014Mobile Internet Devices
Equipment Class
JBP - Part 15 Class B Computing Device PeripheralXJN-PX4032
Sep 20, 2014Mobile internet device
Equipment Class
DTS - Digital Transmission System
XJN-PA7810X
Jun 26, 2014Mobile Internet Devices
Equipment Class
DSS - Part 15 Spread Spectrum Transmitter
XJN-PR7062X
May 06, 2014Mobile Internet Device
Equipment Class
DTS - Digital Transmission System