XJN-DV366Digital Video Camera
SHUOYING INDUSTRIAL (SHENZHEN) CO., LTD.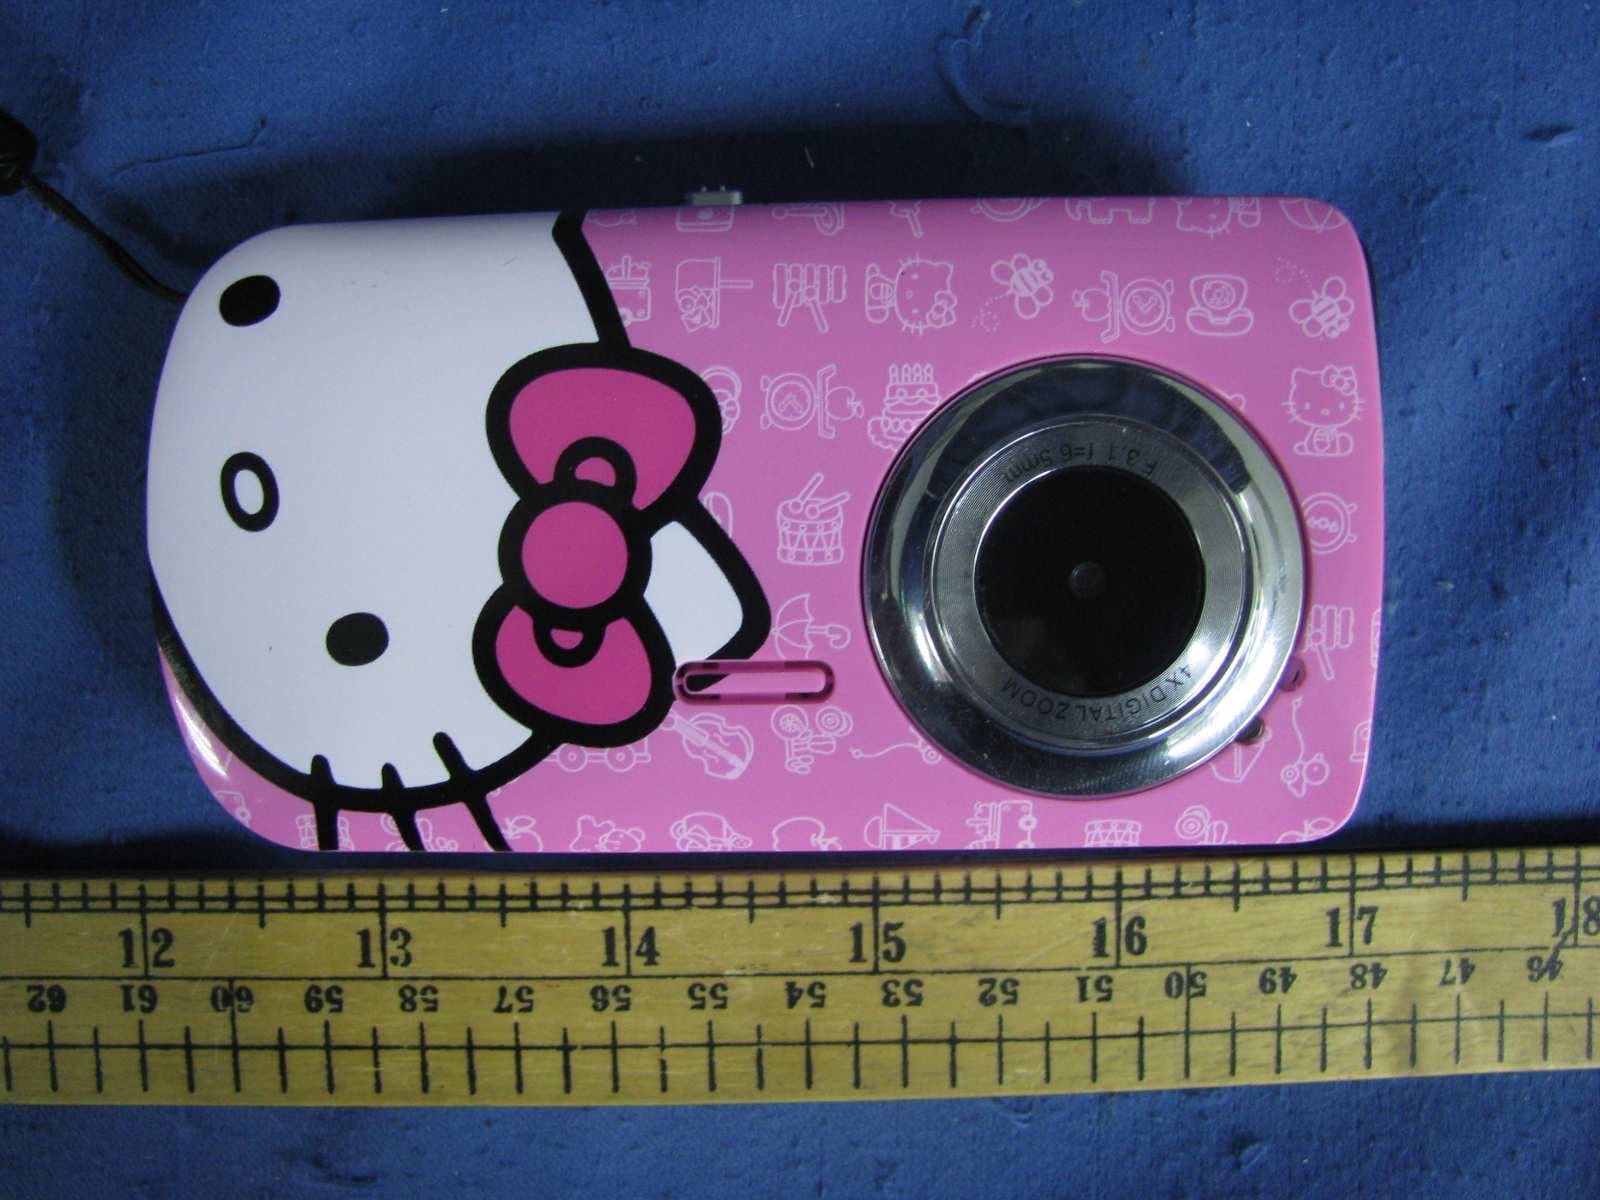
Click to zoom
Application Details
- Equipment Class
- JBP - Part 15 Class B Computing Device Peripheral
- Date of Grant
- Jan 19, 2011
- Application Purpose
- Original Equipment
- Date of Application
- Jan 19, 2011
- Equipment Note
- Digital Video Camera
- Country
- China
Documents & Files
Document Text
Text extracted from the exhibit documents filed with the FCC. Open a document above to read the original.
Users Manual
Quick Start Guide DV366/38009 Digital Video Camera 2 Getting to know your camera 1. Power Button 12. USB Connector 2. Delete Button 13. TV Out Port 3. Menu Button 14. Wrist Strap Hole 4. Mode Button 15. Tripod socket 5. Shutter 16. USB ejector 6. Up/Zoom In 17. LED Light 7. Down/Zoom Out 18. Lens 8. Left 19. Speaker 9. Right 20. Microphone 10. Flip LCD Screen 21. Battery Cover 11. SD Card Slot 11 3 4 21 8 5 7 2 9 1 6 10 14 15 12 13 16 20 17 18 19 Mode Menu 3 Power on the camera 1. Press the Power button to power on the camera. 2. The camera will emit a startup sound and the LCD preview screen will light up. Mode button Toggles between Video Capture Mode, Photo Capture Mode and Playback Mode Shortcut buttons 1. Up: Zooms In when capturing videos and photos. In Video Playback mode increases volume during video playback. In Photo Playback mode zooms into your selected image and navigates through the enlarged image. 2. Down: Zooms Out when capturing videos and photos. In Playback mode decreases volume during video playback and opens and scrolls through images in Thumbnail view. 3. Right: In Playback mode, displays NEXT image and scrolls through Thumbnail images. 4. Left: In Playback mode, displays PREVIOUS image and scrolls through Thumbnail images. 5. Shutter/OK: Video Capture Mode- starts and stops your video recording. Photo Capture Mode – captures your photo. Video Playback Mode- plays and stops the selected video. Photo Playback Mode- opens selected image from Thumbnail display. Menu Setting View – confirms your selected camera setting. Menu Button 1. Press the Menu button to activate the setting option icons on the LCD. 4 (camera settings) 2. Press the Left or Right buttons to select the specific menu. 3. Press the Up and Down buttons to highlight your menu selection. 4. Press the Shutter/OK to confirm and save your setting. 5. Press the Mode button to exit the menu. 6. Press the Shutter button to capture images (photos and videos) with the selected camera settings. Camera setting options Image Resolution, Language, Delete Delete 1. To delete the last photo or video taken: Press the Delete button. 2. In Playback mode, to delete all the images on the memory card press the Menu button, scroll down to the ‘Delete All Images’ option and press the Shutter/Ok button. Installing the Batteries Slide open the battery cover on the bottom of the camera and insert 2 AA alkaline batteries with the correct polarity as appears on the inside of the battery compartment. Close the battery cover. 5 Installing the SD Memory Card Insert SD Memory Card (up to 16GB) in the direction as shown before you begin using the camera. Note: SD Memory Card not included. You are now ready to capture images 1. Turn the camera on by pressing the “POWER” button. 2. Using the LCD display, aim the camera in the direction of the object you wish to capture. 3. Hold the camera steady and press the “Shutter” button to start and stop capturing your video or to take a photo. 4. The video and photo images are automatically saved to the SD memory card. 5. When you would like to include yourself in the photo or video, simply flip the LCD display out and hold the camera steady facing towards you at arm’s length (30~45 cm). Make sure you can see yourself on the LCD screen and look at the camera lens. Click the “Shutter” button to capture your image. 6. For instructions on how to use the other camera features including the Video and Photo settings, select the ‘Get Camera Manual’ option on the Main Menu screen or in the Help menu of the Hello Kitty 6 Snap n’ Share software or select your camera model online from www.sakar.com to download and open the User Manual. Installing and Using the Hello Kitty Snap n’ Share software Your computer must meet these minimum System Requirements: WINDOWS OS • XP Service Pack 2, Vista or Windows 7 • Pentium® 4 processor (or above) • 150 MB available hard disk space • 512 MB of RAM • 16-bit Color display, 1024 X 768 pixels • QuickTime® 6 or higher • Microsoft® Internet Explorer 7 or higher • Windows Media Player 10 or higher MAC OS • Intel processor • 150 MB available hard disk space • At least 256 MB of RAM • Mac OS X v10.5 or later • QuickTime® 6 or higher 7 1. Insert the disc into the CD-ROM drive of your computer to install and run the Hello Kitty Snap n’ Share software 2. Please review the license terms. On PC and Macintosh: Click the “I accept the terms of this license agreement” and then click “Next” to continue. 3. On PC only: Let the “Hello Kitty Snap n’ Share” installer create the folder to where the program will be installed, and then click “Install”. 4. Please wait while the application continues the installation process on your computer. 5. Follow all instructions. 6. On PC: Click the “Close” button when the installation is complete. On Macintosh: Click the “Quit” button when the installation is complete. The application automatically opens. 8 7. Click on the “Take a Tour” button on the application`s main menu screen to learn how to: • Get photos and videos from your camera. • Manage and organize your images by creating albums. • Edit the images using automatic and manual tools. • Upload and manage photos and videos to and from the most popular photo sharing and social networking sites: Facebook, Flickr, Picasa, Photobucket and YouTube. • Visit the Creative Corner to create and write your own Diary or Book, create Scrapbooks, Frames, Stickers and more... We thank you for choosing the 38009 Digital Video Camera. 9 If you would like more detailed instructions beyond the quick start guide, the full camera manual is available on the Home window or in the application’s “Help” menu after software installation. If you still require further assistance, please visit www.sakar.com . For phone support including technical support and warranty service, in the US please call 1-877-397-8200, in the UK call 0800 917 4831. If you are calling from anywhere else, please visit www.sakar.com for other support opt…
Text truncated - open the document above for the full version.
Block Diagram
Block Diagram Oscillator: 32.768KHz AV OUT USB SD CARD SPEAKER SENSOR Working frequency: 24MHz SDRAM 64MHz Oscillator: 27MHz POWER D.C. 3V MIC DSP Working Frequency: 96MHz SPI FLASH 8MHz LCD KEY
External Photos
External Photos
ID Label/Location Info
Label Artwork and Location FCC ID: XJN-DV366 26mm 7mm
Internal Photos
Internal Photos
Test Report
Intertek Testing Services Shenzhen Ltd. Kejiyuan Branch 6F, D Block, Huahan Building, Langshan Road, Nanshan District, Shenzhen, P. R. China Tel: (86 755) 8601 6288 Fax: (86 755) 8601 6751 Website: www.china.intertek-etlsemko.com Dec 31, 2010 SHUOYING INDUSTRIAL (SHENZHEN) CO., LTD. NO.1 Shuoying Rd., Hebei Industry Area, Dalang, Longhua Town, Baoan, Shenzhen, China Dear Tony Pan, Enclosed you will find your file copy of a Part 15 report (FCC ID: XJN-DV366). For your reference, TCB will normally take another one week for reviewing the report. Approval will then be granted when no query is sorted. Please contact me if you have any questions regarding the enclosed material. Sincerely, Shawn Xing Assistant Manager Enclosure • The test results reported in this test report shall refer only to the sample actually tested and shall not refer or be deemed to refer to bulk from which such a sample may be said to have been obtained. • This report is for the exclusive use of Intertek's Client and is provided pursuant to the agreement between Intertek and its Client. Intertek's responsibility and liability are limited to the terms and conditions of the agreement. Intertek assumes no liability to any party, other than to the Client in accordance with the agreement, for any loss, expense or damage occasioned by the use of this report. Only the Client is authorized to copy or distribute this report. Any use of the Intertek name or one of its marks for the sale or advertisement of the tested material, product or service must first be approved in writing by Intertek. The observations and test results referenced from this report are relevant only to the sample tested. This report by itself does not imply that the material, product, or service is or has ever been under an Intertek certification program. • For Terms And Conditions of the services, it can be provided upon request. • The evaluation data of the report will be kept for 3 years from the date of issuance. TRF No.: FCC 15C_PC_a FCC ID: XJN-DV366 Intertek Testing Services Shenzhen Ltd. Kejiyuan Branch 6F, D Block, Huahan Building, Langshan Road, Nanshan District, Shenzhen, P. R. China Tel: (86 755) 8601 6288 Fax: (86 755) 8601 6751 Website: www.china.intertek-etlsemko.com SHUOYING INDUSTRIAL (SHENZHEN) CO., LTD. Application For Certification (FCC ID: XJN-DV366) Computer Peripheral SZ10120098-1 Billy Li Dec 31, 2010 INTERTEK TESTING SERVICES TRF No.: FCC 15C_PC_a FCC ID: XJN-DV366 i LIST OF EXHIBITS INTRODUCTION EXHIBIT 1: General Description EXHIBIT 2: System Test Configuration EXHIBIT 3: Emission Results EXHIBIT 4: Equipment Photographs EXHIBIT 5: Product Labeling EXHIBIT 6: Technical Specifications EXHIBIT 7: Instruction Manual EXHIBIT 8: Miscellaneous Information EXHIBIT 9: Test Equipment List INTERTEK TESTING SERVICES TRF No.: FCC 15C_PC_a FCC ID: XJN-DV366 ii MEASUREMENT / TECHNICAL REPORT SHUOYING INDUSTRIAL (SHENZHEN) CO., LTD. − −− − MODEL: DV366/38009 FCC ID: XJN-DV366 Dec 31, 2010 This report concerns (check one:) Original Grant X Class II Change Equipment Type: JBP-Class B Computing Device Peripheral Deferred grant requested per 47 CFR 0.457(d)(1)(ii)? Yes No X If yes, defer until: date Company Name agrees to notify the Commission by: date of the intended date of announcement of the product so that the grant can be issued on that date. Transition Rules Request per 15.37? Yes No X If no, assumed Part 15, Subpart C for intentional radiator − the new 47 CFR [10-1-09 Edition] provision. Report prepared by: Shawn Xing Intertek Testing Services Shenzhen Ltd. Kejiyuan Branch 6F, D Block, Huahan Building, Langshan Road Nanshan District, Shenzhen, P. R. China Phone: (86 755) 8601 6288 Fax: (86 755) 8601 6751 INTERTEK TESTING SERVICES TRF No.: FCC 15C_PC_a FCC ID: XJN-DV366 iii Table of Contents 1.0 General Description ......................................................................................... 2 1.1 Product Description...................................................................................2 1.2 Related Submittal(s) Grants ...................................................................... 2 1.3 Test Methodology......................................................................................3 1.4 Test Facility ............................................................................................... 3 2.0 System Test Configuration............................................................................. 5 2.1 Justification ............................................................................................... 5 2.2 EUT Exercising Software .......................................................................... 5 2.3 Special Accessories .................................................................................. 5 2.4 Equipment Modification ............................................................................. 5 2.5 Measurement Uncertainty ......................................................................... 6 2.6 Support Equipment List and Description ................................................... 6 3.0 Emission Results.............................................................................................. 8 3.1 Field Strength Calculation ............................................................................. 9 3.2 Radiated Emission Configuration Photograph ............................................. 11 3.3 Radiated Emission Data ............................................................................. 12 3.4 Conducted Emission Configuration Photograph .......................................... 16 3.5 Conducted Emission Data..............................................................................17 4.0 Equipment Photographs................................................................................... 21 5.0 Product Labelling .............................................................................................. 23 6.0 Technical Specifications.…
Text truncated - open the document above for the full version.
Test Setup Photos
Conducted Photos
Test Setup Photos
Radiated Photos
Contact Information
Applicant
Tony Pan
Technical Contact
Intertek Testing Services Shenzhen Ltd KejiyuanShawn Xing
[email protected]8675586140603
6F, D Block, Huahan Building, Langshan Road · Shenzhen · China
Non-Technical Contact
Intertek Testing Services Shenzhen Ltd KejiyuanShawn Xing
[email protected]8675586140603
Test Firm
Intertek Testing Services Shenzhen Ltd.Shawn Xing
Technical Specifications
| # | Rule Parts | Frequency Range | Power Output |
|---|---|---|---|
| 1 | 15B | - | - |
Other Applications from SHUOYING INDUSTRIAL (SHENZHEN) CO., LTD.
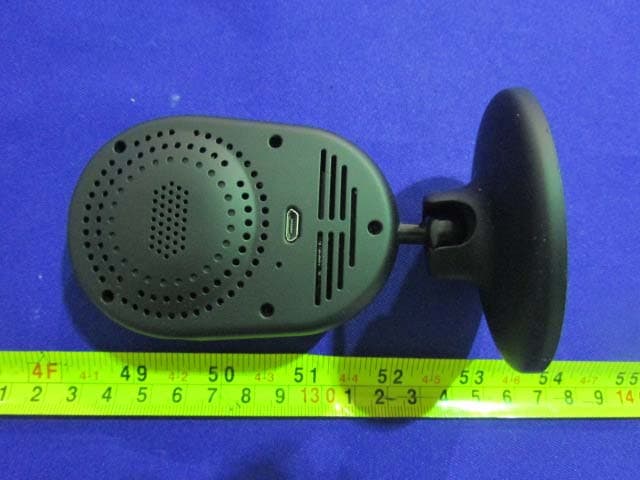
XJN-IPC019
Sep 07, 2015IP Camera
Equipment Class
DTS - Digital Transmission System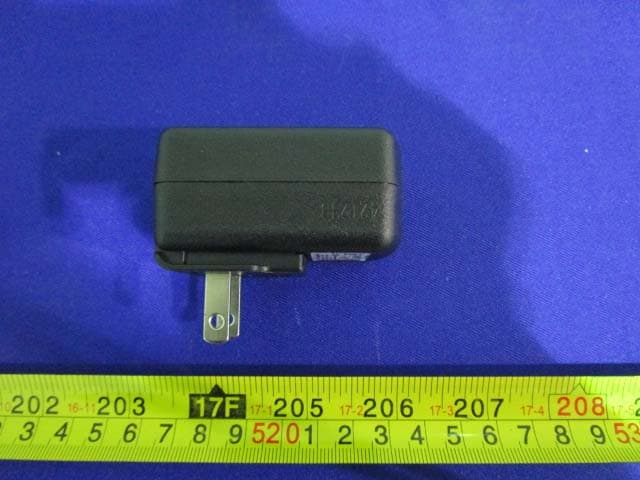
XJN-PA7062X
Dec 27, 2014Mobile Internet Devices
Equipment Class
JBP - Part 15 Class B Computing Device PeripheralXJN-PX4032
Sep 20, 2014Mobile internet device
Equipment Class
DTS - Digital Transmission System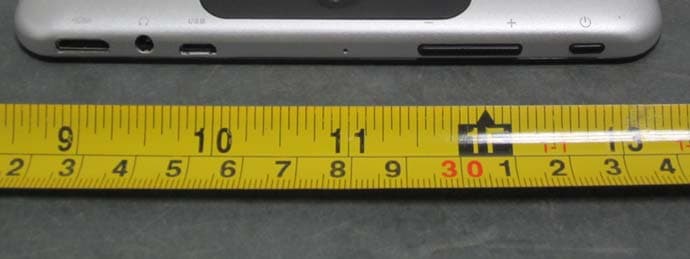
XJN-PA7810X
Jun 26, 2014Mobile Internet Devices
Equipment Class
DSS - Part 15 Spread Spectrum Transmitter
XJN-PR7062X
May 06, 2014Mobile Internet Device
Equipment Class
DTS - Digital Transmission System