A7RM2H6ADVD/VCR TV Interface Device
ORION ELECTRIC CO., LTD.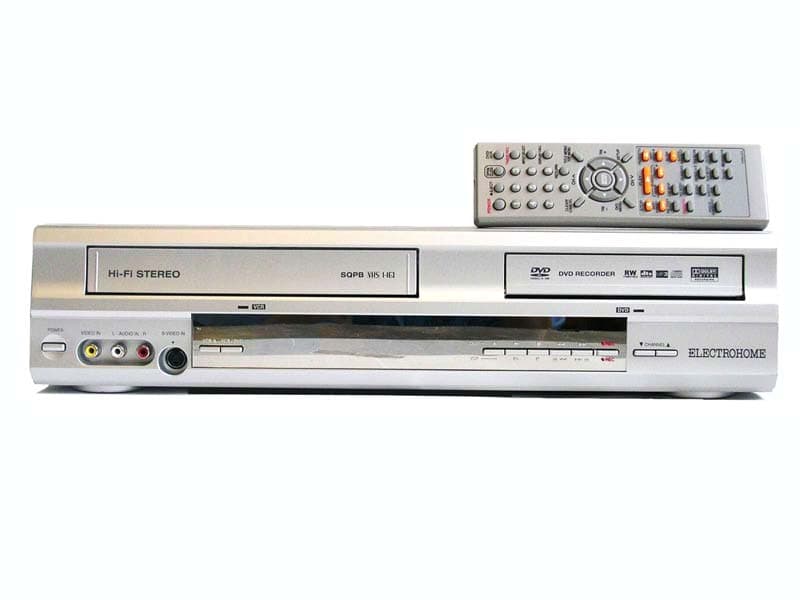
Click to zoom
Application Details
- Equipment Class
- HID - Part 15 TV Interface Device
- Date of Grant
- Jul 04, 2005
- Application Purpose
- Original Equipment
- Date of Application
- Jul 04, 2005
- Equipment Note
- DVD/VCR TV Interface Device
- Frequency Range
- 67.25000000 - 71.75000000
- Company
- ORION ELECTRIC CO., LTD.
- Country
- Japan
Documents & Files
Document Text
Text extracted from the exhibit documents filed with the FCC. Open a document above to read the original.
Users Manual
TV/CABLE MODE SELECTION When shipped from the factory, the TV/CABLE menu option is set to the “CABLE” (Cable Television) mode. If not using Cable TV, set this menu option to the “TV” position. ATTENTION If you purchase a universal remote control from your local retailer, please contact the remote manufacturer for the required programming code. DVD-RW RECORDER & VCR USER MANUAL ENGLISH DVRC802E Before operating the unit, please read this manual thoroughly. 2H6P001A[E] Cover6/28/05, 5:33 PM1 DRAFT 2 Contents Setting the screen ................................................... 29 TV SCREEN ........................................................ 29 STILL MODE ....................................................... 29 LINE1 INPUT ....................................................... 29 LINE2 INPUT ....................................................... 29 Setting the image quality ......................................... 30 BRIGHTNESS ..................................................... 30 Setting the audio ..................................................... 30 DRC ..................................................................... 30 EXTERNAL AUDIO INPUT .................................. 30 SAP (Second Audio Program) ............................. 30 Setting the recording ............................................... 31 INITIAL REC TO .................................................. 31 INITIAL REC MODE ............................................ 31 AUTO CHAPTER ................................................. 31 INDEX PICTURE ................................................. 31 Setting the channel ................................................. 32 TV/CABLE SELECT ............................................ 32 AUTO CH MEMORY ............................................ 32 ADD/DELETE (channels) .................................... 32 Setting other items .................................................. 32 JPEG INTERVAL ................................................. 32 Disc playback Playback procedure ................................................ 33 Playback by selecting a title .................................... 34 Checking media information .................................... 35 Special playback ..................................................... 36 Fast forward playback .......................................... 36 Review playback .................................................. 36 Still playback ........................................................ 36 Frame advance .................................................... 36 Slow motion playback .......................................... 36 Locating a chapter or track .................................. 36 Commercial skip ...................................................... 37 Locating a specific scene ........................................ 37 Repeat playback ..................................................... 38 One touch repeat ................................................. 38 A-B repeat playback ............................................ 38 Title, Chapter repeat playback ............................. 38 Title selection .......................................................... 39 DVD menu ............................................................... 39 Changing angles ..................................................... 40 Zooming .................................................................. 40 Karaoke playback .................................................... 40 Changing soundtrack language .............................. 41 Subtitles .................................................................. 41 Turning the subtitles On and Off .......................... 41 Various operations on CD ....................................... 42 MP3/WMA/JPEG playback ..................................... 44 Progressive scan ..................................................... 47 Before using your unit CAUTION .................................................................. 4 IMPORTANT SAFEGUARDS .................................... 5 Features .................................................................... 8 Disc ........................................................................... 9 Handling discs ....................................................... 9 Discs which can be played back ............................ 9 Discs on which video can be recorded ................ 10 Recording format ................................................. 10 Disc playback in other players ............................. 11 Parts and functions ................................................. 12 Front .................................................................... 12 Rear ..................................................................... 12 Display window .................................................... 13 Remote control .................................................... 14 Power Source ...................................................... 15 Antenna connections .............................................. 16 Cable TV connections ............................................. 18 Connections with the TV or audio component ........ 20 Auto clock setting .................................................... 22 Setting the video channel ........................................ 22 Various settings SETUP MENU ......................................................... 23 Using the SETUP MENU ..................................... 23 Setting the language ............................................... 24 OSD LANGUAGE ................................................ 24 DVD MENU .......................................................... 24 AUDIO ................................................................. 24 SUBTITLE ............................................................ 24 Setting the parental control ..................................... 25 Selecting parental control ........................…
Text truncated - open the document above for the full version.
Users Manual
65 Editing the disc Editing a playlist NOTE: It is no problem to omit the proce- dures for confirming the scene or adjusting start and end points. 6 Press or to select “SET END” at the end point of the scene you want to erase and press ENTER. The still image at the end point appears at the right small screen. 5 Press or to select “SET START” at the start point of the scene that you want to erase and press ENTER. (To set the start point easily, search the start point while “SET START” is selected) The still image at the start point appears at the left small screen. 7 Check the erased scenes. • Select “Preview” and press ENTER. Then the video where the scenes between the start and end points are erased is played back. • Each operation button (F.FWD, REW, SKIP +, SKIP –, PLAY, PAUSE/STILL) for playback also can be used. 8 Adjust the start and end points. • To adjust the start point, select “Adjust start” and press ENTER. You can change the start point every one second by pressing or. • To adjust the end point, select “Adjust end” and press ENTER. You can change the end point in the same way as the start point. 9 If you determine the scene to be erased, press or to select “Finish” and press ENTER. • A chapter mark is automatically added at the location of the erased scene. SELECT ENTER RETURNENTERBACKEND TITLE MENU EDIT TITLE 00:11:42 00:10:2000:11:42 Preview Adjust start SET END Finish NAMEFamily CHAPTER 2/3 LENGTH00:11:42/00:30:17 SELECT ENTER RETURNENTERBACKEND TITLE MENU EDIT TITLE NAMEFamily CHAPTER 2/3 LENGTH00:15:58/00:30:17 00:15:58 00:10:2000:15:58 Preview Adjust start Adjust end Finish 2H6P001A[E] P61-696/28/05, 5:37 PM65 66 Editing a playlist Combining the title You can create a playlist by combining the several original titles or playlists. To combine the titles, it is necessary to create a playlist at first. By combining the titles in the playlist, a playlist where several titles are combined is created. 1 Press TITLE MENU to display the title menu. 2 Select the playlist where you want to combine the titles. • Press or to select the playlist. • Press to display the editing menu of the playlist. • Press or to select “TITLE COMBINE”. 3 Press ENTER. Select the title that you want to combine from the title menu. 4 Press ENTER. Following the playlist, the selected title is combined. The several titles were combined so that the total recording time is displayed. ENTER RETURNENTERBACK SET END SELECT TITLE MENU DISC NAME:---- 11/23/2005 08:41AM 006 SLP 11/25/2005 10:03PM 011 SP 11/29/2005 11:30AM 009 SP 12/01/2005 06:52PM 006 XP Title 1 PL Family REC DATE :11/23/2005 TIME:08:41AM LENGTH :00:30:17 CHANNEL :006 REC MODE :SLP TITLE MENU PLAY EDIT TITLE DELETE TITLE RENAME TITLE TITLE COMBINE TITLE COMBINE ENTER RETURNENTERBACKEND SELECT TITLE MENU DISC NAME:---- 11/23/2005 08:41AM 006 SLP 11/25/2005 10:03PM 011 SP 11/29/2005 11:30AM 009 SP 12/01/2005 06:52PM 006 XP Family REC DATE :11/25/2005 TIME:10:03PM LENGTH :00:20:00 CHANNEL :011 REC MODE :SP TITLE MENU ENTER RETURNPLAYBACK SET END SELECT TITLE MENU DISC NAME:---- 11/23/2005 08:41AM 006 SLP 11/25/2005 10:03PM 011 SP 11/29/2005 11:30AM 009 SP 12/01/2005 06:52PM 006 XP Title 1 PL Family REC DATE :11/23/2005 TIME:08:41AM LENGTH :00:50:17 CHANNEL :006 REC MODE :SLP TITLE MENU 2H6P001A[E] P61-696/28/05, 5:37 PM66 67 Editing the disc Editing a playlist Erasing a playlist You can erase the created playlist. Even if you erase the playlist, the original title will not be erased. 1 Press TITLE MENU to display the title menu. 2 Select the playlist that you want to erase. • Press or to select the playlist. • Press to display the editing menu of the playlist. • Press or to select “DELETE TITLE”. 3 Press ENTER. The selected playlist will be erased. ENTER RETURNENTERBACK SET END SELECT TITLE MENU DISC NAME:---- 11/23/2005 08:41AM 006 SLP 11/25/2005 10:03PM 011 SP 11/29/2005 11:30AM 009 SP 12/01/2005 06:52PM 006 XP Family REC DATE :11/23/2005 TIME:08:41AM LENGTH :00:30:17 CHANNEL :006 REC MODE :SLP TITLE MENU PLAY EDIT TITLE DELETE PROGRAM RENAME TITLE TITLE COMBINE DELETE TITLE ENTER RETURNPLAYBACK SET END SELECT TITLE MENU DISC NAME:---- 11/23/2005 08:41AM 006 SLP 11/25/2005 10:03PM 011 SP 11/29/2005 11:30AM 009 SP 12/01/2005 06:52PM 006 XP REC DATE :12/01/2005 TIME:06:52PM LENGTH :00:30:07 CHANNEL :006 REC MODE :XP TITLE MENU 2H6P001A[E] P61-696/28/05, 5:37 PM67 68 Editing an original title In VR mode, you can edit various items, whereas in Video mode, you can edit the title names only. NOTES: • You can automatically add a chap- ter mark in recording. For more in- formation, see page 31. • In case the disc includes more than 10 titles, you can turn to the next or the previous page. (See page 34.) Preparation: • Turn ON the TV and set to the video input mode. • Load the recorded disc. • Press DVD/VCR to select the DVD mode. (The DVD indicator will light.) Adding a chapter mark You can add a chapter mark to the original title. You can add up to 999 chapter marks to one disc. 1 Press TITLE MENU to display the title menu. 2 Select the original title where a chapter mark is added. • Press or to select the original title. • Press to display the editing menu of the original title. • Press or to select “ADD CHAPTER MARK”. 3 Press ENTER. The ADD CHAPTER MARK screen will appear. 4 Press PLAY to search a scene where you want to add the chapter mark. • Search the scene by using each operation button (F.FWD, REW, SKIP +, SKIP –, PAUSE/STILL, SLOW, CM SKIP) for the play- back. ENTER RETURNENTERBACK SET END SELECT TITLE MENU DISC NAME:---- 11/23/2005 08:41AM 006 SLP 11/25/2005 10:03PM 011 SP 11/29/2005 11:30AM 009 SP 12/01/2005 06:52PM 006 XP Family REC DATE :11/23/2005 TIME:08:41AM LENGTH :00:30:17 CHANNEL :06 REC MODE :EP PLAY COMBINE CHAPTERS EDIT TITLE DELETE TITLE RENAME TITLE NEW PLAYLIST ADD CHAPTER MARK TITLE MENU ENTER RETURNENTERBACKEND TITLE MENU ADD CHAPTER MARK 0% NAME11/25/2005 08:41 AM CHAPTER1/3 LENGTH00:00:00/00:30:17 ENTER RETURNENTERBACKEND TI…
Text truncated - open the document above for the full version.
External Photos
External Photos
ID Label/Location Info
ATTACHMENT J-1 FCC ID: A7RM2H6A FCC IDENTIFIER (§2.926) & LABELING REQUIREMENT(§15.19) --- Labeling BACK VIEW
Internal Photos
Internal Photos
Internal Photos
Internal Photos Tuner
Operational Description
CIRCUIT DESCRIPTION 1/2 This device is combined a DVD Recorder with a Video cassette recorder and operates with an AC commercial power supply.(AC120V, 60Hz) This device includes TV interface Device, Television Broadcast receiver, and Digital device of product category defined by FCC. The external connectors are equipped with Front Audio (L/R)/Video Input, Front S-VHS Input, RF input/Output, Rear Audio (L/R)/Video Input, Rear S-VHS Input, Rear Audio(L/R) /Video Output, Rear S-VHS Output, Component Output, Digital Audio coaxial Output, Audio Output(L/R), Optical Digital Audio Output . The circuit is composed by Power Supply Block, VCR Block, and DVD Recorder Block, if divided roughly. The explanation is as follows and the details are referred to Block Diagram. Power Supply Block: Use the switching regulator circuit and provide the power supply to each circuit. VCR Block: The circuit of this block is composed by Tuner/IF/Modulator, Luminance and Chrominance/Audio/CCD/Head Amp, System/Timer/Servo, HIFI Demodulator, Operation / Display, Motor Drive and so on. RF Modulator output is output in US 3ch or 4ch and Emission frequency is as Follows: Emission Frequency; US 3ch Video carrier: 61.25MHz Audio carrier: 65.75MHz US 4ch Video carrier: 67.25MHz Audio carrier: 71.75MHz The oscillating frequencies that is used this block are the follows: 14.318MHz-----On Screen Display reference Clock 10MHz----VCR System Control IC Clock 32.768KHz--- Clock reference 3.579545MHz---Luminance and Chrominance IC Clock DVD Recorder Block: The circuit of this block is composed by AV Encoder, MPEG, Memory, ATAPI, Audio and so on. (2/2) This block includes a control device for the reading , writing and rewriting of Disc, a signal processing part, Decoder/Encoder parts and a control part. The oscillating frequencies that is used this block are the follows: 135MHz--- SD-RAM Clock (RAMCLK) 27MHz--- MPEG Master Clock (GCLK) 18.4327MHz--- Audio Master Clock (AMCLK) 3.072MHz---Audio bit Clock (ABCLK) 48kHz---Audio L/R Clock (ALRCLK) 81MHz----Master Clock(MCLK) 27MHz---Video Clock(VIDCLK) 27MHz---Serial Bit Clock(SBCLK)
Test Report
Test report No. : 25KE0175-YW-1 Page : 1 of 129 Date of issue : June 30, 2005 UL Apex Co., Ltd. Yokowa EMC Lab. 108 Yokowa-cho, Ise-shi, Mie-ken 516-1106 JAPAN Telephone: +81 596 39 1485 Facsimile: +81 596 39 0232 Certification EMI TEST REPORT Test Report No. : 25KE0175-YW-1 Applicant : Orion Electric Co., Ltd. Type of equipment : DVD Recorder with Video Cassette Recorder Model number : DVRC802E FCC ID : A7RM2H6A Test standard : FCC Part 15 Subpart B ICES-003 Issue No.4 Class B Test result : Complied Similar model : Model No. Brand name Model No. Brand name - - - - - - - - - - - - - - - - - - - - 1. This test report shall not be reproduced except in full or partial, without the written approval of UL Apex Co., Ltd. 2. The results in this report apply only to the sample tested. 3. This equipment is in compliance with above regulation. We hereby certify that the data contain a true representation of the EMC profile. 4. The test results in this test report are traceable to the national or international standards. 5. This test report does not constitute an endorsement by NIST/NVLAP or U.S. Government. Date of test : June 17 to 22, 2005 Tested by: Tsubasa Takayama Tomoyuki Yamashita Engineer of EMC Service Engineer of EMC Service Approved by: Hiroya Tabata Leader of EMC Service Test report No. : 25KE0175-YW-1 Page : 2 of 129 Date of issue : June 30, 2005 UL Apex Co., Ltd. Yokowa EMC Lab. 108 Yokowa-cho, Ise-shi, Mie-ken 516-1106 JAPAN Telephone: +81 596 39 1485 Facsimile: +81 596 39 0232 Contents Page Section 1 : Client information 3 Section 2 : Equipment under test (E.U.T.) 3 Section 3 : Test specification, procedures & results 4 Section 4 : Operation of E.U.T. during tests 6 Section 5 : Conducted emission 7 Section 6 : Radiated emission 10 Section 7 : Antenna terminal voltage 13 Section 8 : RF output level / spurious emission 14 Section 9 : Antenna transfer switch 16 Section 10 : Picture sensitivity 17 Section 11 : Noise figure 18 Contents of Appendixes 19 Appendix 1 : Photographs of test set up 20 Appendix 2 : Data of EMI tests 27 Appendix 3: Test instruments 129 Test report No. : 25KE0175-YW-1 Page : 3 of 129 Date of issue : June 30, 2005 UL Apex Co., Ltd. Yokowa EMC Lab. 108 Yokowa-cho, Ise-shi, Mie-ken 516-1106 JAPAN Telephone: +81 596 39 1485 Facsimile: +81 596 39 0232 Section 1 : Client information Company name : Orion Electric Co., Ltd. Address : 41-1 Iehisa-cho, Takefu-shi, Fukui-ken, 915-8555 JAPAN Telephone number : +81 778 23 0019 Facsimile number : +81 778 23 7799 Contact person : Yoshimasa Tanikawa Section 2 : Equipment under test (E.U.T.) 2.1 Identification of E.U.T. Type of equipment : DVD Recorder with Video Cassette Recorder Brand Name : ELECTROHOME Model number : DVRC802E FCC ID : A7RM2H6A Rating : AC 120 V / 60 Hz Manufacturer : 1. World Electric (Thailand) Ltd. 236 Moo 2 Nongchark, Banbung, Chonburi 20170, Thailand 2. Korat Denki Ltd. 149 Moo 10 Tambol Chokchai, Amphur Chokchai, Nakhonratchasima 30190, Thailand 228 Moo 3 Tambol Nongbuasala, Amphur Muang, Nakhonratchasima 30000, Thailand 3. Orion America, Inc. Hwy 41 North, Orion Place, Princeton, Indiana 47670, U.S.A Receipt Date of Sample : June 15, 2005 Condition of EUT : Production Prototype (Not for Sale: This sample is equivalent to mass-produced items.) 2.2 Product description Model: DVRC802E (referred to as the EUT in this report) is a DVD Recorder with Video Cassette Recorder. The EUT specifications is as follows. Tuner type : Quartz PLL frequency synthesized I / F : 45.75 MHz (Picture), 41.25 MHz (Sound) Receiving channel : VHF 2 – 13 ch / UHF 14 – 69 ch / CATV 1 – 125 ch Antenna input : 75 ohm Video signal : NTSC color Power source : AC 120 V / 60 Hz, 27W I / O terminal (Video) : RCA in 1Vp-p 75 ohm, RCA out 1 Vp-p 75 ohm I / O terminal (Audio) : RCA in –8 dB 47 k ohm, RCA out –8 dB 1 k ohm Test report No. : 25KE0175-YW-1 Page : 4 of 129 Date of issue : June 30, 2005 UL Apex Co., Ltd. Yokowa EMC Lab. 108 Yokowa-cho, Ise-shi, Mie-ken 516-1106 JAPAN Telephone: +81 596 39 1485 Facsimile: +81 596 39 0232 Section 3 : Test specification, procedures and results 3.1 Test specification Test specification : FCC Part 15 Subpart B Title : FCC 47 CFR Part 15 Radio Frequency Device Subpart B Unintentional Radiators Test Specification : ICES-003 Issue No. 4 Title : Spectrum Management Interference-Causing Equipment Standard Digital Apparatus *ICES-003 (Issue No. 4) is based on FCC Part 15. 3.2 Procedures & results Item Test procedure Limits Worst margin Result Conducted emission ANSI C63.4:2003 CISPR 22 17.2 dB (0.7993 MHz, L1, TV Reception + Rec. 25dBmV) Complied Radiated emission ANSI C63.4:2003 IEEE 187:1990 30–88 MH: 100 uV/m 88–216 MHz: 150 uV/m 216–960 MHz: 200 uV/m above 960 MHz: 500 uV/m 2.1 dB (945.00 MHz, Vertical: TV Reception + Rec. 25dBmV / VCR Play + Rec.) Complied Antenna terminal voltage ANSI C63.4:2003 2 nW (at 75 ohm) 26.6 dB (1164.99000 MHz, TV tuning) Complied RF output level Video signal: 3000 uV Aural signal: 671 uV 4.1 dB (61.25 MHz, 3ch, AV Input 2 + Rec.) Complied Spurious emission ANSI C63.4:2003 94.8 uV 19.8 dB (220.9900 MHz, 4ch, TV Reception + Rec. 25dBmV) Complied Transfer switch ANSI C63.4:2003 9.5 dB 4.7 dB (67.2500 MHz, 4ch, DVD Play + Rec.) Complied Picture sensitivity ANSI C63.4:2003 8 dB 5.0 dB Complied Noise figure FCC/OET MP:2:1986 14 dB 6.0 dB (133.25 MHz, 16ch) Complied For ICES-003, only the tests, which relate to the digital device of conducted emission and radiated emission, were performed. 3.3 Additions or deviations to standard No addition, deviation or exclusion has been made from standards. 3.4 Confirmation UL Apex Co., Ltd. hereby confirms that E.U.T., in the configuration tests, complies with the specifications FCC Part15 Subpart B and ICES-003 Issue No. 4. Test report No. : 25KE0175-YW-1 Page : 5 of 129 Date of issue : June 30, 2005 UL Apex Co., Ltd. Yokowa EMC Lab. 108 Yokowa-cho, Ise-shi, Mie-ken 516-1106 JAPAN Telephone: +81 596 39 1485 Facsimile: +81 596 39 0232 3.5 Uncert…
Text truncated - open the document above for the full version.
Test Report
Test report No. : 25KE0175-YW-1 Page : 20 of 129 Date of issue : June 30, 2005 UL Apex Co., Ltd. Yokowa EMC Lab. 108 Yokowa-cho, Ise-shi, Mie-ken 516-1106 JAPAN Telephone: +81 596 39 1485 Facsimile: +81 596 39 0232 Conducted emission Test report No. : 25KE0175-YW-1 Page : 21 of 129 Date of issue : June 30, 2005 UL Apex Co., Ltd. Yokowa EMC Lab. 108 Yokowa-cho, Ise-shi, Mie-ken 516-1106 JAPAN Telephone: +81 596 39 1485 Facsimile: +81 596 39 0232 Radiated emission Test report No. : 25KE0175-YW-1 Page : 22 of 129 Date of issue : June 30, 2005 UL Apex Co., Ltd. Yokowa EMC Lab. 108 Yokowa-cho, Ise-shi, Mie-ken 516-1106 JAPAN Telephone: +81 596 39 1485 Facsimile: +81 596 39 0232 Antenna terminal voltage Test report No. : 25KE0175-YW-1 Page : 23 of 129 Date of issue : June 30, 2005 UL Apex Co., Ltd. Yokowa EMC Lab. 108 Yokowa-cho, Ise-shi, Mie-ken 516-1106 JAPAN Telephone: +81 596 39 1485 Facsimile: +81 596 39 0232 RF output level / spurious emission Test report No. : 25KE0175-YW-1 Page : 24 of 129 Date of issue : June 30, 2005 UL Apex Co., Ltd. Yokowa EMC Lab. 108 Yokowa-cho, Ise-shi, Mie-ken 516-1106 JAPAN Telephone: +81 596 39 1485 Facsimile: +81 596 39 0232 Antenna transfer switch Test report No. : 25KE0175-YW-1 Page : 25 of 129 Date of issue : June 30, 2005 UL Apex Co., Ltd. Yokowa EMC Lab. 108 Yokowa-cho, Ise-shi, Mie-ken 516-1106 JAPAN Telephone: +81 596 39 1485 Facsimile: +81 596 39 0232 Picture sensitivity Test report No. : 25KE0175-YW-1 Page : 26 of 129 Date of issue : June 30, 2005 UL Apex Co., Ltd. Yokowa EMC Lab. 108 Yokowa-cho, Ise-shi, Mie-ken 516-1106 JAPAN Telephone: +81 596 39 1485 Facsimile: +81 596 39 0232 Noise figure
Test Setup Photos
Test report No. : 25KE0175-YW-1 Page : 20 of 129 Date of issue : June 30, 2005 UL Apex Co., Ltd. Yokowa EMC Lab. 108 Yokowa-cho, Ise-shi, Mie-ken 516-1106 JAPAN Telephone: +81 596 39 1485 Facsimile: +81 596 39 0232 Conducted emission Test report No. : 25KE0175-YW-1 Page : 21 of 129 Date of issue : June 30, 2005 UL Apex Co., Ltd. Yokowa EMC Lab. 108 Yokowa-cho, Ise-shi, Mie-ken 516-1106 JAPAN Telephone: +81 596 39 1485 Facsimile: +81 596 39 0232 Radiated emission Test report No. : 25KE0175-YW-1 Page : 22 of 129 Date of issue : June 30, 2005 UL Apex Co., Ltd. Yokowa EMC Lab. 108 Yokowa-cho, Ise-shi, Mie-ken 516-1106 JAPAN Telephone: +81 596 39 1485 Facsimile: +81 596 39 0232 Antenna terminal voltage Test report No. : 25KE0175-YW-1 Page : 23 of 129 Date of issue : June 30, 2005 UL Apex Co., Ltd. Yokowa EMC Lab. 108 Yokowa-cho, Ise-shi, Mie-ken 516-1106 JAPAN Telephone: +81 596 39 1485 Facsimile: +81 596 39 0232 RF output level / spurious emission Test report No. : 25KE0175-YW-1 Page : 24 of 129 Date of issue : June 30, 2005 UL Apex Co., Ltd. Yokowa EMC Lab. 108 Yokowa-cho, Ise-shi, Mie-ken 516-1106 JAPAN Telephone: +81 596 39 1485 Facsimile: +81 596 39 0232 Antenna transfer switch Test report No. : 25KE0175-YW-1 Page : 25 of 129 Date of issue : June 30, 2005 UL Apex Co., Ltd. Yokowa EMC Lab. 108 Yokowa-cho, Ise-shi, Mie-ken 516-1106 JAPAN Telephone: +81 596 39 1485 Facsimile: +81 596 39 0232 Picture sensitivity Test report No. : 25KE0175-YW-1 Page : 26 of 129 Date of issue : June 30, 2005 UL Apex Co., Ltd. Yokowa EMC Lab. 108 Yokowa-cho, Ise-shi, Mie-ken 516-1106 JAPAN Telephone: +81 596 39 1485 Facsimile: +81 596 39 0232 Noise figure
Contact Information
Applicant
Akira Kohori(General Manager)
Technical Contact
Test Firm
UL Japan, Inc. Yokowa EMC Lab.Masamichi Ishii
Technical Specifications
| # | Rule Parts | Frequency Range | Power Output |
|---|---|---|---|
| 2 | 15B | 67.25 MHz - 71.75 MHz | - |
Other Applications from ORION ELECTRIC CO., LTD.
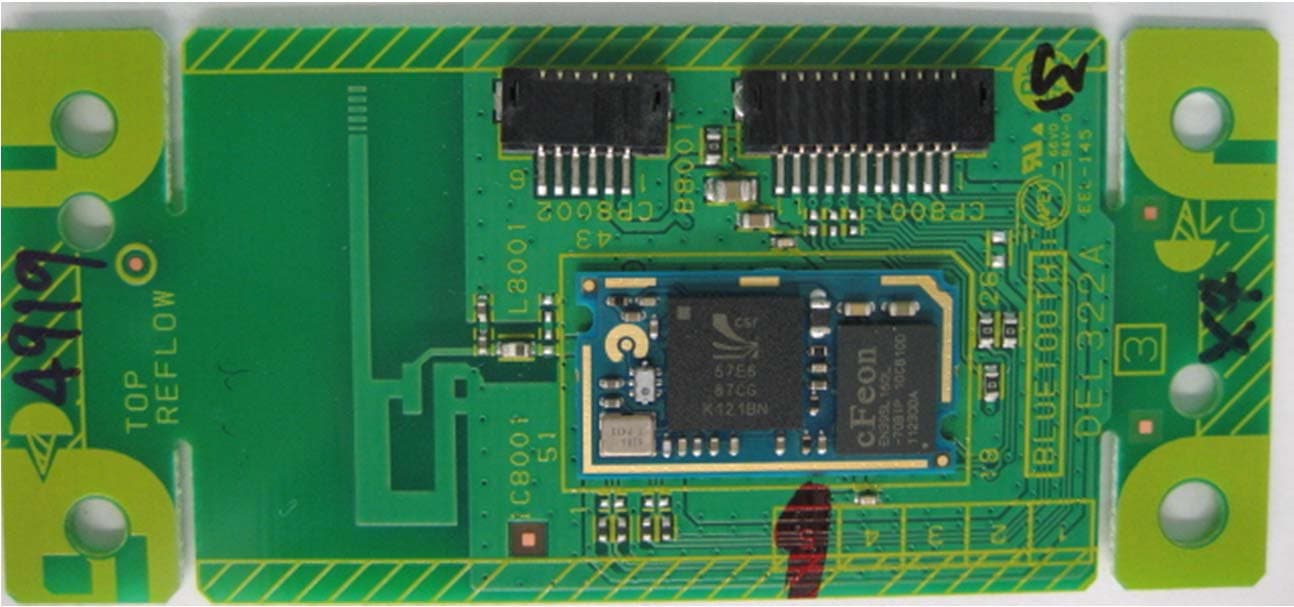
A7RM115A
Jul 16, 2012BLUETOOTH MODULE
Equipment Class
DSS - Part 15 Spread Spectrum Transmitter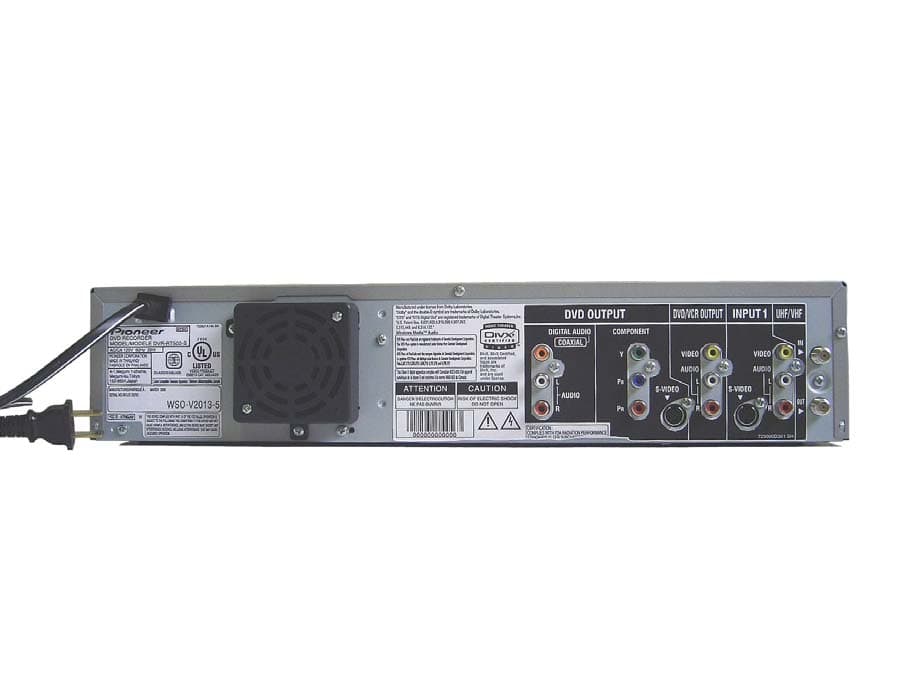
A7RM2J4B
May 23, 2006DVD / VCR TV Interface Device
Equipment Class
HID - Part 15 TV Interface Device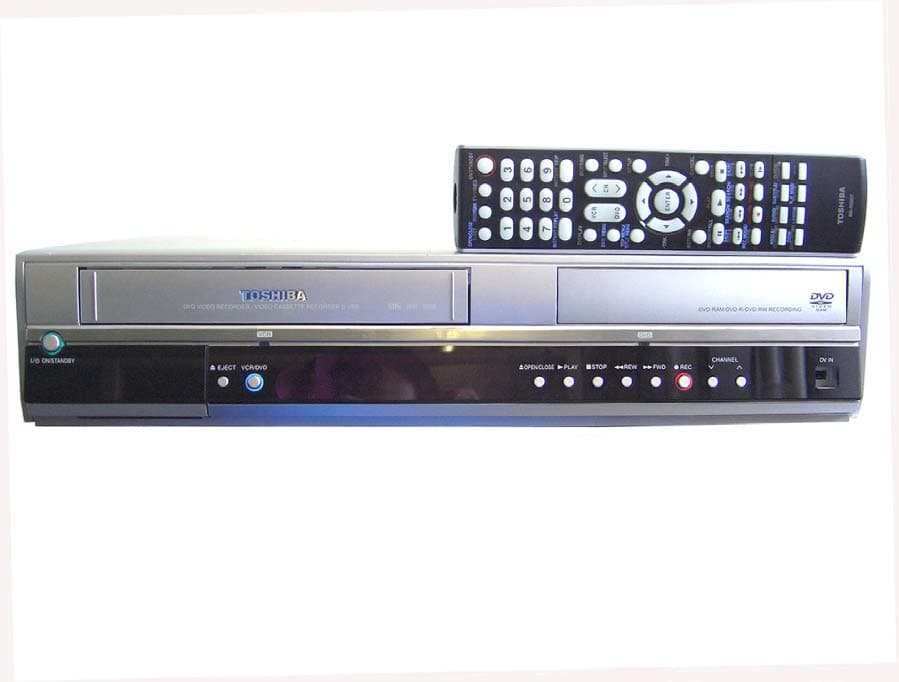
A7RM2J4A
Apr 11, 2006DVD / VCR TV Interface Device
Equipment Class
HID - Part 15 TV Interface Device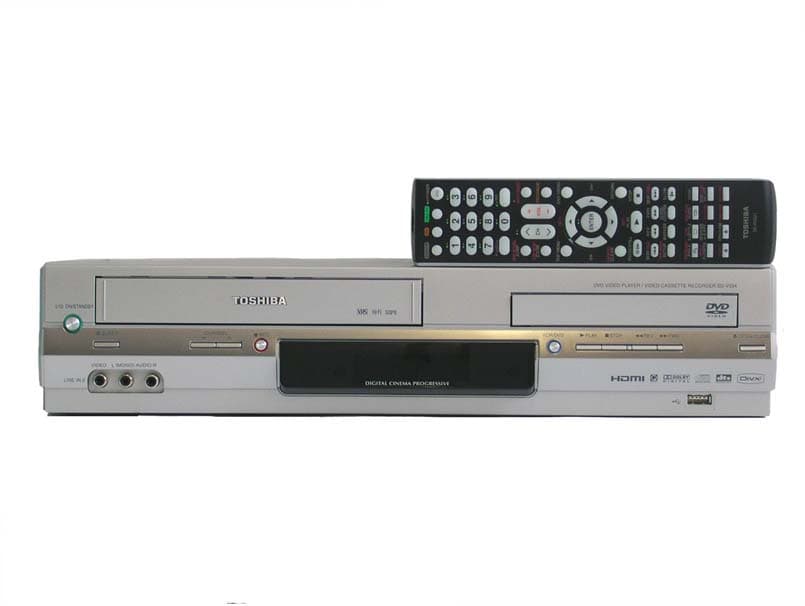
A7RM2I4A
Jan 26, 2006DVD / VCR TV Interface Device
Equipment Class
HID - Part 15 TV Interface Device
A7RM2I3A
Dec 06, 2005DVD/VCR TV Interface Device
Equipment Class
HID - Part 15 TV Interface Device