AAO4303537Cordless Telephone System - Base
RadioShack Corporation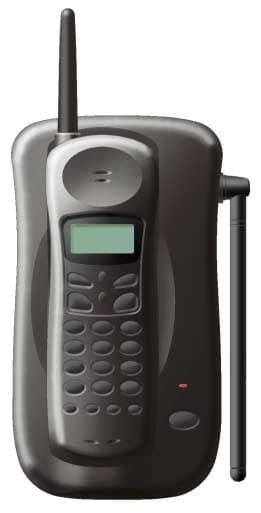
Click to zoom
Application Details
- Equipment Class
- DXX - Part 15 Low Power Communication Device Transmitter
- Date of Grant
- Feb 19, 2002
- Application Purpose
- Original Equipment
- Date of Application
- Feb 19, 2002
- Equipment Note
- Cordless Telephone System - Base
- Frequency Range
- 2428.52241900 - 2434.19003200
- Company
- RadioShack Corporation
- Country
- United States
Documents & Files
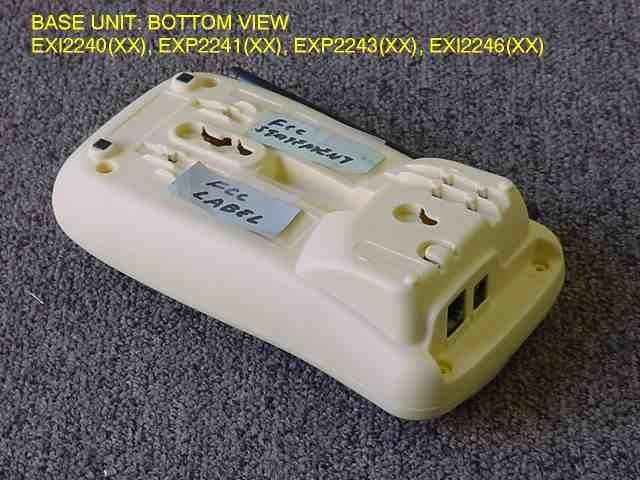
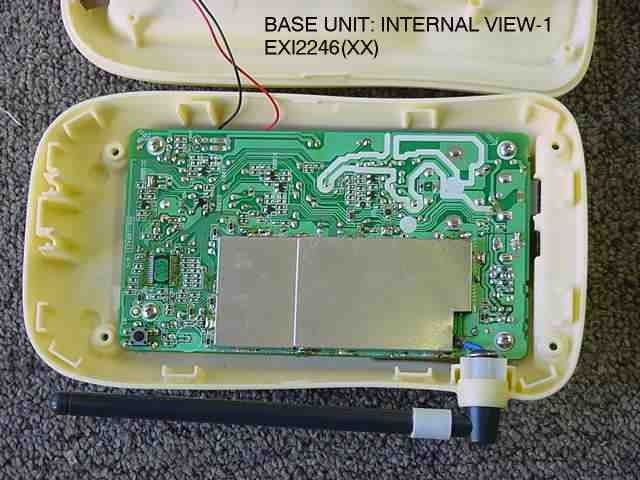
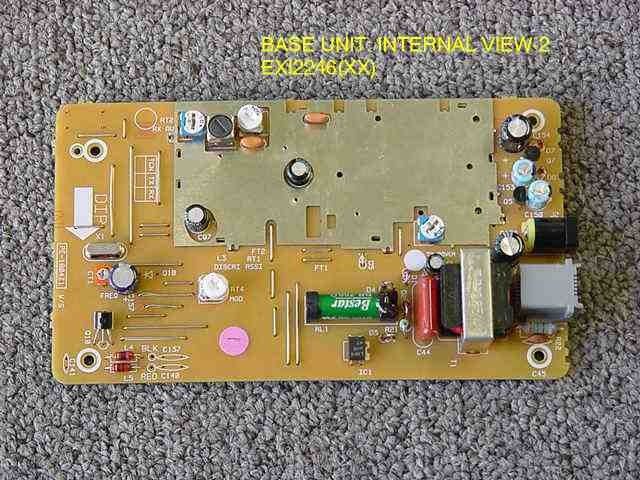
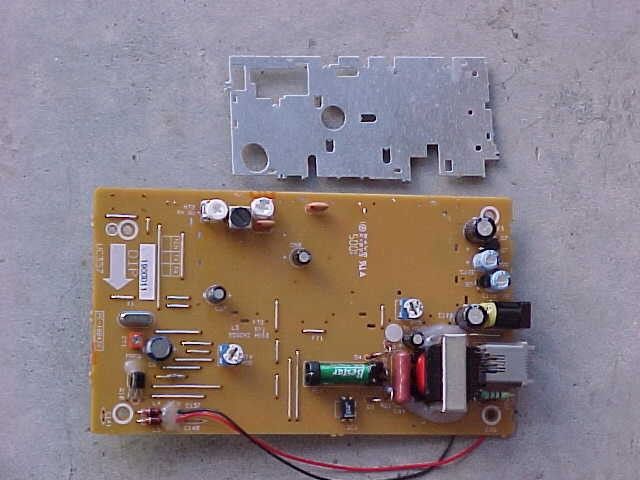
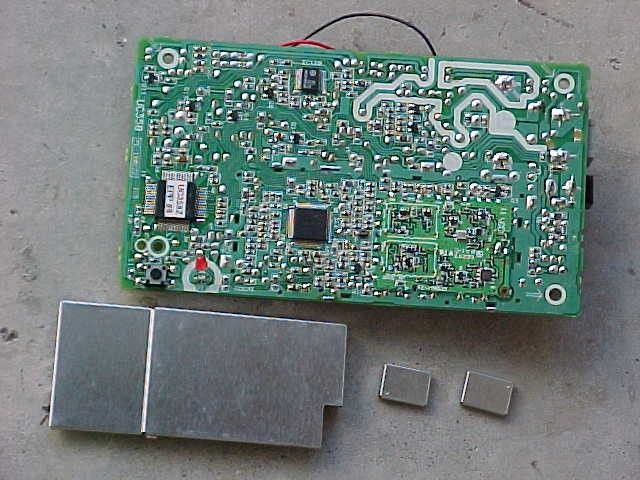
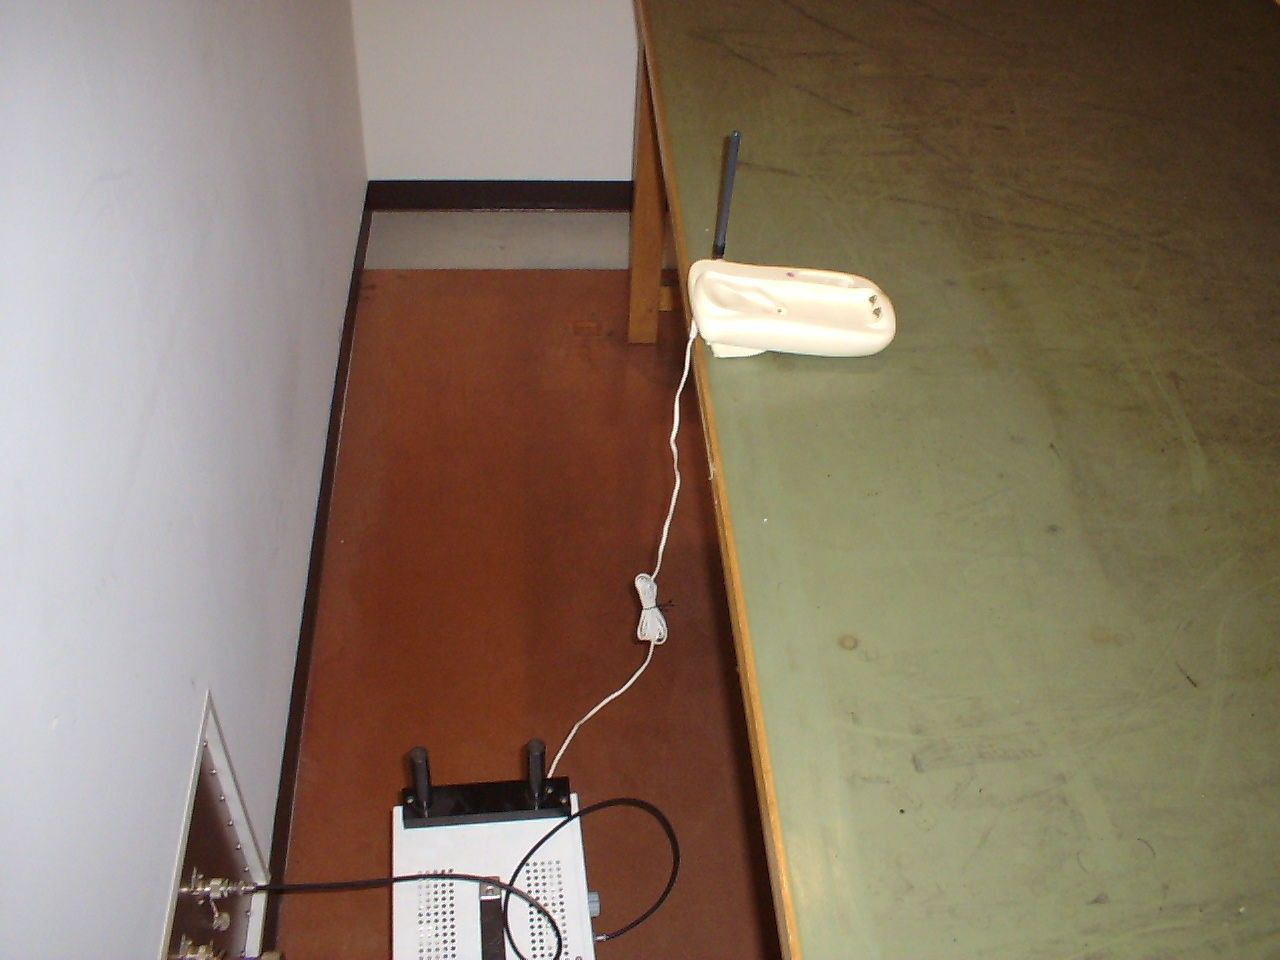
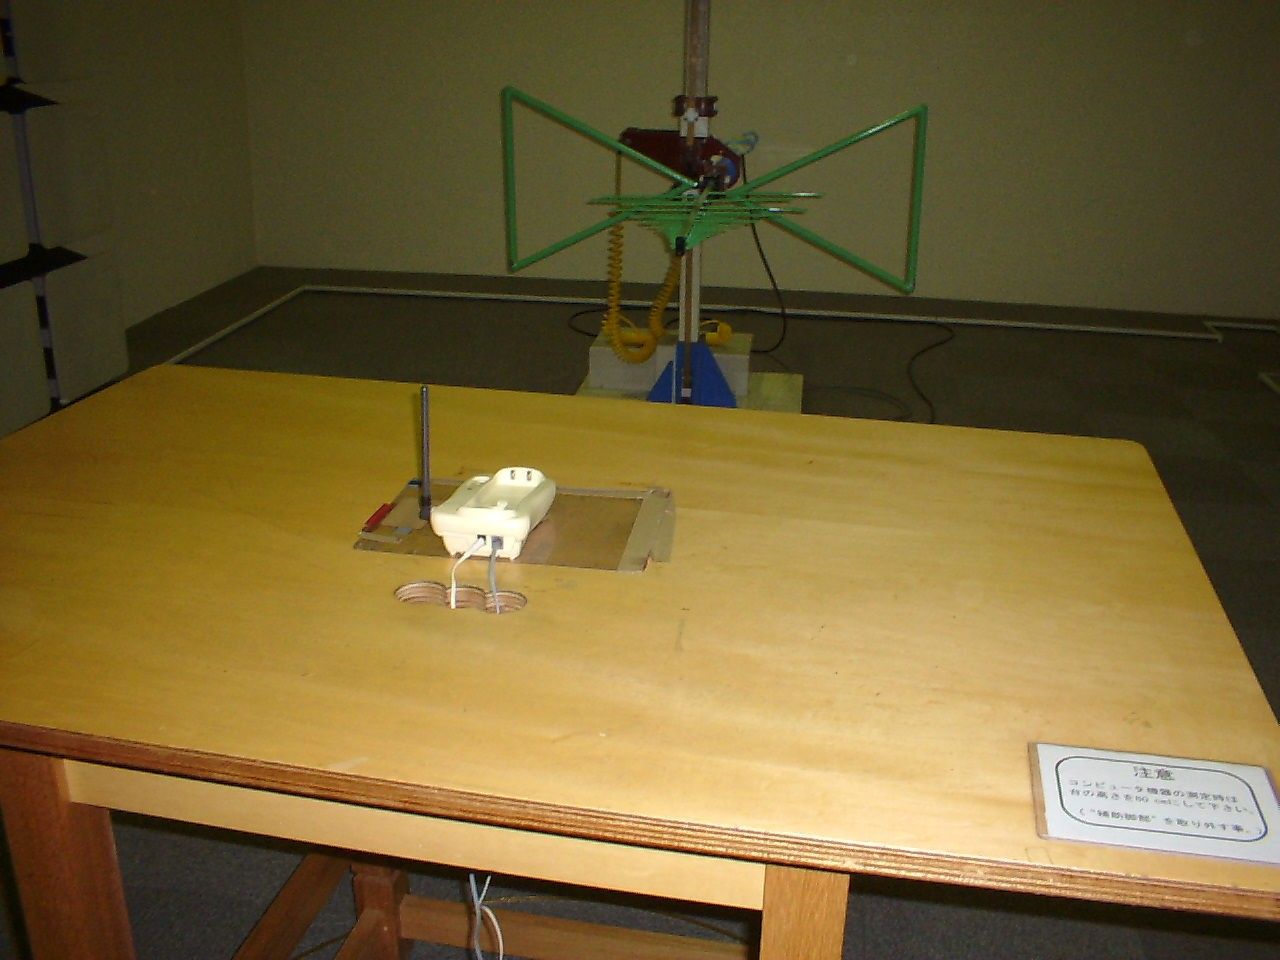
Document Text
Text extracted from the exhibit documents filed with the FCC. Open a document above to read the original.
Users Manual
Contents Welcome/Features2 Quick Reference Guide3 Controls and Functions4 Getting Started Read this First6 Checking the Package Contents7 Setting up the Phone8 Mounting the Base Unit on a Wall12 Terminology13 Setting Menu Options14 Basics Making and Receiving Calls17 Adjusting the Handset Ringer and Earpiece Volume18 Redia l19 Tone Dialing Switch-over19 Traveling Out-of-Range19 Selecting a Different Channel20 Page20 Flash and Call Waiting20 Memory Dialing Storing Phone Numbers and Names21 Steps for Entering Names and Special Characters 23 Making Calls with Memory Dialing25 Chain Dialing26 Editing a Stored Name and/or Phone Number27 Erasing a Stored Name and Phone Number29 RocketDial RocketDia l30 Storing and Editing the RocketDial 30 Making Calls with the RocketDial 30 Deleting the RocketDial 31 Caller ID Features Caller ID32 When the Telephone Rings32 Viewing the Caller ID Message List33 Deleting Information from the Caller ID List34 Using the Caller ID List36 Additional Information Changing the Digital Security Code38 Installing the Beltclip38 Headset Installation38 Note on Power Sources39 Maintenance39 Troubleshooting40 General Information42 Precautions & Warranty43 I.C. Notice45 Index46 [ 2 ] Welcome Congratulations on your purchase of the Uniden EXI2246 cordless telephone. This phone is designed and engineered to exacting standards for reliability, long life, and outstand- ing performance. Note: Some illustrations in this manual may differ from the actual unit for explanation purpose. The EXI2246 features include AutoTalk TM and AutoStandby TM . AutoTalk allows you to answer a call by just removing the handset from the base so you don't have to waste time pushing buttons or flipping switches. AutoStandby allows you to hang up by simply returning the handset to the base. The UltraClear Plus TM true compander circuitry virtually eliminates background noise. This innovative technology, together with 20 different channels, provides you with the best possible reception during all your conversations. To protect you against misbilled calls which might result from your phone being activated by other equipment, the EXI2246 has Random Code TM digital security which automatically selects one of approx. 260,000 digital security codes for the handset and base. Also, the AutoSecure TM feature electronically locks your phone when the handset is in the base. RocketDial TM is a one touch speed dial key that automatically dials your most important or frequently called number. The number dialed, is a preset number stored by the user. Be sure to visit our web site: www.uniden.com Features • 2.4 GHz Extended Range Technology • 3 Line Backlit Display • Caller ID and Call Waiting Caller ID • RocketDial • 10 Number Memory Dialing • The Keypad Facing Up/Down Charging • 32 Digit Redial • Flash and Pause • English or French Display Option • Tone/Pulse Dialing • Page/Find handset • 7 Hour Talk Time/14 Day Standby Time • Handset Earpiece and Ringer Volume Control • Hearing Aid Compatible • 20 Channel Autoscan Uniden ® is a registered trademark of Uniden America Corporation. AutoTalk, AutoStandby, UltraClear Plus, Random Code, AutoSecure, and RocketDial are trademarks of Uniden America Corporation. As ENERGYSTAR ® Partner, Uniden has determined that this product or product models meets the E NERGYSTAR ® guide lines for energy efficiency. E NERGYSTAR ® is a U.S. registered mark. QUICK REFERENCE GUIDE[ 3] Step 1 Charging the Battery TO INSTALL THE HANDSET BATTERYCONNECT TO A PHONE LINE When the handset battery pack is fully charged, after 15-20 hours of charging, plug the telephone cord into the base unit and then into a telephone wall jack. Your phone is set for tone dialing. If your local network requires pulse dialing, please see “Choose the dialing mode” on page 15. 1 Remove the cover. TO CHANGE CALLER ID OPTIONS 1 Press and hold cid/menu. 2 Press or to move the pointer to an option. 3 Press selectto change the option setting. 4 Press endand return the handset to the base. TO CHOOSE THE LANGUAGE 1 Press and hold cid/menu. 2 Press or to move the pointer to Language. 3 Press selectto select Eng(English) or Fr.(French). 4 Press endand return the handset to the base. 1 Plug AC adapter cord into the base unit and then into a 120V AC outlet. 2 Place the handset on the base. 2 Connect the battery pack connector with the correct polarity. 3 Replace the cover. TO PLUG INTO AC POWER Note:You must charge the battery continuously for 15 - 20 hours before using the phone. Note:Three Caller ID options are available: AutoTalk, Caller ID on Call Waiting (CIDCW), and Area Code. QUICK REFERENCE GUIDE Step 2 ConnectingStep 3Setting Up the Caller ID/Language CONTROLS AND FUNCTIONS[ 4 ] 2 3 4 1 5 7 6 8 9 11 20 16 15 14 13 10 12 19 18 17 1.Handset antenna 2.Beltclip holes 3.Optional headset jack 4.Handset battery compartment 5.Handset earpiece 6.LCD display 7.Caller ID/menu key 8.Talk flash key 9. * /tone/left cursor () key 10.Redial/pause (p) key 11.Select key 12.Handset microphone and ringer speaker 13.Volume up () key 14.RocketDial key 15.End key 16.Volume down () key 17.#/right cursor () key 18.Memory key 19.Delete/channel (ch) key 20.Handset charging contacts Controls and Functions 21 22 24 25 23 21.Status LED 22.Find handset key 23.Base charging contacts 24.DC IN 9V jack 25.Telephone line jack CONTROLS AND FUNCTIONS[ 5] GETTING STARTED[ 6 ] Read this First This cordless telephone must be set up before use. Follow these steps: About the digital security code This cordless telephone uses a digital security code to prevent unauthorized access to your base unit. This security code prevents other cordless handset from making calls through your base unit. A random security code will be assigned automatically between your base unit and handset when you charge the battery pack for the first time. If you want to reset the security code, see page 38. Step 1(page 7) Unpack the telephone and accessories. Step 2(page 8) Next, choose the b…
Text truncated - open the document above for the full version.
Cover Letter(s)
C:\windows\TEMP\probonholdemail.doc TIMCO TIMCOTIMCO TIMCO ENGINEERING INC. 849 NW State Road 45 Newberry, Florida 32669 http://www.timcoengr.com 888.472.2424 F 352.472.2030 email: tei@t imcoengr.com 20 February 2002 FCC SUBJECT: RADIOSHACK CORPORATION FCC ID: AAO4303537 MODEL: To Whom It May Concern: On the second page second paragraph of the test report incorrectly stated the radiated emission were only scanned to 4GHz when in fact they were scanned to the 10 harmonic. Sincerely, Sid Sanders
Contact Information
Applicant
Elizabeth Granados(Regulatory Affairs Manager)
Test Firm
Uniden CorporationKeizo Fujiwara
81-3-5543-2875
Technical Specifications
| # | Rule Parts | Frequency Range | Power Output |
|---|---|---|---|
| 1 | 15C | 2.43 GHz - 2.43 GHz | - |
Other Applications from RadioShack Corporation
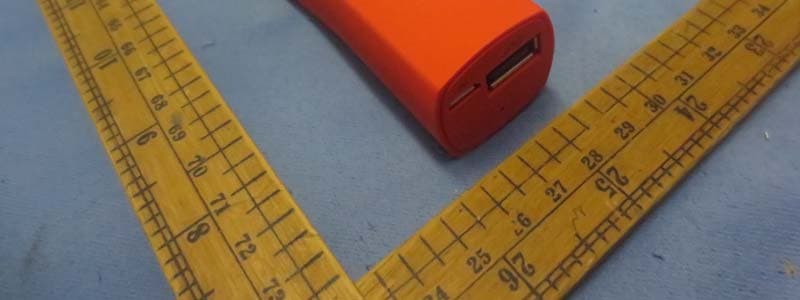
AAO2302500
Feb 10, 2015Bluetooth Power Bank
Equipment Class
DXX - Part 15 Low Power Communication Device Transmitter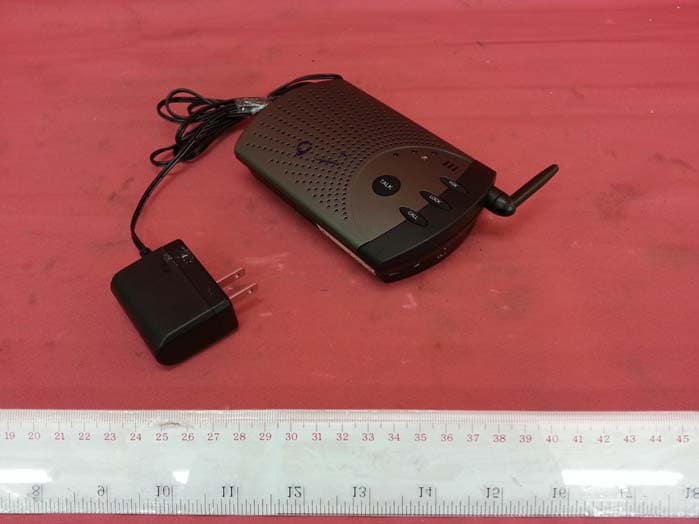
AAO4300124C
May 02, 2013900MHz Wireless Intercom
Equipment Class
DXT - Part 15 Low Power Transceiver, Rx Verified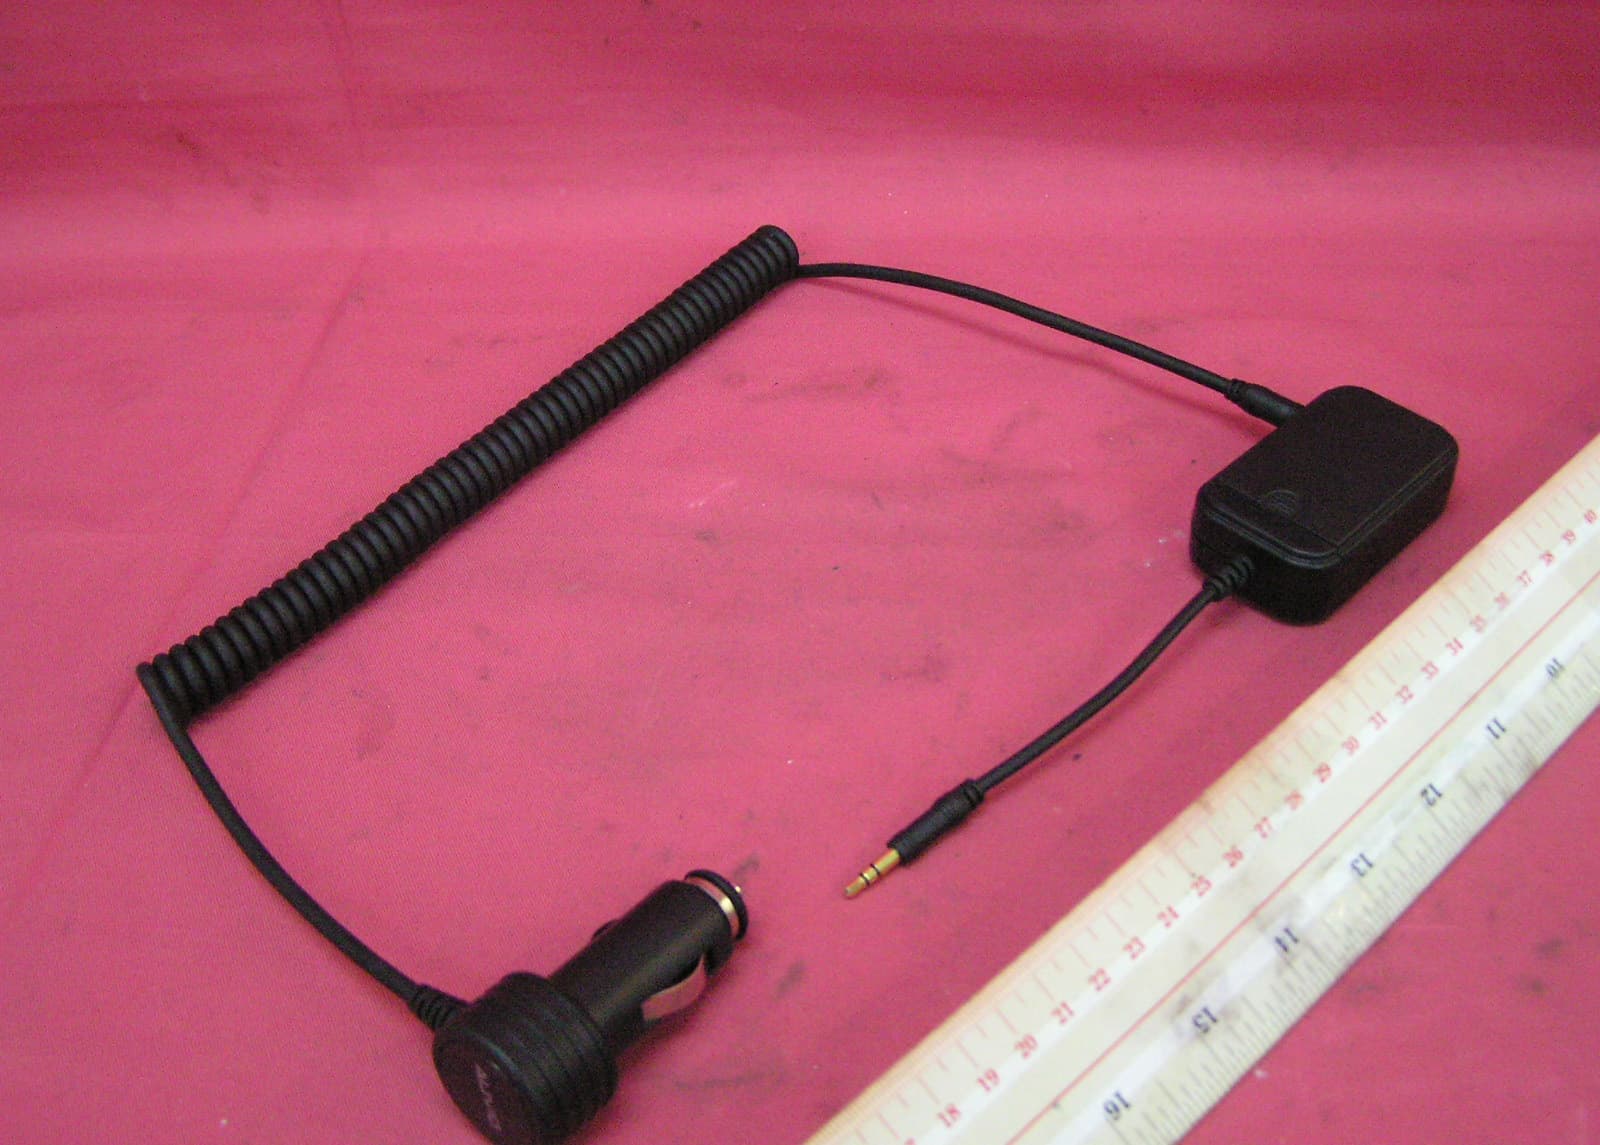
AAO1200876
Nov 30, 2011Universal FM Transmitter
Equipment Class
DXX - Part 15 Low Power Communication Device Transmitter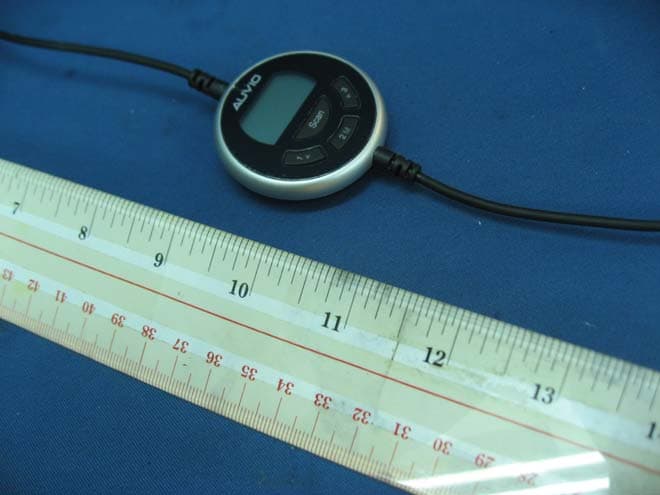
AAO1200962
Aug 02, 2011Universal FM Transmitter
Equipment Class
DXX - Part 15 Low Power Communication Device Transmitter
AAO1500044T
Apr 02, 20112.4GHz Digital Wireless Rear Speaker Kit - Transmitter
Equipment Class
DSS - Part 15 Spread Spectrum Transmitter