ACEC410900Mhz 40 Channel Cordless Phone w/ CID
Clarity, A Division of Plantronics, Inc.
Click to zoom
Application Details
- Equipment Class
- DXT - Part 15 Low Power Transceiver, Rx Verified
- Date of Grant
- Sep 09, 2005
- Application Purpose
- Original Equipment
- Date of Application
- Sep 09, 2005
- Equipment Note
- 900Mhz 40 Channel Cordless Phone w/ CID
- Frequency Range
- 926.12500000 - 927.10000000
- Country
- United States
Documents & Files
Document Text
Text extracted from the exhibit documents filed with the FCC. Open a document above to read the original.
Users Manual
E N G L I S H E S P A Ñ O L F R A N Ç A I S 900 MHz Cordless Telephone with Clarity ® Power ™ Technology Model C410 Owners Manual UG060205_C410_RevA.qxd 6/15/05 8:03 PM Page 1 Safety Instructions . . . . . . . . . . . . . . . . . . . . . . . . . . . . . . .3 Getting Started . . . . . . . . . . . . . . . . . . . . . . . . . . . . . . . . .6 C410 Features . . . . . . . . . . . . . . . . . . . . . . . . . . . .6 Connecting Your Telephone . . . . . . . . . . . . . . . . . . .10 Choosing a Location . . . . . . . . . . . . . . . . . . . . . . . .10 Desktop Installation . . . . . . . . . . . . . . . . . . . . . . . . .11 Wall Mount Instructions . . . . . . . . . . . . . . . . . . . . . .12 Handset Battery Charging . . . . . . . . . . . . . . . . . . . .13 Operating Your Telephone . . . . . . . . . . . . . . . . . . . . . . . . .14 Features . . . . . . . . . . . . . . . . . . . . . . . . . . . . . . . . .14 Memory Storage . . . . . . . . . . . . . . . . . . . . . . . . . . .18 Making and Receiving Calls . . . . . . . . . . . . . . . . . .19 Trouble Shooting . . . . . . . . . . . . . . . . . . . . . . . . . . . . . . . .20 FCC Requirements and Regulations . . . . . . . . . . . . . . . . . . .22 Warranty and Service . . . . . . . . . . . . . . . . . . . . . . . . . . . .24 2 Table of Contents UG060205_C410_RevA.qxd 6/15/05 8:03 PM Page 2 E N G L I S H 3 When using your telephone equipment, basic safety precautions should always be followed to reduce the risk of fire, electric shock and injury to persons including the following: 1. Read and understand all instructions. 2. Follow all warnings and instructions marked on the telephone. 3. Do not use this telephone near a bathtub, wash basin, kitchen sink or laundry tub, in a wet basement, near a swimming pool or anywhere else there is water. 4. Avoid using a telephone (other than a cordless type) during a storm. There may be a remote risk of electrical shock from lightning. 5. Do not use the telephone to report a gas leak in the vicinity of the leak. 6. Unplug this telephone from the wall outlets before cleaning. Do not use liquid cleaners or aerosol cleaners on the telephone. Use a damp cloth for cleaning. 7. Place this telephone on a stable surface. Serious damage and/or injury may result if the telephone falls. 8. Do not cover the slots and openings on this telephone. This telephone should never be placed near or over a radiator or heat register. This telephone should not be placed in a built-in installation unless proper ventilation is provided. 9. Operate this telephone using the electrical voltage as stated on the base unit or the owner’s manual. If you are not sure of the voltage in your home, consult your dealer or local power company. 10.Do not place anything on the power cord. Install the telephone where no one will step or trip on the cord. 11. Do not overload wall outlets or extension cords as this can increase the risk of fire or electrical shock. 12. Never push any objects through the slots in the telephone. They can touch dangerous voltage points or short out parts that could result in a risk of fire or electrical shock. Never spill liquid of any kind on the telephone. 13. To reduce the risk of electrical shock, do not take this phone apart. Opening or removing covers may expose you to dangerous voltages or other risks. Incorrect reassembly can cause electric shock when the appliance is subsequently used. 14. Unplug this product from the wall outlet and refer servicing to the manufacturer under the following conditions: A. When the power supply cord or plug is frayed or damaged. B. If liquid has been spilled into the product. C. If the telephone has been exposed to rain or water. D. If the telephone does not operate normally by following the operating instructions. Adjust only those controls that are covered by the operating instructions. Improper adjustment may require extensive work by a qualified technician to restore the telephone to normal operation. E. If the telephone has been dropped or the case has been damaged. F. If the telephone exhibits a distinct change in performance. 15. Never install telephone wiring during a lightning storm. 16. Never install telephone jacks in wet locations unless the jack is specifically designed for wet locations. 17. Never touch uninsulated telephone wires or terminals unless the telephone line has been disconnected at the network interface. 18. Use caution when installing or modifying telephone lines. 19. Use only the power cord and batteries indicated in the manual. Do not dispose of batteries in a fire. They may explode. Check with local codes for possible special disposal instructions. 20. Plug the AC adaptor into the outlet that is nearest and most accessible to the telephone. Important Safety Instructions SAVE THESE INSTRUCTIONS UG060205_C410_RevA.qxd 6/15/05 8:03 PM Page 3 4 Caution:Risk of explosion if battery is replaced by an incorrect type. Dispose of used batteries according to the instructions. 1. Use only the approved battery pack in the handset of your cordless phone. For Handset Unit:3.6 V 600mAHr NiMH Rechargeable Battery GP60AAAH3BMJZ GPI International Ltd 3SN-AAA60H-S-J1 Sanik Battery Co., Ltd. 2. Do not dispose of the battery in a fire as it may explode. Check with local codes for possible special disposal instructions. 3. Do not open or mutilate the battery. Released electrolyte is corrosive and may cause damage to the eyes and skin. It may be toxic if swallowed. Safety Instructions for Batteries 4. Exercise care in handling batteries in order not to short the battery with conducting materials such as rings, bracelets and keys. The battery or conduction material may overheat and cause burns. 5. Charge the battery (ies) provided with or identified for use with this product only in accordance with the instructions and limitations specified in this manual. 6. Observe proper polarity orientation between the battery pack and the battery charger. SAVE THESE INSTRUCTIONS UG060205_C410…
Text truncated - open the document above for the full version.
Block Diagram
RF Module (Base) Block Diagram Revision 00 11of 18 C410 Base Unit Block Diagram Revision 00 7of 18 RF Module (Handset) Block Diagram Revision 00 12of 18 C410 Handset Unit Block Diagram Revision 00 3of 18
External Photos
INTERTEK TESTING SERVICES External Photos FCC ID: ACEC410 external photos - 1 of 2 INTERTEK TESTING SERVICES External Photos FCC ID: ACEC410 external photos - 2 of 2
ID Label/Location Info
C410 Rev.4 07/27/2005 PULSE/TONEPULSE/TONE ON/OFFON/OFF TEL BOOSTBOOST ( ) 2 Size: 46mm x 24mm V01A S/N:CXXXXXX 8.8mm 70255 C410 Rev.4 07/27/2005 IC:1186C-C410 FCC ID: ACEC410 Clarity Model No. C410 19mm x 7.5mm 19mm x 7.5mm
Internal Photos
INTERTEK TESTING SERVICES Internal photos FCC ID: ACEC410 internal photos - 1 of 8 Base Unit assembly Base Unit Main PCB comp side (View 1) INTERTEK TESTING SERVICES Internal photos FCC ID: ACEC410 internal photos - 2 of 8 Base Unit Main PCB comp side (View 2) Base Unit Main PCB solder side INTERTEK TESTING SERVICES Internal photos FCC ID: ACEC410 internal photos - 3 of 8 Base Page Key front side Base Page Key rear side INTERTEK TESTING SERVICES Internal photos FCC ID: ACEC410 internal photos - 4 of 8 Base Charging Contacts front side Base Charging Contacts rear side INTERTEK TESTING SERVICES Internal photos FCC ID: ACEC410 internal photos - 5 of 8 Base Unit Oscillator PCB comp side Base Unit Oscillator PCB solder side INTERTEK TESTING SERVICES Internal photos FCC ID: ACEC410 internal photos - 6 of 8 Handset assembly Handset Main PCB comp side (View 1) INTERTEK TESTING SERVICES Internal photos FCC ID: ACEC410 internal photos - 7 of 8 Handset Main PCB comp side (View 2) Handset Main PCB Keypad side INTERTEK TESTING SERVICES Internal photos FCC ID: ACEC410 internal photos - 8 of 8 Handset Oscillator PCB comp side Handset Oscillator PCB solder side
Operational Description
C410 Circuit Description CONTENT 1. Introduction 2. Functional Blocks of the Handset 3. Handset Unit Circuit Block Description 4. Functional Blocks of the Base unit 5. Base Unit Circuit Block Description 6. Functional Blocks of the RF Module 7. RF Module Circuit Block Description 8. C410 Basic Operation 9. RF Channels Revision 00 1of 18 1. Introduction The model C410 is a 40 channel (902 MHz - 928 MHz) cordless telephone. This unit is made up of two parts: a. A Handset unit. b. A Base unit. 2. Functional Blocks of the Handset The block diagram of C410 handset unit is as shown below. It is made up of the following parts: 2.1 Keyboard Matrix, Switches and Function LED 2.2 MCU and MCU Interface 2.3 RF Module 2.4 Compander 2.5 Data Shaper 2.6 Charge and Control 2.7 Low Battery Detector 2.8 Buzzer 2.9 Audio Circuit Revision 00 2of 18 C410 Handset Unit Block Diagram Revision 00 3of 18 3. Handset Unit Circuit Block Description 3.1 Keyboard Matrix, Switches and Function LED The keyboard consists of the following keys: • FIRE – one touch memory key • POL – one touch memory key • AMB – one touch memory key • CHN – for changing RF carrier frequency • TALK – for On/Off hook control • MEM – for memory program and dialing • 1, 2, 3, 4, 5, 6, 7, 8, 9, *, 0, # – numeric keys • FLASH – provides timed On/Off hook function • MUTE – turns Off/On the handset microphone • RDL/P – redials the last number or provides a pause during dialing. The keyboard is connected to Pins 19 to 26 the MCU (U2). The switches consist of the followings: • BOOST CLARITY POWER – for On/Off the receiver amplifier gain • RINGER ON/OFF – turns On/Off the ringer buzzer They are connected to pins 24 and 21 of MCU. The function LEDs consist of the followings: • MICMUTE (LED2 - Red) – Located under the “MUTE” key. On/Off when microphone is Off/On • INUSE (LED17 – Green; LED6 and LED18 - Red) – Located under the “TALK” key and the handset antenna. On/Off when telephone is Off-hook/On-hook • BOOST (LED17 – RED) – Located under the “TALK” key. On/Off when the receiver amplifer extra gain is On/Off • BACKLIGHT (LED3, LED5, LED7, LED8, LED9, LED10, LED11, LED12, LED13, LED14, LED15, LED16 – Green) – Located under the keyboard. On for a short time when any key is pressed • RINGER (LED6 and LED18 - Red) – Located in the handset antenna. Flashes when the telephone line rings These LEDs are controlled by pins 7, 9, 10, 11 and 12 of MCU. Revision 00 4of 18 3.2 MCU and MCU Interface The controller of the handset is U2. It controls the functions of the handset through the keyboard interface and signals from the base unit. The data to and from the base goes through pin 31 (data from base) and pin 34 (data to base). 3.3 RF Module For operation and frequency see RF module section. It receives the PLL data through pins 5, 6, 7 from MCU pins 1, 43 and 44. The antenna located at the top of the unit and is permanent attached to RF module through a copper wire. 3.4 Compander A compander U5 is used for improving the S/N of transmit and receive audio signals. 3.5 Data Shaper The information which sent from base unit is recovered by the amplifier Q7 and Q9. 3.6 Charge and Control D5, D7, D9, D10, D6, D11, Q5 and ZD1 provide polarity and over-voltage protection during battery charging. The charge signal is detected by pin 29 of the MCU. When the handset is put into the base cradle, a negative pulse is sent to pin 14 of the MCU. 3.7 Low Battery Detector The battery voltage is detected by U4D and the signal is sent to pin 4 of MCU. 3.8 Buzzer Q2 is the buzzer signal amplifier and driven by the MCU pins 2, 32, 33. 3.9 Audio Circuit Speech signal is picked up by the internal microphone M1 and sent to the telephone line through amplifier U4C, the compander U5 and the RF module. The incoming speech is received through the RF module, the compander, the amplifier U4A and U3. When BOOST is On, extra gain is inserted in this audio path. The headset jack is for external speaker and microphone. Revision 00 5of 18 4. Functional Blocks of the Base unit The block diagram of C410 base unit is as shown below. It is made up of the following parts: 4.1 Power Supply 4.2 MCU and MCU Interface 4.3 RF Module 4.4 Compander 4.5 Data Shaper 4.6 Charge and Control 4.7 Telephone Line Interface 4.8 Ring Signal Detector 4.9 Base Ringer 4.10 Keyboard Matrix, Switches and Function LED Revision 00 6of 18 C410 Base Unit Block Diagram Revision 00 7of 18 5. Base Unit Circuit Block Description 5.1 Power Supply The base unit is powered by an AC adapter (9V dc). The voltage regulator (BU3) regulates the input DC to 5V. This provides power to every part of the unit. 5.2 MCU and MCU Interface The controller of the base is U1 and controls the function of the unit. It communicates with the handset through the RF module. PLL data to the RF module BMD1 is sent through pins 1, 43 and 44. The data between Handset and Base is via the pin 31 (data from handset) and pin 34 (data to handset) through the RF module. The transmitter power is controlled by the signal from pin 35 of MCU. The MCU monitors ring signal from telephone line through the telephone line interface at pin 29. MCU pins 19 to 24 provide DTMF signal through a resistor ladder connected at these pins. The keyboard interface is provided by pins 8 to 12. 5.3 RF Module For operation and frequency see RF module section.. It receives the PLL data through pins 5, 6, 7 from MCU pins 1, 43 and 44. The antenna (~130mm total length) partly located inside the plastic rod at the side the unit is permanent attached to RF module. 5.4 Compander The compander BU2 is used for improving the S/N of the transmit and receive audio signal. 5.5 Data Shaper The information sent from handset unit is recovered by the amplifier BQ4 and BQ5. 5.6 Charge and Control BQ12 detects the handset charging current and sends signal to MCU pin 30. BQ20 detects the 9V supply and sends a negative pulse to MCU pin 14. 5.7 Telephone Line Interface Revision 00 8of 18 BL1, BL2, BF1, BVAR1, B…
Text truncated - open the document above for the full version.
Test Report
INTERTEK TESTING SERVICES Radiated Emission on the Bandedge Plots FCC ID: ACEC410 emission - 1 of 2 Plot B1A Plot B1B INTERTEK TESTING SERVICES Radiated Emission on the Bandedge Plots FCC ID: ACEC410 emission - 2 of 2 Plot H1A Plot H1B
Test Report
Report No.: 05124961 Talk Mode Ctrl No.: N/A PAGE 1 Tested By:Hong, Report No.:05124961 Scan Settings (1 Range) |--------- Frequencies -----------||----------- Receiver Settings ------------| Start Stop Step IF BW Detector M-Time Atten Preamp OpRge 150k 30M 5k 10k PK+AV 10ms AUTO LN OFF 60dB Final Measurement: x QP / + AV Meas Time: 1 s Subranges: 16 Acc Margin: 20dB Transducer No. Start Stop Name 21 9k 30M EW0698 0 10 20 30 40 50 60 70 80 90 dBuV 100 0.15 MHz 30 110 F15Q F15A Report No.: 05124961 Talk Mode Ctrl No.: N/A Tested By:Hong, Report No.:05124961 Scan Settings (1 Range) |--------- Frequencies -----------||----------- Receiver Settings ------------| Start Stop Step IF BW Detector M-Time Atten Preamp OpRge 150k 30M 5k 10k PK+AV 10ms AUTO LN OFF 60dB Final Measurement Results: no Results
Test Setup Photos
INTERTEK TESTING SERVICES The Worst Case Configuration Photographs FCC ID : ACEC410 config photos (radiated emission – base unit) - 1 of 1 Radiated Emission – Base Unit Front View Rear View INTERTEK TESTING SERVICES The Worst Case Configuration Photographs FCC ID : ACEC410 config photos (radiated emission - handset) - 1 of 1 Radiated Emission – Handset Front View Rear View INTERTEK TESTING SERVICES The Worst Case Configuration Photographs FCC ID : ACEC410 config photos (conducted emission) - 1 of 2 Conducted Emission Front View Right Side View INTERTEK TESTING SERVICES The Worst Case Configuration Photographs FCC ID : ACEC410 config photos (conducted emission) - 2 of 2 Conducted Emission Left Side View
Contact Information
Applicant
JAMIE VAN DEN BERGH(CEO)
Technical Contact
Intertek Testing Services Hong Kong Ltd.Tommy Leung
[email protected]852-2173-8538
2/F., Garment Centre, · Kowloon · Hong Kong
Non-Technical Contact
Intertek Testing Services Hong Kong Ltd.Tommy Leung
[email protected]852-2173-8538
Test Firm
Intertek Testing Services Hong KongBilly Chow
Technical Specifications
| # | Rule Parts | Frequency Range | Power Output |
|---|---|---|---|
| 2 | 15C | 926.125 MHz - 927.1 MHz | - |
Other Applications from Clarity, A Division of Plantronics, Inc.
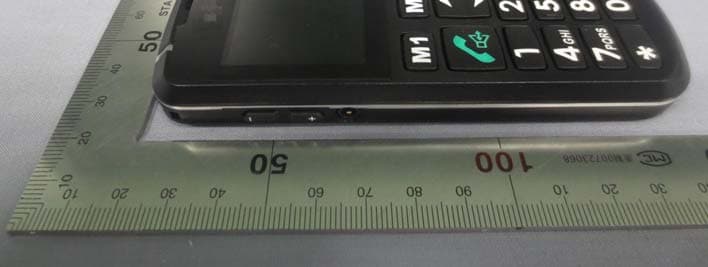
ACEPAL101V1
Jun 03, 2013Mobile phone
Equipment Class
DSS - Part 15 Spread Spectrum Transmitter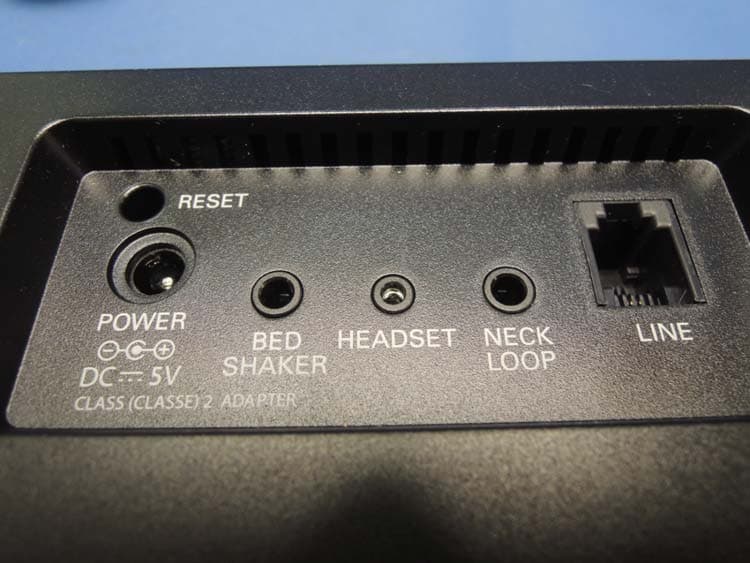
ACEENSEMBLE
Nov 29, 2012Corded Telephone with TAM and WiFi Feature
Equipment Class
DTS - Digital Transmission System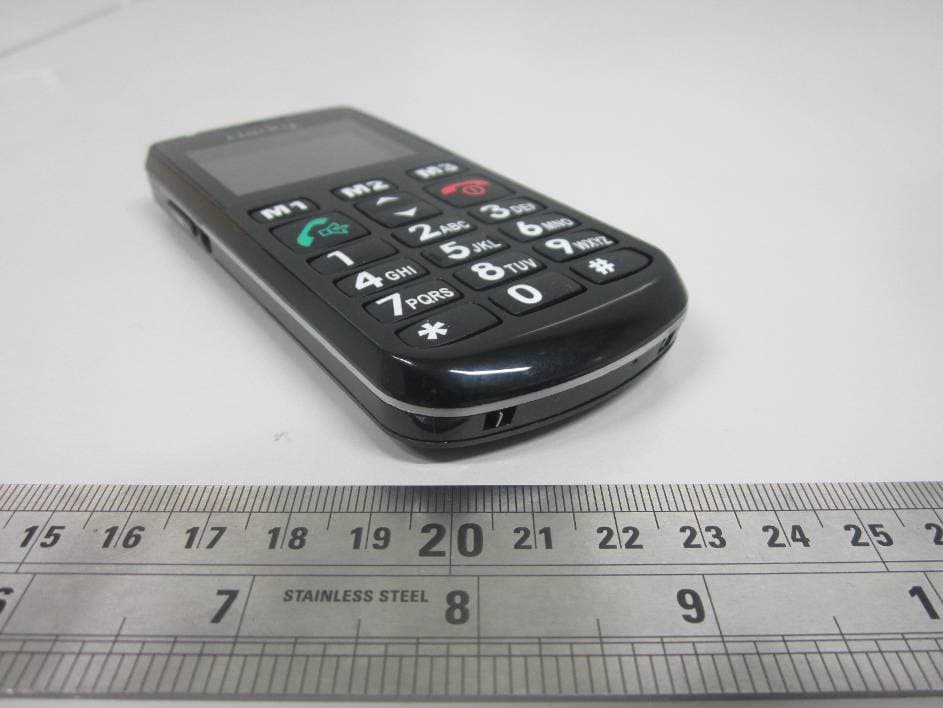
ACEPAL101
Jan 24, 2012GSM Senior Mobile Phone
Equipment Class
DSS - Part 15 Spread Spectrum Transmitter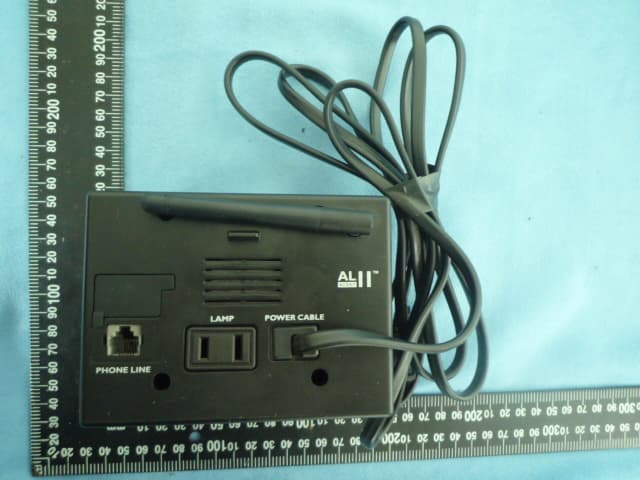
ACEAL11RTXS
Jun 28, 2010Alert Master Home Alert System
Equipment Class
DSR - Part 15 Remote Control/Security Device Transceiver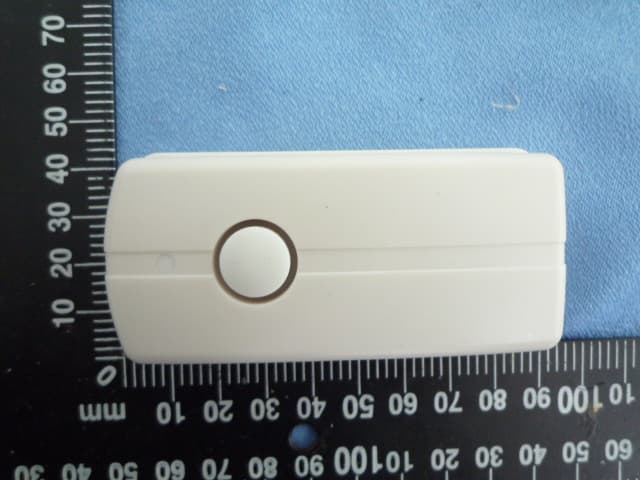
ACED100TXS
Jun 28, 2010Doorbell
Equipment Class
DSC - Part 15 Security/Remote Control Transmitter