AFJ259000Amateur HF Scanning Transceiver
ICOM Incorporated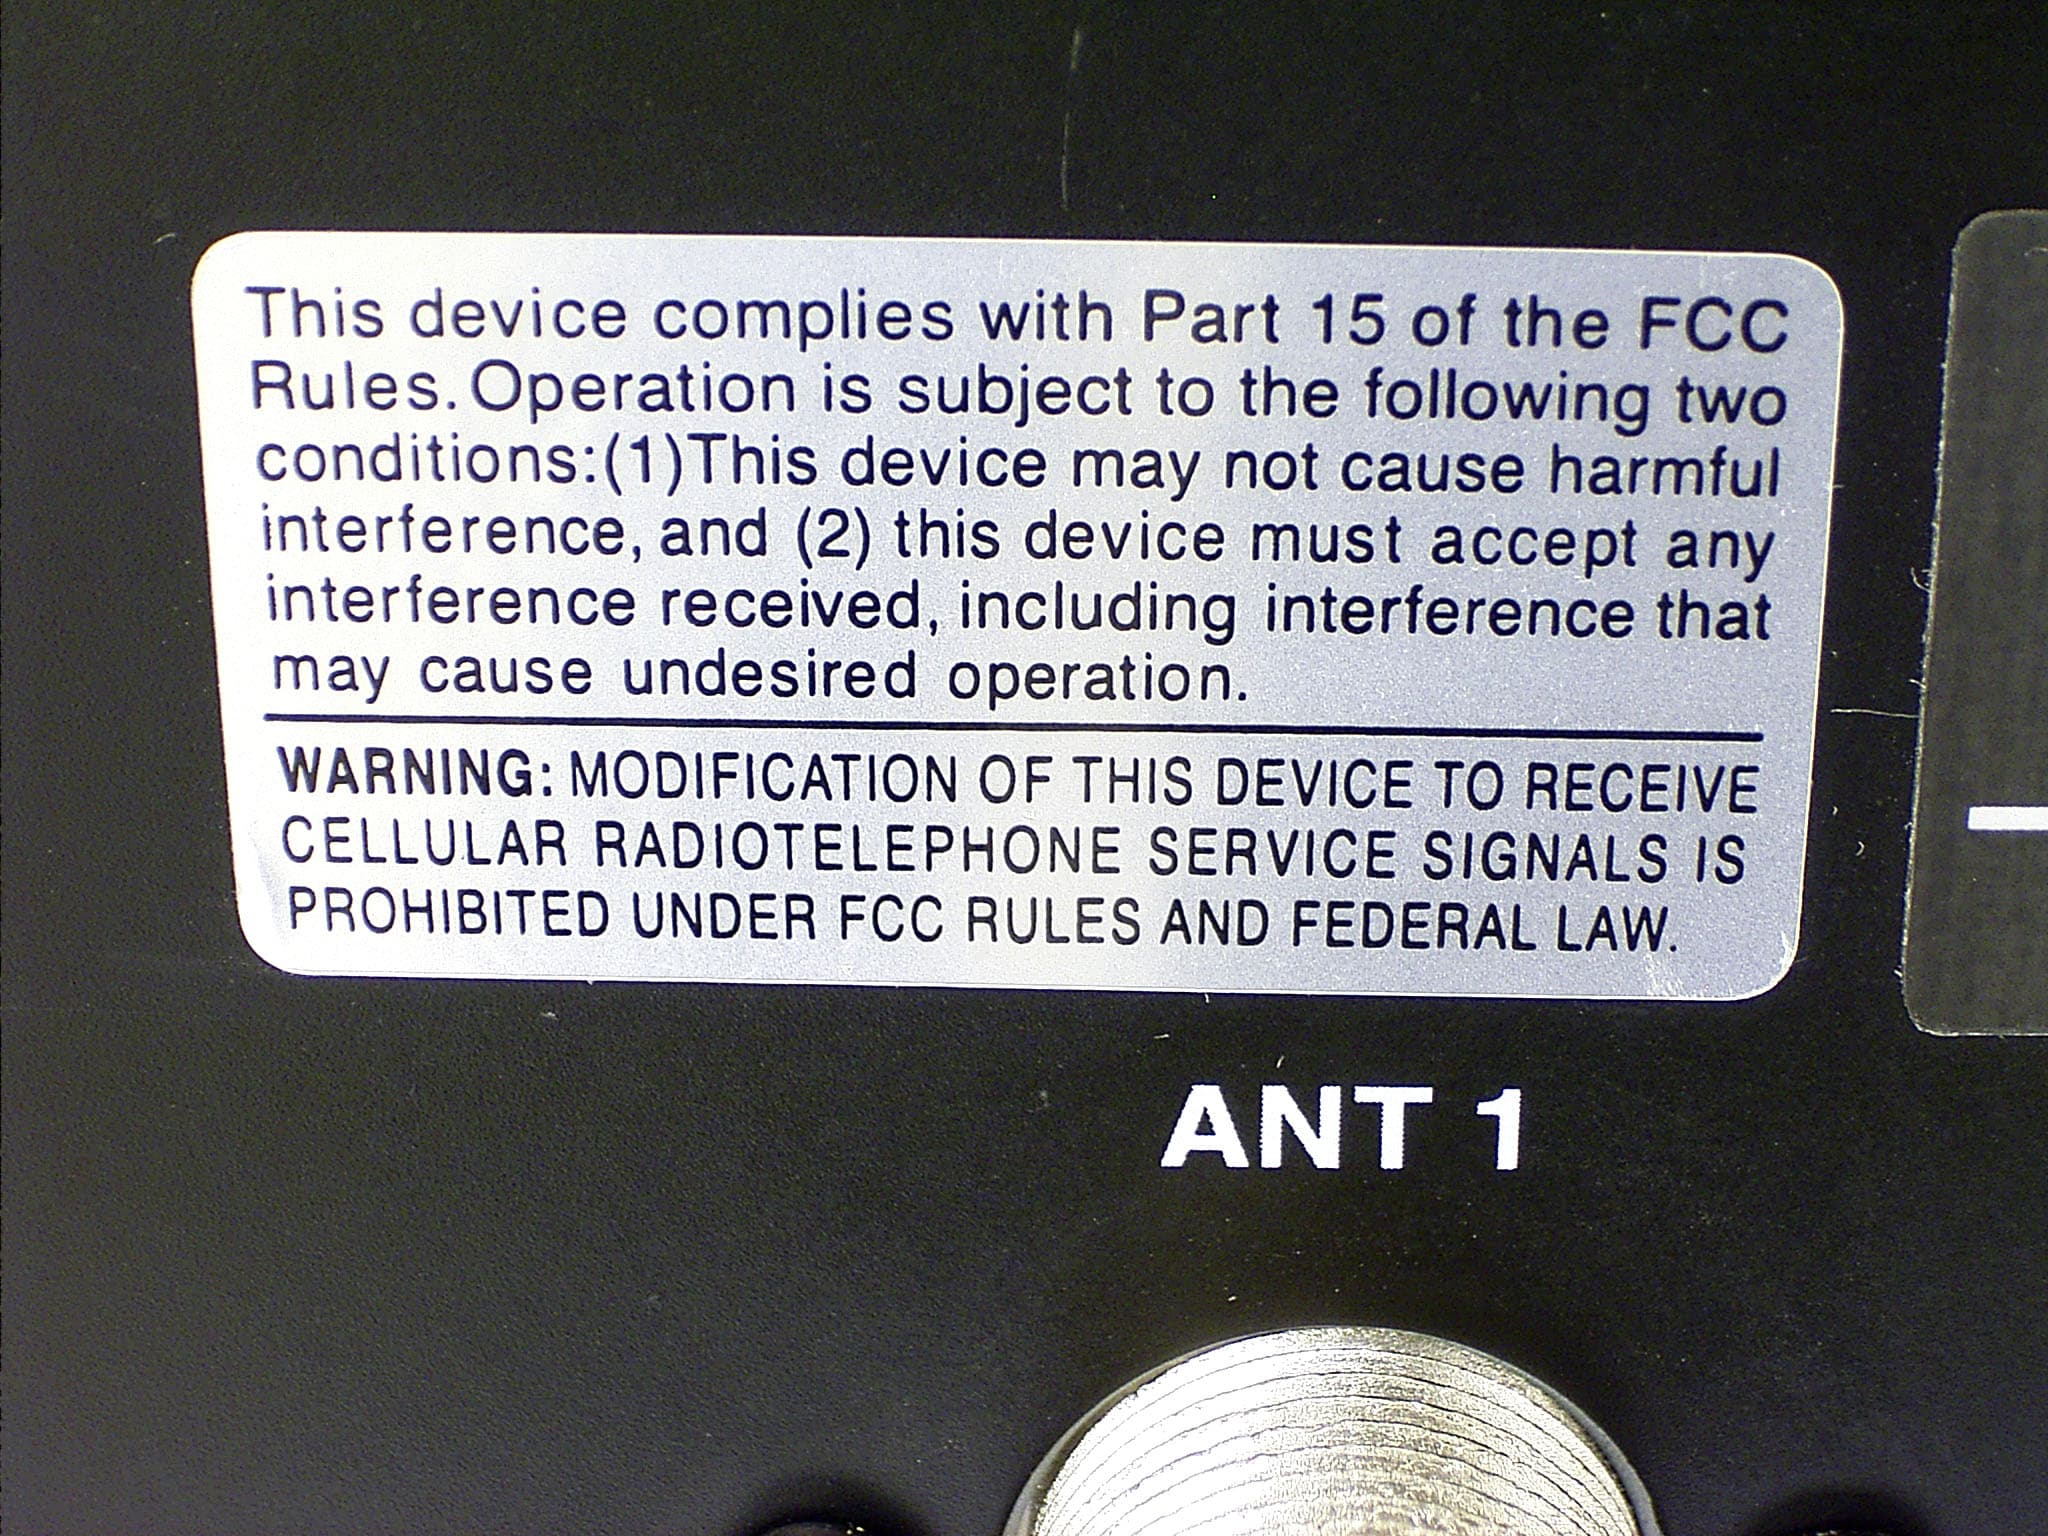
Click to zoom
Application Details
- Equipment Class
- CSR - Scanning Receiver
- Date of Grant
- Feb 17, 2004
- Application Purpose
- Original Equipment
- Date of Application
- Feb 17, 2004
- Equipment Note
- Amateur HF Scanning Transceiver
- Frequency Range
- 0.03000000 - 60.00000000
- Company
- ICOM Incorporated
- Country
- Japan
Documents & Files
Document Text
Text extracted from the exhibit documents filed with the FCC. Open a document above to read the original.
Users Manual
THE TRANSCEIVER i7800 Instruction Manual A-6328H-1EX Printed in Japan © 2004 Icom Inc. i FOREWORD Congratulations! You are the owner of the world’s most advanced amateur HF/50 MHz transceiver— IC-7800. The IC-7800 is designed and built with Icom’s superior technology and craftsmanship. With proper care, this prod- uct should provide you with years of trouble-free operation. We would like to take a couple of moments of your time to thank you for making your IC-7800 your radio of choice, and hope you agree with Icom’s philosophy of “technology first.” Many hours of research and development went into the design of your IC-7800. DFEATURES ❍Ultimate receiver performance +40 dBm of IP3 characteris- tics (HF bands only) ❍Built-in Baudot RTTY and PSK31 modulator/demodulator and direct PC keyboard connection capability for RTTY and PSK31 operation without a PC ❍Independent receiver circuits for main and sub bands pro- vide perfect Dualwatch operation ❍Up-graded real-time spectrum scope— center frequency and fix frequency modes, and mini-scope indications IMPORTANT READ THIS INSTRUCTION MANUAL CAREFULLYbefore at- tempting to operate the transceiver. SAVE THIS INSTRUCTION MANUAL.This manual contains im- portant safety and operating instructions for the IC-7800. EXPLICIT DEFINITIONS TRADEMARKS Icom, Icom Inc. and the are registered trademarks of Icom Incorporated (Japan) in the United States, the United Kingdom, Germany, France, Spain, Russia and/or other countries. WORDDEFINITION R WARNING Personal injury, fire hazard or electric shock may occur. CAUTIONEquipment damage may occur. NOTE If disregarded, inconvenience only. No risk or person- al injury, fire or electric shock. ii PRECAUTIONS RWARNING HIGH VOLTAGE! NEVERat- tach an antenna or internal antenna connector during transmission. This may result in an electrical shock or burn. RWARNING! NEVER operate the transceiver with a headset or other audio accessories at high vol- ume levels. Hearing experts advise against continuous high volume operation. If you experience a ringing in your ears, reduce the volume or discontinue use. RCAUTION! NEVER change the internal set- tings of the transceiver. This result in reduced trans- ceiver performance and/or damage to the transceiver. RCAUTION! NEVERtouch the transceiver top cover when transmitting continuously for long periods. It will become hot. In particular, incorrect settings for transmitter circuits, such as output power, idling current, etc., might dam- age the expensive final devices. The transceiver warranty does not cover any problems caused by unauthorized internal adjustment. RCAUTION!The transceiver weighs approx. 25 kg (55 lb). 2 peoples should be present to carry, lift up or turn over the transceiver, etc. RCAUTION!The socket-outlet must be near the transceiver and must be easily accessible. RACHTUNG!Die Steckdose muß nabe bei diesem Gerät angebracht und zugänglich sein. RNEVERlet metal, wire or other objects touch any internal part or connectors on the rear panel of the transceiver. This may result in an electric shock. RNEVERlet objects impede the operation of the cooling fan on the rear panel. RNEVERexpose the transceiver to rain, snow or any liquids. RNEVERinstalling the transceiver in a place with- out adequate ventilation. Heat dissipation may be af- fected, and the transceiver may be damaged. RNEVERoperate or touch the transceiver with wet hands. This may result in an electric shock or damage the transceiver. DO NOTthe use of chemical agents such as benzine or alcohol when cleaning, as they can damage the transceiver’s surfaces. DO NOTpush the PTT when not actually desiring to transmit. AVOIDusing or placing the transceiver in areas with temperatures below ±0°C (+32°F) or above +50°C (+122°F). AVOIDplacing the transceiver in excessively dusty en- vironments or in direct sunlight. AVOIDplacing the transceiver against walls or putting anything on top of the transceiver. This will obstruct heat dissipation. Place unit in a secure place to avoid inadvertent use by children. BE CAREFUL!The top panel will become hot when operating the transceiver continuously for long periods. BE CAREFUL!If a linear amplifier is connected, set the transceiver’s RF output power to less than the lin- ear amplifier’s maximum input level, otherwise, the lin- ear amplifier will be damaged. Use Icom microphones only (supplied or optional). Other manufacturer’s microphones have different pin assignments, and connection to the IC-7800 may dam- age the transceiver. The LCD display may have cosmetic imperfections that appear as small or dark spots. This is not a malfunction or defect, but a normal characteristic of LCD displays. During maritime mobile operation, keep the transceiver and microphone as far away as possible from the mag- netic navigation compass to prevent erroneous indica- tions. Turn [I/O] switch (on the rear panel) OFF and/or dis- connect the AC power cable from the AC outlet when you will not use the transceiver for long period of time. For U.S.A. only CAUTION:Changes or modifications to this device, not expressly approved by Icom Inc., could void your authority to operate this device under FCC regulations. qAC power cable* ....................................... 1 wAntenna jumper cables ................................. 2 eRack mounting handles ........................... 1 pair rScrews for rack mounting handles ............ 1 set tCF (Compact Flash) memory card .................. 1 yStands ................................................ 1 pair uSpare fuse (FGB 2 A) ................................. 1 iRCA plugs ................................................ 2 oDC power plug .......................................... 1 !02-conductor 1 ⁄8′′plugs ................................. 3 !13-conductor 1 ⁄ 8 ′′plugs ................................. 2 !23-conductor 1 ⁄ 4 ′′plugs ................................. 3 !3ACC plugs (7-pin) ....................................... 2 !4ACC plugs (8-pin) ........…
Text truncated - open the document above for the full version.
Users Manual
4-1 RECEIVE AND TRANSMITSection4 ■Operating SSB .................................................................. 4-2 DConvenient functions for receive ..........................................4-2 DConvenient functions for transmit ..........................................4-3 DAbout 5 MHz band operation (USA version only) .....................4-3 ■Operating CW ..................................................................... 4-4 DConvenient functions for receive ..........................................4-4 DConvenient functions for transmit ..........................................4-5 DAbout CW reverse mode ...................................................4-5 DAbout CW pitch control ......................................................4-5 DCW side tone function ......................................................4-5 DAPF (Audio Peak Filter) operation .......................................4-6 DAbout 137 kHz band operation (Europe, UK, Italy, Spain, France versions only) ..................................................................4-6 ■Electronic keyer functions ...................................................... 4-7 DMemory keyer screen .........................................................4-8 DEditing a memory keyer ......................................................4-9 DContest number set mode ................................................4-10 DKeyer set mode ...............................................................4-11 ■Operating RTTY (FSK) ...................................................... 4-13 DConvenient functions for receive .......................................4-14 DAbout RTTY reverse mode ................................................4-14 DTwin peak filter ...............................................................4-14 DFunctions for the RTTY decoder indication ...........................4-15 DSetting the decoder threshold level ....................................4-15 DRTTY memory transmission .............................................4-16 DAutomatic transmission/reception setting ..............................4-16 DEditing RTTY memory ......................................................4-17 DRTTY decode set mode ...................................................4-18 DData saving ..................................................................4-20 ■Operating PSK .................................................................. 4-21 DConvenient functions for receive .......................................4-22 DAbout BPSK and QPSK mode ..........................................4-22 DFunctions for the PSK decoder indication ...........................4-23 DSetting the decoder threshold level ....................................4-23 DPSK memory transmission ................................................4-24 DAutomatic transmission/reception setting ..............................4-24 DEditing PSK memory ......................................................4-25 DPSK decode set mode ......................................................4-26 DData saving ..................................................................4-28 ■Operating AM .................................................................. 4-29 DConvenient functions for receive .......................................4-29 DConvenient functions for transmit .......................................4-30 ■Operating FM .................................................................. 4-31 DConvenient functions for receive .......................................4-31 DConvenient functions for transmit .......................................4-31 ■Repeater operation ............................................................ 4-32 DRepeater tone frequency setting .......................................4-32 ■Tone squelch operation ...................................................... 4-33 ■Data mode (AFSK) operation ................................................ 4-34 4-2 ■Operating SSB qPush a band key to select the desired band. wPush [SSB] to select LSB or USB. • “USB” or “LSB” appears. • Below 10 MHz LSB is automatically selected; above 10 MHz USB is automatically selected. eRotate the main dial to tune a desired signal. • The S-meter indicates received signal strength when signal is received. rRotate [AF] to set audio to a comfortable listening level. tPush [TRANSMIT] or [PTT] (microphone) to trans- mit. • The TX indicator lights red. ySpeak into the microphone at your normal voice level. • Adjust the microphone gain with [MIC] at this step, if necessary. uPush [TRANSMIT] or release [PTT] (microphone) to return to receive. D Convenient functions for receive • Preamp(p. 5-9) ➥Push [P.AMP] several times to set the preamp OFF, preamp 1 ON or preamp 2 ON. • “P.AMP1” or “P.AMP2” appears when the preamp 1 or preamp 2 is set to ON, respectively. (depending on operating frequency band) • Attenuator(p. 5-9) ➥Push [ATT] several times to set the attenuator in 6 dB steps. • Pushing [P.AMP] for 1 sec. to set the attenuator in 3 dB steps. • “ATT” and attenuation level appear when the attenu- ator is set to ON. • Noise blanker(p. 5-17) ➥Push [NB] switch to turn the noise blanker ON and OFF, and then rotate [NB] control to adjust the threshold level. • Noise blanker indicator (above [NB] switch) lights when the noise blanker is set to ON. • Push [NB] for 1 sec. to enter noise blanker set mode. • Twin PBT (passband tuning)(p. 5-12) ➥Rotate [TWIN PBT] controls (inner/outer). • Push [PBT CLEAR] to clear the settings. • Audio tone control(p. 12-4) ➥Push [F-7•SET] then [F-1•LEVEL] to enter level set mode. Select an item with [F-1•Y]/[F-2•Z] then rotate the main dial to adjust the audio tone. • Noise reduction(p. 5-18) ➥Push [NR] switch to turn the noise reduction ON and OFF. • Rotate [NR] control to adjust the noise reduction level. • Noise reduction indicator (above [NR] switch) lights when the noise reduction is set to ON. • Auto notch filter(p. 5-19) ➥Push [NOTCH] switch to turn the a…
Text truncated - open the document above for the full version.
Users Manual
5-1 FUNCTIONS FOR RECEIVESection5 ■Spectrum scope screen ...................................................... 5-2 DCenter mode .................................................................. 5-2 DFix mode ........................................................................ 5-3 DMini scope screen indication ............................................. 5-4 DScope set mode ............................................................... 5-4 ■Preamplifier ........................................................................ 5-9 ■Attenuator........................................................................ 5-9 ■RIT function ..................................................................... 5-10 DRIT monitor function .........................................................5-10 ■AGC function ..................................................................... 5-11 DSelecting the preset value ................................................5-11 DAdjusting the AGC time constant .......................................5-11 DSetting the AGC time constant preset value ...........................5-11 ■Twin PBT operation ............................................................ 5-12 ■IF filter selection ............................................................... 5-13 DIF filter selection ............................................................ 5-13 DFilter passband width setting (except FM mode) .................. 5-13 DRoofing filter selection ...................................................... 5-14 DDSP filter shape ............................................................ 5-14 DFilter shape set mode ...................................................... 5-14 ■Dualwatch operation ......................................................... 5-16 ■Noise blanker .................................................................. 5-17 DNB set mode .................................................................. 5-17 ■Noise reduction .................................................................. 5-18 ■Dial lock function ............................................................... 5-18 ■Notch function .................................................................. 5-19 ■Digital selector .................................................................. 5-19 5-2 ■Spectrum scope screen This function allows you to display the conditions of the selected band, as well as relative strengths of signals. The IC-7800 has two modes for the spectrum indica- tion— one is center mode, and anther one is fix mode. In addition, the IC-7800 has a mini scope screen for regular scope indication. D Center mode Displays signals around the set frequency within the selected span. The set frequency is always displayed at the center of the screen. qPush [EXIT/SET] several times to close a multi- function screen, if necessary. wPush [F-1•SCOPE] to select the scope screen. ePush [F-5•CENT/FIX] to select the center mode. • “” is displayed when center mode is selected. rPush [F-1•SPAN] several times to select the scope span. • ±2.5, ±5.0, ±10, ±25, ±50, ±100 and ±250 kHz are avail- able. • Sweeping speed is selectable for each span indepen- dently in scope set mode. (pgs. 5-5, 5-6) tPush [F-2•ATT] several times to activate an attenu- ator or turn the attenuator OFF. • 10, 20 and 30 dB attenuators are available. yPush [F-6•MAIN/SUB] to select main band. • The spectrum scope with sub band selection is activated during dualwatch or split frequency operation only. uPush [F-3•MARKER] several times to select the marker (sub readout or transmit frequency) or turn the marker OFF. • “” displays the marker at the transmit frequency. • “” displays the marker at the sub readout frequency. • “<<” or “>>” appears when the marker is out of range. • The spectrum scope shows the transmit signal wave- form while transmitting. This can be deactivated in scope set mode. (p. 5-4) • The spectrum scope shows the peak level holding func- tion. Peak levels are displayed in the background of the current spectrum in a different color until the receive fre- quency changes. This can be deactivated and the wave- form color can be set in scope set mode. (p. 5-5) iPush [F-4•HOLD] to freeze the current spectrum waveform. • “” appears while the function is in use. • The peak hold function can be deactivated in scope set mode. oPush [EXIT/SET] to exit the scope screen. NOTE:If a strong signal is received, a ghost wave- form may appear. Push [F-2•ATT] several times to activate the spectrum scope attenuator in this case. Spurious signal waveform may be displayed. They are made in internal scope circuit and does not indi- cate a transceiver malfunction. HOLD [F-3•MARKER] [F-2•ATT] [F-1•SPAN][EXIT/SET] [F-5•CENT/FIX][F-4•HOLD] [F-6•MAIN/SUB] 5 FUNCTIONS FOR RECEIVE • Observed indication example 5-3 D Fix mode Displays signals within the specified frequency range. The selected frequency band conditions can be grasped at a glance when using this mode. qPush [EXIT/SET] several times to close a multi- function screen, if necessary. wPush [F-1•SCOPE] to select the scope screen. ePush [F-5•CENT/FIX] to select the fix mode. • “” is displayed when fix mode is selected. rPush [F-2•ATT] several times to activate an attenu- ator or turn the attenuator OFF. • 10, 20 and 30 dB attenuators are available. tPush [F-6•MAIN/SUB] to select main band. • The spectrum scope with sub band selection is activated during dualwatch or split frequency operation only. yPush [F-3•MARKER] several times to select the marker (sub readout or transmit frequency) or turn the marker OFF. • “” displays the marker at the main readout frequency. (always displayed) • “” displays the marker at the transmit frequency. • “” displays the marker at the sub readout frequency. • “<<” or “>>” appears when the marker is out of range. • The spectrum scope shows the transmit signal wave- form while transmitting. This can be deactivated in scope set mode. (p. 5-4) • The spectrum…
Text truncated - open the document above for the full version.
Users Manual
8-1 MEMORY OPERATIONSection8 ■Memory channels ............................................................... 8-2 ■Memory channel selection ................................................... 8-2 DUsing the [Y]/[Z] keys ...................................................... 8-2 DUsing the keypad ............................................................ 8-2 ■Memory list screen ............................................................... 8-3 DSelecting a memory channel using the memory list screen ...... 8-3 DConfirming programmed memory channels ........................... 8-3 ■Memory channel programming ............................................. 8-4 DProgramming in VFO mode ................................................ 8-4 DProgramming in memory mode .......................................... 8-4 ■Frequency transferring ......................................................... 8-5 DTransferring in VFO mode ................................................ 8-5 DTransferring in memory mode ............................................. 8-5 ■Memory names .................................................................. 8-6 DEditing (programming) memory names ................................. 8-6 ■Memory clearing .................................................................. 8-6 ■Memo pads ........................................................................ 8-7 DWriting frequencies and operating modes into memo pads ...... 8-7 DCalling up a frequency from a memo pad .............................. 8-7 8-2 ■Memory channels The transceiver has 101 memory channels. The mem- ory mode is very useful for quickly changing to often- used frequencies. All 101 memory channels are tuneable which means the programmed frequency can be tuned temporarily with the main dial, etc. in memory mode. ■Memory channel selection D Using the [ Y ]/[ Z ] keys qPush [V/M] to select memory mode. wPush [Y]/[Z] several times to select the desired memory channel. • Push and hold [Y]/[Z] for continuous selection. • [UP] and [DN] on the microphone can also be used. eTo return to VFO mode, push [V/M] again. D Using the keypad qPush [V/M] to select memory mode. wPush [F-INP• ENT ]. ePush the desired memory channel number using the keypad. • Enter 100 or 101 to select scan edge channel P1 or P2, respectively. rPush [Y] or [Z] to select the desired memory chan- nel. [EXAMPLE] To select the memory channel 3; - Push [F-INP• ENT], [7•3], then push [Y] or [Z]. To select the memory channel 12; - Push [F-INP• ENT], [1.8•1], [3.5•2], then push [Y] or [Z]. To select the scan edge channel P1; - Push [F-INP• ENT], [1.8•1], [50•0], [50•0], then push [Y] or [Z]. To select the scan edge channel P2; - Push [F-INP• ENT], [1.8•1], [50•0], [1.8•1], then push [Y] or [Z]. [Y][Z][V/M] Keypad [F-INP• ENT] [Y][Z][V/M] 8 MEMORY OPERATION MEMORY MEMORY TRANSFER OVER- CHANNEL CHANNELCAPABILITY TO VFOWRITING CLEAR NUMBER Regular memory 1–99 One frequency and one mode Ye sYe sYe s channelsin each memory channel. Scan edge One frequency and one mode in memoryP1, P2each memory channel as scanYesYesNo channelsedges for programmed scan. 8-3 ■Memory list screen The memory list screen simultaneously shows 9 mem- ory channels and their programmed contents. 15 mem- ory channels can be displayed in the wide memory list screen. You can select a desired memory channel from mem- ory list screen. D Selecting a memory channel using the memory list screen qPush [EXIT/SET] several times to close a multi-func- tion screen, if necessary. wPush [F-4•MEMORY] to select memory list screen. • [F-7•WIDE] switches the standard and wide screens. eWhile pushing [F-1•ROLL], rotate the main dial to select the desired memory channel. •[Y] and [Z] can also be used. rPush [EXIT/SET] to exit memory list screen. • Memory list screen D Confirming programmed memory channels qSelect memory list screen as described above. wWhile pushing [F-1•ROLL], rotate the main dial to scroll the screen. ePush [F-2•SET] to select the highlighted memory channel, if desired. •“≈” appears beside the selected memory channel num- ber in the memory list screen and the selected memory channel contents are displayed below the frequency readout. rPush [EXIT/SET] to exit memory list screen. Main dial[F-1•ROLL][F-2•SET][EXIT/SET] [Y][Z] Main dial[F-1•ROLL] [F-4•MEMORY] [EXIT/SET][F-7•WIDE] 8 MEMORY OPERATION 8-4 ■Memory channel programming Memory channel programming can be preformed ei- ther in VFO mode or in memory mode. D Programming in VFO mode qSet the desired frequency, operating mode and fil- ter width in VFO mode. wPush [Y]/[Z] several times to select the desired memory channel. • Memory list screen is convenient for selecting the de- sired channel. • Memory channel contents appear in the memory chan- nel readout (below the frequency readout). • “--.---.--” appears if the selected memory channel is a blank channel (and does not have contents). ePush [MW] for 1 sec. to program the displayed fre- quency and operating mode into the memory chan- nel. D Programming in memory mode qSelect the desired memory channel with [Y]/[Z] in memory mode. • Memory channel contents appear in the memory chan- nel readout (below the frequency readout). • “--.---.--” appears if the selected memory channel is a blank channel (and does not have contents). wSet the desired frequency and operating mode in memory mode. • To program a blank channel, use direct frequency entry with the keypad or memo pads, etc. ePush [MW] for 1 sec. to program the displayed fre- quency and operating mode into the memory chan- nel. [Y][Z][MW] 8 MEMORY OPERATION or Push for 1 sec. Beep Beep Beep [EXAMPLE]:Programming 7.088 MHz/LSB into memory channel 12. orthen Push for 1 sec. Beep Beep Beep [EXAMPLE]:Programming 21.280 MHz/USB into memory channel 18. 8-5 ■Frequency transferring The frequency and operating mode in a memory chan- nel can be transferred to the VFO. Frequency transferring can be performed in either VFO mode or memory mode. D…
Text truncated - open the document above for the full version.
Users Manual
12-1 SET MODESection12 ■Set mode description ......................................................... 12-2 DSet mode operation ......................................................... 12-2 DScreen arrangement ...................................................... 12-3 ■Level set mode .................................................................. 12-4 ■ACC set mode .................................................................. 12-6 ■Display set mode ............................................................ 12-11 ■Miscellaneous (Others) set mode ....................................... 12-13 ■CF card set menu ............................................................ 12-21 DCF card set screen arrangement .................................... 12-21 DSave option set mode ................................................... 12-21 DLoad option set mode ................................................... 12-22 ■File saving ..................................................................... 12-23 ■File loading ..................................................................... 12-24 ■Changing the file name ...................................................... 12-25 ■Deleting a file .................................................................. 12-26 ■Formatting the CF card ...................................................... 12-26 12-2 ■Set mode description Set mode is used for programming infrequently changed values or conditions of functions. The IC- 7800 has a level set mode, display set mode, timer set mode, accessory set mode and miscellaneous (others) set mode. D Set mode operation qPush [EXIT/SET] several times to close a multi- function screen, if necessary. wPush [F-7•SET] to select set mode menu screen. • Pushing and holding [EXIT/SET] for 1 sec. also selects set mode menu screen. ePush [F-1•LEVEL], [F-2•ACC], [F-3•DISP], [F-4•TIME], [F-5•OTHERS] or [F-7•CF CARD] to enter the desired set mode. rFor level, accessory, display and miscellaneous (others) set mode, push [F-7•WIDE] to toggle wide and normal screen. tPush [F-1•Y] or [F-2•Z] to select the desired item, then rotate main dial to adjust/select the desired value or condition. • Pushing [F-3•Ω≈] operation may be necessary for some items. yPush [EXIT/SET] twice to exit set mode. [F-1•LEVEL][F-2•ACC] [F-3•DISP] [F-5•OTHERS][F-4•TIME] [EXIT/SET]Main dial [F-7•CF CARD] 12 SET MODE 12-3 12 SET MODE D Screen arrangement • Set mode menu screen (p. 12-2) • Level set mode (p. 12-4) • ACC set mode (p. 12-6) • Time set mode (p. 11-2) • Display set mode (p. 12-11) • Miscellaneous (Others) set mode (p. 12-13) • CF card set menu (p. 12-21) 12-4 12 SET MODE ■Level set mode Sets the bass level of the transmit audio tone in SSB mode from –5 to +5. (default: 0) Sets the treble level of the transmit audio tone in SSB mode from –5 to +5. (default: 0) Sets the bass level of the transmit audio tone in AM mode from –5 to +5. (default: 0) Sets the treble level of the transmit audio tone in AM mode from –5 to +5. (default: 0) Sets the bass level of the transmit audio tone in FM mode from –5 to +5. (default: 0) Sets the treble level of the transmit audio tone in FM mode from –5 to +5. (default: 0) Sets the bass level of the receive audio tone in SSB mode from –5 to +5. (default: 0) Sets the treble level of the receive audio tone in SSB mode from –5 to +5. (default: 0) Sets the bass level of the receive audio tone in AM mode from –5 to +5. (default: 0) Sets the treble level of the receive audio tone in AM mode from –5 to +5. (default: 0) 12-5 12 SET MODE ■Level set mode (continued) Sets the bass level of the receive audio tone in FM mode from –5 to +5. (default: 0) Sets the treble level of the receive audio tone in FM mode from –5 to +5. (default: 0) Sets the transmission passband width for wide setting by selecting the lower and higher frequencies. Lower freq. : 100 (default), 300 and 500 Hz Higher freq.: 2500, 2700 and 2900 Hz (default) Sets the transmission passband width for middle set- ting by selecting the lower and higher frequencies. Lower freq. : 100, 300 (default) and 500 Hz Higher freq.: 2500, 2700 (default) and 2900 Hz Sets the transmission passband width for narrow set- ting by selecting the lower and higher frequencies. Lower freq. : 100, 300 and 500 Hz (default) Higher freq.: 2500 (default), 2700 and 2900 Hz Sets the voice synthesizer audio output level from 0 to 100% in 1% steps. (default: 50%) Sets the side tone output level from 0 to 100% in 1% steps. (default: 50%) Turns the side tone output level limiting capability from ON and OFF. (default: ON) Sets the key-touch beep output level from 0 to 100% in 1% steps. (default: 50%) Turns the key-touch beep output level limiting capa- bility from ON and OFF. (default: ON) 12-6 12 SET MODE ■Level set mode (continued) Sets the ratio for audio output level from the head- phone toward to the internal speaker within 0.60 to 1.40 range in 0.01 steps. (default: 1.00) Selects the headphone audio output.• OFF : Outputs the main band’s audio from the left, and sub band’s audio from the right. (default) • ON : Outputs the mixed audio. Selects the desired band for the audio and squelch signals output from [ACC1–A] (Audio: pin 5, Squelch: pin 6) from MAIN and SUB. • MAIN : Main band’s AF and squelch signals are output from [ACC1–A]. (default) • SUB : Sub band’s AF and squelch signals are out- put from [ACC1–A]. Selects the desired band for the audio and squelch signals output from [ACC1–B] (Audio: pin 5, Squelch: pin 6) from MAIN and SUB. • MAIN : Main band’s AF and squelch signals are output from [ACC1–A]. • SUB : Sub band’s AF and squelch signals are out- put from [ACC1–A]. (default) Sets the desired audio output level, output from [ACC1–A], within 0 to 100% in 1% steps. • Outputs approx. 200 mV at 50% (default) setting. Sets the desired audio output level, output from [ACC1–B], within 0 to 100% in 1% steps. • Outputs approx. 200 mV at 50% (default) setting. Sets the desired output le…
Text truncated - open the document above for the full version.
Contact Information
Applicant
Atsushi Tomiyama(General Manager)
Technical Contact
Ultratech Engineering Labs Inc.Tri Luu
[email protected]905-829-1570
3000 Bristol Circle · Oakville · Canada
Test Firm
UltraTech Engineering Labs Inc.Tri Luu
Technical Specifications
| # | Rule Parts | Frequency Range | Power Output |
|---|---|---|---|
| 1 | 15B | 0.03 MHz - 60 MHz | - |
Other Applications from ICOM Incorporated
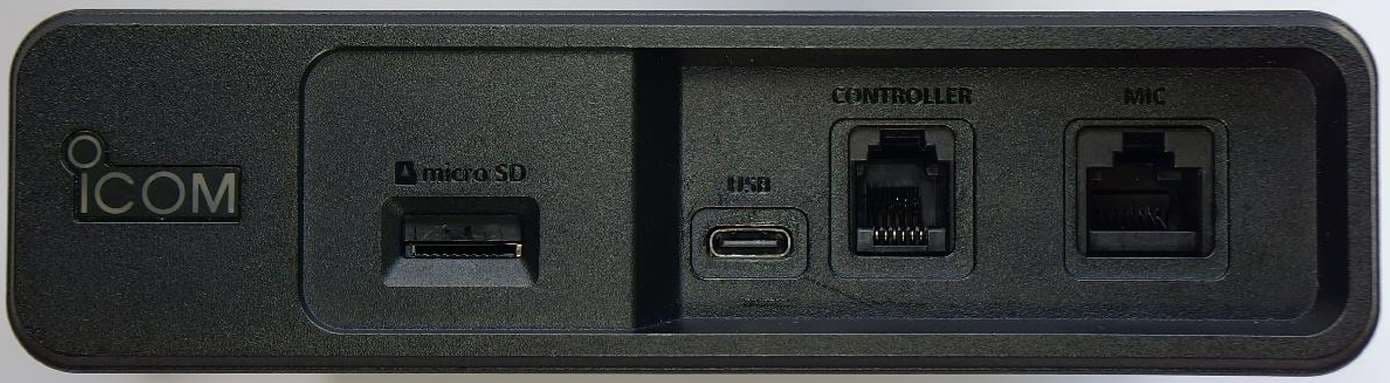
AFJ453700
Jul 23, 2026Mobile Transceiver
Equipment Class
DTS - Digital Transmission System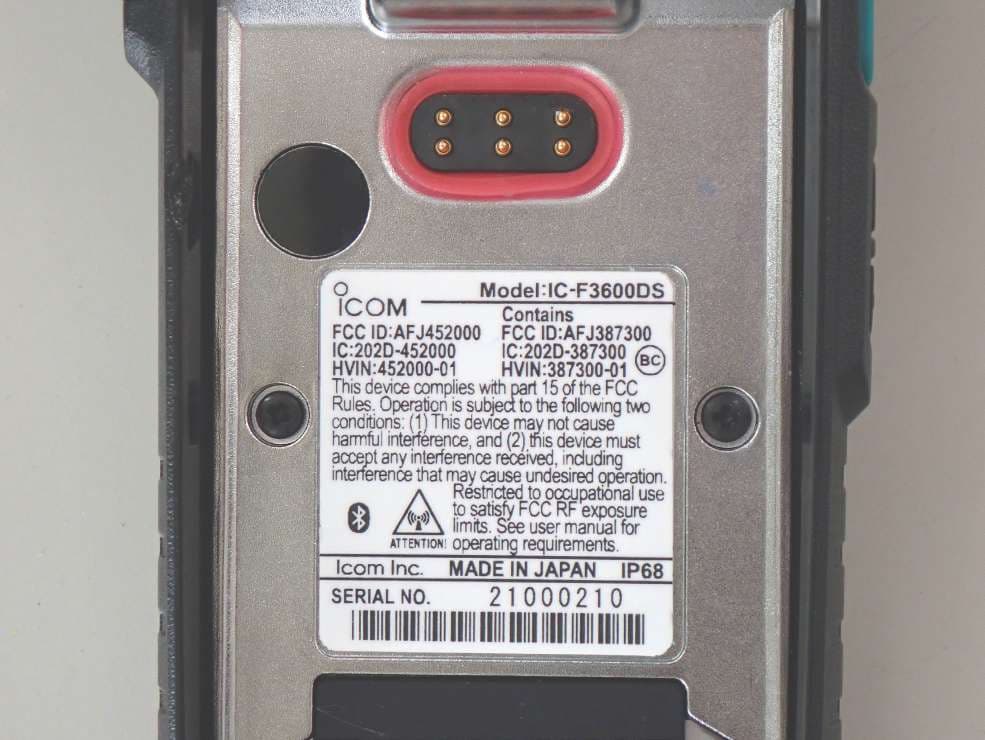
AFJ452000
Jun 02, 2026VHF DIGITAL TRANSCEIVER
Equipment Class
TNF - Licensed Non-Broadcast Transmitter Held to Face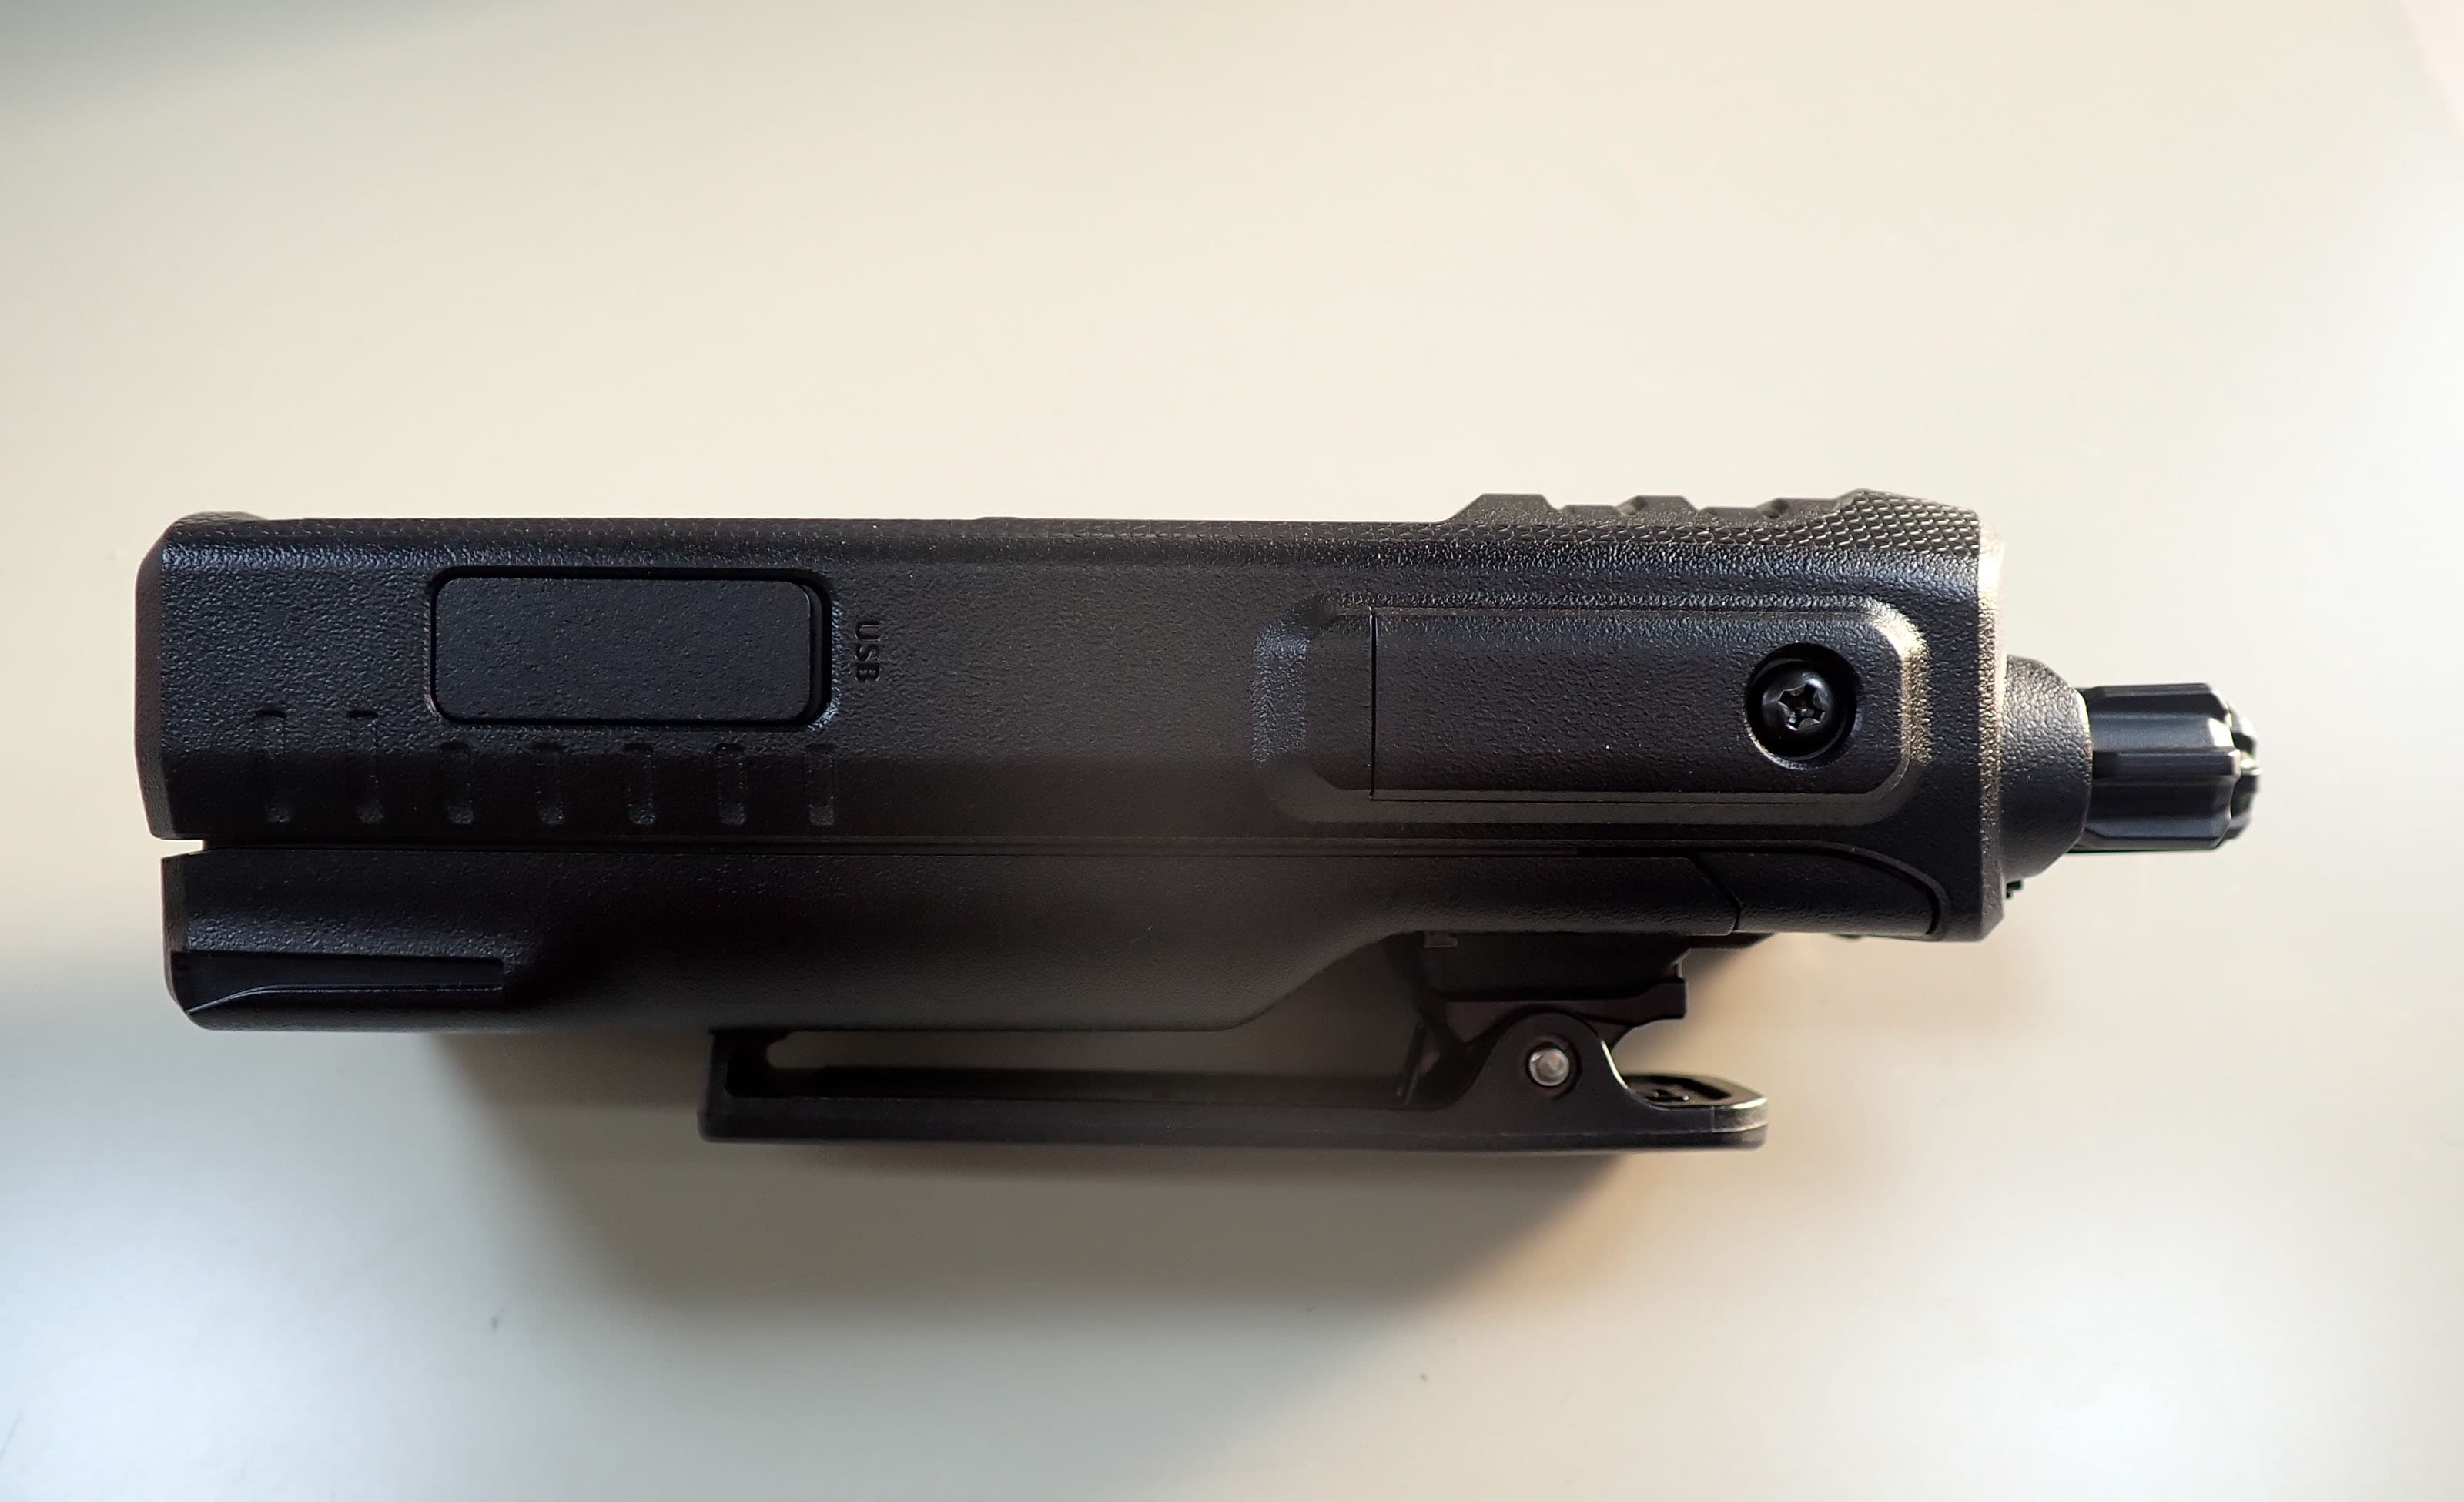
AFJ452100
May 12, 2026UHF DIGITAL TRANSCEIVER
Equipment Class
TNF - Licensed Non-Broadcast Transmitter Held to Face
AFJ444500
Sep 12, 2024Scanning Receiver
Equipment Class
CSR - Scanning Receiver
AFJ410900
Jul 09, 2024Linear Amplifier
Equipment Class
AMP - Amplifier