C5F7NFCMW700Web Monitor
WINIA Electronics Co., Ltd.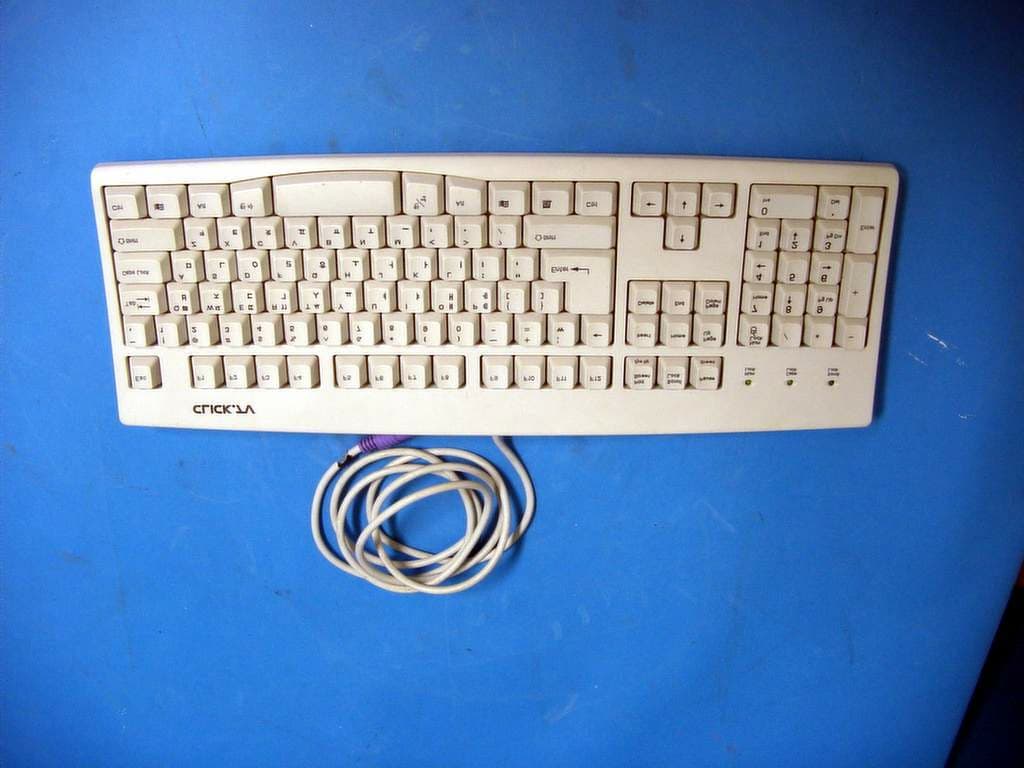
Click to zoom
Application Details
- Equipment Class
- JBP - Part 15 Class B Computing Device Peripheral
- Date of Grant
- Jul 24, 2001
- Application Purpose
- Original Equipment
- Date of Application
- Jul 24, 2001
- Equipment Note
- Web Monitor
- Company
- WINIA Electronics Co., Ltd.
- Country
- South Korea
Documents & Files
Document Text
Text extracted from the exhibit documents filed with the FCC. Open a document above to read the original.
Users Manual
USER’S GUIDE USER’S GUIDE W W eb Monitor eb Monitor Model No : MW-700 1. Read all of these instructions.2. Save these instructions for later use. 3. Unplug this monitor from thewall outlet before cleaning. Do notuse liquid cleaners or aerosol clean-ers. Use a damp cloth for cleaning.4. Do not use attachments not rec- ommended by the monitor manufacturer as theymay cause hazards. 5. Do not use this monitor near water, e.g., near abathtub, washbowl, kitchen sink, or laundry tub,in a wet basement, or near a swimming pool, etc. 6. Do not place this monitor on anunstable cart, stand, or table. Themonitor may fall, causing seriousinjury to a child or adult, and seri-ous damage to the appliance. 7. Slots and openings in the cabi-net and the back or bottom are pro-vided for ventilation, to ensurereliable operation of the monitor,and to protect it from overheating.These openings must not be blocked or covered. The openings should neverbe blocked by placing the monitor on a bed, sofa,rug, or other similar surface. This monitor shouldnever be placed near or over a radiator or heatregister. This monitor should not be placed in abuilt-in installation such as a bookcase unlessproper ventilation is provided. 8. This monitor should be operatedonly from the type of power sourceindicated on the marking label. Ifyou are not sure of the power sup-plied to your home, consult yourmonitor dealer or local power com- pany. 9. This monitor is equipped with a3-wire grounding-type plug, Thatis, a plug having a third (ground-ing) pin. This plug will only fit intoa grounding-type power outlet. This is a safety feature. If you are unable toinsert the plug into the outlet, contact your elec-trician to replace your obsolete outlet. Do notdefeat the purpose of the grounding-type plug. 10. Do not allow anything to reston the power cord. Do not locatethis monitor where the cord will beabused by people walking on it. 11. Follow all warnings and instructions marked on the monitor. IMPORTANT SAFEGUARDS 12. For added protection for this monitor during a lightning storm,or when it is left unattended andunused for long periods of time,unplug it from the wall outlet. This will prevent damage to the monitor and/or thecomputer due to lightning and power line surges. 13. Do not overload wall outlets and extensioncords as this can result in fire or electric shock. 14. Never push objects of any kind into this mon-itor through cabinet slots, as they may touch dan-gerous voltage points or short out parts that couldresult in a fire or electric shock. Never spill liq-uid of any kind on the monitor. 15. Do not attempt to service thismonitor yourself, as opening orremoving covers may expose youto dangerous voltages or other haz-ards. Refer all servicing to quali- fied service personnel. 16. Unplug this monitor from the wall outlet andrefer servicing to qualified service personnelunder the following conditions: a. When the power cord or plug is damaged orfrayed. b. If liquid has been spilled into the monitor. c. If the monitor has been exposed to rain orwater. d. If the monitor does not operate normally byfollowing the operating instructions. Adjust onlythose controls that are covered by the operatinginstructions, as improper adjustment of othercontrols may result in damage and will oftenrequire extensive work by a qualified technicianto restore normal operation. e. If the monitor has been dropped or the cabinethas been damaged. f. When the monitor exhibits a distinct change inperformance, this indicates a need for service. 17. When replacement parts arerequired be sure the service techni-cian has used replacement partsspecified by the manufacturer thathave the same characteristics as the original part. Unauthorized substitutions mayresult in fire, electric shock, or other hazards. 18. Upon completion of any service or repairs tothis monitor, ask the service technician to per-form routine safety checks to determine that themonitor is safe to operate. FEDERAL COMMUNICATIONS COMMISSION RADIO FREQUENCY INTERFERENCE STATEMENT NOTE : This equipment has been tested and found to comply with the limits for a Class B digital device, pursuant to Part 15 of the FCC Rules. Theselimits are designed to provide reasonable protection against harmful interfer-ence in a residential installation. This equipment generates, uses and canradiate radio frequency energy and, if not installed and used in accordancewith the instructions, may cause harmful interference to radio communica-tions. However, there is no guarantee that interference will not occur in aparticular installation. If this equipment does cause harmful interference toradio or television reception, which can be determined by turning the equip-ment off and on, the user is encouraged to try to correct the interference byone or more of the following measures : - Reorient or relocate the receiving antenna. - Increase the separation between the equipment and receiver. - Connect the equipment to an outlet on a circuit different from that to which the receiver is connected. - Consult the dealer or an experienced radio or TV technician for help. CAUTION : Any changes or modifications not expressly approved by the party responsible for compliance could void the user ’ s authority to operate the equipment. CANADIAN NOTICEAVIS CANADIEN This Class B digital apparatus meets all requirements of the CanadianInterference-Causing Equipment Regulations. Cet appareil numérique de la Class B respecte toutes les exigences duRèglement sur le matériel brouilleur du Canada. Bitte lesen Sie alle diese Informationen, bevor Sie das Gerät in Betriebnehmen! Lesen Sie sich außerdem die Bedienungsanleitung komplett undsorgfältig durch, da nur in diesem Fall eine problemlose Inbetriebnahmeerwartet werden kann. • Achten Sie darauf, daß das Gerät nur in eine 230V Schuko-Steckdoseeingesteckt wird. • Die Steckdose sollte jederzeit frei zugänglich sein um bei einem evtl.auftretenden Notfall das Gerät schnell vom Netz zu trennen. • Achte…
Text truncated - open the document above for the full version.
Users Manual
14 13 Add ConnectionIf you choose Microsoft RDP, “WTS (Windows Terminal Server) ConnectionWizard” appears as follows. “WTS Connection Wizard” begins as you click “AddConnection” and you have to fill out two pieces of information. N ame : This is the name of connection assigned by the user. It is convenient to use names such as “Operation Server” or “Production Server”which are easy to remember. Server : This is the address of the server such as “www.sales.com” or “123.456.789.012.” RDP connection wizard Please ask the Server/Service manager. If you click “Add” button, the following dialogue window appears so that you canchoose the type of connection. As for the types of connections supported by theserver, please ask the server/service manager. Adding new connection 16 15 Automatic Execution of Application ProgramsThe user can choose the application program to be executed as soon as the terminalis connected to server/service. If “Desktop” is chosen, the regular background screenof Windows NT/Windows 2000 appears. If an application program is chosen, theprogram is directly executed at the startup. In this case, the user must specify the pathof the application program.Finishing RDP Connection WizardIf you click the “Finish” button, the WTS Connection Wizard ends and the newconnection is added to the connection manager. Automatic Connection to Server/ServiceWhen automatic connection function is used, the user can be directly connected tothe server which is frequently used when the terminal is on. To use this function, thefollowing three data have to be typed. Usernam e : Username registered with the server/service. Password : The password of the user. Domain : The domain name of the server/service. Please ask the Server/Service manager. 18 17 Choosing Connection Name Connection name is given by the user. It is preferable to choose names such as“Operation Server” or “Marketing Server” which are easily remembered.Setting the Server ICA Connection Wizard is equipped with a function to display all the servers that canbe currently used by the network.Please choose the server to be used among the servers displayed or type the serveraddress yourself. Choosing the Connection MethodIn this section, the method for connection to the server/service is chosen. Ourterminal only supports “Network Connection.”You can choose the ICA Client at the “Terminal Connection Manager”. I CA connection wizard Network Connection : uses the direct connection line like LAN Connection. Dial-in Connection : uses the modem. 20 19 Choosing ColorsIn this section, the user chooses the number of colors to be used by the ICA client. Automatic Execution of Application ProgramsThe user can choose the application program to be executed when the terminal isconnected to the server/service. If the user does not specify the application program,the background screen of Windows NT/Windows 2000 appears. If an applicationprogram is chosen, the program is immediately executed. In this case, the locationof the application program must be given.Automatic Connection to the Server/ServiceIf the automatic connection function is used, the terminal is directly connected to thefrequently used server at the startup. To use this function, the following three datamust be typed. Username : Username registered with the server/service. Password : The password of the user.Domain : The domain name of the server/service. 22 21 When you have finished adding new connection...If you have finished adding new connections by “RDP Connection Wizard” or “ICAConnection Wizard,” the following new connections are displayed. Therefore, fromnow on, you can double-click the connection to be used and you are connected to theserver and implement desired operations. Data Compression and SoundThe user chooses whether he/she will use the data compression function and thesound function with the ICA client. FirewallIf the firewall is installed at the Network, the user offers necessary information. Ask the Network manager. 24 From the “Configure” screen of the Terminal Connection Manager, please choose theconnection to be deleted and click the “Delete” button. Then, the following “ConfirmConnection Delete” screen appears. Deleting connection 23 From the “Configure” screen of the Terminal Connection Manger, please choose theconnection to be changed and click the “Edit” button. The following is the screen thatappears.You can change “ICA” on the following screen and change details, as you click eachtab. Ask the Network manager. Changing connection 26 25 In this section, you decide the waiting time keyboard input and the repeat speed.In this section, you decide the display resolution, the volume size, etc. KeyboardScreen and volume 7. Terminal Setting When “Terminal Connection Manager” is on the screen, press F2 key and thefollowing “Terminal Properties” screen appears and you can determine detailedaspects of the terminal. To end “Terminal Properties” and move to “TerminalConnection Manager” screen, press the “OK” button that is on the right side of thescreen. If the “X” button is pressed, all new settings are cancelled.This section involves various types of information on the product.If you choose “Reset the terminal to factory-default property settings” all settings ofthe terminal are deleted and you return to the “Terminal Installation Wizard.” Starting terminal setting Product information 28 27 This section is for setting various options on the Network. If you choose “Specify an IP address” the “Advanced Network Settings” button isactivated. Then, if you press the “Advanced Network Settings” button, the followingscreen appears and you can offer necessary information. Ask the Network manager. Ask the Network manager. Network From the “Resolution & Frequency” list, you can choose the intended resolution andfrequency. If you press the “Test” button, the following dialogue window appears.Press the “OK” button on the dialogue window and the terminal restarts at theresolution and freq…
Text truncated - open the document above for the full version.
Block Diagram
Hs-IN 1. CMW-700 BLOCK DIAGRAM AUDIO:16bit 44.1Khz stero mic& speaker.1/8 inch jack 600 V 600V R/G/B BRT/BIAS -155V SCREEN R/G/ B ABL HIGH VOLTAGE +75V +185V +22V +15V +8V SCL1 Hs-O Vs-O SUB-BRIGHT MUTE SDA1 WEB BOARD Cpu:233Mhz H:30~60Khz V:75Hz Resolution: upto 1024*768 VIDEO PRE AMP. TDA4887 VIDEO OUT & BIAS BFQ225, PH2369, BFQ221, BFQ241 CD MCU NT6862 D-OIL AC input rate 100~240 Vac Fre:50/60 Hz EEPRO M 24LC0 OSD GEN. H/V OSC & G/D CHOPPER CONTROL TDA4856 SMPS STR- F6654 G1 CONTROL ABL CONTROL V-OUT TDA4866(NE W) H-OUT BU2525DX CHOPPER FBT SCL1 SDA1 DEGAUSS V-BLK H-FBP D Y VIDEO B+ MAIN B+ GENERAL GENERAL HT & 5V DF CONTROL G2 CONTROL SPK
Cover Letter(s)
letter to ist.jpg (1076x1328x24b jpeg)
ID Label/Location Info
ID Label Location ID Label Sample
Operational Description
Operational Description of 17inch WBT Monitor MW-700 ( please, refer to a block diagram attached ) 1. Power The part, power supplier of SMPS type, makes Dc voltage 185V, 75V, 5V, 12V, 22V, 15V to operate a monitor main board and Dc 5V to operate a web board(SMPS inserted) from AC 100~240V of mains network. The DC185V is supplied to FBT makes to high voltage. And others are supplied to a monitor main board after, signals are detected by a micro controller. -DC 185V is supplied into source of MOSFET Q508 , Output of Drain is direct sanctions into PIN number 2 of FBT. Let adjust VR501(H.V) for B+ Converter and high voltage. -DC 75V is supplied into PIN number 14 of CA202 to controls R,G,B bias circuit. -DC 5V is supplied into 8-bits micro controller (NT 6862). -DC 15V is supplied into vertical driver TDA 4866. -DC 12V is supplied into auto synchronous deflection controller(TDA4856). -DC 22V is supplied into DDT-529B a part of H-DY & H-DRV. 2. Video Pre-Amp & OSD Processing R, G, B Signals, which come from a video source are transmits PIN #6, 8, 10 of IC801 individually through AC Coupling condenser (C801, C831, C861). R, G, B OSD Outputs are transmits PIN # 2, 3, 4 of IC801 from PIN number 13, 14, 15 of IC204(OSD Generator; DWOSD07). When OSD Outputs generated, the signal that come from Pin #12 of IC204 is input into Pin #1 of IC801 as Fast-Blanking signal not to duplicate the video signal and OSD signal. This circuit controls CONTRAST, R/G/B GAIN, OSD CONTRAST ETC method of I 2 C. Controlled the same method(I 2 C) R/G/B BIAS, BRIGHTNESS transmit BIAS Control circuit through PIN number 23, 20, 17 of IC801(internal DAC). BRIGHTNESS Control is capable of as variable R/G/B BIAS simultaneously. 3. Micro Controller(NT 6862) Processing Applied μ-COM is manufactured NOVATEK.Co.Ltd. And Let describe main Operations. - H/V Sync Processing : Polarity & Frequency Detect, Sync. Out, Free run - Power Control : Stand-By & Suspend Mode, Sleep Mode, and POWER ON/OFF - OSD control - PWM Output : Sub-Bright, H-Lin., and Tilt - DDC 1/2B/CI Function, I 2 C Bus Control(EEPROM, H/V Deflection, Video Pre-Amp) - HCS Port Output, Degaussing, Mute - Auto Mode & Passivity Mode adjust Operation, RECALL - Self Diagnosis, Burn-In 3-1. Power Control Function & Port 3-2. H/V Sync Processing From Signal source, When H-Sync is applied PIN number 39 and V-Sync is applied PIN number 40 of μ-COM(NT 6862), H-Sync is outputs to PIN number 32 and V-Sync is outputs to PIN number 33 regardless of polarity. 3-3. PWM Output Describes PWM Port format 3-4. HCS Port Output Describes HCS Port format MODEINPUT SYNC PIN NO. #20(MUTE) PIN NO. #18(SB/SS) PIN NO. #19 (OFF) LED INDICATOR NOMAL H-SYNC:NOMAL V-SYNC:NOMAL L H HGREEN STAND-BYH-SYNC: O V-SYNC:NOMAL H L HYELLOW SUSPEND H-SYNC:NOMAL V-SYNC: O H L HYELLOW SLEEP H-SYNC: O V-SYNC: O H L LAMBER OFF H-SYNC: O V-SYNC: O H L LOFF CONDITIO N ACTIVE "H" ACTIVE "L" ACTIVE "L" PIN NO.DEFINITIONREMARK #1 Tilt #26 Sub- Bright 8 bit #38 H-Lin. HCSOHCS1HCS2 Freq. Range #21#22#23 Fh≤33KHzLLL 33KHz<Fh≤36.5KHzLLH 36.5KHz<Fh≤40KHzLHL 40KHz<Fh≤45KHzHLL 45KHz<Fh≤50KHzHHL 50KHz<Fh≤61.5KHzHLH 61.5KHz<FhHHH 3-5. Micro-Controller peripheral circuit NT6862 is capable of Data exchanges IC202(EEPROM), IC204(OSD), IC501(H/V OSC.) among I 2 C BUS Control via SDA(PIN 24) SCL(PIN 25) terminal, and it’s possible in auto adjusting of factory mode. E 2 PROM Capacity is 1KBytes, 128Bytes of this is used for saving DDC EDID, the rest is used for saving DAC Value and Preset, DAC Value of User Mode, frequency, Data Sync polarity in basic function.
Parts List/Tune Up Info
REPORT ID:TBR032 PRODUCTS MFG BOM INDENTED EXPLOSION LIST SORTED-BY:MODEL, LEVE============================================ M O DE L:CMW-700 ================================================================================ NOLOCPART-CODEPART-NAMEPART-DESCQTY-PERSC ================================================================================ 1CGND9970710263CRT GND AS0.16*3*16+BL102NG=730143 2CRT9979617037CDTM41KXU100XX021 (5X10(5))143 3DG0015MG0000062COIL DEGAUSSINGDG-710B143 40015099783032A0SPEAKER ASU3608B35 L 1007#24(600MM)143 5002009970100010WEB PCB ASCMW-700(WEB)143 6AC1N9970730075CONN AS1015#18+35404+CORE=400143 7CA2019970800050CABLE SIGNAL AS15P+1C/DDC=750MM(GY275A)11 8CA20299707E0006CONN ASSMH250-14+51088-15=180143 9CW2009970730076CONN ASSMH250+2547#26+35164=300143 10C002CEYP2G181ZC ELECTRO400V SMH 180MF (25*35)11 11D001ADD2SB60---DIODE BRIDGED2SB6011 12EMI9970K00017CORE FERRITEOP-18(A)143 13F0015F3CB3122LFUSE CERASEMKO TL 3.15AH 250V MF51143 14GND49970710231CONN AS0.12*6*16+35068+35750=120143 15G29970710232CONN AS1032#22+35404-9002=320143 16IC0011STRF6654AIC POWERSTR-F6654A LF135111 17IC2011DWM310---IC MICOMNT6862-1002111 18IC4011TDA4866--IC V-OUTTDA486611 19PA0019979500016RECEPTACLE02MP1(44)/FILTER EMI11 20TH001DTP8D13---THERMISTORTP8D13143 21T0015RM0000101TRANS SMPSDMT-712B1143 22T5015RD0000044TRANS DRIVEDDT-529B143 23T6015RH0000120FBTFFA79014U143 24C003CCXE3D103PC CERAHIKE 2KV 0.01MF P143 25C011CH1FDF222MC CERA AC2.5KV 2200PF M AC250V143 26C020CH1FDF472MC CERA AC2.5KV 4700PF M AC250V143 27C030CH1FDF222MC CERA AC2.5KV 2200PF M AC250V143 28PR001DECPAC140MPOSISTORECPAC140M290143 29R009RW01Z158JNR WIRE WOUND1W 0.15 OHM J NON-INDUCT143 30C004CCXB3A101KC CERA1KV B 100PF K143 31F001A9977410900FUSE CLIPBSP3-H T0.4 SN 5.2143 32F001B9977410900FUSE CLIPBSP3-H T0.4 SN 5.2143 33IC1011KA431ZTA-IC SHUNTKA431ZTA143 34000019979800555PCB MAINCMW-700 (WEB MONITOR)143 35GND059970710228CONN AS35750-0910+0.12*6*16=130143 36GND29970710228CONN AS35750-0910+0.12*6*16=130143 37GND39970710233CONN ASHOLDER+1015#18+SOLDER=100143 38000909975300012KEY BOARDCMW-700(ENGLISH VER.)143 39001009975300050MOUSECMW-700 (MOUSE)143 4000020W1173D831-CORD POWERSP30+IS14(I)11 ***************** * END OF REPORT * *****************
RF Exposure Info
RF Exposure Info “ Not Applicable”
Test Report
File No. 01-IST-073/FB IST EMC LAB. Page 1 of 17 IST EMC Lab. San 21-8 Goan-Ri, Baekam-Myun, Yongin-Si, Kyunggi-Do, KOREA International - Tel : 82-31 - 333 - 4093. Fax : 82-31 - 333 - 4094. Domestic - Tel : 031 - 333 - 4093. Fax : 031 - 333 - 4094. IST EMC LAB. EMISSION TEST REPORT Test report file No. : 01-IST-073/FB Date of issue : June 12, 2001. Model / Type No. Kind of product Applicant Manufacturer Address : MW-700 : Web Monitor : Daewoo Electronics Co., Ltd : Daewoo Electronics Co., Ltd : 543, Dangjung-Dong, Kunpo-City, Kyunggi-Do, Korea Test result according to the regulation(s) n Positive o Negative at page 3. This test report without appendix consists of 17 pages. It is not allowed to copy this report even partly without the allowance of the Test Laboratory. This equipment is complied with the applicable technical standards as indicated in the measurement report and was tested in accordance with the measurement procedures specified in ANSI C63.4-1992. File No. 01-IST-073/FB IST EMC LAB. Page 2 of 17 IST EMC Lab. San 21-8 Goan-Ri, Baekam-Myun, Yongin-Si, Kyunggi-Do, KOREA International - Tel : 82-31 - 333 - 4093. Fax : 82-31 - 333 - 4094. Domestic - Tel : 031 - 333 - 4093. Fax : 031 - 333 - 4094. DIRECTORY A) Documentation. Page Directory Test regulations Environmental Conditions Test Conditions Equipment under Test Test Result Test-setup (Figures) Summary 2 3 3 4 ~ 5 6 ~ 7 8 9 ~ 10 17 B) Test Data. Conducted emissions (Mains) Radiated emissions : 450 kHz - 30 MHz : 30 MHz – 2 GHz 11 ~ 13 14 ~ 16 C) Appendix File No. 01-IST-073/FB IST EMC LAB. Page 3 of 17 IST EMC Lab. San 21-8 Goan-Ri, Baekam-Myun, Yongin-Si, Kyunggi-Do, KOREA International - Tel : 82-31 - 333 - 4093. Fax : 82-31 - 333 - 4094. Domestic - Tel : 031 - 333 - 4093. Fax : 031 - 333 - 4094. TEST REGULATIONS The tests were performed according to the following regulations ; z - FCC Part 15, Subpart B (Unintentional Radiators, Class B) INFORMATION OF TEST LABORATORY IST EMC Lab. San 21-8 Goan-Ri, Baekam-Myun, Yongin-Si, Kyunggi-Do, Korea International - Tel : 82-31 - 333 - 4093. Fax : 82-31 - 333 - 4094. Domestic - Tel : 031 - 333 - 4093. Fax : 031 - 333 - 4094. ENVIRONMENTAL CONDITIONS Temperature Humidity Atmospheric pressure 26 °C 42 % 1000 mbar File No. 01-IST-073/FB IST EMC LAB. Page 4 of 17 IST EMC Lab. San 21-8 Goan-Ri, Baekam-Myun, Yongin-Si, Kyunggi-Do, KOREA International - Tel : 82-31 - 333 - 4093. Fax : 82-31 - 333 - 4094. Domestic - Tel : 031 - 333 - 4093. Fax : 031 - 333 - 4094. TEST CONDITIONS The measurement of the conducted emissions (Interference voltage) was performed in a shielded room. Test location : z - Shielded room. No.1 - Compact chamber 2 Used testing instruments : Name TypeManufacturerCalibration. DateSerial Number z ESH 3Test ReceiverRohde & SchwarzOct. 08, 2000861742/018 z 3725/2LISNEMCOOct. 08, 20009102-1788 z 3825/2LISNEMCODec. 20, 20009103-1788 z ESH 3-Z2Pulse LimiterRohde & SchwarzJun. 16, 2001357.8810.52 Test - accessories : Type Manufacturer z Aneroid BarometerSato z HygrometerSato Measurement Procedures : Conducted emissions measurments were made in accordance with ANSI C-63.4-1992,“Method of Measurement of Radio-Noise Emissions from Low-Voltage Electrical and Electronic Equipment in the Range of 9 kHz to 40 GHz”. The measurement were performed over the frequency range of 0.45MHz to 30MHz using a 50Ω/ 50uH LISN as the input transducer to an EMI/Field Intensity Meter. The measurements were made with the detector set for “Peak” amplitude within an IF bandwidth of 10kHz or for “quasi-peak” within a bandwidth of 9kHz. All used test-instruments as well as the test-accessories are calibrated regularly. Test engineer : B. K, Bae. / Research Engineer File No. 01-IST-073/FB IST EMC LAB. Page 5 of 17 IST EMC Lab. San 21-8 Goan-Ri, Baekam-Myun, Yongin-Si, Kyunggi-Do, KOREA International - Tel : 82-31 - 333 - 4093. Fax : 82-31 - 333 - 4094. Domestic - Tel : 031 - 333 - 4093. Fax : 031 - 333 - 4094. The measurement of the radiated emissions (Electric field) in the frequency range from 30 MHz to 1GHz was performed in horizontal and vertical antenna polarization at a open-site which meet the site attenuation requirement of ANSI C63.4-1992 and a test distance of : z - Open-site 1 - Compact chamber z - 3 meters - 10 meters Used testing instruments : NameTypeManufacturerCalibration. DateSerial Number z ESVPTest ReceiverRohde & SchwarzJuly. 21, 2000861744/004 z VULB 9160AntennaSchwarzbeckJuly. 11, 20003048 z 3115Horn AntennaEMCONov. 15, 20009012-3602 z 8566BSepectrum AnalyzerHewlett PackardJuly. 21, 20003026A01532 z 85650AQuasi-Peak AdaptorHewlett PackardJuly. 21, 20003107A01532 z 95685ARF PreselectorHewlett PackardJuly. 21, 2000362 Test - accessories : TypeManufacturer z Aneroid BarometerSato z HygrometerSato Measurement procedures Radiated measurements were in accordance with ANSI C63.4-1992 “Method of Measurement of Radio- Noise Emissions from Low-Voltage Electrical and Electronic Equipment in the Range of 9 kHz to 40 GHz”. The measurements were performed over the frequency range of 30MHz to 1GHz using antenna as the input transducer to a EMI/Field Intensity Meter. The measurements were made with the detector set for “quasi-peak” within a bandwidth of 120kHz. Above 1 GHz, peak detector function mode is used. The radiated measurements above 1 GHz were performed at a compact chamber which meet the site attenuation requirement of ANSI C63.4-1992. All used test-instruments as well as the test-accessories are calibrated regularly. Test engineer : B. K, Bae. / Research Engineer File No. 01-IST-073/FB IST EMC LAB. Page 6 of 17 IST EMC Lab. San 21-8 Goan-Ri, Baekam-Myun, Yongin-Si, Kyunggi-Do, KOREA International - Tel : 82-31 - 333 - 4093. Fax : 82-31 - 333 - 4094. Domestic - Tel : 031 - 333 - 4093. Fax : 031 - 333 - 4094. EQUIPMENT UNDER TEST Equipment Description The Equipment Under Test (EUT) is the 17 inch Web Monitor of Daewoo Electronics Co., Ltd. It is composed of two parts. One is a internal PC …
Text truncated - open the document above for the full version.
Contact Information
Applicant
Youjin Choi(Manager)
Technical Contact
Daewoo Electronics Co., Ltd.Myung-Jin Moon
[email protected]82-31-428-5542
543 Dangjeong-Dong · Kunpo-City, Kyonggi-Do · South Korea
Non-Technical Contact
IST Co., Ltd.Joon H Lee
[email protected]82-31-333-4093
Test Firm
IST Co., LtdBong Kyoon Bae
Technical Specifications
| # | Rule Parts | Frequency Range | Power Output |
|---|---|---|---|
| 1 | 15B | - | - |
Other Applications from WINIA Electronics Co., Ltd.
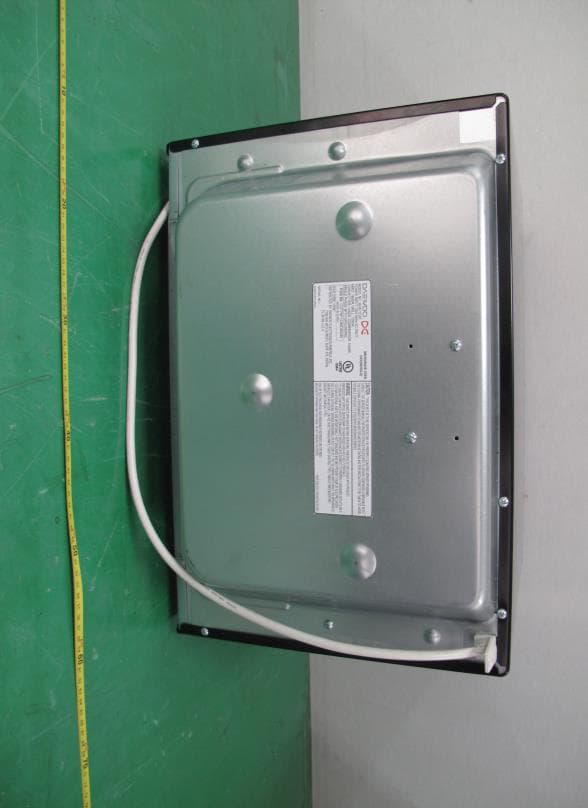
C5F7NF1CMO900N
Nov 23, 2014Microwave Oven
Equipment Class
8CC - Part 18 Consumer Device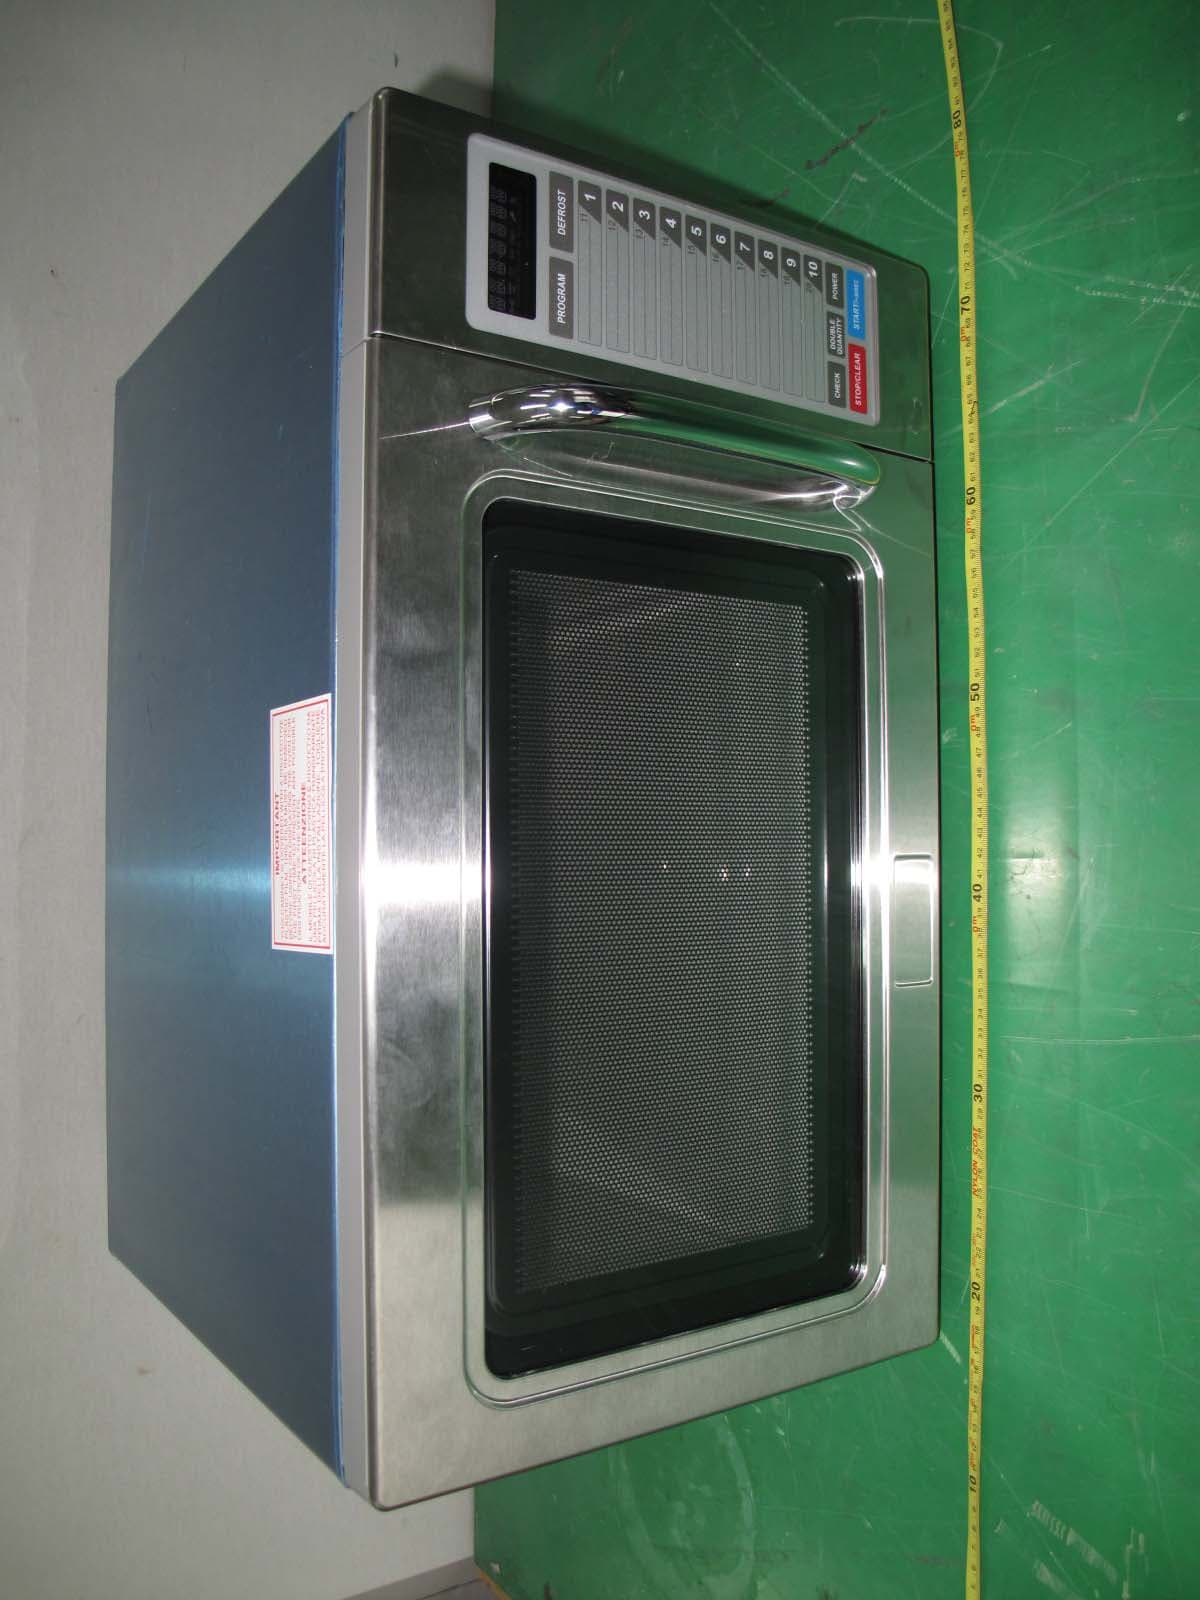
C5F7NF9PMO100N
Mar 25, 2013Commercial Microwave Oven
Equipment Class
8CC - Part 18 Consumer Device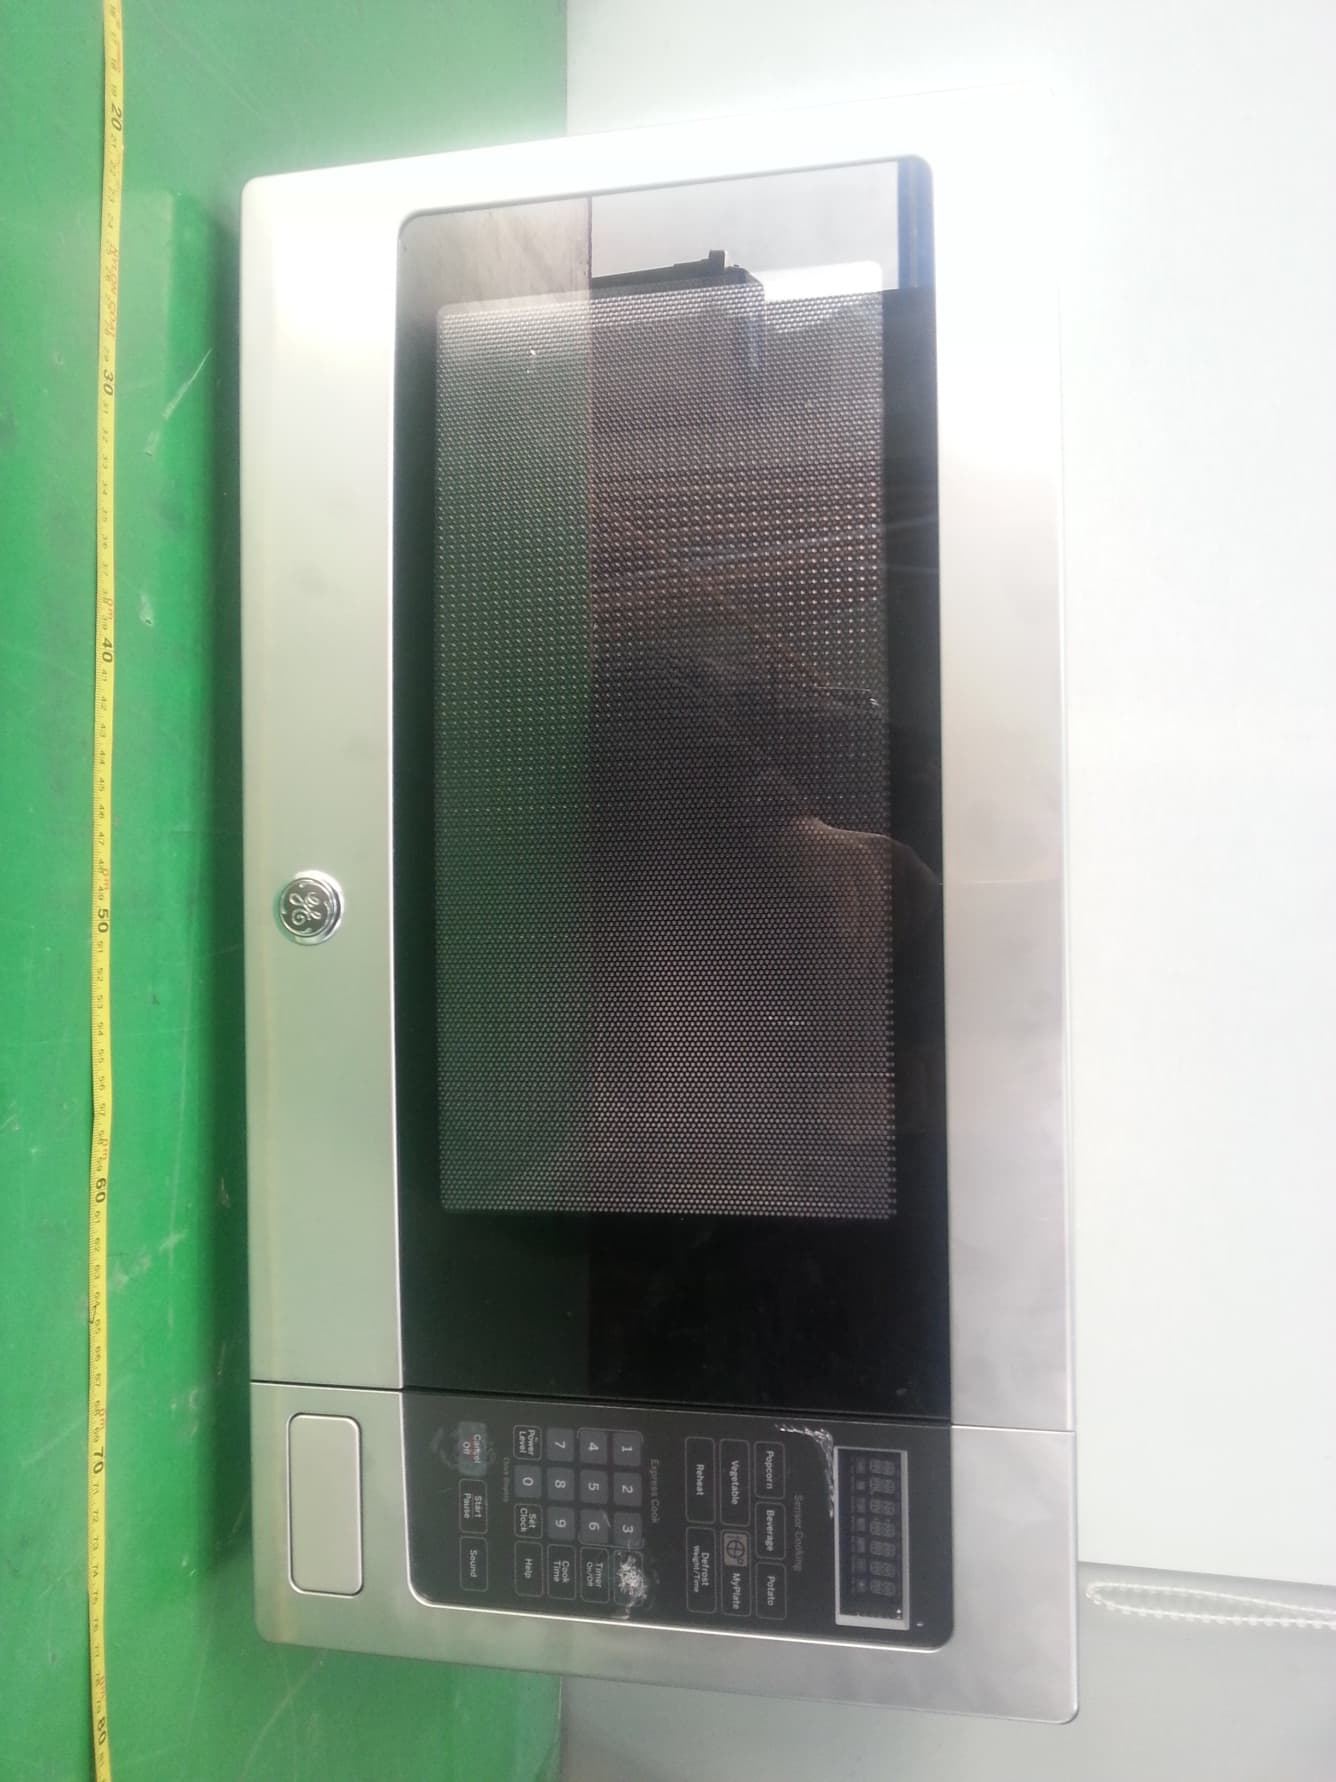
C5F7NF22MO110N
Jan 23, 2013Microwave Oven
Equipment Class
8CC - Part 18 Consumer Device
C5F7NF9FMO120N
May 06, 2012Commercial Microwave Oven
Equipment Class
8CC - Part 18 Consumer Device
C5F7NF9FMO180N
Sep 05, 2011Commercial Microwave Oven
Equipment Class
8CC - Part 18 Consumer Device