C5FDPN4274NH42 Inches Plasma Display Panel
WINIA Electronics Co., Ltd.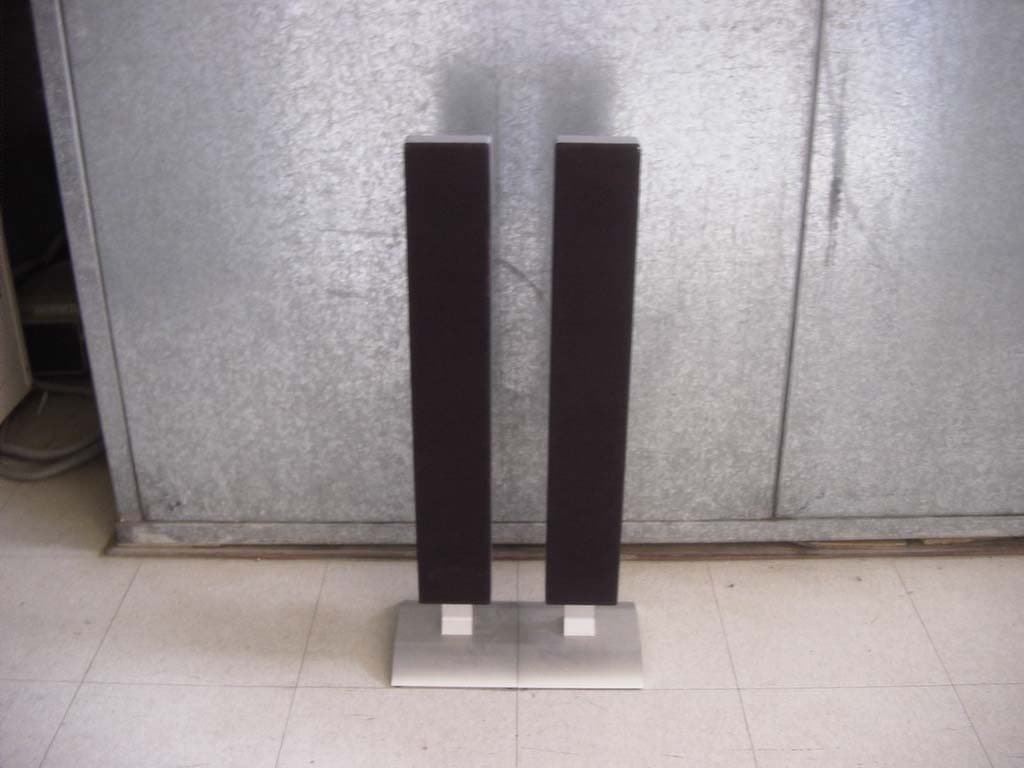
Click to zoom
Application Details
- Equipment Class
- JBP - Part 15 Class B Computing Device Peripheral
- Date of Grant
- Jun 15, 2004
- Application Purpose
- Original Equipment
- Date of Application
- Jun 15, 2004
- Equipment Note
- 42 Inches Plasma Display Panel
- Company
- WINIA Electronics Co., Ltd.
- Country
- South Korea
Documents & Files
Document Text
Text extracted from the exhibit documents filed with the FCC. Open a document above to read the original.
Users Manual
PLASMA DISPLAY USER’S MANUAL DPN-4274NHS Proper use guarantees product life. Before using the product, be advised that you read this owner’s manual well and try to operate it. CAUTION:TO REDUCE THE RISK OF ELECTRIC SHOCK, DO NOT REMOVE COVER (OR BACK). NO USER-SERVICEABLE PARTS INSIDE. REFER SERVICING TO QUALIFIED SERVICE PERSONNEL. CAUTION RISK OF ELECTRIC SHOCK DO NOT OPEN This symbol is lntended to alert the user to the presence of uninsulated “dangerous voltage” within the product’s enclosure that may be of sufficient magnitude to constitute a risk of electric shock to parsons. The symbol is intended to alert the user to the presence of important operating and maintenance(servicing) instructions in the literature accompanying the appliance. WARNING: TO REDUCE THE RISK OF FIRE OR ELECTRIC SHOCK, DO NOT EXPOSE THIS PRODUCT TO RAIN OR MOISTURE. CAUTION: TO PREVENT ELECTRIC SHOCK, MATCH WIDE BLADE OF PLUG TO WIDE SLOT, FULLY INSERT. CAUTION RISK OF ELECTRIC SHOCK DO NOT OPEN 1.Read these instructions. 2. Keep these instructions. 3. Heed all warnings. 4. Follow all instructions. 5. Do not use this apparatus near water. 6. Clean only with a damp cloth. 7.Do not block any of the ventilation openings. Install in accordance with the manufacturer's instructions. 8. Do not install near any heat sources such as radiators, heat registers, stoves, or other apparatus (including amplifiers) that produce heat. 9. Do not defeat the safety purpose of the polarized or grounding type plug. A polarized plug has two blades with one wider than the other. A grounding type plug has two blades and a third grounding prong. The wide blade or the third prong is provided for your safety. When the provided plug does not fit into your outlet, consult an electrician for replacement of the obsolete outlet. 10.Protect the power cord from being walked on or pinched particularly at plugs, convenience receptacles, and the point where they exit from the apparatus. 11. Only use the attachments/accessories specified by the manufacturer. 12. Use only with a cart, stand, tripod, bracket, or table specified by the manufacturer, or sold with the apparatus. When a cart is used, use caution when moving the cart/apparatus combination to avoid injury from tip-over. 13. Unplug this apparatus during lightning storms or when unused for long periods of time. 14. Refer all servicing to qualified service personnel. Servicing is required when the apparatus has been damaged in any way, such as power supply cord or plug is damaged, liquid has been spilled or objects have fallen into the apparatus, the apparatus has been exposed to rain or moisture, does not operate normally, or has been dropped. Important Safety Instructions 4 This Owner’s Manual presents safety precautions and how to use the product. After reading it thoroughly, use the product safely. Keep this manual where the user can see it easily. Failure to comply with warnings and cautions for the safe use of electric appliances may cause fire or human injury. •42” VGA wide Plasma Panel •Built in Analog Tuner PDP has the analog tuner inside for watching terrestrial broadcasting without purchasing of the separated broadcasting receiver. • DVD Direct Connection / Outstanding Picture Quality Digital Broadcasts Receive DVD can be directly connected to the unit so that you can view clear digital images. You can enjoy even higher quality images by connecting digital broadcasting receiver with which digital broadcasts can be viewed. •PC Direct Connection PC can be connected to the PDP without a separate device and can be used as a monitor making it ideal for presentation, various events and exhibitions. •160 o Wide-Angle Viewing Area •Flat Panel with No Distortion and Color Blurring Since Plasma Monitor has no problems such as distortion, blurring, flickering unlike existing CRT type displays you can enjoy Home Theater with super speaker. •Various Video Control - 11 Languages OSD - 20 Step screen zooming function - Full-screen still function - Various aspect ratio (16:9, Panorama, Normal, Enlarge LB, Enlarge LBS) •Worldwide : NTSC, PAL, SECAM / Free Volt (100-240V~, 50/60Hz) •DVI (Digital Visual Interface) Connection When connection to PC, you can receive DVI digital signal as well as former analog signal by using DVI input and D-Sub input. Furthermore, using the DVI Input, you can receive directly a digital signal of the computer. Consequently, pictures on the screen is much more clear and fresh. •CCF(Capsulated color filter) Technology for natural color CCF Technology makes the screen more clear by controlling of the brightness among three different color filters. Features Features FCC RF INTERFERENCE ST FCC RF INTERFERENCE ST A A TEMENT TEMENT NOTE : This equipment has been tested and found to comply with the limits for a Class B digital device, pursuant to Part 15 of the FCC Rules. These limits are designed to provide reasonable protection against harmful interference in a residential installation. This equipment generates, uses and can radiate radio frequency energy and, if not installed and used in accordance with the instructions, may cause interference to radio communications. However, there is no guarantee that interference will not occur in a particular installation. If this equipment does cause interference to radio or television reception which can be determined by turning the equipment off and on, the user is encouraged to try to correct the interference by one or more of the following measures. - Reorient or relocate the receiving antenna. - Increase the separation between the equipment and receiver. - Connect the equipment into an outlet on a circuit different from that to which the receiver is connected. - Consult authorized service centers for help. - Only shielded interface cable should be used. Finally, any changes or modifications to the equipment by the user not expressly approved by the grantee or manufacturer could void the users authority to operate such equipment, A…
Text truncated - open the document above for the full version.
Users Manual
11 Note The following items are optional accessories. Refer purchasing optional accessories from Daewoo Electronics Local retailer or the retailer from where you purchased the unit. Optional Accessories Table Top Stand Speakers DPE-P20J - Speaker Main Unit Dimension : 100(W) x 628(H) x 83(D) mm 39.37(W) x 24.72(H) x 3.27(D) inch - Dimension Including Speaker Stand : 170(W) x 729(H) x 194(D) mm 6.69(W) x 28.7(H) x 7.64(D) inch - Audio Amplifier : 10W + 10W - Impedance : 8Ω - Weight : 6.4kg(14.11 Lbs) DPE-T20G -Dimension: 667(W) x 212(H) x 320(D) mm 26.26(W) x 8.35(H) x 12.6(D) inch - Weight : 7kg(15.43 Lbs) Wall Mounting Unit DSP/DP-HG10, DSP/DP-HG20, DSP/DP-HG22 - Variable Angles : 0 o , 10 o , 15 o , 20 o - Dimension: 601(W) x 592(H) x 35(D) mm 23.66(W) x 23.31(H) x 1.9(D) inch - Weight: 4.5kg(10 Lbs) 13 4•Safety Precautions 8•Checking Accessories 12•Panel Controls 13•Remote control 14•To setup device change of remote control PREPARATION CONNECTION 15•Antenna Connection 18•To Watch TV 20•Automatic Channel Memory 26•Watching Digital Broadcasts 28•Watching Cable Broadcasts 30•Watching Satellite Broadcasts 32•Watching a DVD Image 34•Watching a VCR Image 36•Watching a Camcorder/Game Console Image 38•Connecting PC(15Pin D-Sub) 40•Connecting PC(DVI) APPLICATION MISC. 76•Before Requesting Service 77•SPECIFICATIONS CONTENTS 43•Selecting Picture Mode59 • MENU Background, Languages 44 •Customizing Pictureand key pad Lock Setting 46•Adjusting Screen Size61 • Enhancer Demo and Auto 48•Adjusting Screen Position and SizePower Setting. 50•Enlarging Screen Size63 • Closed Caption Setting 52•Watching a Still Image65 • Time Setting 53•Adjusting Auto Sound Mode67 • Image Sticking 54•Customizing Sound ModeMinimization(ISM) 56•Selecting INPUT SIGNAL69 • Parental Lock Setting 58• Checking the Current Input Signal73 • Initialize Setting 75 • Setting Sleep Timer Panel Controls 14 Front Panel, Back Panel, Remote Control * Items having same names on Plasma display and the remote control would function in exactly the same way. Front Rear Power • Power control sensor • Power Standby: Red - Standby Green - ON • Power button Select when adjusting volume or select/adjust “MENU.” Press when moving “MENU.” STAND BY/OPERATE DVI-D INPUTANT Used when manufacturing(For manufacturer use only) PC INPUT(15 pin D-sub) DVI-D INPUT COMPONENT A/V jacks (DTV/DVD INPUT jacks) S-VIDEO, A/V INPUT, Cable Receiver INPUT jacks External Speaker Power ANT Monitor out 15 Remote Control When Using Remote Control: • Be sure not to allow the Remote Control to drop or to become wet. • Keep it away from hot or moist locations. Installing the Batteries in your Remote Control: • Push to open the cover of the remote controller • Set the batteries in the battery cell after checking the electrode, and then shut the cover. TV/VIDEO(DVD)/SAT/CATV Use to select channel directly 0~9 Indicates the current state and resolution. Use this function to make video input selection. It changes in the following sequence TV -> Video1 -> Video2 -> TV Used to zoom the screen. To enlarge, press the(+) button, and to recturn to the previous condition, press the(-) button.(Zoom Mode : Zoom 0~20) Used to display a desired menu. Pressing the Power button of the Monitor allows the Display to be standby. (Red light is shown in the Remote Control Sensor.) At this time, if you press the Power button of the Remote Control, the Display is turned ON (Green light in the Sensor). Use it when selecting a channel number of over 100 Use this function to make video input selection. It changes in the following sequence DVI -> PC -> Component 1-> Component 2 -> DVI Adjusts the size of the screen (Normal, 16:9, etc.) This feature allows you to choose the caption. Display button TV/VIDEO ZOOM button Menu button Volume button / Adjusts the volume. Screen Size button Caption button Power button 100 Channel number (0~9) Multimedia CH button / Adjusts the channel. Note • Use two “AAA” batteries. • Be sure to use replacement batteries of the same type as the original ones. • The life of a battery depends on how much it has been used. * The number in ()indicates the page in which the function of each button is explained in detail. VIDEO/ DVDSATTVCATV DISPLAY MULTIMEDIATV/VIDEO CH CH V O L V O L Z O O M + Z O O M MENU P R E V C H S C R E E N S I Z E MUTE CAPTION F.F/SLOW PLAYF.R/SLOW REC STOP PAUSE PREV OPEN/CLOSE NEXT PICTURE MODE SOUND MODE STILL POWER MTS ADD/ ERASE SLEEP It recturns to previous channel. Previous Channel button Mute sound. Mute button Every press of the button cycles through the four different. Normal -> Movie -> Music -> News -> User. Picture Mode button This feature allows you to select the language and stereo sound while broadcasting MTS button The feature either memorizes the current channel or erases a channel that has previously memorized CHANNEL ADD/ERASE VIDEO/DVD Function Used to view a still picture during watching moving images.(Sound can be heard.) Still button Every press of the button cycles through the five different modes: Normal -> Movie -> Music -> News -> User. Sound Mode button Each time you press this button, a different input mode appears. The sequence is as follows: 15Min. -> 30Min. -> 60Min. -> 90Min. -> 120Min. -> OFF After the time is selected, it automatically becomes stand- by state. Sleep Timer button To setup device change of remote control 16 - The remote control is setup to be used for operating the HDTV provided together. You may also setup the remote control in order to operate cable TV receiver or video, etc with a remote control. METHOD TO SETUP DEVICE CHANGE OF REMOTE CONTROL • Ensure that power plugs of the outside device to be used are connected and that power turns off. • Find the code number of the outside device to be used in the code list (See Setup Code of Remote Control). • Continue to press the device change button related with the outside device to be used when the device change lamp (video / cable) flashes. • With the remote co…
Text truncated - open the document above for the full version.
Users Manual
21 Press the “Main Power” button. POWER • Press the “Main Power” button of the pdp set. • The main power lamp turns on in red color. • Press the "POWER" button of the remote control or any button in the keypad of the main body. • The LED of the pdp set turns on in “green” color and the set turns on. Press the “CH” button. CH CH V O L V O L Z O O M + Z O O M MENU P R E V C H S C R E E N S I Z E • Select the desired channel by pressing the “CH” button or the number button. Ex) Channel 09 Adjust volume. CH CH V O L V O L Z O O M + Z O O M MENU P R E V C H S C R E E N S I Z E •Sound reduces if pressing the “VOL”button. • Sound increases if pressing the “VOL” button. 3 1 2 MONO PM 12 : 00 CH 09 10Volume Press the “POWER” button to turn off the pdp set. POWER • TV turns off and he LED of the pdp set changes to red color. 4 Power Channel Setup 22 VIDEO / DVD SAT TV CATV DISPLAY MULTIMEDIA TV/VIDEO CH CH V O L V O L Z O O M + Z O O M MENU P R E V C H S C R E E N S I Z E M UTE CAPTION F.F/SLOW PLAY F.R/SLOW REC STOP PAUSE PREV OPEN/CLOSE PIC P O W E R - With this fuction, channels can easily be selected with “CH” button. - Only channels with a signal can be memorized. Automatic Channel Memory Press the “Menu” button. CH CH V O L V O L Z O O M + Z O O M MENU P R E V C H S C R E E N S I Z E • The menu screen appears as follows. • Press the “CH” button until coming on the channel. • Press the “VOL” to enter the sub menu. Select the “Air/Cable” by pressing the “CH” button. • Select the “Air/Cable” by pressing the “CH” button. • Select “Air” to watch the general broadcasting, and select “Cable” to watch the cable TV by using the “VOL” button. 1 Move Select MENU Exit Mode Brightness Contrast Color Tint Sharpness Color Temp. Normal Normal 31 31 31 31 31 Picture Screen Sound Function Channel Move Adjust MENU Exit Picture Screen Sound Function Channel Ch Mode Channel Memory Fine Tune Auto Search Air 42 Add 0 2 CH CH V O L V O L Z O O M + Z O O M MENU P R E V C H S C R E E N S I Z E 23 Select the “Auto Search”. CH CH V O L V O L Z O O M + Z O O M MENU P R E V C H S C R E E N S I Z E • Select the “Auto Search” with the “CH” button. Press the “VOL” button. CH CH V O L V O L Z O O M + Z O O M MENU P R E V C H S C R E E N S I Z E • By pressing the “VOL” button automatically searches OnAir Channel as in the right. • On Air TV, searches from 2 channels through 69 channels, and on Cable TV, searches from 1 channels through 125 channels. • In this case, if pressing the menu button, the automatic Channel search is channels searched by that time are saved. Auto Search is completed. • If auto search is completed, first momorized channel appears on the screen. 5 3 4 Move Select MENU Exit Picture Screen Sound Function Channel Ch Mode Channel Memory Fine Tune Auto Search Air 42 Add 0 Auto SearchingAir 42 15% Please wait ... MENU Exit MONO PM 12 : 00 CH 09 Check by pressing the “CH” button. CH CH V O L V O L Z O O M + Z O O M MENU P R E V C H S C R E E N S I Z E • You can search only the memorized channels. 6 MONO PM 12 : 00 CH 09 Additional Channel Memory • This is method for additionally memorizing channels not memorized due to weak broadcasting signal. • This function is available even in the [Menu] - [Channel] - [Memory] - [ADD/ERASE]. VIDEO/ DVDSATTVCATV DISPLAY MULTIMEDIATV/VIDEO CH CH V O L V O L Z O O M + Z O O M MENU P R E V C H S C R E E N S I Z E MUTE CAPTION F.F/SLOW PLAYF.R/SLOW REC STOP PAUSE PREV OPEN/CLOSE NEXT PICTURE MODE SOUND MODE STILL POWER MTS ADD/ ERASE SLEEP Additional Channel Memory Select the Channel to memorize. • Select the Channel by pressing the number button. Ex) “13” channel Press the “ADD/ERASE” button. ADD/ ERASE • “ADD/ERASE” character alternatively appears whenever pressing this button. • Add appears in green color and Erase appears in red color. • Add 13 channel by pressing the "ADD/ERASE" button. Check the Channel by pressing the “CH” button. CH CH V O L V O L Z O O M + Z O O M MENU P R E V C H S C R E E N S I Z E • “13” is selected by pressing the “CH” button. 3 1 2 MONO PM 12 : 00 CH 13 MONO PM 12 : 00 CH 13 24 Add CH 13 25 Erase of Memorized Channel • This is function to erase unnecessary memorized channel. • This function is available even in the [Menu] - [Channel] - [Memory] - [ADD/ERASE]. VIDEO/ DVDSATTVCATV DISPLAY MULTIMEDIATV/VIDEO CH CH V O L V O L Z O O M + Z O O M MENU P R E V C H S C R E E N S I Z E MUTE CAPTION F.F/SLOW PLAYF.R/SLOW REC STOP PAUSE PREV OPEN/CLOSE NEXT PICTURE MODE SOUND MODE STILL POWER MTS ADD/ ERASE SLEEP Select the Channel to erase. CH CH V O L V O L Z O O M + Z O O M MENU P R E V C H S C R E E N S I Z E • Select the Channel to erase with the “CH” button. • You may select the Channel by pressing the number button. Ex) “13” channel Press the “ADD/ERASE” button. ADD/ ERASE • If pressing the “ADD/ERASE” button, the Channel number changes from green color to red color. • “ADD/ERASE” character alternatively appears whenever pressing this button. • After selecting the channel to want to erase, press the "ADD/ERASE" 1 2 Erase of Memorized Channel Notices: Cautions in menu setup • Menu disappears if not operating any button for 10 seconds. Press the menu button to erase the menu. • Only automatically searched channels is memorized and unsearched channels become erase status. 26 Fine Tune VID EO/ DVD SAT TV CATV DISPLAY MU LTIM EDIA TV/VIDEO CH CH V O L V O L Z O O M + Z O O M MENU P R E V C H S C R E E N S I Z E M UTE CAPTION F.F/SLOW PLAY F.R/SLOW REC STOP PAUSE PREV OPEN/CLOSE NEXT PICTURE MODE SOUND M ODE STILL P O W E R M TS AD D/ ERASE SLEEP When color looks separated • Use fine tune function to adjust the screen when picture is unclear or lines appear. Select the [Channel] with the “Menu” button and the “VOL” button. CH CH V O L V O L Z O O M + Z O O M MENU P R E V C H S C R E E N S I Z E • Enter the sub menu of [Channel] by pressing the “VOL” button. 1 Move Select MENU Exit Picture Screen Sound Function Channel Ch Mode Channel Memory Fine Tune Auto S…
Text truncated - open the document above for the full version.
Users Manual
Customizing Picture • You can adjust the color tone and brightness to your preference. Customizing Picture 46 VIDEO/ DVDSATTVCATV DISPLAY MULTIMEDIATV/VIDEO CH CH V O L V O L Z O O M + Z O O M MENU P R E V C H S C R E E N S I Z E MUTE CAPTION F.F/SLOW PLAYF.R/SLOW REC STOP PAUSE PREV OPEN/CLOSE NEXT PICTURE MODE SOUND MODE STILL POWER MTS ADD/ ERASE SLEEP Press the /Button. • After selecting [Picture] by by pressing “CH” button, press the “VOL ” button. Then the sub menu of [Picture] will be displayed. Select the Custom Mode. • Select “User” by pressing the “VOL ” button. 3 Press the MENU Button. • The MENU shown below will display on the screen. 1 2 Move Adjust MENU Exit Normal 31 31 31 31 31 Picture Screen Sound Function Channel Mode Brightness Contrast Color Tint Sharpness Color Temp. Normal Move Adjust MENU Exit Normal 30 60 40 32 48 Picture Screen Sound Function Channel Mode Brightness Contrast Color Tint Sharpness Color Temp. User CH CH V O L V O L Z O O M + Z O O M MENU P R E V C H S C R E E N S I Z E Move Select MENU Exit Mode Brightness Contrast Color Tint Sharpness Color Temp. Normal Normal 31 31 31 31 31 Picture Screen Sound Function Channel CH CH V O L V O L Z O O M + Z O O M MENU P R E V C H S C R E E N S I Z E CH CH V O L V O L Z O O M + Z O O M MENU P R E V C H S C R E E N S I Z E Select User Mode Adjustments Picture Condition Adjustments • Press the “VOL ” buttons to adjust the picture at your preference. 4 5 Move Adjust MENU Exit Normal 30 60 40 32 48 Picture Screen Sound Function Channel Mode Brightness Contrast Color Tint Sharpness Color Temp. User Move Select MENU Exit Normal 30 60 40 32 48 Picture Screen Sound Function Channel Mode Brightness Contrast Color Tint Sharpness Color Temp. User 47 • While you are in [Picture Mode – User], press the “CH” buttons to select a specific adjustment item. NOTES: 1) While you are in the PC or DVI INPUT mode, you can only adjust brightness, contrast, sharpness and color temperature. 2) When you adjust Brightness, Contrast, Color and Tint in DTV mode or adjust Brightness and Contrast in PC or DVI mode, the picture is adjusted finely. 3) The adjusted values are memorized in each mode separately. 4) The Tint control is used only when the input signal is NTSC If input signal is NTSC, Tint control is displayed in picture menu. 5) Selecting the Color Temperature makes the mood normal, warm or cold. CH CH V O L V O L Z O O M + Z O O M MENU P R E V C H S C R E E N S I Z E CH CH V O L V O L Z O O M + Z O O M MENU P R E V C H S C R E E N S I Z E Adjusting Screen Size • You can adjust screen size or aspect ratio as desired. Adjusting Screen Size 48 VIDEO/ DVDSATTVCATV DISPLAY MULTIMEDIATV/VIDEO CH CH V O L V O L Z O O M + Z O O M MENU P R E V C H S C R E E N S I Z E MUTE CAPTION F.F/SLOW PLAYF.R/SLOW REC STOP PAUSE PREV OPEN/CLOSE NEXT PICTURE MODE SOUND MODE STILL POWER MTS ADD/ ERASE SLEEP Press the “SCREEN SIZE” Button. • Each time you press the “SCREEN SIZE” button on the Remote Control, a different “SCREEN SIZE” appears. The sequence used is as follows: • The current screen size will be displayed on the screen. 1 S C R E E N S I Z E Panorama Enlarge LB 16:9Normal Enlarge LBS NOTES: 1) When the INPUT SIGNAL is DTV [in Component 1 or Component 2], only the aspect ratios of 16:9 and 4:3(Normal) are available. Eg) If input signal is 16:9, PDP displays in 16:9 mode. 2) The digital broadcasting (720p, 1080i) is fixed at the aspect ratio of 16:9. 3) Displaying a picture in a normal mode (4:3) for a long time may cause phosphor of the PDP to be burned. So avoid displaying a picture in 4:3 screen size for a long time. 4) 16:9 : Theater-like 16:9 picture formats Panorama: 16:9 picture formats with panorama effect Normal : Displays pictures of original picture size. Enlarge LB : Enlarges the screen as to fill the black part of up and down. Enlarge LBS : Enlarges the screen, and shifts up as to see the subtitles in case you are watching video with subtitles. 49 Press the MENU Button. • Press the [MENU] button on the Remote Control. Select [Screen]. • Press the Channel “CH” button to select [Screen]. Select the [Screen Size]. • Enter the sub menu by pressing “VOL ” button. • Press the Volume “VOL ” buttons to select [Screen Size]. 3 1 2 Adjusting from MENU Screen Move Select MENU Exit Mode Brightness Contrast Color Tint Sharpness Color Temp. Normal Normal 31 31 31 31 31 Picture Screen Sound Function Channel Move Select MENU Exit Mode 16 : 9 Picture Screen Sound Function Channel Move Adjust MENU Exit Picture Screen Sound Function Channel Mode Normal CH CH V O L V O L Z O O M + Z O O M MENU P R E V C H S C R E E N S I Z E CH CH V O L V O L Z O O M + Z O O M MENU P R E V C H S C R E E N S I Z E CH CH V O L V O L Z O O M + Z O O M MENU P R E V C H S C R E E N S I Z E • Available Screen Mode InputAvailable Mode PC,DVINone Component 16:9, Normal (480p or above) Video 16:9, Component Panorama, (480i)Normal, Enlarge LB, Enlarge LBS Adjusting Screen Position and Size • You can adjust the screen position and size as desired. VIDEO/ DVDSATTVCATV DISPLAY MULTIMEDIATV/VIDEO CH CH V O L V O L Z O O M + Z O O M MENU P R E V C H S C R E E N S I Z E MUTE CAPTION F.F/SLOW PLAYF.R/SLOW REC STOP PAUSE PREV OPEN/CLOSE NEXT PICTURE MODE SOUND MODE STILL POWER MTS ADD/ ERASE SLEEP Press the MENU Button. • The MENU screen as shown below will appear. Press the “ CH ” button. • Press the “CH”button to select [Screen]. 1 2 Move Select MENU Exit Picture Screen Sound Function Channel H. Size V. Size H. Position V. Position Phase Frequency 32 32 32 32 32 32 50 Move Select MENU Exit Mode Brightness Contrast Color Tint Sharpness Color Temp. Normal Normal 31 31 31 31 31 Picture Screen Sound Function Channel Adjusting Screen Position and Size CH CH V O L V O L Z O O M + Z O O M MENU P R E V C H S C R E E N S I Z E CH CH V O L V O L Z O O M + Z O O M MENU P R E V C H S C R E E N S I Z E 51 Press the Volume “ VOL ” button. • Press the Volume “VOL ” button to enter the sub menu of [Scre…
Text truncated - open the document above for the full version.
Block Diagram
KEY PCB LED PCB AC SWITCH DPN-4274NHS BLOCK DIAGRAM SCAN RELAY BOARD UPPER POWER PCB HIGH VOLTAGE BOARD DIGITAL BOARD SUB PCB DATA RELAY BOARD(LEFT) DATA RELAY BOARD(RIGHT) COMMON RELAY BOARD DATA DRIVER IC DATA COF CN1 DATA DRIVER IC DATA COF CN2 DATA DRIVER IC DATA COF CN3 DATA DRIVER IC DATA COF CN4 DATA DRIVER IC DATA COF CN5 DATA DRIVER IC DATA COF CN1 DATA DRIVER IC DATA COF CN2 DATA DRIVER IC DATA COF CN3 DATA DRIVER IC DATA COF CN4 DATA DRIVER IC DATA COF CN5 MAIN PCB PC101 PC103 P100 JP117 JA109 PC102 PC900 CN806CN805 CN4 CN03CN06 CN305CN306 CN302CN301CN100 CN200 CN315 CN7 CN8 CN701 CN401 CN8 CN6 CN402CN601 CN101 CN6 CN7 CN803 CN801 COMMON BYPASS BOARD SCAN RELAY BOARD LOWER Clock Oscilator : 77.706 MHz 20.280 MHz Crystal : 4.000 MHzOscilator : 80.000 MHz 27.000 MHz20.250 MHz20.000 MHz Crystal : 18.432 MHz 32.768 MHz 14.31818 MHz
ID Label/Location Info
ID Label Sample Location Information
Test Report
IST Co., Ltd EMC LABORATORY TEST REPORT NO. : 04-IST-0127 1 of 19 Certification of Compliance CFR 47 Part 15 Subpart B Test Report File No. : 04-IST-0127 Date of Issue : June 2, 2004 Model(s) : DPN-4274NHS Kind of Product : 42” Plasma Display Panel Applicant : Daewoo Electronics Corp. Address : 543, Dangjung-Dong, Kunpo-City, Gyunggi-Do, Korea Manufacturer : Daewoo Electronics Corp. Address : 543, Dangjung-Dong, Kunpo-City, Gyunggi-Do, Korea Test Result ■ Positive □ Negative Reviewed By Approved By J. H. Lee / EMC Group Manager G. Chung / Chief - Investigations requested : Measurement to the relevant clauses of F.C.C rules and regulations Part 15 Subpart B ( Unintentional Radiators, Class B) – Class B PC Peripherals The test report with appendix consists of 19 pages. - The test result only responds to the tested sample. - It is not allowed to copy this report even partly without the allowance of IST EMC Laboratory. - This equipment as for has been shown to be capable of continued compliance with the applicable technical standards as indicated in the measurement report and was tested in accordance with the measurement procedures specified in ANSI C63.4 2001. IST Co., Ltd EMC LABORATORY TEST REPORT NO. : 04-IST-0127 2 of 19 TABLE OF CONTENTS Table of contents 2 Test Regulations Information of test laboratory Environmental condition Measurement Uncertainty 3 Power used Product Information 4 Description of test Conducted Emission 5 Radiated Emission 6 Equipment Under Test 7 Summary 8 Test conditions and data Conducted emissions 0.15 MHz – 30 MHz Applicable Test equipment 9 Data and plots 10-13 Radiated emissions 30 MHz – 1 GHz Applicable Test equipment 14 Data and plots 15 Appendix A. The EUT Photos 16-17 B. The Test Setup Photos 18-19 IST Co., Ltd EMC LABORATORY TEST REPORT NO. : 04-IST-0127 3 of 19 TEST REGULATIONS The tests were performed according to the following regulations ; FCC Part 15, Subpart B (Unintentional Radiators, Class B) INFORMATIONS OF TEST LABORATORY EMC LABORATORY of IST Co., Ltd. (FCC Filing Lab.) San 21-8, Goan-Ri, Baekam-Myun, Yongin-City Kyonggi-Do, 449-860, Korea TEL : +82 31 333 4093 FAX : +82 31 333 4094 ENVIRONMENTAL CONDITIONS Temperature 21 °C Humidity 43 % Atmospheric pressure 1014 mbar MEASUREMENT UNCERTAINTY The measurement uncertainty was evaluated for all test items listed in this report. Also it, “ The evaluation and treatment of uncertainty “, is described in IST Quality Manual according to ISO17025 Guide. The data and results described in this report are true and include evaluated uncertainty. It may cause some deviation of uncertainty by change component or process of the test for similar products. IST Co., Ltd EMC LABORATORY TEST REPORT NO. : 04-IST-0127 4 of 19 POWER SUPPLY SYSTEM USED Power supply system AC 120Vac, 60Hz (Refer to the product information) PRODUCT INFORMATION Diagonal : 106 ㎝ (42”) screen Aspect Ratio : 16:9 Display Resolution : 853(H) X 480(V) dots Pixel Pitch : 1.08(H) X 1.08(V) mm Output Color : Video Signal : NTSC, PAL, SECAM, PAL-M/N, NTSC4.43 Dimension : 1044(W) X 631(H) X 89(D) mm 41.10(W) x 24.84(H) X 3.50(D) inch Weight : 30kg (66.14Lbs) Power Requirement : AC 100-240V, 50/60Hz, 260W Input/Output Terminal VIDEO AUDIO Component Input : DTV/DVD only (Y,Pb/Cb,Pr/Cr), 2sets (Left/Right) 2Sets Video Input : two RCA jacks (Left/Right) S-Video Input : two 4pin Mini DIN Jack 2Sets Computer(PC) : one 15pin D-sub jack DVI-D(Digital only) (Left/Right) 2Set each RF INPUT : TAFH-H001F(LG) Video Output : one RCA jack (Left/Right) 1set Audio Output : Speaker Output(sold separately) 20W(two 10W) - EMC suppression device is not used during the test . IST Co., Ltd EMC LABORATORY TEST REPORT NO. : 04-IST-0127 5 of 19 < Concept Drawing > 215 >150 >40 80 Receiver DUT LISN 80 ≥ 80 80 40 ≥ 80 Measuring apparatus Mains Filter Mains Front side Equipment under test Coaxial cable Artificial mains networ k Screened room Non-metallic support 80 DESCRIPTIONS OF TEST Conducted Emissions: The measurement were performed over the frequency range of 0.15MHz to 30MHz using a 50 Ω /50uH LISN as the input transducer to a Spectrum Analyzer or a Field Intensity Meter. The measurements were made with the detector set for "Peak" amplitude within a bandwidth of 10KHz or for "quasi-peak" & “Average” within a bandwidth of 9KHz. - Procedure of Test The line-conducted facility is located inside a shielded room No.1. A 1m X 1.5m wooden table 80cm height is placed 40cm away from the vertical wall and 1.5m away from the other wall of the shielded room. The R/S ESH3-Z5 and EMCO 3825/2 LISN are bonded to bottom of the shielded room. The EUT is located on the wooden table with distance more than 80cm from the LISN and powered from the EMCO LISN .The peripheral equipment is powered from the other LISN. Power to the LISNs are filtered by a noise cut power line filters. All electrical cables are shielded by braided tinned steel tubing with inner φ 1.2cm. If the EUT is a DC-powered device, power will be derived from the source power supply it normally will be powered from and this supply lines will be connected t…
Text truncated - open the document above for the full version.
Contact Information
Applicant
Youjin Choi(Manager)
Test Firm
IST Co., LtdBong Kyoon Bae
Technical Specifications
| # | Rule Parts | Frequency Range | Power Output |
|---|---|---|---|
| 1 | 15B | - | - |
Other Applications from WINIA Electronics Co., Ltd.
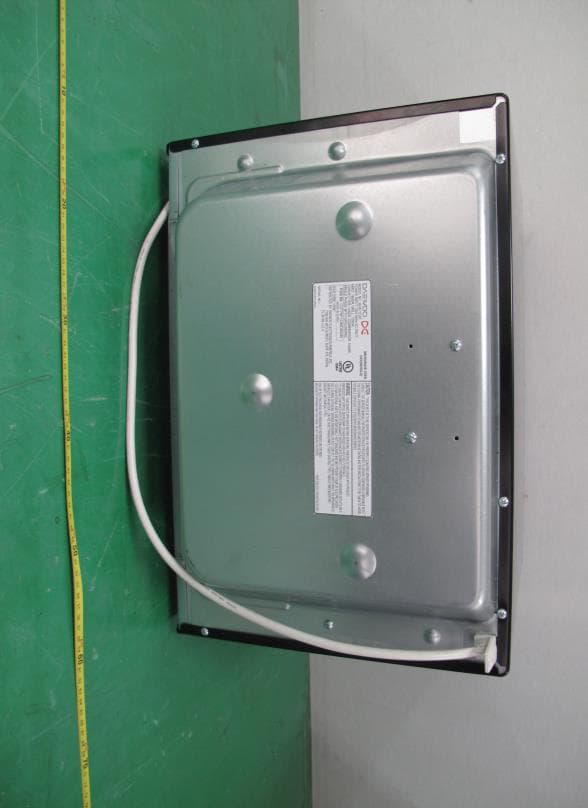
C5F7NF1CMO900N
Nov 23, 2014Microwave Oven
Equipment Class
8CC - Part 18 Consumer Device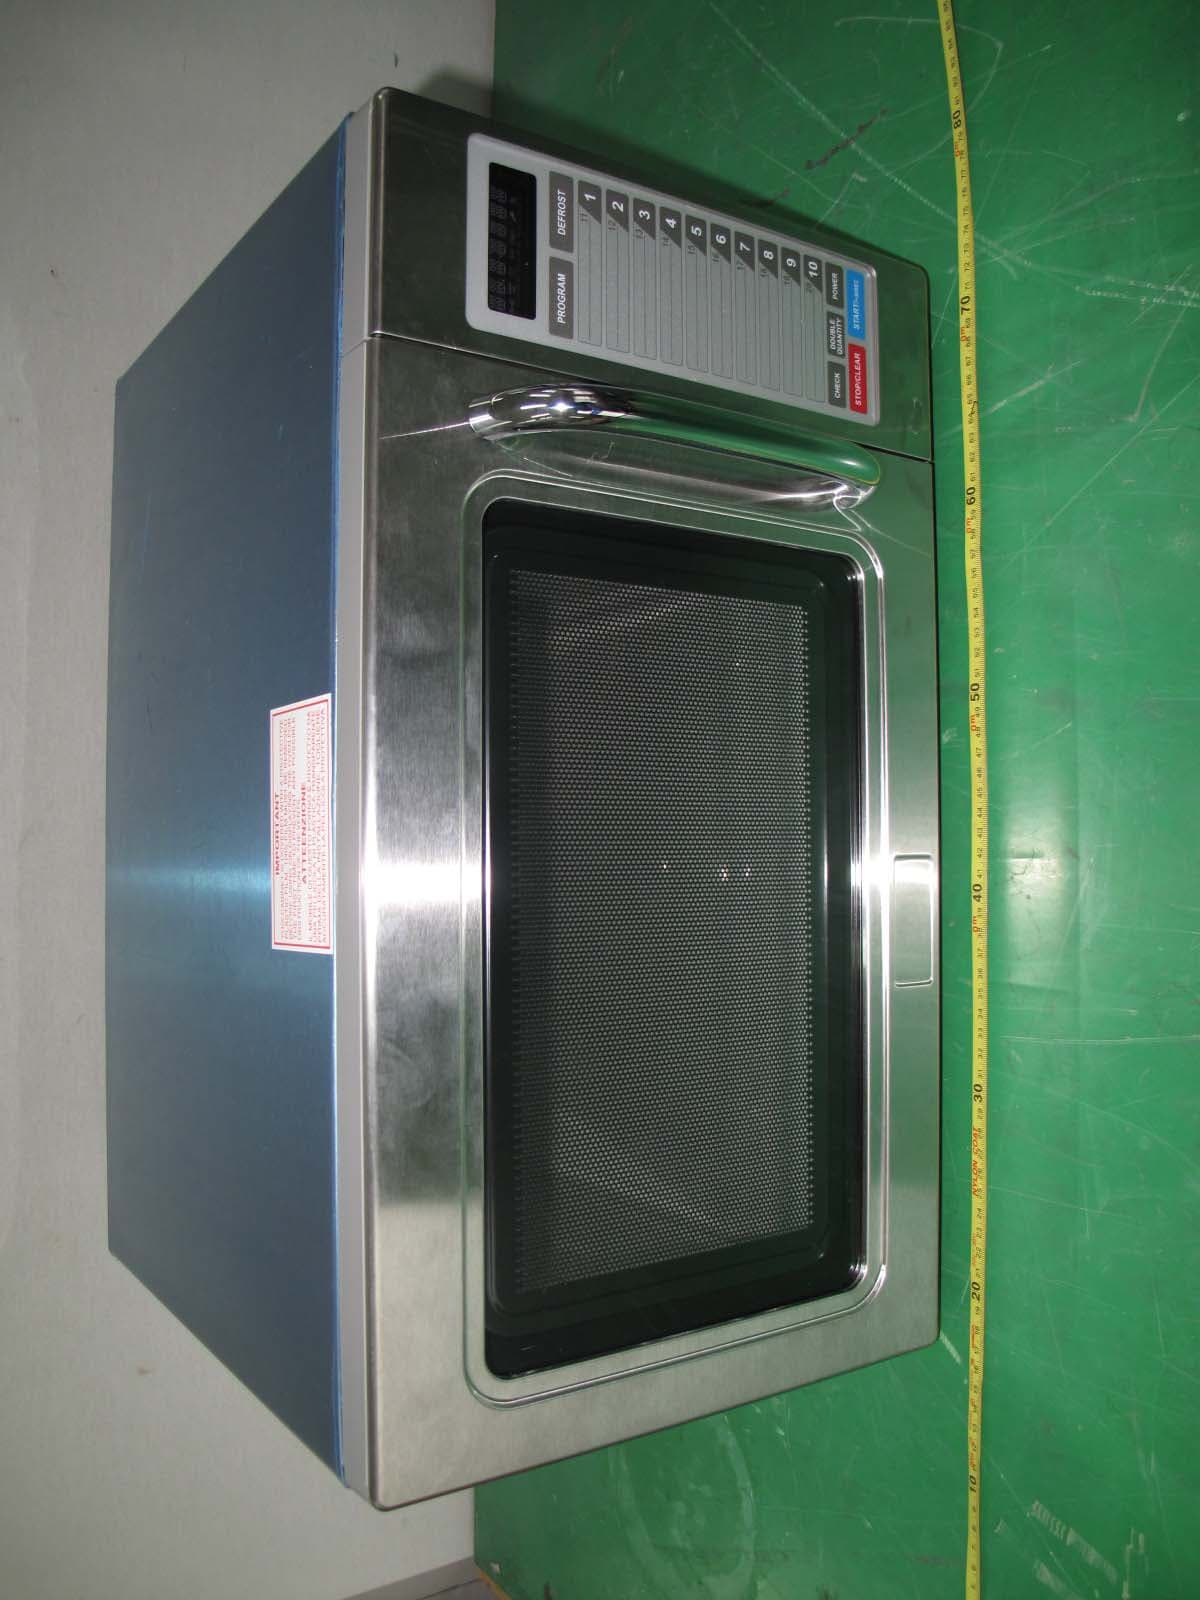
C5F7NF9PMO100N
Mar 25, 2013Commercial Microwave Oven
Equipment Class
8CC - Part 18 Consumer Device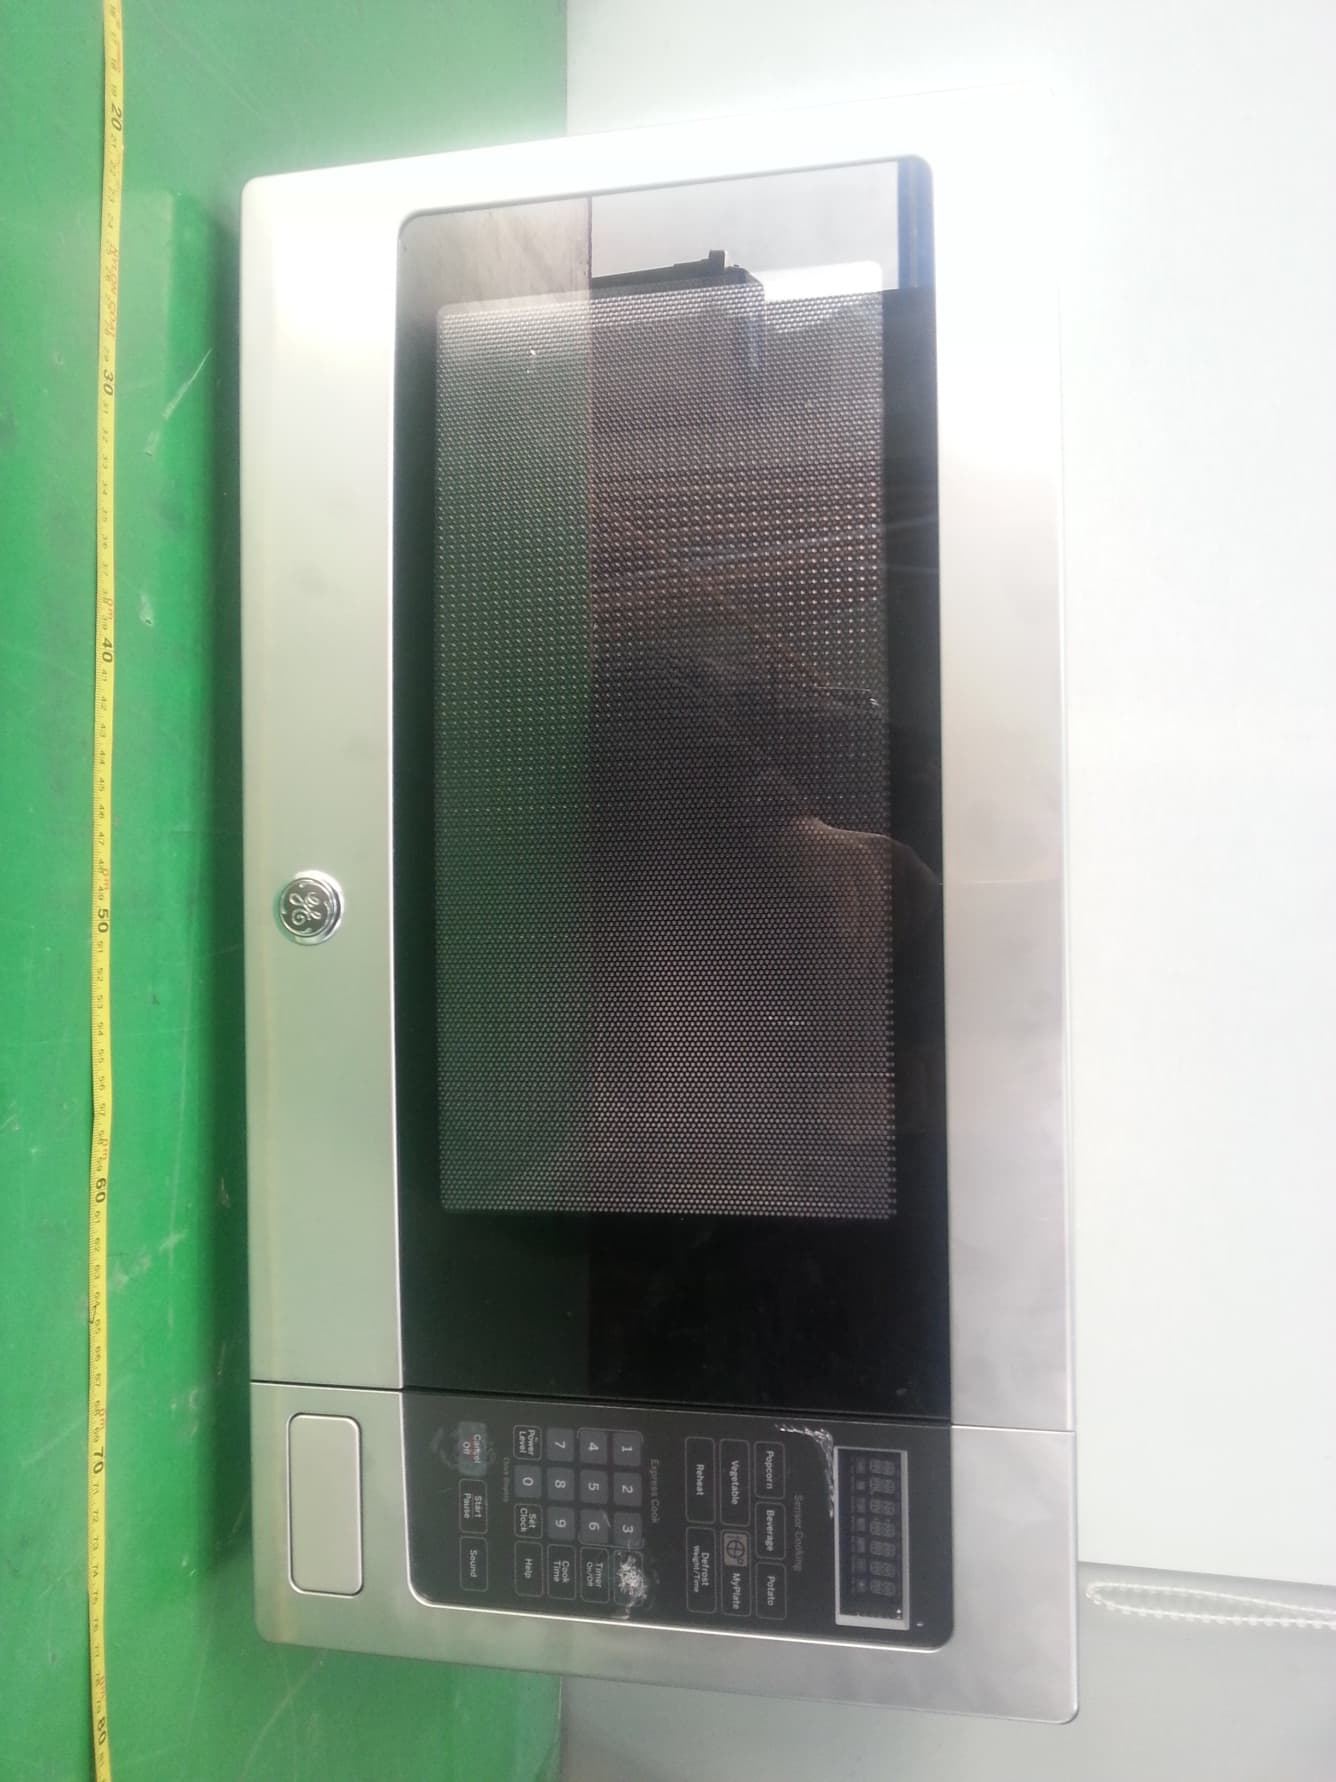
C5F7NF22MO110N
Jan 23, 2013Microwave Oven
Equipment Class
8CC - Part 18 Consumer Device
C5F7NF9FMO120N
May 06, 2012Commercial Microwave Oven
Equipment Class
8CC - Part 18 Consumer Device
C5F7NF9FMO180N
Sep 05, 2011Commercial Microwave Oven
Equipment Class
8CC - Part 18 Consumer Device