KNFAIRTXair kit- tx
SPAL USA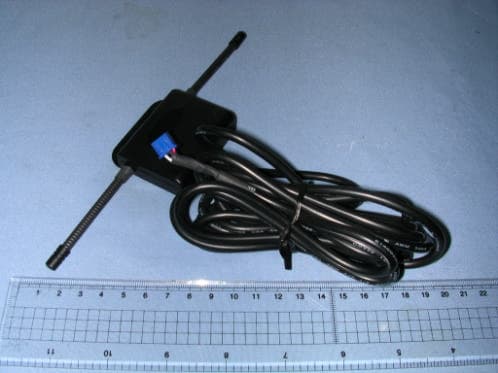
Click to zoom
Application Details
- Equipment Class
- DSC - Part 15 Security/Remote Control Transmitter
- Date of Grant
- May 09, 2004
- Application Purpose
- Original Equipment
- Date of Application
- May 09, 2004
- Equipment Note
- air kit- tx
- Frequency Range
- 303.37500000 - 304.37500000
- Company
- SPAL USA
- Country
- United States
Documents & Files
Document Text
Text extracted from the exhibit documents filed with the FCC. Open a document above to read the original.
Users Manual
350 S. St. Charles St. Jasper, In. 47546 Ph. 812.482.2932 Fax 812.634.6632 on the internet: www.ridetech.com Connector # 1 – Power harness •Connect green/black stripe to----------------- illumination •Connect yellow to-------------------------------- ignition •Connect black to----------------------------------directly to ground of battery •Connect red to------------------------------------ directly to battery 12v positive Connector # 2 – Sensor harness •Connect green/white wire to------------------ left front pressure sensor •Connect brown wire to------------------------- right front pressure sensor •Connect purple wire to------------------------- left rear pressure sensor •Connect red/white wire to--------------------- right rear pressure sensor Connector # 3 – Solenoid harness NOTE: This harness will have a weatherpak connector on it that will plug in to our existing RidePro solenoids. There will be no further connections necessary. If you have another brand or type of solenoid, please refer to the connection instructions below for proper connection. •Connect blue wire to -------------------------- left front UP solenoid •Connect white/green wire to----------------- left front DOWN solenoid •Connect brown/white wire to---------------- right front UP solenoid •Connect yellow/white wire to----------------right front DOWN solenoid •Connect green wire to------------------------ left rear UP solenoid •Connect gray wire to--------------------------left rear DOWN solenoid •Connect pink wire to---------------------------right rear UP solenoid •Connect yellow/black wire to--------------- right rear DOWN solenoid Installation notes: 1. The computer box should be mounted inside the vehicle to avoid moisture and to be accessible to make programming changes. DO NOT MOUNT THE COMPUTER BOX IN THE ENGINE BAY OR UNDERNEATH THE CAR. 2. Do not plug in the receiver module until all the wiring is complete. 3. The air pressure sending units must be grounded to function properly. This can be accomplished through a metal mounting bracket or by attaching a ground wire to the main body of the sensor. 4. The control panel display unit can be flush mounted or surface mounted in any location inside the vehicle...or it can be left unmounted. It is supplied with 6 ft. leads to the computer box. 12 ft. leads are available from the factory if desired. DO NOT lengthen or shorten these leads...call the factory for a longer harness. 5. The control panel is an LCD display. This display may be unsatisfactory if mounted at an extreme angle to the driver. You may want to power up the system temporarily to insure you are able to see the display properly in your selected mounting location. How to program the air pressure presets: To Program air pressure preset #1: This is the default setting that will be engaged every time the vehicle is started. It can also be engaged via the [optional] keyfob transmitter by placing the slide switch in the “up” position. It is recommended that this air pressure be adjusted to the highway ride height of the vehicle. 1. Place the DIP-switches located on the side of the computer box in the OFF [“up”] position 2.Turn ignition ON 3. Set desired air pressure of the vehicle with main control panel switches 4. Press the “program” button, located on the side of the computer box 6 times, (If the program button is held for 3 seconds on the 7 th press of the button, level one will be set.) ... the led beside the program button will then flash (4 Times) to indicate programming was successful. OPTIONAL: If you have the optional remote control system, set the slide switch on the side of the transmitter to the “UP” position and press the #5 button on the side of the keyfob transmitter to enter the #1 setting into the remote control system. The main control panel display will flash slowly four times to indicate remote control setting #1 was successful. After ALL programming is complete, return the DIP switches to the “ON” position to activate the air pressure presets. To Program air pressure setting #2: This air pressure preset is only accessible from the optional remote control keyfob transmitter. This air pressure setting is typically adjusted to set the vehicle at a lower ride height for parking. 1. Place the DIP-switches located on the side of the computer box in the OFF [“up”] position 2.Turn ignition ON 3. Set desired air pressure of the vehicle with main control panel switches 4. Press the “program” button, located on the side of the computer box 6 times ... the led beside the program button will then flash. 5. Set the slide switch on the side of the transmitter to the “DOWN” position and press the #5 button on the side of the keyfob transmitter to enter the #2 setting into the remote control system. The main control panel display will flash quickly four times to indicate remote control setting #2 was successful. After ALL programming is complete, return the DIP-switches to the “ON” position to activate the air pressure presets. NOTE: The vehicle will return to the #1 air pressure preset every time the vehicle is started. If you DO NOT wish to use the air pressure preset feature, simply leave the DIP switches in the “OFF” [UP] position. How to operate the RidePro E system The main control panel display contains the switches for inflating or deflating the individual airsprings. The position of the switches correspond to the position of the airsprings in your vehicle. NOTE: The control panel is functional ONLY when the key is “ON”. It is disabled when the key is “OFF”. The optional remote control system is functional ONLY when the key is “OFF”. Control Panel: Top Left Switch: Controls left front ride height UP or DOWN Indicates Air Pressure of left front air bag Top Right Switch: Controls right front ride height UP or DOWN Indicates Air Pressure of right front air bag Bottom Left Switch: Controls left rear ride height UP or DOWN Indicates Air Pressure of left rear air bag Bottom Right Switch: Controls ri…
Text truncated - open the document above for the full version.
Block Diagram
Antenna Bandpass Filter & Antenna Matching netw ork Demodulator Oscillator 303.875MHz Low Pass Filter
External Photos
PHOTOS OF EUT PHOTOS OF EUT
ID Label/Location Info
Sample of FCC ID Label FCC ID:KNFAIRRX RX
Internal Photos
Spectrum Research & Testing Lab., Inc. No. 101-10, Ling 8, Shan-Tong Li, Chung-Li City, Taoyuan, Taiwan, R.O.C. Photo Page: 1 of 4 PHOTOS OF EUT Spectrum Research & Testing Lab., Inc. No. 101-10, Ling 8, Shan-Tong Li, Chung-Li City, Taoyuan, Taiwan, R.O.C. Photo Page: 2 of 4 PHOTOS OF EUT Spectrum Research & Testing Lab., Inc. No. 101-10, Ling 8, Shan-Tong Li, Chung-Li City, Taoyuan, Taiwan, R.O.C. Photo Page: 3 of 4 PHOTOS OF EUT Spectrum Research & Testing Lab., Inc. No. 101-10, Ling 8, Shan-Tong Li, Chung-Li City, Taoyuan, Taiwan, R.O.C. Photo Page: 4 of 4 PHOTOS OF EUT
Operational Description
FCC ID: KNFAIRRX Operational Description of the equipment This is a superregenerative receiver and the receiver part of a remote controller which is designed to use in a vehicle. The detailed circuit functions are described as below: PRODUCT AIR KIT (RX) MODEL NO. AIR KIT POWER SUPPLY DC 12V from Battery (working voltage:5Vdc) CABLE N/A I/O PORT/INTERFACE N/A FREQUENCY BAND 289 ~ 321.9MHz RECEIVER FREQUENCY 303.875MHz NUMBER OF CHANNEL 1 CHANNEL SPACING 0 MODULATION TYPE ASK SENSITIVITTY -35dBm(0dB) ANTENNA TYPE Mono pole antenna NOTE: The EUT is the receiver part of a remote controller which is designed to use in a vehicle.
Test Report
Spectrum Research & Testing Lab., Inc. No. 101-10, Ling 8, Shan-Tong Li, Chung-Li City, Taoyuan, Taiwan, R.O.C. TEST REPORT Reference No.:A04041204 Report No.: FCBA04041204 Page: 2 of 11 Date:May 04, 2004 FCC ID: KNFAIRRX Table of Contents 1. DOCUMENT POLICY AND TEST STATEMENT......................................................3 1.1 DOCUMENT POLICY....................................................................................................3 1.2 TEST STATEMENT........................................................................................................3 2. DESCRIPTION OF EUT AND TEST MODE.............................................................4 2.1 GENERAL DESCRIPTION OF EUT............................................................................4 2.2 DESCRIPTION OF EUT INTERNAL DEVICE...........................................................4 2.3 DESCRIPTION OF TEST MODE.................................................................................4 2.4 DESCRIPTION OF SUPPORT UNIT..........................................................................5 3. DESCRIPTION OF APPLIED STANDARDS.............................................................5 4. RADIATED EMISSION TEST......................................................................................6 4.1 RADIATED EMISSION LIMIT.......................................................................................6 4.2 TEST EQUIPMENT........................................................................................................6 4.3 TEST SET-UP.................................................................................................................7 4.4 TEST PROCEDURE......................................................................................................8 4.5 EUT OPERATING CONDITION...................................................................................8 4.6 RADIATED EMISSION TEST RESULT......................................................................9 5. PHOTOS OF TESTING..............................................................................................10 6. TERMS OF ABRIVATION...........................................................................................11 Spectrum Research & Testing Lab., Inc. No. 101-10, Ling 8, Shan-Tong Li, Chung-Li City, Taoyuan, Taiwan, R.O.C. TEST REPORT Reference No.:A04041204 Report No.: FCBA04041204 Page: 3 of 11 Date:May 04, 2004 FCC ID: KNFAIRRX 1. DOCUMENT POLICY AND TEST STATEMENT 1.1 DOCUMENT POLICY - The report shall not be reproduced except in full, without the written approval of SRT Lab, Inc. - The report must not be used by the applicant to claim that the product is endorsed by NVLAP. - The NVLAP logo applies only to the applicable standards specified in this report. 1.2 TEST STATEMENT - The test results in the report apply only to the unit tested by SRT Lab. - There was no deviation from the requirements of test standards during the test. - The new battery power source, 12 Vdc, was used during the test. Spectrum Research & Testing Lab., Inc. No. 101-10, Ling 8, Shan-Tong Li, Chung-Li City, Taoyuan, Taiwan, R.O.C. TEST REPORT Reference No.:A04041204 Report No.: FCBA04041204 Page: 4 of 11 Date:May 04, 2004 FCC ID: KNFAIRRX 2. DESCRIPTION OF EUT AND TEST MODE 2.1 GENERAL DESCRIPTION OF EUT PRODUCT AIR KIT (RX) MODEL NO. AIR KIT POWER SUPPLY DC 12V from Battery (working voltage:5Vdc) CABLE N/A I/O PORT/INTERFACE N/A FREQUENCY BAND 289 ~ 321.9MHz RECEIVER FREQUENCY 303.875MHz NUMBER OF CHANNEL 1 CHANNEL SPACING 0 MODULATION TYPE ASK SENSITIVITTY -35dBm(0dB) ANTENNA TYPE Mono pole antenna NOTE: The EUT is the receiver part of a remote controller which is designed to use in a vehicle. 2.2 DESCRIPTION OF EUT INTERNAL DEVICE DEVICE BRAND / MAKER MODEL # FCC ID/DOC REMARK N/A 2.3 DESCRIPTION OF TEST MODE N/A (It is only applicable to more than one test mode.) Spectrum Research & Testing Lab., Inc. No. 101-10, Ling 8, Shan-Tong Li, Chung-Li City, Taoyuan, Taiwan, R.O.C. TEST REPORT Reference No.:A04041204 Report No.: FCBA04041204 Page: 5 of 11 Date:May 04, 2004 FCC ID: KNFAIRRX 2.4 DESCRIPTION OF SUPPORT UNIT The EUT was configured by the requirement of ANSI C63.4 and CISPR 22. All interface ports were connected to the appropriate support units via specific cables. The support units and cables are listed below. NO DEVICE BRAND MODEL # FCC ID/DOC CABLE 1 FAN NMB 3110KL-04W-B57 N/A 0.1m Unshielded Power Cord 2 FAN NMB 3110KL-04W-B57 N/A 0.1m Unshielded Power Cord NOTE: For the actual test configuration, please refer to the photos of testing. 3. DESCRIPTION OF APPLIED STANDARDS The EUT is a kind of receiver and according to the specifications provided by the applicant, must comply with the requirements of the following standards: 47 CFR Part 15 Subpart B, Class B All tests have been performed and recorded as per the above standards. Spectrum Research & Testing Lab., Inc. No. 101-10, Ling 8, Shan-Tong Li, Chung-Li City, Taoyuan, Taiwan, R.O.C. TEST REPORT Reference No.:A04041204 Report No.: FCBA04041204 Page: 6 of 11 Date:May 04, 2004 FCC ID: KNFAIRRX 4. RADIATED EMISSION TEST 4.1 RADIATED EMISSION LIMIT FCC Part 15, Subpart B limit of radiated emission : Class B (at 3m) Frequency (MHz) dBμV/m 30 – 88 40.0 88 – 216 43.5 216 – 960 46.0 Above 960 54.0 NOTE: 1. The lower limit shall apply at the transition frequencies. 2. Emission level (dBμV/m) = 20 log Emission level (μV/m). 4.2 TEST EQUIPMENT The following test equipment was used during the radiated emission test : EQUIPMENT/ FACILITIES SPECIFICATIONS MANUFACTURER MODEL#/ SERIAL# DUE DATE OF CAL. & CAL. CENTER EMI TEST RECEIVER 9 kHz TO 2750 MHz ROHDE & SCHWARZ ESCS30/ 836858/008 AUG. 2004 ETC BI-LOG ANTENNA 25 MHz TO 2 GHz EMCO 3142/ 9701-1124 APR. 2005 SRT PRE-AMPLIFIER 1GHz-26.5GHz Gain:30dB(typ.) HP 8449B/ 3008A01019 DEC. 2004 ETC SPECTRUM 9KHz TO 26.5GHz HP 8953E/ 3710A03220 MAY 2005 ETC HORN ANTENNA 1GHz TO 18GHz EMCO 3115/ 9602-4681 NOV. 2004 ETC OAT…
Text truncated - open the document above for the full version.
Test Setup Photos
PHOTOS OF TESTING - Radiated test
Contact Information
Applicant
Dan McNeal(QC/Engineering Manager)
Test Firm
Sporton International, Inc.W. Huang
Technical Specifications
| # | Rule Parts | Frequency Range | Power Output |
|---|---|---|---|
| 1 | 15.231 | 303.375 MHz - 304.375 MHz | - |
Other Applications from SPAL USA
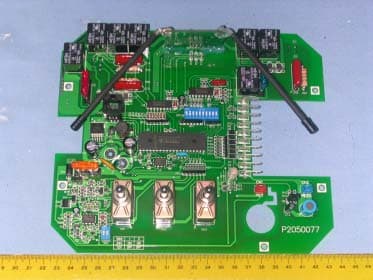
KNF6RX
Mar 26, 2006Remote Control Receiver
Equipment Class
CYY - Communications Receiver used w/Pt 15 Transmitter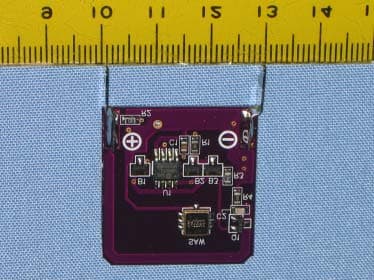
KNF4TX433
Oct 26, 2005AUTOMATED CONTROL
Equipment Class
DSC - Part 15 Security/Remote Control Transmitter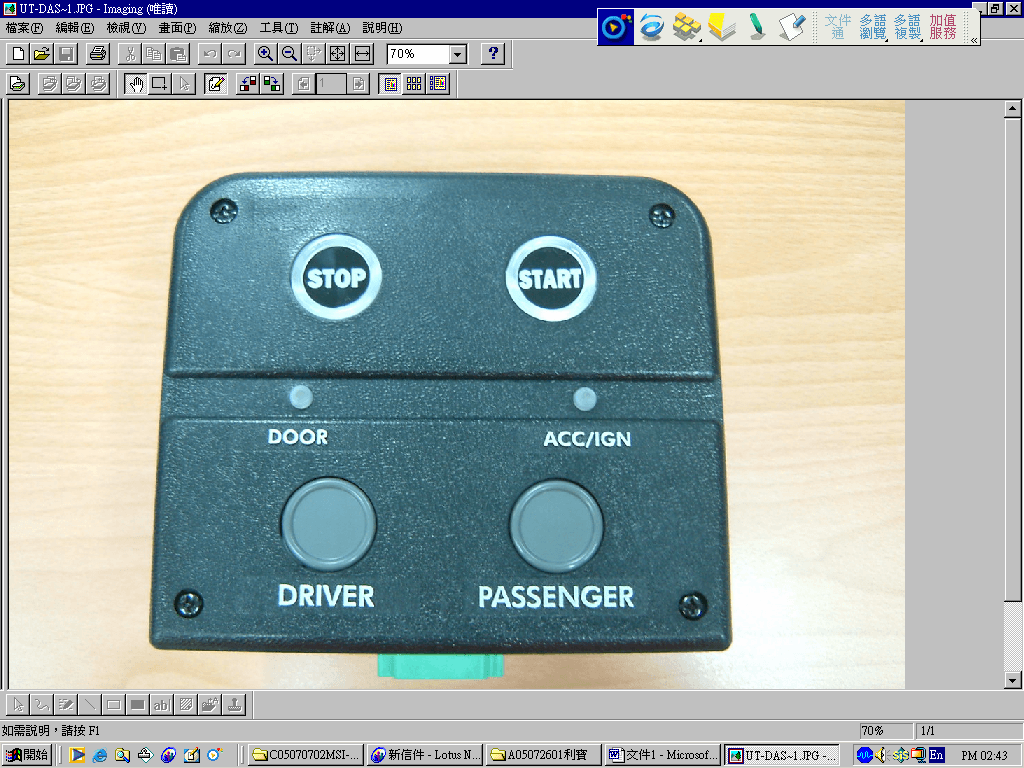
KNFUTRX
Sep 28, 2005Automated Control
Equipment Class
DXX - Part 15 Low Power Communication Device Transmitter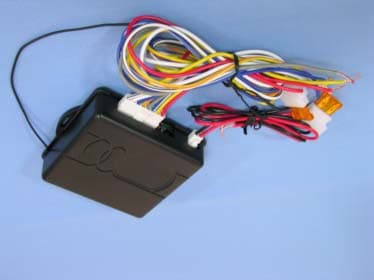
KNFRCU6RX
Sep 26, 2004REMOTE CONTOLLER (RX)
Equipment Class
CXX - Communications Rcvr for use w/ licensed Tx and CBs
KNF6TX
Jul 05, 2004Automotive Aftermarket Transmitter
Equipment Class
DSC - Part 15 Security/Remote Control Transmitter