Y4NDW700TXMOBICAM DXR
Mobi Technologies, Inc.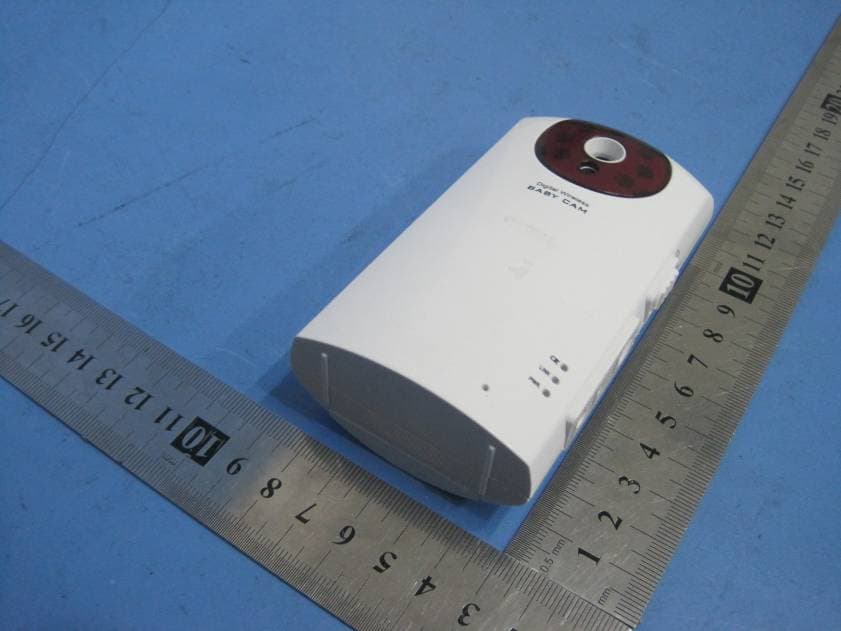
Click to zoom
Application Details
- Equipment Class
- DSS - Part 15 Spread Spectrum Transmitter
- Date of Grant
- Dec 26, 2010
- Application Purpose
- Original Equipment
- Date of Application
- Dec 26, 2010
- Equipment Note
- MOBICAM DXR
- Frequency Range
- 2402.00000000 - 2480.00000000
- Company
- Mobi Technologies, Inc.
- Country
- United States
Documents & Files
Document Text
Text extracted from the exhibit documents filed with the FCC. Open a document above to read the original.
Users Manual
MOBICAM DXR 680 680 15 70204 130 270 1050 2100 PWR. camera camera 3.5 receiver Receiver 70204 14 camera camera camera camera camera camera camera camera Camera battery receiver receiver receiver receiver receiver receiver pairing operation Power save mode on Camera and receiver are too close The camera has a high sensitivity microphone Keep the camera at least 10 feet away from the receiver. If the camera must be within 10 feet of the receiver, keep the volume down Press power key to resume receiver image, please refer to [Power Saving] section at page 12 for details. Black screen & Buttons no function Audio feedback VOX Record&Alarm does not work VOX Menu set to “OFF” Set VOX Sensitivity/VOX Alarm/VOX Record to ON and receiver 2 Camera stand USB cable Mounting kit and Installation 13 receiver receiver receiver camera camera Camera Receiver Lens IR LED Battery indicator Link indicator Power indicator Power key DC IN jack B S U Battery Power Cursor up Channel switch Cursor left/ Volume down Cursor down/ Audio switch Cursor right/ Volume up Enter/Exit menu Record/Delete PTT button/Confirm Power button SD card slot USB port(For FW upgrade/ DC IN jack Reset Power adaptor Event List 12 Alarm Setup AP software connection) Press to shift to on /off. Press / to move between the items. Battery low alarm ON: The receiver will give an alarm for 15 seconds when the camera battery is low. The receiver will give an alarm for 15 seconds when the camera is triggered by voice. Out of range alarm ON: The receiver will give an alarm for 15 seconds when the receiver and camera is out of wireless transmitting VOX alarm ON: range. 3 sec 3 sec 0 1. Press DEL to enter deletion mode. 2. Use to select the record file you need to delete. to select YES or NO. 3. Press 4. Press OK to delete. Play back Mode 1. Press to enter Record Folder. 2. Continue to press to Play/Pause file. 3. Press to fast forward video clip, pressto to back reverse video clip; press ESC to Stop/Exit. Event List 13 13 Camera stand DC IN 5V/1A PWR. Camera Connection 1 1 2 2 LCD Monitor Connection N I rewopgnihctiwsnogulpnehtNICDs’aremacotelbacrewoptcennoC .teltuollawotretpadaylppus .aremacehtNOnrutotec no]nottuBrewoP[P gniggulpybyllacitamotuastratsssecorpgnigrahcyrettabmuihtiLni-tliuB Only use 5V/1A power adaptor provided in the package. llufyrettabegrahce saelp,yticapacllufevahoT.ylppusrewopgnihctiwsni .ffoseog]rotacidnIyrettaB[neerglitnu 1 2 1 1 2 3 2 Only use 5V/1A power adaptor provided in the package. egrahcotretpadarewopnigniggulp,derpusthgil]rotacidnIyrettaB[nehW .yrettab rewopstinostigulpnehtNICDs’r evieceRotelbacrewoptcennoC .teltuollawotretpada .reviecerehtNOnrutot]nottuBrewoP[sserP gniggulpybyllacit amotuastratsssecorpgnigrahcyrettabmuihtiLni-tliuB yrettabegrahcesaelp,yticapacllufevahoT.ylppusrewopgn ihctiwsni .esuelbatroprofregrahctuohtiwreviecerehtgnitarepoerofeb DC IN 5V/1A ush VOX Sensitivity VOX Activate Recording Brightness 11 OFF --VOX funtion will be disabled. level 3 means high sensitivity,level 1 means low sensitivity Use / to adjust VOX sensitivity level. System will auto record for 30 sec once camera is triggered by voice when set “VOX activate recording” to ON. Please set VOX sensitivity to level 1~3 before proceed with this function. Press to enter camera brightness adjustment bar, press / to adjust brightness of current channel. and Installation 360 Screw the camera onto the bracket Adjust camera to the proper view angle. Make sure the lens is upright relative to your subject. Tighten the nut. Adjust the antenna to an upright position. Select the position for the camera and secure the camera stand. Screws and anchors are supplied. Use an appropriate screw type for the mounting surface. Step 2: Basic Operation srotacidnIdnasnottuBnoitcnuFaremaCgniwonK I. Pairing Camera Power Saving 105 SD Card Format ]onttuBrewoP[ litnusdnoces2rofnottubdloh,aremacehtFFOrewopoT.aremacehtNOrewopotecnoPush .ffoseog]rotacidnIr ewoP[ ]yeKkniL[ .]aremaCgniriaP–noitarepOdecnavdA[eeS.reviecerhtiwaremacriapotsserP ]rotacidnIyrettaB[ .f foseogDELneerGlitnuyrettabegrahcesaelp;gnigrahCyrettaB=DELneerG gnihciwsnogulpesaelp,emitetunim-3niFFO gninrutsiaremaC;woLyrettaB=DELdeR .esusuounitnocdnagnigrahcrofylppusrewop .degrahCylluFyrettaB=FFODEL ]r otacidnIkniL[ ]aremaCgniriaP–noitarepOdecnavdA[eeS.gnissecorpnisiecneuqesgniriaP=DELgniknilB .ediugasan oitces .reviecerehtybpudekcipsiaremaC=DEL .edomyb-dnatsnisiaremaC=FFODEL ]rotacidnIrewoP[ .NOderewopsiare macnehwNOseogDEL 1 2 3 4 5 Blue 1. Useto select a channel. 2. Press to start system countdown from 60 seconds. 3. Within 60-second countdown, press PAIR at the camera side. Image will display when pairing is complete. Use / to turn [Power Saving] mode On/Off. By setting [Power Saving] mode On, both receiver and camera will enter standby mode after 2-minute idle time and speaker volume will be mute. Press power key of the receiver to resume monitor and camera . Press / to select No or Yes. For first time use, it is strongly recommended to format the SD card. DC IN 5V/1A PWR. Know Receiver Function Buttons and Indicators B S U 1 6 ]nottuBrewoP[ .rotinomehtFFOrewopotsdnoces2roftidlohneht,norewopotnottubPush ]rotacidnIyrettaB[ .ffoseogDEL neerGlitnuyrettabegrahcesaelp;gnigrahCyrettaB=DELneerG rewopgnihctiwsnogulpesaelp,emitetunim-3niFFOgni nrutsiaremaC;woLyrettaB=DELdeR .esusuounitnocdnagnigrahcrofylppus .degrahCylluFyrettaB=FFODEL ]rotacidnI rewoP[ .NOderewopsiaremacnehwNOseogDEL .edoM]evaSrewoP[niFFOsirotinomelihwNOsniamerDEL ][Manual Channel Switch )edoM(/]PUrosru C[)edoMuneM( /]2HCyektoH[)edoMweiVDAUQ(/ ]1HCyektoH[)edoMweiVDAUQ(/ ]NWODrosruC[)edoMuneM( ]4HCyektoH[)ed oMweiVDAUQ(/]+loV/thgiRrosruC[)edoMuneM( ][)edoM weiV(/][)edoM( ]3HCyektoH[)edoMweiVDAUQ(/]-loV/LeftrosruC[) edoMuneM( ]nottuBretnE/uneM[)edoMuneM uneM ( 1 2 3 6 4 5 7 8 9 01 View [Turn on/off audio] )edoM( View Manual Record Delete Record File ][ Confirm )edoM weiV(/][ Push to Talk )edoM( uneM II. 69 Camera On/Off Scan Period Use / to selec…
Text truncated - open the document above for the full version.
Block Diagram
Digital Frequency Hopping,2402~2480MHz U9 iSEC DW-900 CPU U1 SDRAM HY57V64 U4 39VF040 TFT 7” U6 PT1202 power DC TO DC 3.3V U3 WM8731 U2/CS8553 Video A/D Convertor USB U5 PT5322 DC IN5V VIDEO OUTPUT 16.0M Nrf 24L02 Power Switch RF Switch RF AP 2.4G Filter RF Switch U14 CT674 32.768K Audio OUTPUT U8 Nand Flash 12M Keys 24.576M U12/MC34118 U13 Music IC SD card 27M
External Photos
2.1 EUT - Front View 2.2 EUT - Back View
ID Label/Location Info
2 FCC ID Label This device complies with Part 15 of the FCC Rules. Operation is subject to the following two conditions: (1)this device may not cause harmful interference,and (2) this device must accept any interference received, including interference that may cause undesired operation. The Label must not be a stick-on paper. The Label on these products must be permanently affixed to the product and readily visible at the time of purchase and must last the expected lifetime of the equipment not be readily detachable. Proposed Label Location on EUT EUT Bottom View/proposed FCC Mark Location FCC ID:Y4NDW700TX This device complies with Part 15 of the FCC Rules. Operation is subject to the following two conditions: (1) this device may not cause harmful interference, and (2) this device must accept any interference received, including interference that may cause undesired operation.
ID Label/Location Info
FCC ID Label Sample for Model: 70204 FCC ID : Y4NDW700TX This device complies with Part 15 of the FCC Rules. Operation is subject to the following two conditions:(1)this device may not cause harmful interference, and (2) this device must accept any interference received, including interference that may cause undesired operation.
Internal Photos
2.1 PCB1 - Front View 2.2 PCB1 - Back View 2.3 PCB2 - Front View 2.4 PCB2 - Back View
Operational Description
Circuit Description The outside machine part has DC and the battery two power supply ways, the indoor machine only supports the DC power supply, the indoor machine and outdoor machine when does not use maintains the condition which waits for an opportunity, this time, the indoor machine may by outdoor machine awaken, may also by indoor machine awaken on own initiative. After the outside machine presses the doorbell key (K101), starts the bell, simultaneously CPU(U101) will produce the control signal, WM8731 (U104) receives the MIC sound, the OV7725 output's image (U108) (2.4GHz) transmits through RF to indoor machine; After the indoor machine receives the outdoor machine calling signal, CPU (U9) judges the outdoor machine condition automatically, opens the display monitor and demonstrated that the corresponding active status, simultaneously also the sound which receives RF Module (U3) D/A transforms after WM8731 (U5) outputs after power amplifier PT5322; The receive image signal divides into two groups, A group signal after the TFT actuation chip CT674(U14) from the display monitor the display image, another group (U2) transforms after D/A makes the Video output through CS8553. If the outdoor machine call indoor machine, the indoor machine had inserts the SD card and the video recording function already opened, while which awakened meets the synchronized start video recording. The indoor machine awakens is at on own initiative in the outdoor machine call's situation, looks at outdoor (this function from the room court eunuch only when outdoor machine by the DC power supply effective); This time, when indoor machine presses monitors the key, then the indoor opportunity the control signal will transmit through RF for outdoor machine, awakens outdoor machine starting, simultaneously the outdoor opportunity gives again the sound and the image through the RF feedback indoor machine, thus in indoor machine display image and output sound.
Schematics
1 2 34 ABCD 4 3 2 1 D CBA USB_DNUSB_DP X27M_OUTX27M_IN USB_DET VCC_2V5 VSP_3V VUSB DGND VUSB DGND DGND Decoupling capacitor for U1 C181 20pF C182 20pF C1730.1uF C1770.1uF C1840.1uF C1850.1uF C1860.1uF C1870.1uF C1880.1uF C1890.1uF EC111 22uF DGND EC109 10uF C1360.1uF C1290.1uF C1270.1uF C1250.1uF C1230.1uF C1210.1uF C1190.1uF C1170.1uF R194 20K C170 0.01uF R182 100K R162 10K R195 1.5K R110 47K VSP_3V DGND R139 0R R138NC VSP_3V DGND R130 NC R125 0R VSP_3V DGND R134 0R R133NC NEA SWD TEST 1 1 3 3 24 X10327MHz 1234 J103NC VCC_2V5 R118 1K D121 PAIR blue PAIR_LED VSP_3V I2S_BCLKL01_ENL01_SCLKL01_CSL01_IRQL01_NSS TXD0RXD0 POWERL01_MISOL01_MOSII2S_ADCI2S_DAC IMG3 2 IMG2 3 PCLK 4 HSYNC 5 VSYNC 6 MCLK 7 SCL 8 SDA 9 NROMCE 10 ROMA15 11 ROMA14 12 VCC2V5 13 ROMA13 14 ROMA12 15 ROMA11 16 ROMA10 17 ROMA9 18 VCC3V3 19 ROMA8 20 ROMA7 21 ROMA6 22 GPIO8_7 23 GPIO8_6 24 GPIO8_5 25 GPIO8_4 26 GPIO8_3 27 V2V5 28 VCC3C3 29 GND 30 GND 31 I2S_ACLK 32 I2S_DCLK 33 NC 34 NC 35 NC 36 NC 37 NC 38 VCC3V3 39 VCC3V3 40 GND 41 VCC2V5 42 NC 43 NC 44 NC 45 NC 46 NC 47 NC 48 VCC2V5 49 GND 50 X27MIN 51 X27MOUT 52 VCC2V5 53 VCC3V3RTC 54 PWR_KEEP 55 RST 56 GND 57 VCC2V5RTC 58 X32KIN 59 X32KOUT 60 GND 61 DN 62 DP 63 VCC3V3 64 GND 1 IMG4 128 IMG5 127 IMG6 126 IMG7 125 IMG8 124 IMG9 123 GPIO7_0 122 GPIO7_1 121 GPIO7_2 120 GPIO7_3 119 GPIO7_4 118 GND 117 NC 116 VCC3V3 115 NROMRD 114 NROMWR 113 VCC2V5 112 GND 111 NC 110 NC 109 ROMA16 97 VCC3V3 98 VCC2V5 99 VCC2V5 100 ROMD1 101 ROMD0 102 GND 103 VCC3V3 104 GND 105 GND 106 GND 107 GND 108 USB_DET 65 GPIO0_2 66 GPIO0_1 67 GPIO0_0 68 SPI_NCS 69 SPI_CLK 70 SPI_SDO 71 SPI_SDI 72 ROMD7 73 ROMD6 74 ROMD5 75 ROMD4 76 GND 77 GND 78 ROMD3 79 ROMD2 80 TEST 81 VCC3V3 82 VCC2V5 83 ROMA5 84 ROMA4 85 ROMA3 86 ROMA2 87 ROMA1 88 ROMA0 89 I2S_BCLK 90 I2S_SDI 91 I2S_SDO 92 POWER_KEY 93 USB_MODE 94 SWD 95 NEA 96 U109 MR8983 DGNDS_IMG3S_IMG2S_PCLKS_HSYNCS_VSYNCS_MCLKS_SCLS_SDAVCC_2V5VSP_3VTXD0RXD0PAIR_LEDVCC_2V5VSP_3VDGNDDGNDI2S_MCLK S_IMG4 S_IMG5 S_IMG6 S_IMG7 S_IMG8 S_IMG9 DC_DET DGND AMP_EN VSP_3V VCC_2V5 DGND DGND DGND DGND DGND VSP_3V DGND VCC_2V5 VCC_2V5 VSP_3V I2S_LRC VSP_3V VSP_3V DGND VCC_2V5 VCC_2V5 DGND X27M_IN X27M_OUT VCC_2V5 VSP_3V RST DGND VCC_2V5 DGND USB_DN USB_DP VSP_3V NEASWDMODEPOWERI2S_DACI2S_ADCI2S_BCLKVCC_2V5VSP_3VTESTDGNDDGNDL01_MISOL01_MOSIL01_SCLKL01_ENL01_IRQL01_CSL01_NSSUSB_DET RST DGND VSP_3V R122300K C1060.1uF R117 47K MODE VSP_3V VSP_3V C1200.1uF R113 1K VSP_3V D101BATT LOW red LED LOW LED LOW DGND R140 10K MCU_3V3 S_SCLS_SDA R141 10K MCU_3V3 K102MODE DGND VIN 3 OUT 2 GND 1 U110 RCR8210-2.6V RST VSP_3V DGND PWR_LED PWR_LED D103 POWER green R131 1K MCU_3V3 PAIR_LED AUDIO_EN AUDIO_EN DGND 1 2 3 4 5 6 78 ABCD 8 7 6 5 4 3 2 1 D CBA PWR_IN SP101SPK + EC11247uF C1501uF C1511uF ECHOAMP R174 47K R156 3.3K EC11510uF R148 NC VOL 1 2 2 3 3 IN 4 VO1 5 VDD 6 GND 7 VO2 8 IC101 PT5301 DGND VO2 VO1 DGND R155 10K DGND SPK_OUT SPK_OUT VO2 G D S Q1012301 R106 2K R103 10K VSP_3V ECHOAMP AMP_EN AMP_EN I2S_DAC I2S_BCLK I2S_ADC I2S_MCLK I2S_LRC S_SCLS_SDA DGND DGND DGND I2S_AGND I2S_AGND MIC1P 1 MIC1N 2 MIC2P 4 MIC2N 5 LINE_IN_L 3 LINE_IN_R 6 AUXIN_L 19 AUXIN_R 20 MCLK 11 BCLK 8 LRCK 7 ADCDAT 9 DACDAT 10 AGND 28 AGND2 24 DGND 12 DCVDD 13 DBVDD 14 AVDD 31 AVDD2 26 HP_OUT_L 30 HP_OUT_R 29 LINE_OUT 23 LINE_OUT_N 25 AUXOUT_L 21 AUXOUT_R 22 MICBIAS 32 Cdepop 18 VREF 27 GPIO 15 SCLK 16 SDA 17 U103ALC5623 AVDD2 AVDD DVDD DVDD MICBIAS C110 1uF S_SCLS_SDA C118 1uF C107 10uF C116 22pF C115 22pF I2S_MCLKI2S_BCLKI2S_LRCI2S_ADCI2S_DAC MIC2PMIC1NMIC1P C109NC I2S_AGND SPK_OUT SPK_OUT L112 BEAD L114 BEAD DGND D S G Q1032301 C1310.1uF R123 1M R132 1.8K Q1043904 R119 NC CDS OUT C126NC C1320.1uF R135 4.7M VSP_3V AK D105LED AK D106LED NE C128NC R136 10M EDS101 EDS DGND DGND VSP_3V VSP_3V AK D107LED AK D109LED AK D114LED AK D115LED AK D117LED DGND DGND R12422R R12622R R12722R R12882R C12210uF R116 100K C1401uF C1461uF C1351uF C1391uF R114 10K C1431uF 1.8V VSP_3V C1521uF C1491uF DGND C1341uF C1331uF VIN/1 1 GND/2 2 EN/3 3 BP/4 4 VOUT/5 5 U1049193-1.8V C153 0.022uF R120 NC VSP_3V DGND DGND C124NC DGND DATA7 E3 DATA6 E4 DATA0 E5 PCLK E6 DATA5 F2 DGND F3 DVDD F4 AVDD A1 NC A2 VREFH A3 PWDN A4 NC A5 AVDD A6 RESET B5 AGND B6 DOVDD C1 SFIN C2 HREF C3 SIOC C4 SIOD C5 VSYNS D1 DATA8 D2 DATA3 D3 DATA2 D4 XVCLK1 D5 DGND D6 DATA9 E1 DATA4 F5 AGND B1 VREFN B2 DOVDD C6 DATA1 E2 U105OV7740 S_IMG7 S_IMG7 S_IMG6 S_IMG6 S_PCLK S_PCLK S_IMG5 S_IMG5 1.8V DGND S_IMG4 S_IMG4 VSP_3V DGND DGND DGND DGND DGND DGND VSP_3V DGND DGND S_SDAS_SCL S_SCLS_SDA S_HSYNC S_HSYNC R115 10K C1471uF C1481uF SFIN RESETVREFN VREFHPWDN S_VSYNC S_VSYNC S_MCLK S_MCLK S_IMG8 S_IMG9 S_IMG9 S_IMG2 S_IMG3 S_IMG2 S_IMG3 S_IMG8 1.8V 1.8V 1.8V C1110.1uF C1120.1uF R105 2K DGND DGND R104 1K BAT_PWR CHRG 1 GND 2 BAT 3 VCC 4 PROG 5 U101ES4355 DCV R107 1M BAT_PWR D104 CHR LED green 1 1 2 2 3 3 K101 POWER ON/OFF G D S Q1062301 R152 2K R150 10K VSP_3V AUDIO_EN AUDIO_EN AUO_3V EC10110uF C1010.1uFL102 BEAD AUO_3V AUO_3V L104 BEAD EC10210uF C1020.1uF I2S_AGND I2S_AGND AVDD AVDD EC10310uF C1030.1uF I2S_AGND I2S_AGND AVDD2 AVDD2 EC10410uF C1040.1uFL105 BEAD EC10510uF C1050.1uF DVDD DVDD DGND DGND BAT_PWR DGND T0CKI/PC2 7 PA2/AD2 3 PC0/SCL 17 PB0/INT 9 PB1 10 PA5/AD5 24 PA7/AD7 2 PA4/AD4 23 PA1/AD1 22 PA6/AD6 1 PA0/AD0/VREF+ 21 PB3 12 PB2 11 /RESET/VPP 6 PB6 15 PB7 16 PB5 14 PB4 13 PC1/SDA 8 OSC1/PC6 18 VSS 5 PA3/AD3 4 OSC2/PC7 19 VDD 20 U108P89A R144 47K R142 10K LINE_OUT R143 NC LINE_OUT S_SDA L01_IRQL01_NSS L01_CS S_SDAL01_IRQL01_CSL01_NSS SYS_EN S_SCL PWR_KEEP POWER PIR_DET SYS_EN S_SCL PWR_KEEPPOWERPIR_DET R147 10K/1% C155 0.1uF R145 10K/1% VSP_3V MCU_3V3 MCU_3V3 POWER POWER DGND DGND VUSB PWR_KEEP R189 10K R190 47K R10947K R16010K DGND BAT_PWR VUSB PWR_IN DGND D110IN5819 D111IN5819 D112IN5819 DCV DGND DGND R191 NC R188 0R DGND DGND 1 1 2 2 J110 BAT_JACK F101FU C1370.1uF C1380.1uF 12 3 U107BAS40-05 EC10722uF C167NC VIN PWR_KEEP L108 22uH(CD54) PWR_IN R100 100K DGND R20020KR19710K DGND DC_DET DC_DET L109 BEAD C14110uF C1300.1uF EN 1 GND 2 SW 3 IN 4 FB 5 IC104ES8416-GE DGND D…
Text truncated - open the document above for the full version.
Test Report
FCC TEST REPORT Page 1 of 54 FCC ID : Y4NDW700TX Applicant : Mobi Technologies, Inc. Address of Applicant : 5913 Blackwelder Street,Culver City, CA 90232, United States Equipment Under Test (EUT) : Product description : MOBICAM DXR Model No. : 70204 Frequency Range : 2402MHz to 2480MHz Standards : FCC 15 Paragraph 15.247 Date of Test : Dec.16,2010 Test Engineer : (Olic huang)/Engineer Reviewed By : (Philo zhong)/Manager PREPARED BY: Waltek Services (Shenzhen) Co., Ltd. 1/F, Fukangtai Building,West Baima Rd.,Songgang Street, Baoan District, Shenzhen 518105,China Tel :+86-755-27553488 Fax:+86-755-27553868 Mobi Technologies, Inc. FCC ID: Y4NDW700TX Page 2 of 54 Ref No.: WT10114915-D-E-F 2 Contents Page 1 COVER PAGE..........................................................................................................................................................1 2 CONTENTS ..............................................................................................................................................................2 3 TEST SUMMARY....................................................................................................................................................4 4 GENERAL INFORMATION..................................................................................................................................5 4.1 CLIENT INFORMATION............................................................................................................................................5 4.2 GENERAL DESCRIPTION OF E.U.T...........................................................................................................................5 4.3 DETAILS OF E.U.T. .................................................................................................................................................5 4.4 DESCRIPTION OF SUPPORT UNITS...........................................................................................................................5 4.5 STANDARDS APPLICABLE FOR TESTING..................................................................................................................5 4.6 TEST FACILITY........................................................................................................................................................6 4.7 TEST LOCATION......................................................................................................................................................6 4.8 EQUIPMENT USED DURING TEST.............................................................................................................................7 5 CONDUCTED EMISSION TEST ........................................................................................................................10 5.1 TEST EQUIPMENT..................................................................................................................................................10 5.2 TEST PROCEDURE.................................................................................................................................................10 5.3 CONDUCTED TEST SETUP.....................................................................................................................................11 5.4 EUT OPERATING CONDITION...............................................................................................................................11 5.5 CONDUCTED EMISSION LIMITS.............................................................................................................................12 5.6 CONDUCTED EMISSION TEST DATA......................................................................................................................12 5.7 CONDUCTED EMISSION TEST SETUP VIEW............................................................................................................16 6 RADIATION EMISSION TEST...........................................................................................................................17 6.1 TEST EQUIPMENT..................................................................................................................................................17 6.2 MEASUREMENT UNCERTAINTY.............................................................................................................................17 6.3 TEST PROCEDURE.................................................................................................................................................17 6.4 RADIATED TEST SETUP.........................................................................................................................................18 6.5 SPECTRUM ANALYZER SETUP...............................................................................................................................18 6.6 CORRECTED AMPLITUDE & MARGIN CALCULATION............................................................................................19 6.7 SUMMARY OF TEST RESULTS................................................................................................................................19 6.8 EUT OPERATING CONDITION...............................................................................................................................20 6.9 RADIATED EMISSIONS LIMIT ON PARAGRAPH 15.209 ...........................................................................................20 6.10 RADIATED EMISSIONS TEST RESULT................................................................................................................21 6.11 RADIATED EMISSION DATA.............................................................................................................................21 6.11.1 Test mode: standby mode. ..........................................................................................................................22 6.11.2 Test mode: continuously transmit mode. .................…
Text truncated - open the document above for the full version.
Test Setup Photos
2 Photographs of Test Setup for TX and Standby Radiation Emission Test View For 30MHz-1000MHz Radiation Emission Test View For 1GHz-25GHz 2.1 Conducted Emission Test Setup View
Contact Information
Applicant
David Naghi(President)
Test Firm
Waltek Services(Shenzhen) Co., Ltd.Philo zhong
Technical Specifications
| # | Rule Parts | Frequency Range | Power Output |
|---|---|---|---|
| 1 | 15C | 2.40 GHz - 2.48 GHz | 34.00 mW |
Other Applications from Mobi Technologies, Inc.
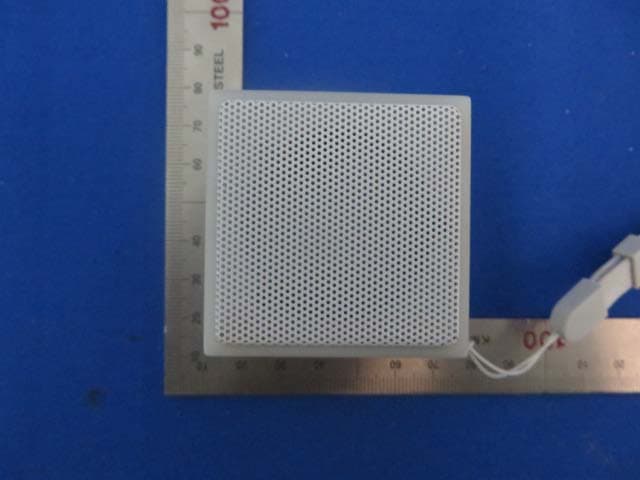
Y4N-IBO
Apr 21, 2015IBO Bluetooth speaker
Equipment Class
DSS - Part 15 Spread Spectrum Transmitter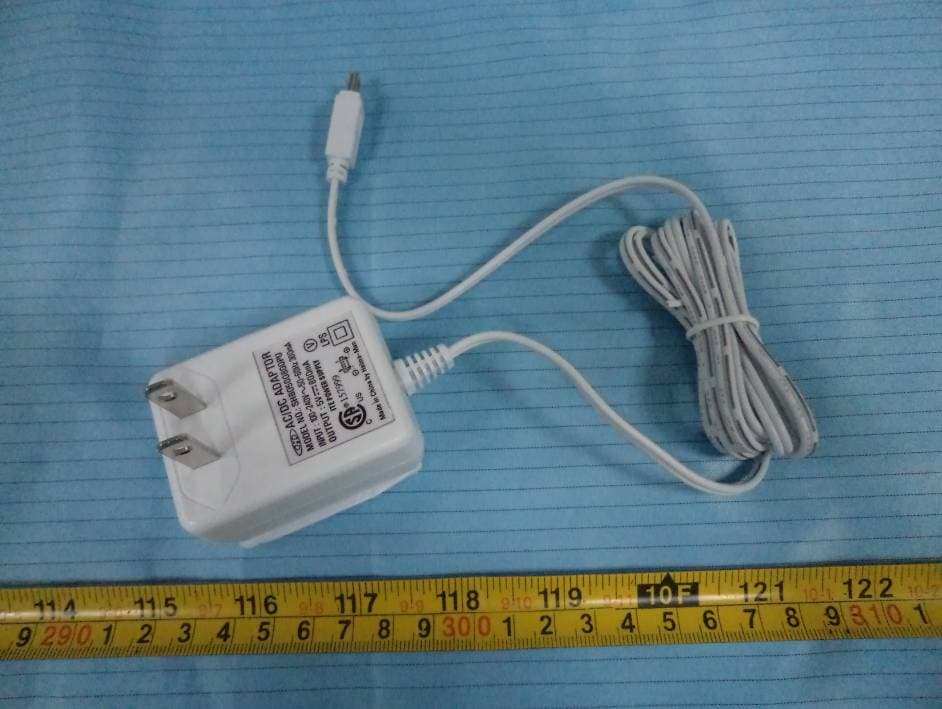
Y4N70208R
Feb 10, 2013MobiCam DXR Touch Wireless Monitoring System
Equipment Class
DSS - Part 15 Spread Spectrum Transmitter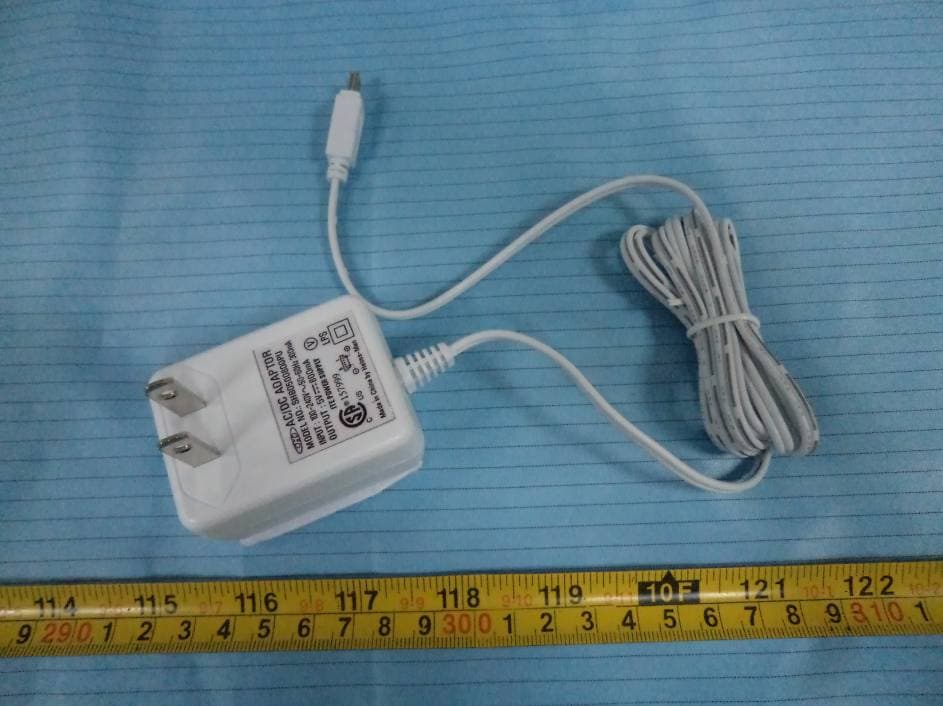
Y4N70209T
Feb 10, 2013MobiCam DXR Touch Wireless Monitoring System
Equipment Class
DSS - Part 15 Spread Spectrum Transmitter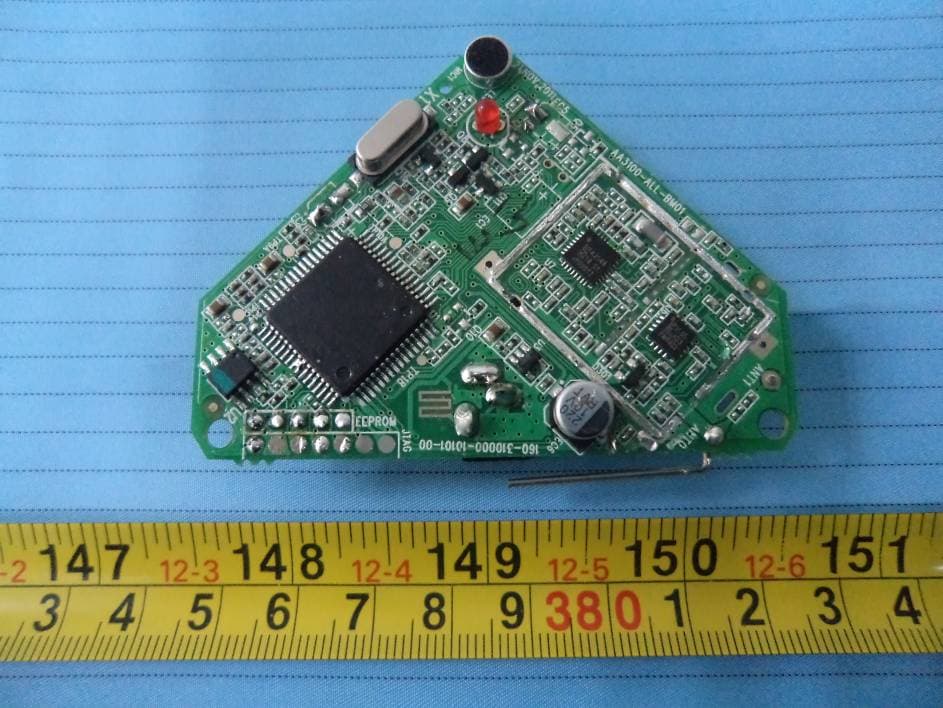
Y4N-70290T
Jan 12, 2012Pure Sounds Wireless Audio Monitor (Transmitter Unit)
Equipment Class
DSS - Part 15 Spread Spectrum Transmitter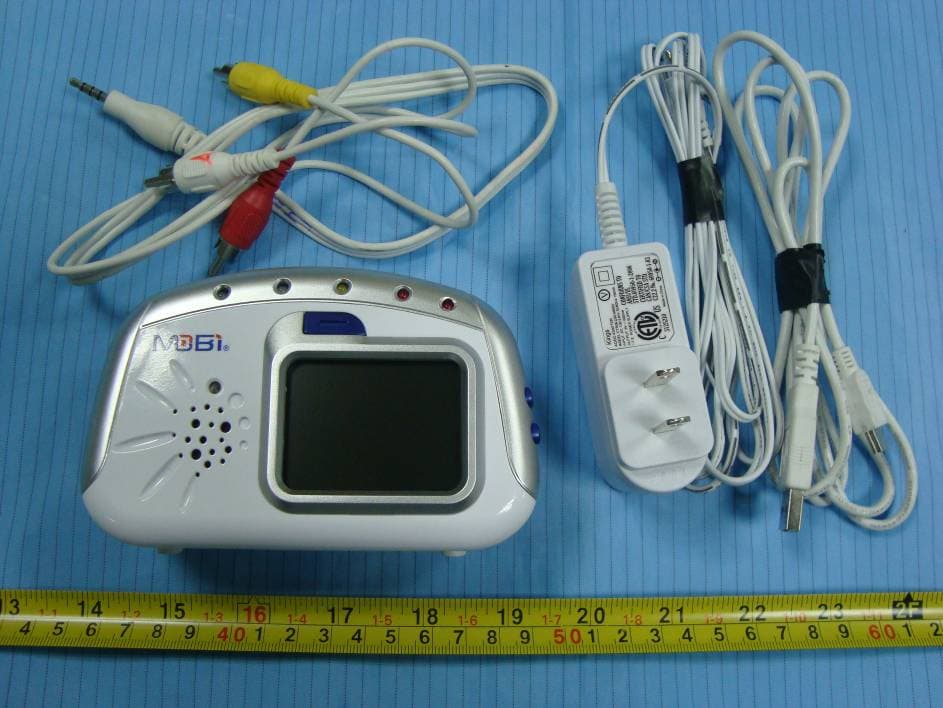
Y4N70055R
Feb 20, 2011Digital Video Baby Monitor
Equipment Class
DSS - Part 15 Spread Spectrum Transmitter