B8Q315390C1Remote Control Transmitter for Garage Door Opener Operation
The Genie Company a Division of Overhead Door Corporation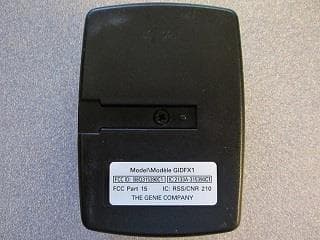
Click to zoom
Application Details
- Equipment Class
- DSC - Part 15 Security/Remote Control Transmitter
- Date of Grant
- Oct 01, 2014
- Application Purpose
- Original Equipment
- Date of Application
- Oct 01, 2014
- Equipment Note
- Remote Control Transmitter for Garage Door Opener Operation
- Frequency Range
- 390.00000000 - 390.00000000
- Country
- United States
Documents & Files
Document Text
Text extracted from the exhibit documents filed with the FCC. Open a document above to read the original.
Users Manual
Remote Transmitters SETUP www.overheaddoor.com 1-800-275-6187 Initial Remote Transmitter Setup or Adding a Transmitter 1) If the operator is in RUN mode, press the CAL/RUN key to enter the calibration mode. 2) Press SCROLL (UP/DN) until the display reads “LEARN NEW XMTR?” • This question, along with the instruction, “HIT SET FOR YES” will continuously pan across the display window. (pressing SCROLL or CAL/RUN will cancel the operation.) 3) Press SET/CLR key • Display will read “PUSH XMTR BUTTON TWO TIMES TO LEARN XMTR” 4) Press transmitter button two times. NOTE: For the Open-Close-Stop model - press the Open button two times. DO NOT press Close or Stop! • The display will read “XMTR - LEARNED” Where it assigns a random number between 1 and 255 to the transmitter. That transmitter is entered and ready to operate door. Label/Mark the transmitter with the assigned number. 5) Press SCROLL (UP/DN) to move on to another menu item, or CAL/RUN to exit the CAL mode. To Remove and Individual Transmitter 1) If the operator is in RUN mode, press the CAL/RUN key to enter calibration mode. 2) Press SCROLL (UP/DN) until display reads “REMOVE XMTR?” • This question along with the instruction “HIT SET FOR YES” will continuously pan across the display window. (Pressing SCROLL (UP/DN) or CAL/RUN will cancel operation.) 3) Press SET/CLEAR key. • A menu displaying the learned transmitter numbers will appear. • Press SCROLL (UP/DN) to cycle though the menu to the number of the transmitter to be removed. (Pressing CAL/RUN will cancel the operation.) 4) Press SET/CLEAR key • The transmitter is removed. 5) Press SCROLL (UP/DN) to move on to another menu item or CAL/RUN to exit the CAL mode. To Remove All Transmitters 1) If the operator is in RUN mode, press the CAL/RUN key to enter calibration mode. 2) Press SCROLL (UP/DN) until display reads “REMOVE ALL XMTRS?” • This question along with the instruction “HIT SET FOR YES” will continuously pan across the display window. (Pressing SCROLL (UP/DN) or CAL/RUN will cancel operation.) 3) Press SET/CLEAR key • The display will read “ARE YOU SURE?” 4) Press SET/CLEAR key. • All transmitter are removed. Configuración Inicial del Transmisor Remoto o Agregar un Transmisor 1) Si el operador está en el modo de OPERAR (RUN), oprima CALIBRAR / OPERAR (CAL / RUN) para entrar en el modo de calibración. 2) Oprima AVANZAR / RETROCEDER (SCROLL) (hacia arriba o hacia abajo) hasta que la pantalla despliegue “¿APRENDER NUEVO XMTR?” • Esta pregunta junto con la instrucción “OPRIMA CONFIGURAR (SET) PARA RESPONDER SI” se moverá constantemente a través de la ventana de la pantalla. (Oprimir AVANZAR / RETROCEDER (SCROLL) o CALIBRAR / OPERAR (CAL / RUN) cancelará la operación). 3) Oprima CONFIGURAR / BORRAR (SET / CLEAR) • La pantalla desplegará “OPRIMA EL BOTÓN XMTR DOS VECES PARA APRENDER XMTR.” 4) Oprima dos veces el botón del transmisor. NOTA: Para el modelo de “Abrir, Cerrar, Parar” – oprima dos veces los botones para Abrir (Open). ¡NO oprima Cerrar o Parar! • La pantalla desplegará “XMTR APRENDIDO (XMTR LEARNED). En donde asigna un número aleatorio entre 1 y 255 al transmisor. Ese transmisor fue asignado y está listo para operar la puerta. Etiquete / marque el transmisor con el número asignado. 5) Oprima AVANZAR / RETROCEDER (SCROLL) (hacia arriba o hacia abajo) para moverse hacia otro elemento del menú, o CALIBRAR / OPERAR (CAL / RUN) para salir del modo de CALIBRACIÓN (CAL). Installation initiale de l’émetteur à distance ou ajout d’un émetteur 1) Si l’ouvre-porte automatique est en mode RUN, appuyez sur CAL / RUN pour passer en mode d’étalonnage. 2) Appuyez sur SCROLL (haut ou bas) jusqu’à ce que l’écran affiche « LEARN NEW XMTR? (APPRENDRE NOUVEAU XMTR ?) » • Cette question ainsi que l’instruction « HIT SET FOR YES (APPUYEZ SUR “SET’ POUR CONFIRMER) » passe en permanence sur la fenêtre d’affichage. (Lorsque vous appuyez sur SCROLL ou CAL / RUN, l’opération est annulée). 3) Appuyez sur SET / CLEAR • L’affichage indiquera « PUSH XMTR BUTTON TWO TIMES TO LEARN XMTR (APPUYER DEUX FOIS SUR LE BOUTON XMTR POUR APPRENDRE XMTR) ».zzzzzzzzzzzzzzAppuyez deux fois sur le bouton de l’émetteur. REMARQUE: Pour le modèle « Open, Close, Stop (Ouvrir, Fermer, Stop) » —appuyez deux fois sur les boutons Open. NE PAS appuyer sur Close ni Stop ! • L’écran affiche « XMTR LEARNED (XMTR ENREGISTRÉ) ». Un nombre aléatoire compris entre 1 et 255 est affecté à l’émetteur. Cet émetteur est enregistré et prêt à faire fonctionner la porte. Étiqueter / marquer l’émetteur avec le numéro attribué 4) Appuyez sur SCROLL (haut ou bas) pour passer à un autre élément de menu ou sur CAL / RUN pour quitter le mode CAL. Para Remover un Transmisor Individual 1) Si el operador está en el modo de OPERAR (RUN), oprima CALIBRAR / OPERAR (CAL / RUN) para entrar en el modo de calibración. 2) Oprima AVANZAR / RETROCEDER (SCROLL) (hacia arriba o hacia abajo) hasta que en la pantalla aparezca “¿REMOVER XMTR? (REMOVE XMTR?)” • Esta pregunta junto con la instrucción “OPRIMA CONFIGURAR (SET) PARA RESPONDER SI” se moverá constantemente a través de la ventana de la pantalla. (Oprimir AVANZAR / RETROCEDER (SCROLL) o CALIBRAR / OPERAR (CAL / RUN) cancelará la operación). 3) Oprima CONFIGURAR / BORRAR (SET / CLEAR) • Aparecerá un menú desplegando los números aprendidos del transmisor. • Oprima AVANZAR / RETROCEDER (SCROLL) (hacia arriba o hacia abajo) para moverse a través del menú hasta el número del transmisor que será removido. (Oprimir CALIBRAR / OPERAR ( CAL / RUN) cancelará la operación). 4) Oprima CONFIGURAR / BORRAR (SET / CLEAR) • El transmisor fue removido. 5) Oprima AVANZAR / RETROCEDER (SCROLL) (hacia arriba o hacia abajo) para moverse hacia otro elemento del menú u oprima CALIBRAR / OPERAR ( CAL / RUN) para salir del modo de CALIBRACIÓN (CAL). Para Remover Todos los Transmisores 1) Si el operador está en el modo de OPERAR (RUN), oprima CALIBRAR / OPERAR CAL / RUN) para entrar en el modo de calibración. 2) Oprima AVANZAR / RET…
Text truncated - open the document above for the full version.
Users Manual
Remote Transmitters SETUP www.geniecompany.com 1-800-843-4084 Initial Remote Transmitter Setup or Adding a Transmitter 1) If the operator is in RUN mode, press the CAL/RUN key to enter the calibration mode. 2) Press SCROLL (UP/DN) until the display reads “LEARN NEW XMTR?” • This question, along with the instruction, “HIT SET FOR YES” will continuously pan across the display window. (pressing SCROLL or CAL/RUN will cancel the operation.) 3) Press SET/CLR key • Display will read “PUSH XMTR BUTTON TWO TIMES TO LEARN XMTR” 4) Press transmitter button two times. NOTE: For the Open-Close-Stop model - press the Open button two times. DO NOT press Close or Stop! • The display will read “XMTR - LEARNED” Where it assigns a random number between 1 and 255 to the transmitter. That transmitter is entered and ready to operate door. Label/Mark the transmitter with the assigned number. 5) Press SCROLL (UP/DN) to move on to another menu item, or CAL/RUN to exit the CAL mode. To Remove and Individual Transmitter 1) If the operator is in RUN mode, press the CAL/RUN key to enter calibration mode. 2) Press SCROLL (UP/DN) until display reads “REMOVE XMTR?” • This question along with the instruction “HIT SET FOR YES” will continuously pan across the display window. (Pressing SCROLL (UP/DN) or CAL/RUN will cancel operation.) 3) Press SET/CLEAR key. • A menu displaying the learned transmitter numbers will appear. • Press SCROLL (UP/DN) to cycle though the menu to the number of the transmitter to be removed. (Pressing CAL/RUN will cancel the operation.) 4) Press SET/CLEAR key • The transmitter is removed. 5) Press SCROLL (UP/DN) to move on to another menu item or CAL/RUN to exit the CAL mode. To Remove All Transmitters 1) If the operator is in RUN mode, press the CAL/RUN key to enter calibration mode. 2) Press SCROLL (UP/DN) until display reads “REMOVE ALL XMTRS?” • This question along with the instruction “HIT SET FOR YES” will continuously pan across the display window. (Pressing SCROLL (UP/DN) or CAL/RUN will cancel operation.) 3) Press SET/CLEAR key • The display will read “ARE YOU SURE?” 4) Press SET/CLEAR key. • All transmitter are removed. Configuración Inicial del Transmisor Remoto o Agregar un Transmisor 1) Si el operador está en el modo de OPERAR (RUN), oprima CALIBRAR / OPERAR (CAL / RUN) para entrar en el modo de calibración. 2) Oprima AVANZAR / RETROCEDER (SCROLL) (hacia arriba o hacia abajo) hasta que la pantalla despliegue “¿APRENDER NUEVO XMTR?” • Esta pregunta junto con la instrucción “OPRIMA CONFIGURAR (SET) PARA RESPONDER SI” se moverá constantemente a través de la ventana de la pantalla. (Oprimir AVANZAR / RETROCEDER (SCROLL) o CALIBRAR / OPERAR (CAL / RUN) cancelará la operación). 3) Oprima CONFIGURAR / BORRAR (SET / CLEAR) • La pantalla desplegará “OPRIMA EL BOTÓN XMTR DOS VECES PARA APRENDER XMTR.” 4) Oprima dos veces el botón del transmisor. NOTA: Para el modelo de “Abrir, Cerrar, Parar” – oprima dos veces los botones para Abrir (Open). ¡NO oprima Cerrar o Parar! • La pantalla desplegará “XMTR APRENDIDO (XMTR LEARNED). En donde asigna un número aleatorio entre 1 y 255 al transmisor. Ese transmisor fue asignado y está listo para operar la puerta. Etiquete / marque el transmisor con el número asignado. 5) Oprima AVANZAR / RETROCEDER (SCROLL) (hacia arriba o hacia abajo) para moverse hacia otro elemento del menú, o CALIBRAR / OPERAR (CAL / RUN) para salir del modo de CALIBRACIÓN (CAL). Installation initiale de l’émetteur à distance ou ajout d’un émetteur 1) Si l’ouvre-porte automatique est en mode RUN, appuyez sur CAL / RUN pour passer en mode d’étalonnage. 2) Appuyez sur SCROLL (haut ou bas) jusqu’à ce que l’écran affiche « LEARN NEW XMTR? (APPRENDRE NOUVEAU XMTR ?) » • Cette question ainsi que l’instruction « HIT SET FOR YES (APPUYER SUR “SET’ POUR CONFIRMER) » passe en permanence sur la fenêtre d’affichage. (Lorsque vous appuyez sur SCROLL ou CAL / RUN, l’opération est annulée). 3) Appuyez sur SET / CLEAR • L’affichage indiquera « PUSH XMTR BUTTON TWO TIMES TO LEARN XMTR (APPUYEZ DEUX FOIS SUR LE BOUTON XMTR POUR APPRENDRE XMTR) ». 4) Appuyez deux fois sur le bouton de l’émetteur. REMARQUE: Pour le modèle « Open, Close, Stop (Ouvrir, Fermer, Stop) » —appuyez deux fois sur les boutons Open. NE PAS appuyer sur Close ni Stop ! • L’écran affiche « XMTR LEARNED (XMTR ENREGISTRÉ) ». Un nombre aléatoire compris entre 1 et 255 est affecté à l’émetteur. Cet émetteur est enregistré et prêt à faire fonctionner la porte. Étiqueter / marquer l’émetteur avec le numéro attribué 5) Appuyez sur SCROLL (haut ou bas) pour passer à un autre élément de menu ou sur CAL / RUN pour quitter le mode CAL. Para Remover un Transmisor Individual 1) Si el operador está en el modo de OPERAR (RUN), oprima CALIBRAR / OPERAR (CAL / RUN) para entrar en el modo de calibración. 2) Oprima AVANZAR / RETROCEDER (SCROLL) (hacia arriba o hacia abajo) hasta que en la pantalla aparezca “¿REMOVER XMTR? (REMOVE XMTR?)” • Esta pregunta junto con la instrucción “OPRIMA CONFIGURAR (SET) PARA RESPONDER SI” se moverá constantemente a través de la ventana de la pantalla. (Oprimir AVANZAR / RETROCEDER (SCROLL) o CALIBRAR / OPERAR (CAL / RUN) cancelará la operación). 3) Oprima CONFIGURAR / BORRAR (SET / CLEAR) • Aparecerá un menú desplegando los números aprendidos del transmisor. • Oprima AVANZAR / RETROCEDER (SCROLL) (hacia arriba o hacia abajo) para moverse a través del menú hasta el número del transmisor que será removido. (Oprimir CALIBRAR / OPERAR ( CAL / RUN) cancelará la operación). 4) Oprima CONFIGURAR / BORRAR (SET / CLEAR) • El transmisor fue removido. 5) Oprima AVANZAR / RETROCEDER (SCROLL) (hacia arriba o hacia abajo) para moverse hacia otro elemento del menú u oprima CALIBRAR / OPERAR ( CAL / RUN) para salir del modo de CALIBRACIÓN (CAL). Para Remover Todos los Transmisores 1) Si el operador está en el modo de OPERAR (RUN), oprima CALIBRAR / OPERAR CAL / RUN) para entrar en el modo de calibración. 2) Oprima AVANZAR / RETROCEDER (S…
Text truncated - open the document above for the full version.
Cover Letter(s)
Elite Electronic Engineering, Inc. 1516 Centre Circle Downers Grove, Illinois 60515-1082 FCC ID: B8Q315390C1 Product Name: Garage Door Opener Remote Control Transmitter Model: GIDFX1 and OCDFX1 Request for Confidentiality Pursuant to Sections 0.457 and 0.459 of the commissions’ rules, we hereby request that the following documents be held confidential: Electrical Schematics, Layout Drawings, and Bills of Materials Internal Photographs Theory of Operation Documentation / Technical Description PCB Assembly and Block Diagram These materials contain trade secrets and proprietary information and are not customarily released to the public. The public disclosure of this information might be harmful to the company and provide unjustified benefits to our competitors. Dated this 8th Day of September 2014 By: James Midyette, P.E. Signature Printed Title: RF Engineer On behalf of : The Genie Company a Division of Overhead Door Corporation Telephone: 330-763-8378 Genie Company P. O. Box 67 Mt. Hope, OH 44660 Phone: 800-827-3667 (DOOR) Fax: 330-763-8042 www.geniecompany.com
Cover Letter(s)
Date: 9/24/2014 Elite Electronic Engineering, Inc. 1516 Centre Circle Downers Grove, Illinois 60515 Attn: Director of Certification FCC: B8Q315390C1 To whom it may concern, The following products are electrically and functionally identical with a slight physical variance between the models for branding purposes. The Genie Company Model: GIDFX1 Overhead Door Corporation Model: OCDFX1 Sincerely, ____ ____James Midyette, P.E.__________ Signature Printed Title: ____RF Engineer____ On behalf of: ____The Genie Company a Division of Overhead Door Corporation Telephone: __330-763-8378____ Genie Company P. O. Box 67 Mt. Hope, OH 44660 Phone: 800-827-3667 (DOOR) Fax: 330-763-8042 www.geniecompany.com
External Photos
Figure 1: GIDFX1 Exterior View / Top Figure 2: GIDFX1 Exterior View / Bottom Figure 3: OCDFX1 Exterior View / Top Figure 4: OCDFX1 Exterior View /Bottom
ID Label/Location Info
Figure 1: GIDFX1 FCC / IC Label Location Figure 2: OCDFX1 FCC / IC Label Location
Internal Photos
Figure 1: GIDFX1 Internal View / PCB Top Figure 2: GIDFX1 Internal View / PCB Bottom Figure 3: OCDFX1 Internal View / PCB Top Figure 4: OCDFX1 Internal View / PCB Bottom
Test Report
DIVERSIFIED T.E.S.T. TECHNOLOGIES, INC. – TEST REPORT Genie Company WAG Ring WAGWR1 Project Number: 6488-3 This report shall not be reproduced, except in full, without the written approval of DTT, Inc. 1 of 26 D D I I V V E E R R S S I I F F I I E E D D T.E.S.T. TECHNOLOGIES, INC. August 14, 2014 James Midyette Genie Company One Door Drive Mt. Hope, OH 44660 Dear Mr. Midyette: Enclosed is the test report for the Single Button Remote Control 315/390 MHz garage door opener transmitter models 315390C1 tested at our facility, located at 4675 Burr Drive in Liverpool, NY. This facility is on file with the Federal Communications Commission (FCC) per 47 CFR 2.948 (Site File Number 306552) and Industry Canada Site# 3034a-1. We have completed our testing of Emissions to the FCC per 47 CFR Part 15 Class B and Part 15.231 Class C for intentional radiators and IC RSS 210 for Industry Canada Radio Standards Specification. Thank you for selecting Diversified T.E.S.T. Technologies, Inc. for your testing needs. We look forward to working with you on future projects. Should you have any questions or concerns regarding this report, contact me at 315-457-0245. Please feel free to visit our website at www.dttlab.com. Sincerely, Michael Hagin Technical Associate 4675 Burr Drive ● Liverpool, NY 13088● 1-800-724-6452● FAX: 315-457-0428● 315-457-0245 DIVERSIFIED T.E.S.T. TECHNOLOGIES, INC. TEST REPORT Genie Company Single Button Remote Control Project Number: 6488-3 This report shall not be reproduced, except in full, without the written approval of DTT, Inc. 2 of 26 Test Report – Table of Contents D I V E R S I F I E D ............................................................................................................... 1 TEST INFORMATION .................................................................................................... 3 EQUIPMENT UNDER TEST (EUT) TESTING OPERATION MODE .................... 5 TEST SETUP PHOTOGRAPHS .................................................................................... 6 1.1 RADIATED EMISSIONS / OCCUPIED BANDWIDTH ........................................................ 6 1.2. RADIATED EMISSIONS ABOVE 1 GHZ ........................................................................ 7 EMISSIONS TESTING CONDITIONS ......................................................................... 8 TRANSMISSION REQUIREMENTS ............................................................................ 9 MINIMUM STANDARD: ..................................................................................................... 9 RATIONALE FOR COMPLIANCE WITH TRANSMISSION REQUIREMENTS ........................... 10 DEACTIVATION TIME ..................................................................................................... 11 RADIATED EMISSIONS 15.231 (B) .................................................................................. 12 DUTY CYCLE CORRECTION ............................................................................................ 14 OCCUPIED BANDWIDTH ................................................................................................. 23 RESTRICTED BANDS OF OPERATION ............................................................................... 24 SPURIOUS EMISSIONS ............................................................................................... 25 RADIATED EMISSION LIMITS 15.109 ............................................................................... 25 RADIATED EMISSIONS TEST DATA 15.109 ..................................................................... 26 DIVERSIFIED T.E.S.T. TECHNOLOGIES, INC. TEST REPORT Genie Company Single Button Remote Control Project Number: 6488-3 This report shall not be reproduced, except in full, without the written approval of DTT, Inc. 3 of 26 T T e e s s t t I I n n f f o o r r m m a a t t i i o o n n Laboratory Manufacturer Diversified TEST Technologies, Inc. Genie Company 4675 Burr Drive One Door Drive Liverpool, NY 13088 Mt. Hope, OH 44660 Report Issue Date: August 14, 2014 Report Number: 6488-3-081214- 15.231 (Edition 1) Project Number: 6488-3 Date Received: July 21, 2014 Date Tested: July 21, 2014 – August 6, 2014 Product Single Button Remote Control 315/390 MHz Model: 315390C1 Traceability: Reference standards of measurement have been calibrated by a competent body using standards traceable to NIST. The testing performed by Diversified TEST Technologies, Inc. has shown that the product referenced above complies with the electromagnetic compatibility requirements according to the FCC per 47 CFR Part 15.231. The results in this test report apply only to the Single Button Remote Control 315/390 MHz, Model: 315390C1. It is the responsibility of the manufacturer to ensure that the product identification and labeling are in compliance with the applicable standards requirements. The manufacturer is also responsible for ensuring that additional units are manufactured with identical mechanical and electrical characteristics. The equipment listed above conforms to the specified requirements of the test standards listed in the Test Regulations section of this report. Compiled by: Signature: _____________________________ Date: August 14, 2014 Michael Hagin Technical Lab Manager Authorized by: Signature: _____________________________ Date: August 14, 2014 Tom Sims President DIVERSIFIED T.E.S.T. TECHNOLOGIES, INC. TEST REPORT Genie Company Single Button Remote Control Project Number: 6488-3 This report shall not be reproduced, except in full, without the written approval of DTT, Inc. 4 of 26 T T e e s s t t R R e e g g u u l l a a t t i i o o n n s s The tests were performed according to the following standards: FCC Part 15.231 Class A Class C FCC Part 15 Class A Class B Certification Verification Summary of Test Data Name of Test Paragraph Number Results Transmission Requirements 15.231 (a) Complies Radiated Emissions 15.231 (b) Complies Occupied Bandwidth 15.231 (c) Complies Frequ…
Text truncated - open the document above for the full version.
Test Setup Photos
DIVERSIFIED T.E.S.T. TECHNOLOGIES, INC. TEST REPORT Genie Company Single Button Remote Control Project Number: 6488-3 This report shall not be reproduced, except in full, without the written approval of DTT, Inc. 6 of 26 T T e e s s t t S S e e t t u u p p P P h h o o t t o o g g r r a a p p h h s s 1.1 Radiated Emissions / Occupied Bandwidth DIVERSIFIED T.E.S.T. TECHNOLOGIES, INC. TEST REPORT Genie Company Single Button Remote Control Project Number: 6488-3 This report shall not be reproduced, except in full, without the written approval of DTT, Inc. 7 of 26 1.2. Radiated Emissions above 1 GHz
Contact Information
Applicant
Mike Whitley(RF Engineer)
Test Firm
RF Solutions, LLCThomas Sims
Technical Specifications
| # | Rule Parts | Frequency Range | Power Output |
|---|---|---|---|
| 2 | 15.231 | 390 MHz - 390 MHz | - |
Other Applications from The Genie Company a Division of Overhead Door Corporation
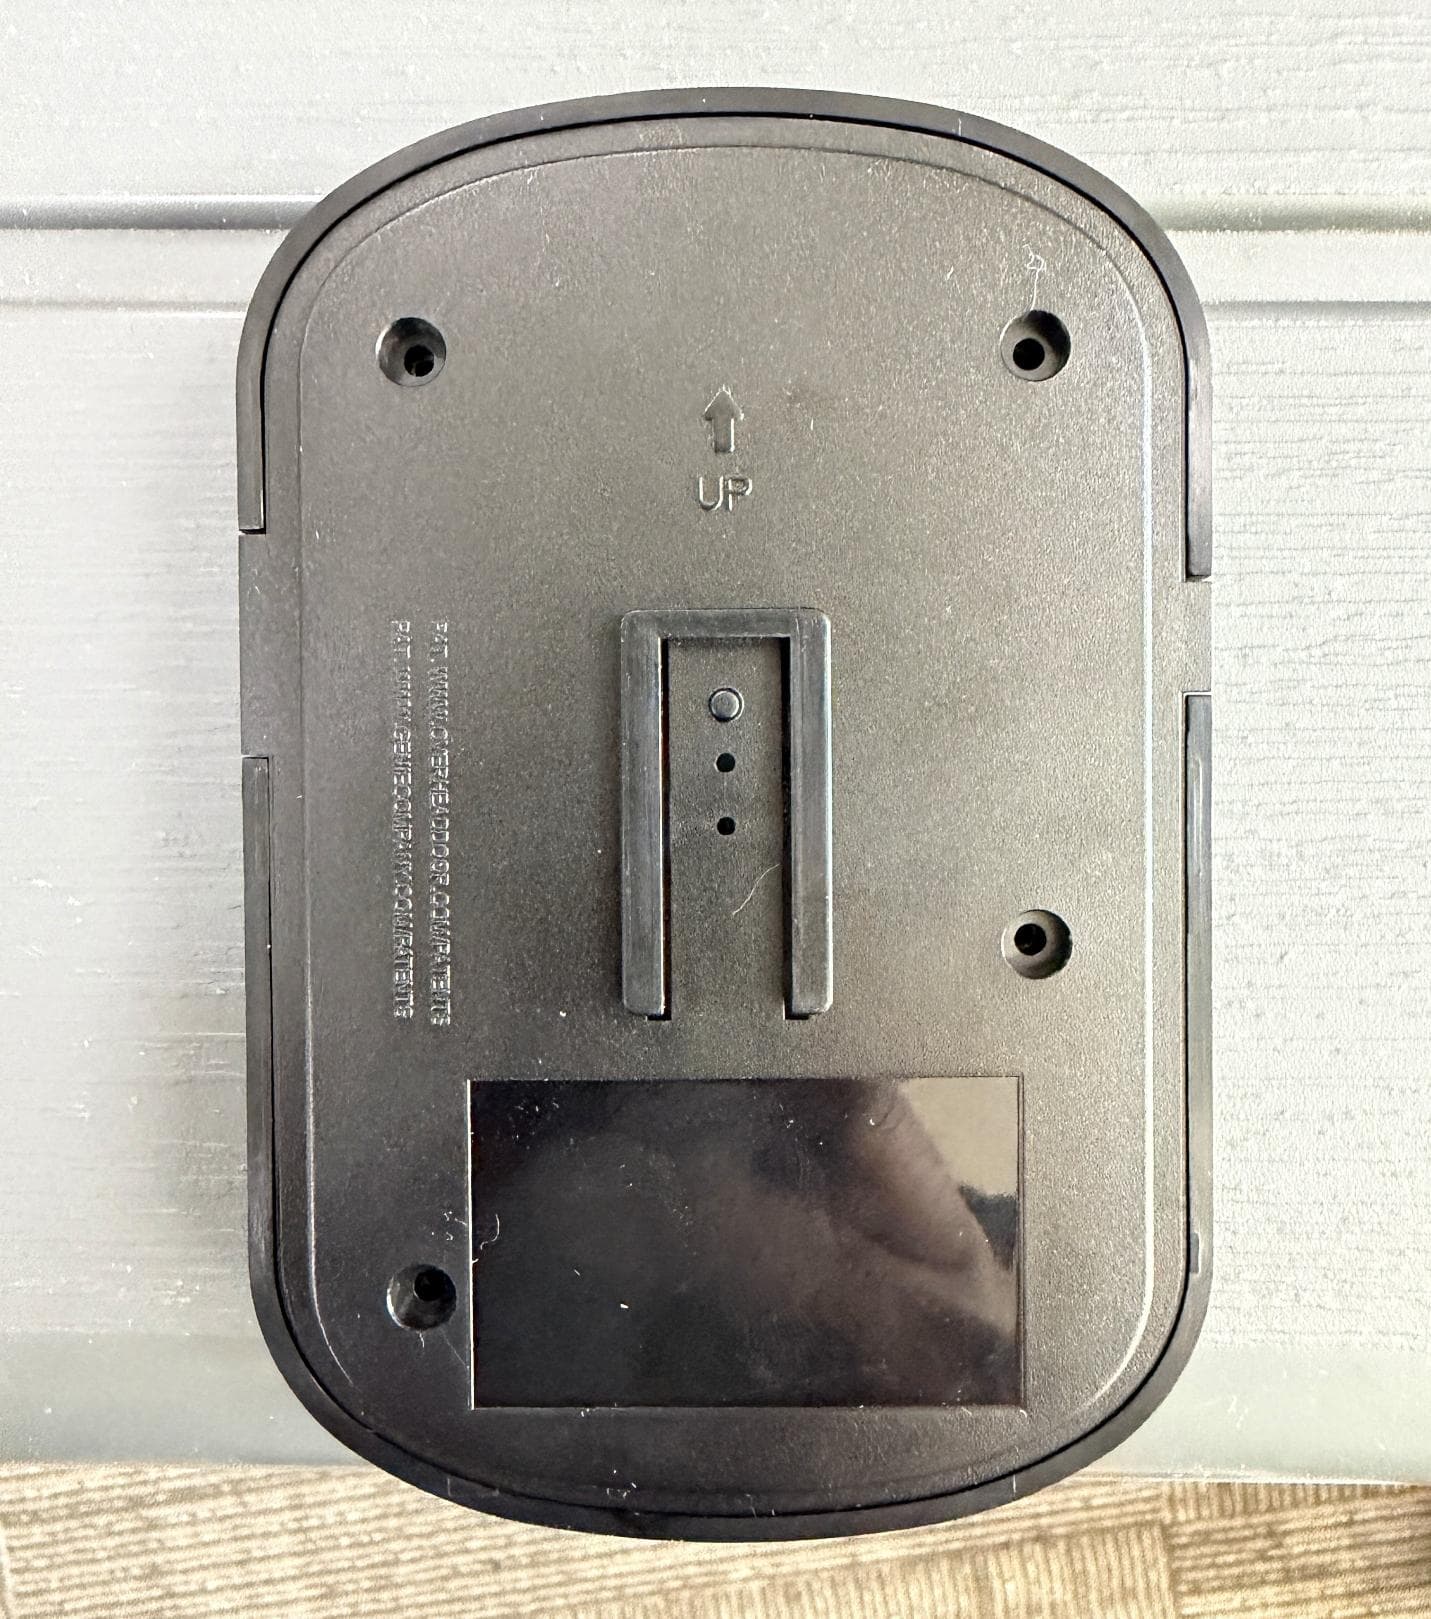
B8QALDCM2
Jun 05, 2026Door COntrol Module
Equipment Class
DSC - Part 15 Security/Remote Control TransmitterB8QALDPS2
May 29, 2026Door Position Sensor
Equipment Class
DTS - Digital Transmission System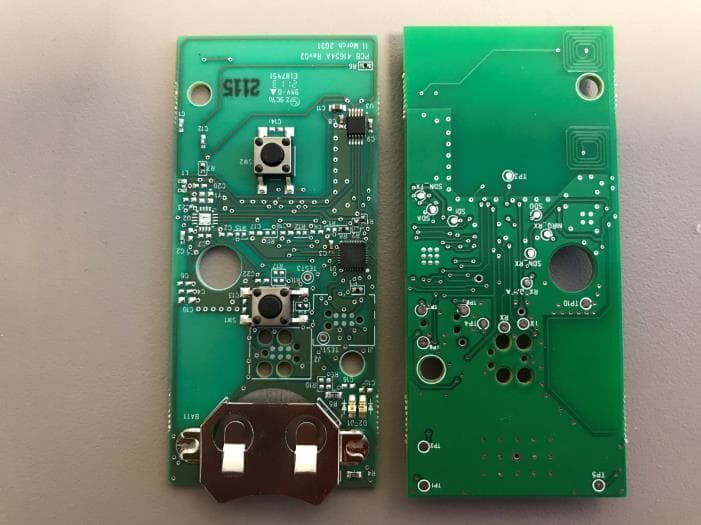
B8QU2
Jul 11, 2021Universal 2 Button Transmitter
Equipment Class
DSC - Part 15 Security/Remote Control Transmitter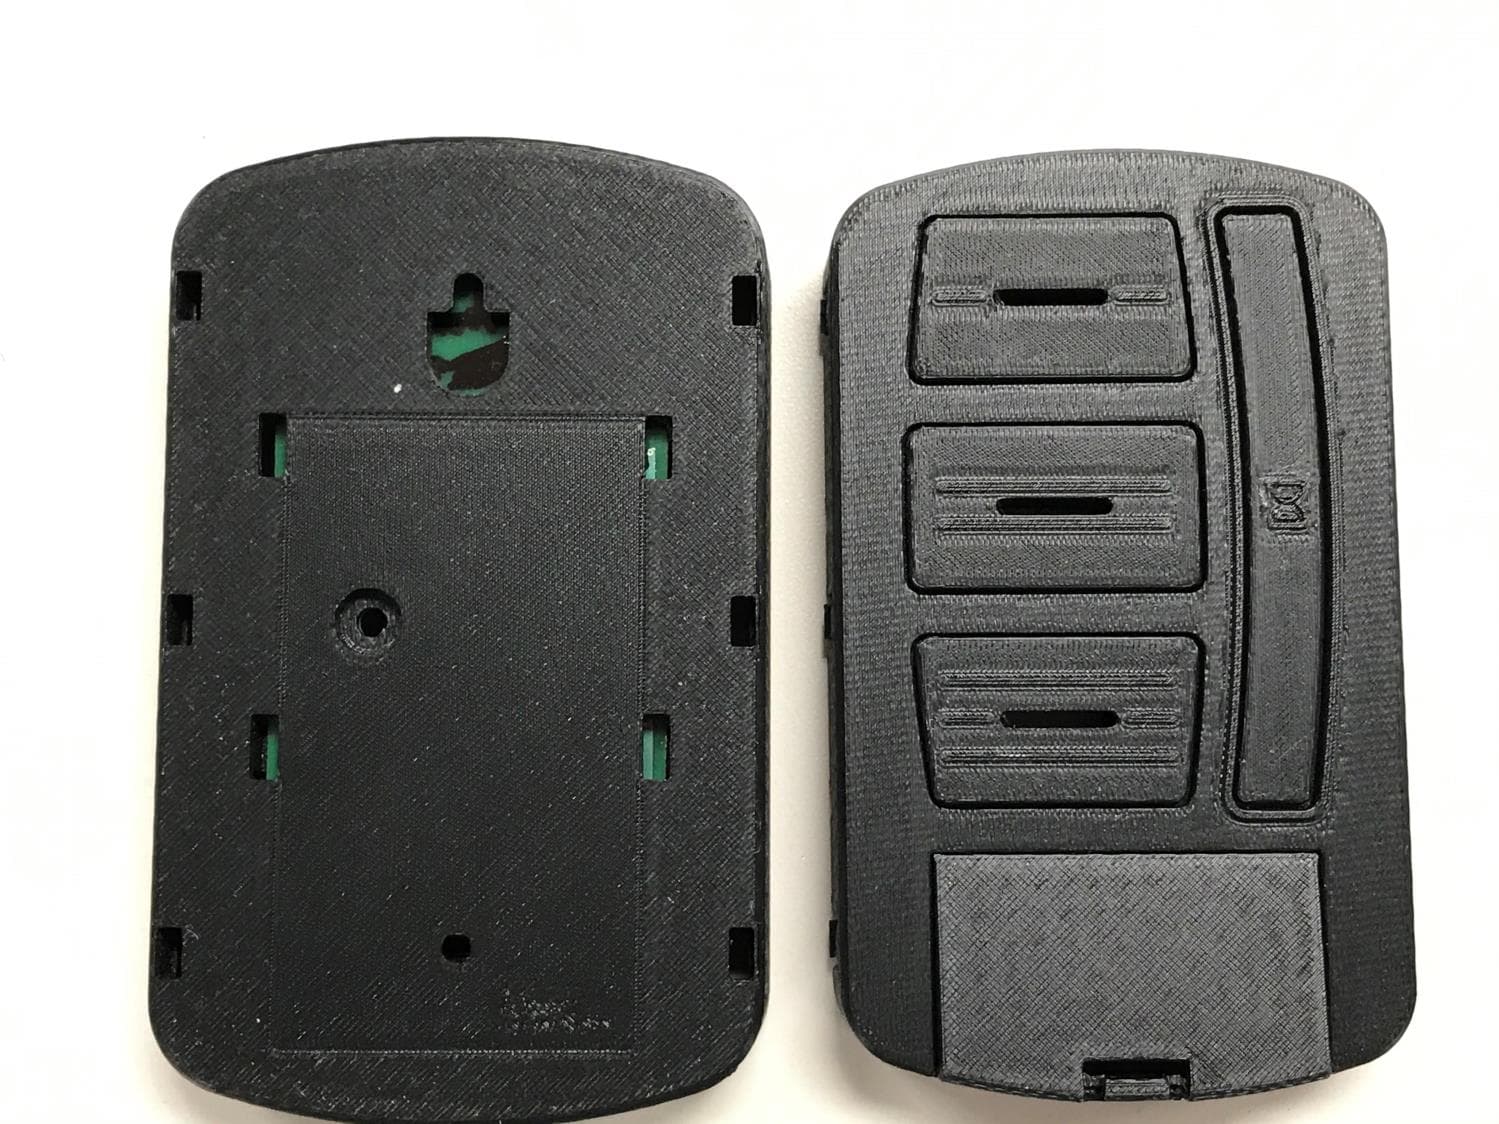
B8QUWWC
Mar 22, 2021Universal Wireless Wall Console
Equipment Class
DSC - Part 15 Security/Remote Control Transmitter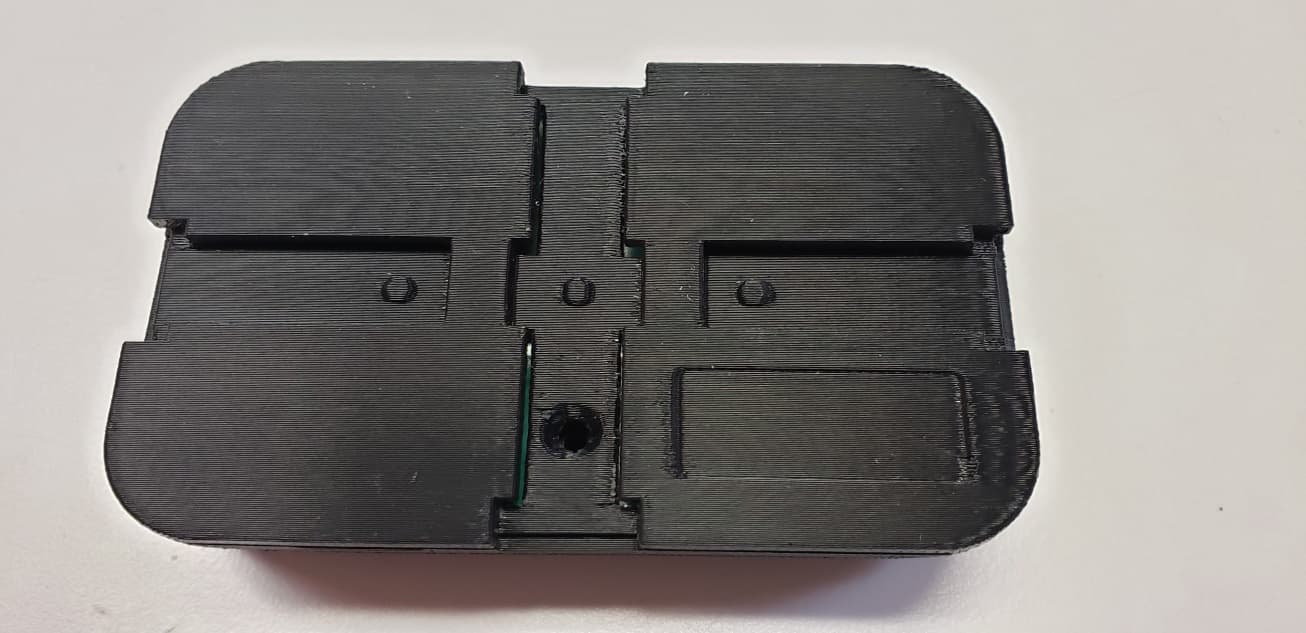
B8Q1BTX
Sep 15, 20201 Button Transmitter
Equipment Class
DSC - Part 15 Security/Remote Control Transmitter