B8QACSCT1Garage Door Opener Transmitter
The Genie Company a Division of Overhead Door Corporation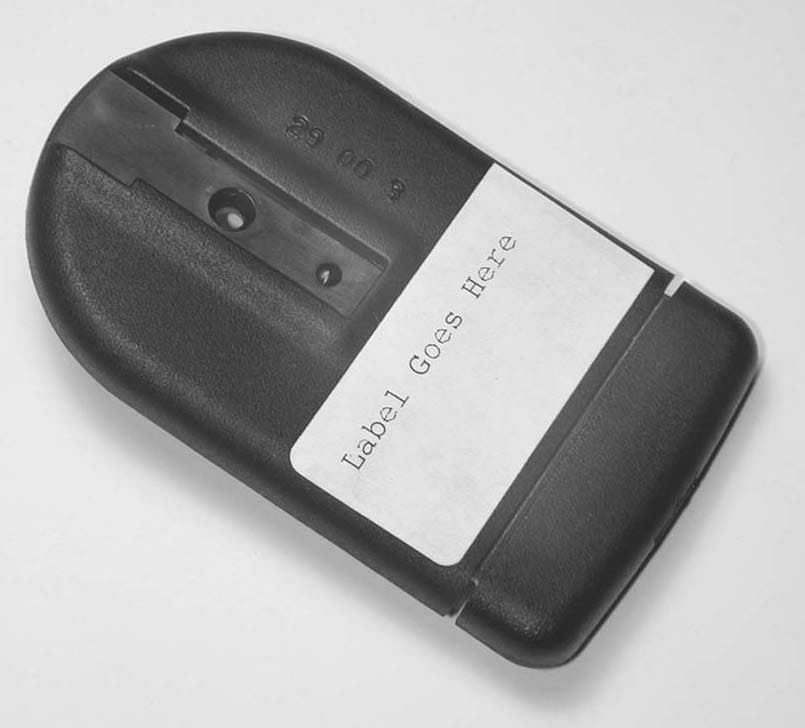
Click to zoom
Application Details
- Equipment Class
- DSC - Part 15 Security/Remote Control Transmitter
- Date of Grant
- Nov 05, 2000
- Application Purpose
- Original Equipment
- Date of Application
- Sep 28, 2000
- Equipment Note
- Garage Door Opener Transmitter
- Frequency Range
- 390.00000000 - 390.00000000
- Country
- United States
Documents & Files
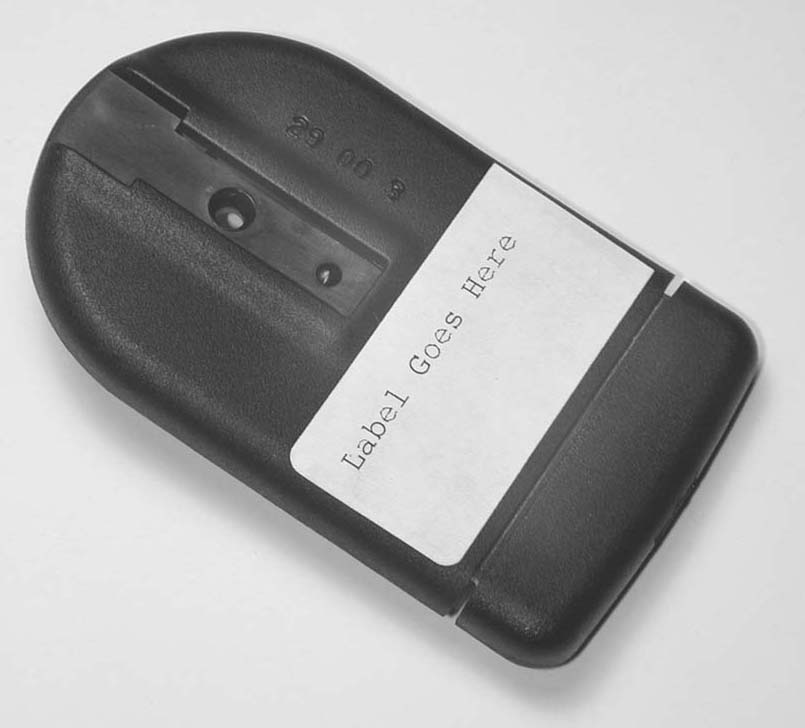
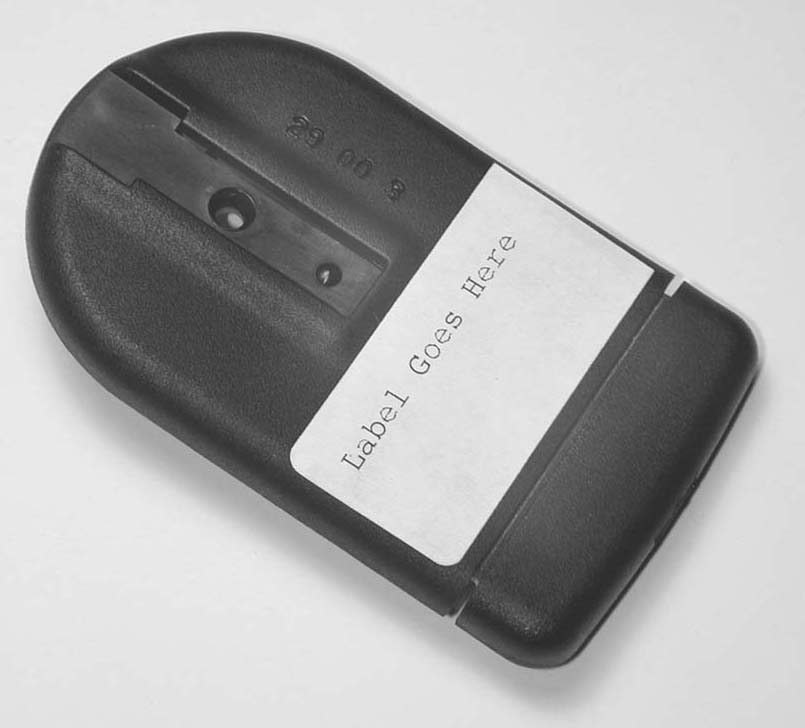
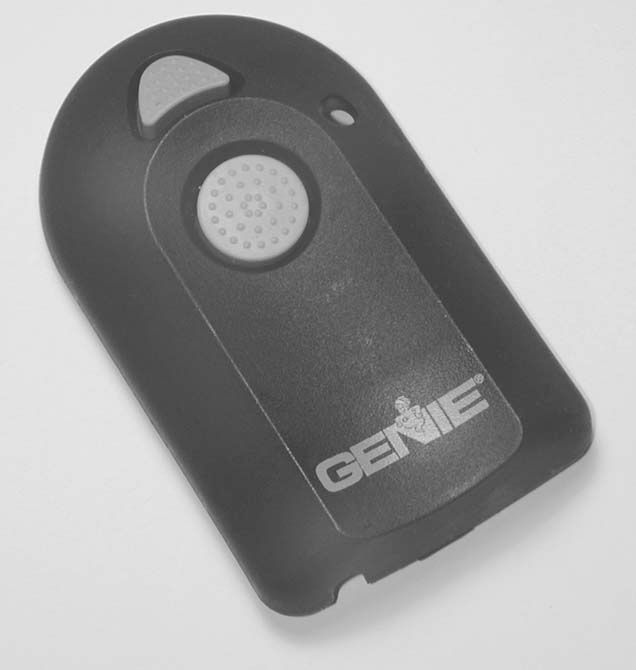
Document Text
Text extracted from the exhibit documents filed with the FCC. Open a document above to read the original.
Users Manual
34 Battery and Holder Blue Buttons ! Moving Door or Gate can cause serious injury or death • Do Not program Remote Control unless the Door Safety Reverse works as described in Operator’s Manual. • Keep people clear of opening while Door is moving. • Do Not allow children to play with the Remote Control, or Door Operator. If Safety Reverse does not work properly: • This Remote Controller WILL NOT WORK. • Disconnect Operator using Manual Release. • Do Not use Remote Control, or Door Operator. • Refer to Operator Owner’s Manual before attempting any repairs. Button assignments can be mixed and matched any way you wish. For example, button #1 used for INTELLICODE 2 ® , button #2 used for INTELLICODE ® , button #3 (if applicable) used for INTELLICODE 2 ® . Simply follow the steps of the appropriate section for each individual button. 1.On your Remote Controller—Press and hold any two buttons from 5 — 30 seconds, (the green light will come on when the buttons are pressed and will begin blinking after 2 seconds)(repeating one blink—pause). Your random access code is set depending on how long you hold the buttons. Fig. 1. Release the buttons, (the green light will continue to blink). NOTE: Programming can only be done while the green light is blinking. NOTE: The Green Light (LED) also indicates the strength of the battery. It will get dimmer as the battery gets weaker. When the Light no longer comes on, you will have several operation cycles remaining, but be aware you will need to replace the battery soon. The expected life of the ENERGIZER CR2032 Lithium/Manganese Dioxide Battery is at least 5 years. 2.On your Remote Controller—Press any onebutton, (the green light will go out. 3.On your Door Operator—Locate the Learn Code Button. (Refer to your Owner’s Manual.) 4.On your Door Operator—Press the Learn Code Button, (the Learn Code Light will begin blinking twice each second). 5.On your Remote Controller—Press the button you wish to use for controlling the first door operator, (the Learn Code Light will stay on, no blinking). Press the same button again, (the Learn Code Light will go out). Press the same button again, (the door should operate). 6.Repeat Steps 3 — 5for any additional INTELLICODE 2 ® equipped door operator you wish to control with this Remote. NOTE: Once programming is complete, it cannot be changed simply by pressing a button or combination of buttons. This helps prevent accidental disabling of your Remote Controller. If you need to reprogram your remote for any reason, see “REPROGRAMMING” Section on back. 3400000000 1 2 Green Light Screw INTELLICODE 2 Section Remote Controller w / WARNING Catch Your new INTELLICODE 2 ® Remote Controller is equipped to operate both the latest INTELLICODE 2 ® Garage Door Operators and all previous models built with INTELLICODE ® . Look on your Garage Door Operator for the INTELLICODE 2 ® label. If you have a INTELLICODE 2 ® unit, follow the steps in the “ INTELLICODE 2 ” Section below. If you have a previous style INTELLICODE ® unit, follow the steps in the “INTELLICODE” Section on back. 1. On your Remote Controller—Press and hold any two buttons from 5 — 30 seconds, (the green light will come on when the buttons are pressed and will begin blinking after 2 seconds)(repeating one blink—pause). Your random access code is set depending on how long you hold the buttons. Release the buttons, (the green light will continue to blink). NOTE: Programming can only be done while the green light is blinking. 2. On your Remote Controller—Press the same two buttons and hold until after the Green Light begins blinking, (the green light will come on and stay on as the buttons are held down, and after 2 seconds will begin blinking, repeating 2 blinks—pause). 3. On your Remote Controller—Press the button you wish to use to control the door operator. (The green light will continue blinking as you hold down the button). Release the button, (the green light will go out). Repeat Step 3 for each button that will be assigned to a previous style INTELLICODE ® Operator. 4. On your Door Operator—Locate the Learn Code Button. (Refer to your Owner’s Manual.) 5. On your Door Operator—Press the Learn Code Button, (the Learn Code Light will begin blinking twice each second). 6. On your Remote Controller—Press the button you wish to use for controlling the first door operator, (the Learn Code Light will stay on, no blinking). Press the same button again, (the Learn Code Light will go out). Press the same button again, (the door should operate). 7. Repeat Steps 4 —6for any additional INTELLICODE ® equipped door operator you wish to control with this Remote. NOTE: Once programming is complete, it cannot be changed simply by pressing a button or combination of buttons. This helps prevent accidental disabling of your Remote Controller. If you need to reprogram your remote for any reason, see “REPROGRAMMING” Section. If, during the first few weeks of operation, you wish to reprogram your Remote for any reason, simply follow the initial programming procedure again. If you attempt reprogramming at some point long after initial programming (usually beyond 3 weeks), when you press the two buttons in Step 1 you may see an immediate rapid flashing of the Green Light. Your Remote has considered the initial program as permanent and is protecting against unauthorized attempts to change your code. You Must then: 1.Remove the Battery, and with the battery removed, 2.Press and hold one of the blue buttons on the circuit board for 1 or 2 seconds. (This insures all power is drained from the circuit.) Fig. 5. 3.Replace the battery. 4.Begin programming as before. 1.Slide the visor Clip off the back of the Remote and remove the small screw. 2.With a thin flat object (the visor clip works well) push in on the catch located in the small notch at the base of the Remote. This releases the hinged section of the case. Fig. 2. 3.Holding the Top half of the case in one hand, and the hinged section in the othe…
Text truncated - open the document above for the full version.
Cover Letter(s)
The Genie Company 22790 Lake Park Boulevard Alliance, Ohio 44601 October 30, 2000 Federal Communicatio ns Co mmission Laboratory Division 7435 Oakland Mills Road Columbia MD 21046 Re: This is a New Letter Exhibit for Form 731Application for Equipment Authorization for Confirmation Number EA98912 with FCC ID: B8QACSCT1 A Low Power Transmitter Submitted September 29, 2000 De ar Sir o r Ma da m: A User Manual exhibit with the confidential portions obscured has been submitted as an attachment on the OET electronic submittal Webb site. Confidentiality is not requested for the User Manual submitted 10/30/00 or for the External Photos. Sincerely, Jerry Shore RF Group Leader The Genie Company
Contact Information
Applicant
Mike Whitley(RF Engineer)
Technical Contact
Non-Technical Contact
The Genie CompanyLarry Murphy
[email protected]330-821-5360
Technical Specifications
| # | Rule Parts | Frequency Range | Power Output |
|---|---|---|---|
| 1 | 15C | 390 MHz - 390 MHz | - |
Other Applications from The Genie Company a Division of Overhead Door Corporation
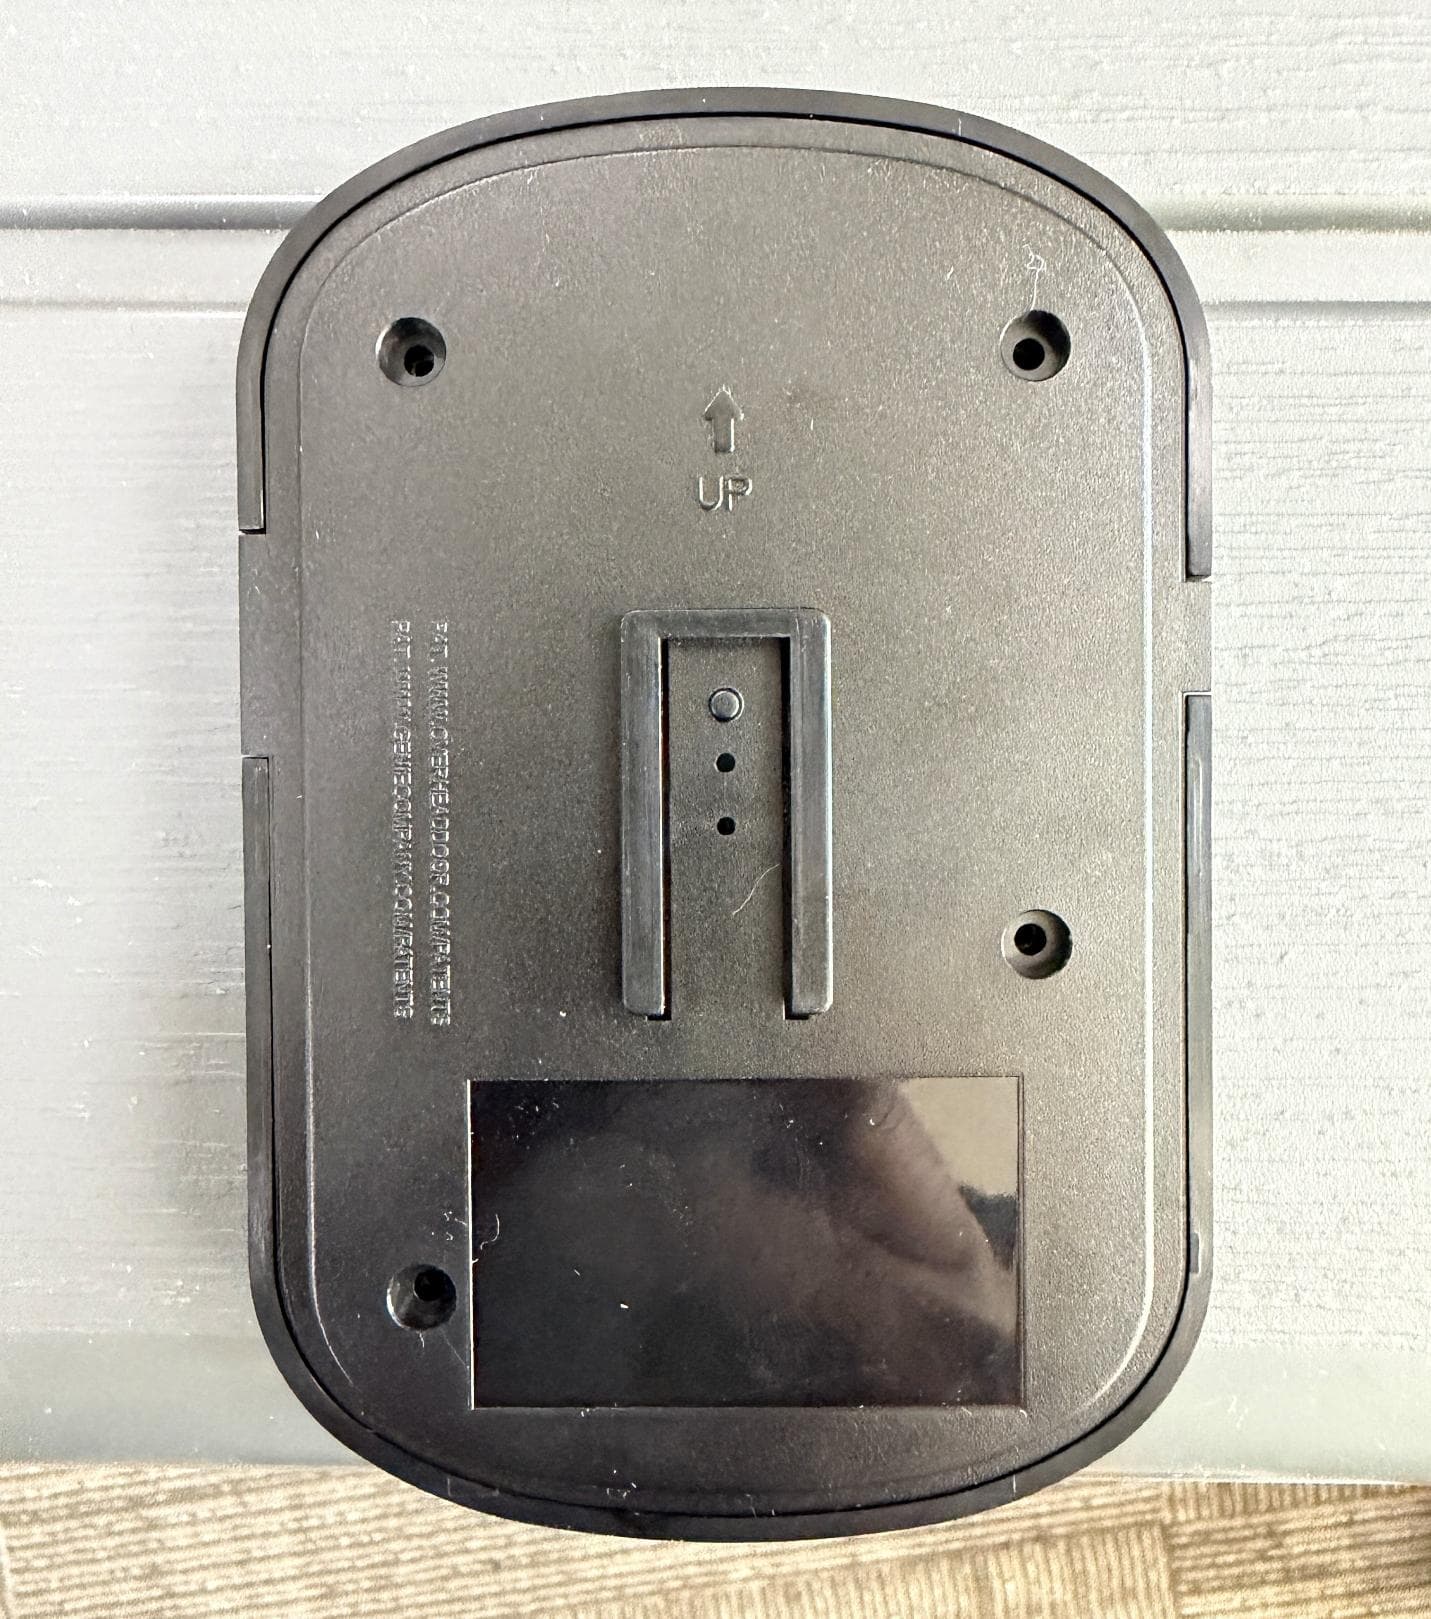
B8QALDCM2
Jun 05, 2026Door COntrol Module
Equipment Class
DSC - Part 15 Security/Remote Control TransmitterB8QALDPS2
May 29, 2026Door Position Sensor
Equipment Class
DTS - Digital Transmission System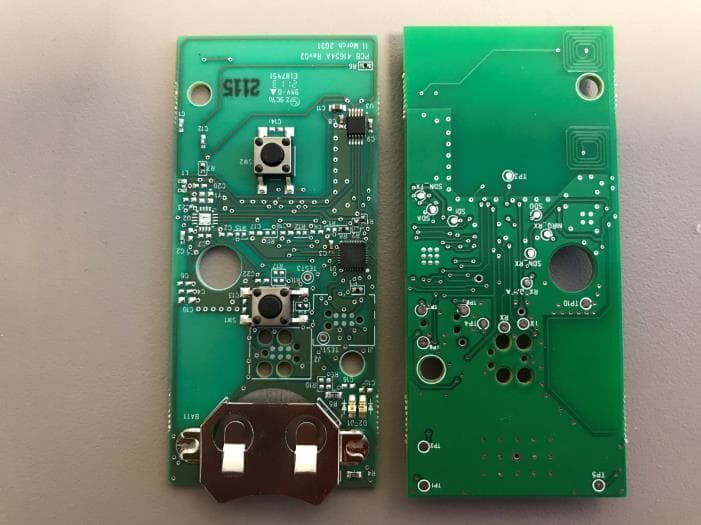
B8QU2
Jul 11, 2021Universal 2 Button Transmitter
Equipment Class
DSC - Part 15 Security/Remote Control Transmitter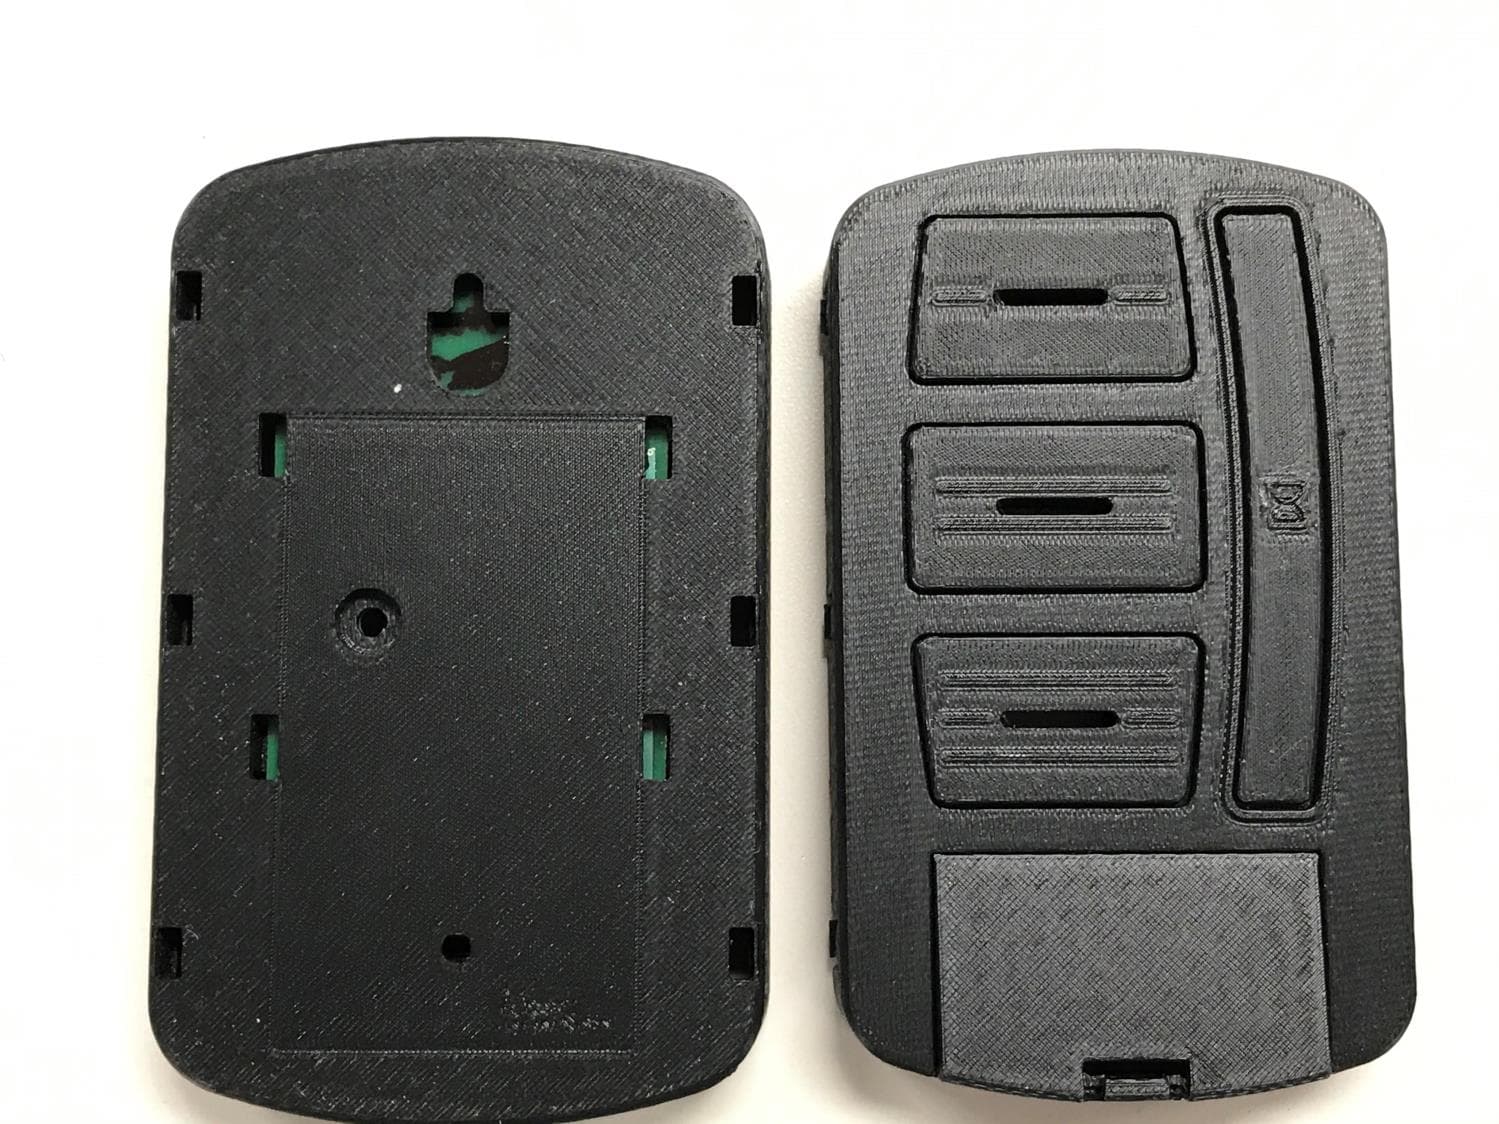
B8QUWWC
Mar 22, 2021Universal Wireless Wall Console
Equipment Class
DSC - Part 15 Security/Remote Control Transmitter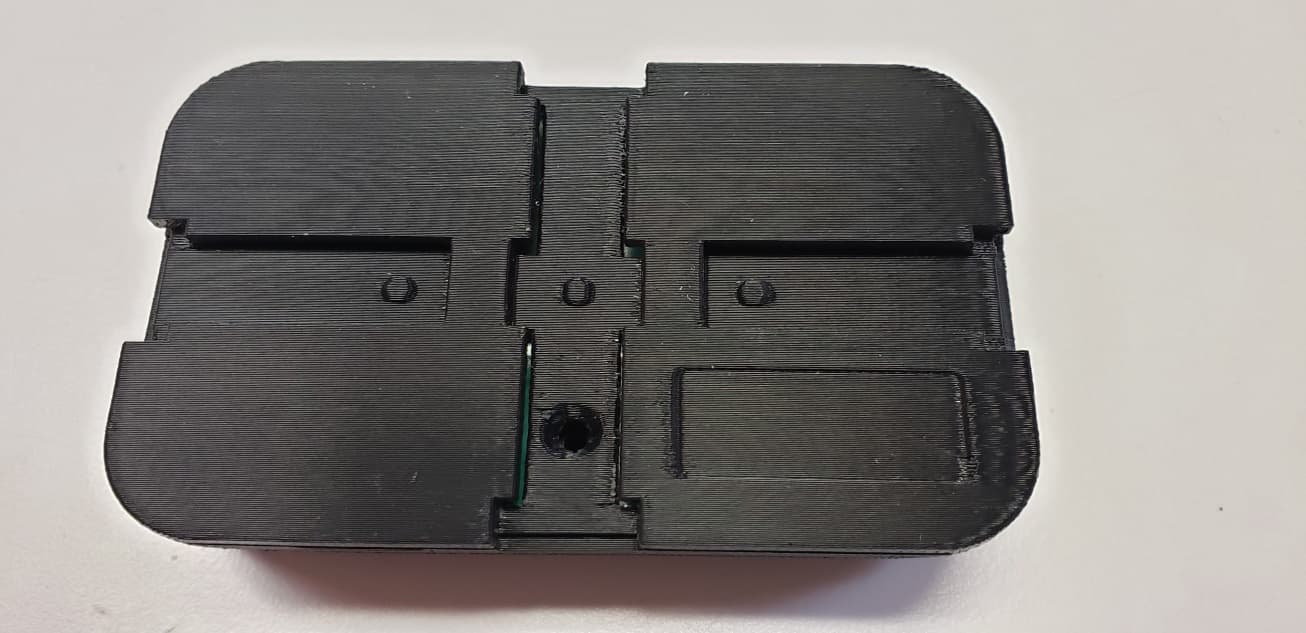
B8Q1BTX
Sep 15, 20201 Button Transmitter
Equipment Class
DSC - Part 15 Security/Remote Control Transmitter