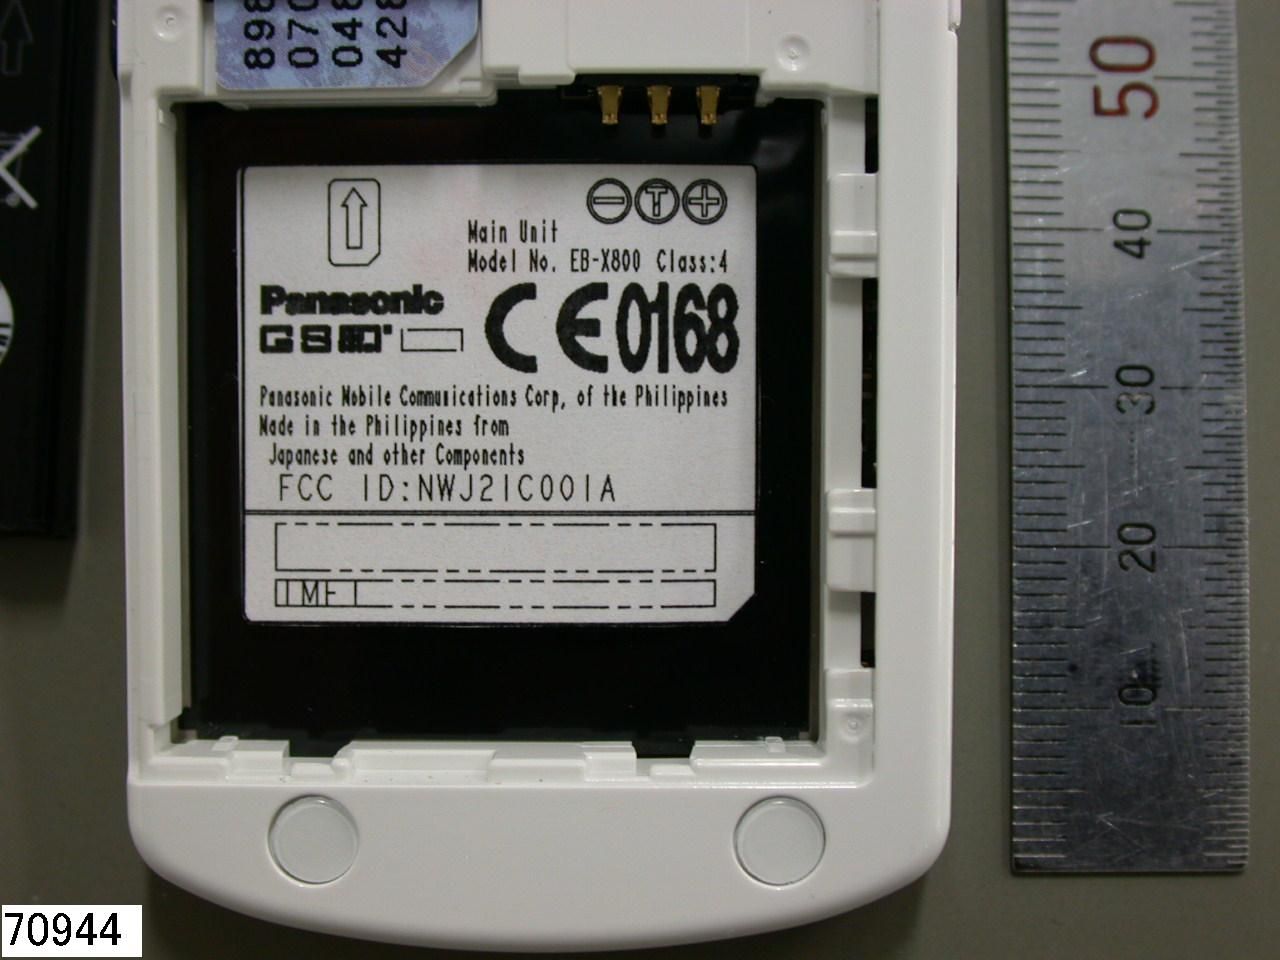
NWJ21C001AGSM Cellular Mobile Radio
Panasonic Mobile Communications Development Corporation of USA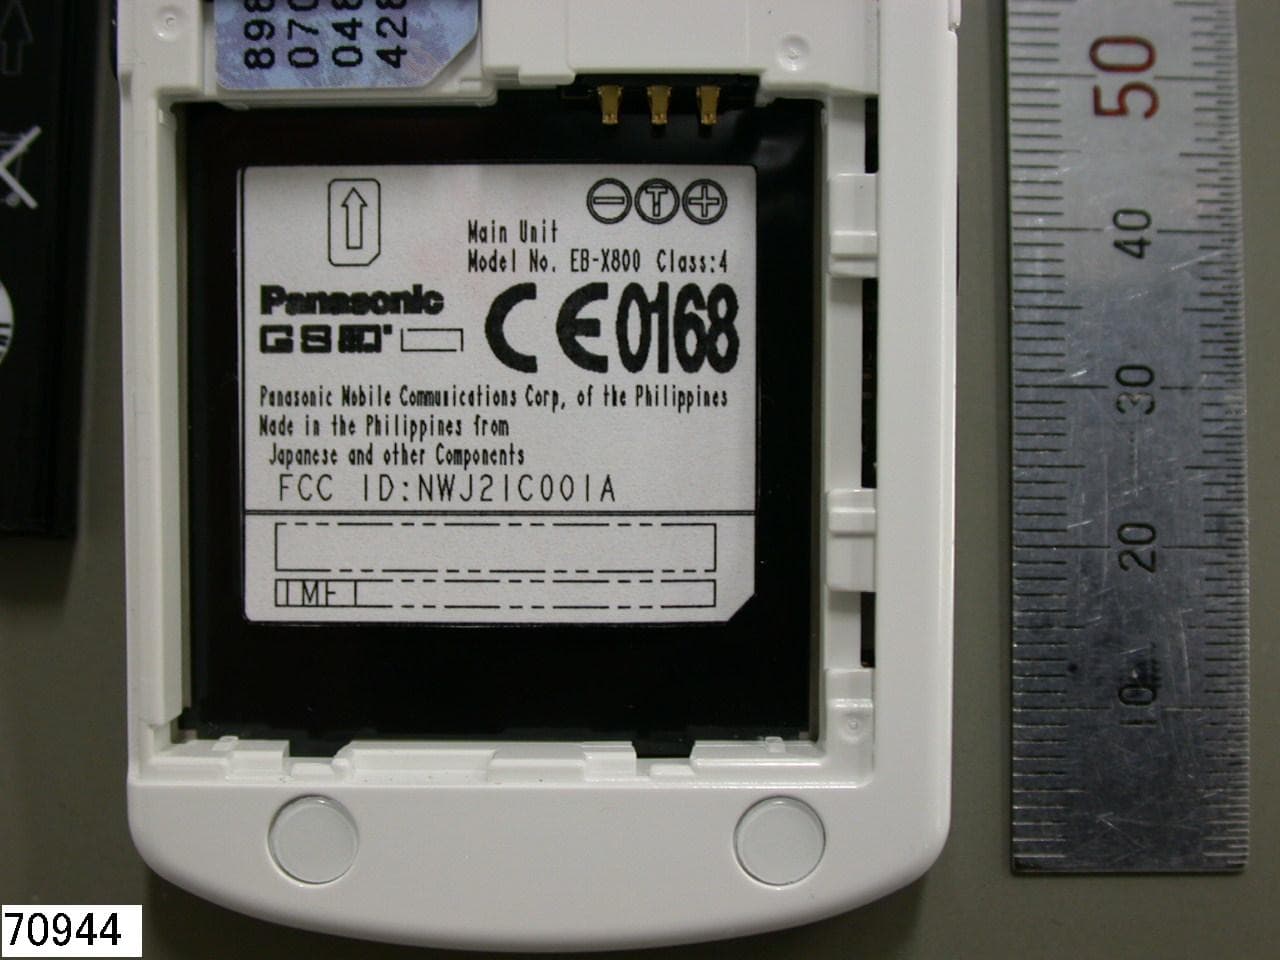
Click to zoom
Application Details
- Equipment Class
- PCE - PCS Licensed Transmitter held to ear
- Date of Grant
- Feb 01, 2005
- Application Purpose
- Original Equipment
- Date of Application
- Feb 01, 2005
- Equipment Note
- GSM Cellular Mobile Radio
- Frequency Range
- 1850.00000000 - 1910.00000000
- Country
- United States
Documents & Files
Document Text
Text extracted from the exhibit documents filed with the FCC. Open a document above to read the original.
Users Manual
1 Safety first Your new phone is a convenient and effective communications tool, but it can be hazardous when used improperly. To avoid harming yourself or anyone else, please review the following information before using your phone. Batteries Batteries can cause property damage, injury, or burns if the terminals are touched with a conductive material (for example, metal jewellery, keys, and so on). Therefore, use caution when handling a charged battery. Additional precautions and notes are listed below: • Never throw a battery into a fire; it may explode. • Fully recharge the battery if the battery is low or as soon as the low-battery alert beeps. • Do not drop the battery. • Do not allow bridging of battery contacts with metallic objects. • Do not remove the battery from the phone while the phone is powered on. Settings you have changed may revert to their previous settings. A recyclable lithium ion/polymer battery powers your phone. Please call 1-800-8-BATTERY for information on how to recycle the battery. Charging devices Use only Genuine Panasonic charging accessories. Use of attachments not recommended by Panasonic or your Service Provider may result in fire, electrical shock, or injury. Panasonic is not responsible for damage caused by using non-Panasonic accessories. • Do not expose charging adapters to moisture, water, or the weather. • Do not use an adapter with a damaged cord. • When using a DC adapter in an automobile, a small amount of electricity flows through the adapter, even if the phone is turned off. Remove the plug from the cigarette lighter whenever the phone will be left in the vehicle for long periods of time. • Always charge the battery in a well ventilated area, not in direct sunlight, between 41°F (5°C) and 95°F (35°C). It is not possible to recharge the battery if it is outside this temperature range. • Do not incinerate or dispose of the battery as ordinary trash. The battery must be disposed of in accordance with local legislation and may be recycled. Caution: The cigarette lighter must have a 12V negative ground socket. Do not use the adapter in a vehicle that has a positive ground system. General • Do not use the phone in extreme temperature or humidity. The specified operating temperature range is -22°F to +140°F (-30°C to +60°C). • Extreme temperatures may have a temporary effect on the operation of your phone. This is normal and does not indicate a fault. • Do not expose the phone (particularly the display) to direct sunlight for extended periods of time or to a humid, dusty or hot area. • Do not attempt to disassemble the phone. There are no user-serviceable parts inside. 2 • Do not subject the equipment to excessive vibration or shock. • Do not expose the phone to rain or spill liquids on it. If the equipment becomes wet immediately remove the battery and charging device and contact your dealer. • Do not use any accessories other than those designed for use with your phone. • Use of attachments not recommended or sold by Panasonic or your Service Provider may result in fire, electrical shock, or injury. • Panasonic is not responsible for damages caused by using non-Panasonic accessories. • Pressing any of the keys may produce a loud tone. Avoid holding the phone close to the ear while pressing the keys. • Keep metallic items that may accidentally touch the battery terminals away from the equipment. Battery damage may occur. • When disposing of any packing materials or old equipment check with your local authorities for information on recycling. • If connecting the phone to an external source, read the operating instructions of the equipment for the correct connection and safety precautions. • If connecting the phone to an external source, verify that the phone is compatible with the product to which you are connecting it. Availability of service This phone, like any wireless phone, operates using radio signals, wireless and landline networks, and user-programmed functions. Because of this, connection in all conditions cannot be guaranteed. Therefore, you should never rely solely on any wireless phone for essential communications (for example, medical emergencies). Emergency (911) service If you need to make an emergency (911) call, power the phone on, dial 911, and press D. Emergency calls can be made regardless of lock setting and with or without a SIM card. Remember, to make or receive any call, the phone must be switched on and in a service area that has adequate signal strength. Even if you are within the coverage area of your Service Provider, you may be in an area with insufficient signal strength to place a 911 call. Emergency calls might not be possible on all wireless phone networks or when certain network service and/or phone features are in use. 3 Safety tips Following the suggestions in this section will help ensure safe and efficient operation of your Panasonic phone. This Model Phone Meets The Government’s Requirements For Exposure To Radio Waves. Your wireless phone is a radio transmitter and receiver. It is designed and manufactured not to exceed the emission limits for exposure to radiofrequency (RF) energy set by the Federal Communications Commission of the U.S. Government. These limits are part of comprehensive guidelines and establish permitted levels of RF energy for the general population. The guidelines are based on standards that were developed by independent scientific organizations through periodic and thorough evaluation of scientific studies. The standards include a substantial safety margin designed to assure the safety of all persons, regardless of age and health. The exposure standard for wireless mobile phones employs a unit of measurement known as the Specific Absorption Rate, or SAR. The SAR limit set by the FCC is 1.6W/kg. Tests for SAR are conducted using standard operating positions specified by the FCC with the phone transmitting at its highest certified power level in all tested frequency bands. Although the SAR i…
Text truncated - open the document above for the full version.
Users Manual
49 Select Mailbox Name to Use to Send E-mail To select which mailbox to use to send e-mail messages, see page 55. If you have more than one mailbox and you start to write a new message, the phone notifies you of the mailbox name that is currently in use. To change the mailbox, see page 55 to change Mailbox in use setting. Create a New E-mail Message To create a new e-mail message, see page 44. Retrieve E-mail You can view your mailbox either online or offline. When you are online, you see your messages stored on the remote server. When you are offline, you see messages retrieved from the remote server to your phone, or message headers if not yet retrieved. IMAP4 protocol allows you to retrieve messages without attachments, so large memory files can remain in your online mailbox and not be stored in the phone. You can mark as read or delete messages, or copy them to another folder and view message details when offline. Your mailbox is synchronised to the server when you go online. When you receive a new e-mail message, a new message notice appears on the standby screen. To connect to your mailbox, from Messages application: 1.Open Messages. 2.Select Mailbox (or renamed mailbox). 3.Press Options and select Connect. 4.Once you are connected, press Options and select Retrieve e-mail > New, Selected, or All. • To select certain messages, use Mark/Unmark action. 5.Once messages are retrieved, you can read them offline. Press Options and select Disconnect. APOP secure login (POP3 only) Select On to use authenticated POP log in, encrypts password. Retrieve attachment (IMAP4 only) Select Yes or No to automatically retrieve attachment when message is fetched. Retrieve headers (IMAP4 only) Select All to retrieve all message headers, or select User defined and type in a number to retrieve only the latest headers. 50 Read Messages Offline From Messages application: 1.Open Messages. 2.Select Mailbox (or renamed mailbox). 3.Press No when phone asks to connect to mailbox. 4.Scroll to desired message and open. Reply to E-mail Messages From Messages application: 1.Open Messages. 2.Select Mailbox (or renamed mailbox). 3.Highlight desired message. 4.Press Options and select Reply > To sender or To all. Copy E-mail Messages From Messages application: 1.Open Messages. 2.Select Mailbox (or renamed mailbox). 3.Highlight desired message. 4.Press Options and select Copy to folder. 5.Choose from the appropriate folders and press OK. Sort Message List From Messages application: 1.Open Messages. 2.Select Mailbox (or renamed mailbox). 3.Press Options and select Sort by > Date, Sender, or Subject. Save Attachment or Data You can save attachments, such as Contacts cards, Calendar items, links to streaming media, and configuration data. 1.Open desired message. 2.Press Options and select Attachments > Open Open attachment in read-only mode. SaveSave attachment. Send Send attachment via Bluetooth or via infrared. Note: Attachment cannot be opened, saved, or sent if it has not been retrieved. 51 Add E-mail Address to Contacts Card From Messages application: 1.Open Messages. 2.Select Mailbox (or renamed mailbox). 3.Open desired message. 4.Press Options and select Add to Contacts > Create new to create a new Contacts card using the sender’s e-mail address, or Update existing to place the sender’s e-mail address in an existing Contacts card. 5.Continue with Create New Contact Cards on page 30 or Edit Contact Cards on page 32. Manage Mailboxes From Messages application: 1.Open Messages. 2.Press Options and select Settings. 3.Scroll to E-mail and open. 4.Highlight Mailboxes and open. 5.Scroll to desired mailbox name and press Options and select Edit or Delete. DRAFTS Your unfinished text (SMS), multimedia (MMS), and e-mail messages that have not been sent are stored in the Drafts folder. From Messages application: 1.Open Messages. 2.Scroll to Drafts and open. 3.Scroll to desired message and open. 4.Enter the rest of the information. 5.Press , or if desired press Options and select: Send Send message Add recipientSend to more than one address Insert >Insert items such as Picture, Image, Sound clip, Video clip, or Template, depending on what type of file the message type sup- ports Attachments (E-mail) Objects (Multimedia) Open, insert, or remove attachments or objects Edit presentation (Multimedia) Edit the presentation Preview message (Multimedia) Preview message before sending 52 SENT Text, multimedia, smart, and e-mail messages that have been successfully sent are stored in the Sent folder, which stores the last 15 sent messages. Move Sent Messages to My Folders From Messages application: 1.Open Messages. 2.Scroll to Sent and open. 3.Scroll to desired message, then press Options and select Move to folder. 4.Select desired folder and press OK. View or Delete Sent Messages To view or delete sent messages and objects or attachments, from Messages application: 1.Open Messages. 2.Scroll to Sent and open. 3.Scroll to desired message and open. 4.Press Options and select: Check contactsMatch names in To and Cc fields to names in Contacts Message detailsView details such as message size Sending optionsView or change sending options depending on type of message Attachments (E-mail) Objects (Multimedia) Open, save, or send attachments or objects DeleteDelete message, object or attachment Message detailsView details such as message size 53 OUTBOX Outbox stores messages waiting to be sent, and messages that could not be sent; for example, connection to the network failed. It also temporarily stores Bluetooth and Infrared messages that are waiting for connection to the receiving device. If the connection fails, Outbox does not keep the message. The Outbox icon appears on the standby screen when there are messages in the Outbox. Status of Outbox messages: Send, View, and Manage Outbox Messages From Messages application: 1.Open Messages. 2.Scroll to Outbox and open. 3.Scroll to desired message. Press Options and select: Messages waiting in t…
Text truncated - open the document above for the full version.
Users Manual
109 VOICE TAGS When your phone is set language that is not available in Voice Commands, Voice Tags allows you to record names and related phone numbers and store them in memory. That you can dial these numbers using Voice Commands. Record Voice Tags 1.Press and hold . • If you are using this feature for the first time, the phone displays a message that no voice tags are recorded. 2.Select Add voice tag. 3.After the text prompt to say a name, say a name that you will say each time you wish to call this person. 4.The phone will repeat the name. Press Yes to confirm, or press No to record it again. 5.After you have confirmed, enter the number to dial by pressing to , then press OK. Dial a Number using a Voice Tag 1.Press and hold . 2.After the text prompt asking who you would like to call, say a name of a voice tag you have recorded. 3.The phone will begin dialing the number assigned to the voice tag. Add or Edit Voice Tags You can store up to 30 voice tags, and edit or erase voice tags as needed. To add a voice tag: 1.Press and hold . 2.Press Settings. 3.A list of voice tag phone numbers displays. 4.Select Add voice tag. Application Launcher Check to select applications from the list to open using Open Applications. Contacts UpdateEach time Voice Commands is opened, it checks your Contacts list for name additions or edits, and if so, automatically reloads the list. If the list is large, the reload requires more time. Select Configure to choose Automatic or Manual reloading. AboutCopyright information about the voice recognition software. Note: Voice Tags appears only when your phone is set to a language that is not available in Voice Commands. 110 5.Continue with step 3 in Record Voice Tags on page 109. To edit a voice tag: 1.Press and hold . 2.Press Settings. 3.A list of voice tag phone numbers displays. 4.Highlight and select desired voice tag phone number to edit. 5.Choose from: Play, Re-record, Erase, or Erase all. PRINTBOY SETUP PrintBoy Setup works with your Quickoffice menu to print your Quickoffice documents wirelessly from your phone to supported printers. From Settings menu: 1.Open PB Setup. 2.On the Drvrs tab is a list of supported printer drivers. Scroll to desired printer. 3.Press Options and select Configure. Select from: 4.After the printer is configured, press Options and select: To set a printer as default, scroll to Drvrs tab, highlight desired printer, then press Options and select Set as Default. ABOUT View copyright information about the phone and software used on the phone. From Settings application: 1.Open About. CommunicationsSelect the method to send data to the printer. Paper SizeChoose a paper size. Left MarginChoose desired left margin measurement. Test PrintSend a test print. Bluetooth > Select Find Printer to pair with the printer. 111 TOOLS Tools allows you to take care of a variety of tasks in one place. Use the Calculator to make quick calculations. Use the Converter to convert currencies and measurements. Jot down quick notes on the Notepad. Record short voice clips using Recorder. See your files in one place using File Mgr and manage data stored on the miniSD Card. Install Java ™ MIDlet (Mobile Information Device) applications using App Mgr. Tools menu contains these main options: CALCULATOR Perform simple mathematic calculations using the calculator. From Tools application: 1.Open Calculator. 2.A virtual calculator displays. Type in first number of calculation, which appears in field near bottom of screen. • To enter a decimal, press . • To erase digits, press . • To change number to positive or negative, scroll to positive/ negative button and select. 3.Scroll or to move box to desired mathematic action, press to select. 4.Enter the next number. To get result, scroll to equal button and select. • To view the last result, press Options and select Last result. The left side of the screen serves as a “tape” to record your calculations. Use the double up and double down arrow buttons on the screen to scroll up and down the “tape.” To save a number in calculator memory, select the MS (Memory Save) button. To recall the number, select the MR (Memory Recall) button. CalculatorConverterNotepad RecorderminiSDTo-do App MgrFile MgrPhotoLight SIM Tool Kit (optional) Shortcut: To automatically add, subtract, multiply, or divide, enter first number. Press until you reach desired numeric operation, stop pressing , and the operation is inserted. 112 CONVERTER Convert a variety of measurements such as world currencies, area, length, volume, temperature, power, and velocity. Set the Base Currency From Tools application: 1.Open Converter. 2.If the Type field is not set to Currency, open and change to Currency. 3.Press Options and select Currency rates. A list of world currencies (3 letter currency codes) appears with the base currency (if set) noted at the top of the screen. • Most commonly used codes are listed first. They are USD = U.S. dollar; EUR = European Union euro, GBP = British pound sterling, JPY = Japanese yen. 4.Scroll to the desired currency code you wish to set as the base, press Options and select Set as base curr.. • Any rates entered earlier are reset to zero. 5.Scroll to desired currency codes and type in currency exchange rates, based on your newly set base currency = 1. • To enter a decimal, press . 6.Press Done. 7.Continue with step 3 in Convert Measurements on page 112. Convert Measurements From Tools application: 1.Open Converter. 2.Open the Type field, scroll to desired measurement type and press OK. 3.Scroll to first Unit field, press Options and select Select unit. • If converting Currency, press Options and select Change currency. 4.Scroll to the desired unit to convert FROM, and press OK. 5.Scroll to second Unit field, press Options and select Select unit. • If converting Currency, press Options and select Change currency. 6.Scroll to the desired unit to convert TO, and press OK. 7.Scroll to the first Amount field, press to erase zero. Type in …
Text truncated - open the document above for the full version.
Block Diagram
USB I /F UART3 I /F I RDA_ SD McBSP3 I /F RGB I /F LCD_ NRST EM I FS I /F ( CS0, CS3 ) EM I FF I /F EB-X800 High Level Block Diagram
Block Diagram
ASW (3P5T-SW) M393G 4.8x4.0x0.66 LNA1900 LNA1800 LNA900 VCO PLL Loop filter _ QQ GSM-H3FL BGH91B 2 x1.3x0.45 DCS/PCS -H3FL BGH91B 2 x1.3x0.45 Driver TX-BPF B9012 (1.6 ± 0.1)x (2.0 ± 0.1)x0.84 PA RF3146 7.0x7.0x0.9 PMB2258 (3.5 ± 0.1)x(3. 5 ± 0.1)x1.0 VCXO Transceiver -IC PMB6258 (7.0 ± 0.1)x(7.0 ± 0.1)x0.9 (2.5 ± 0. 15)x(3.2 ± 0.15)x1. 0 26MHz Offset- Comp- Loop1 Offset- Comp- Loop2 Vd d CTL_1 CTL_2 CTL_3 CTL_4 CTL_5 II _ X800 RF Block diagram 0 ° Di v.2 90 ° 0 ° Di v.4 90 ° 90 o Di v.2 0 o 90 o Di v.4 0 o Unit [mm] GSM900 -RXBPF B7820 (1.4 ± 0.1)x (2.0 ± 0.1)x0.84 DCS-RXBPF B7821 (1.4 ± 0.1)x (2.0 ± 0.1)x0.84 PCS-RXBPF B7825 (1.4 ± 0.1)x (2.0 ± 0.1)x0.84 HSJ/IO/RF CONNECTOR Control Logic AN T( Ope n)AN T( Cl o s e) SPD
Parts List/Tune Up Info
FORM A OPERATION DESCRIPTION – FOR DEVICES OTHER THAN PARTS 11, 15 AND 18 OF THE FCC RULES This form will be used for the evaluation of devices other than parts 11, 15 and 18 of the FCC rules. Please complete and return along with your other supporting exhibits. SECTION A Type of Emission Please state what Type of Emission(s) your device(s) has. Refer to FCC part 2.201 and 2.202 for more information. Device Name/Model Emission Type Description Emission Type Code NWJ21C001A / EB-X800 GMSK Phase modulation (0.2Mhz channel spacing) 245KGXW SECTION B Frequency Range Please state what frequency range(s) your device(s) operates over. Please provide “From” and “To” frequencies. Device Name/Model Frequency Range (MHz) NWJ21C001A / EB-X800 T/X 1850MHz – 1910MHz R/X 1930MHz – 1990MHz SECTION C Range of Operating Power Please state the range(s) your device(s) operates over, and how the power adjustment is controlled. Device Name/Model Power Range (W) Power Control NWJ21C001A / EB-X800 0.001 – 1.0 Watts Controlled by RF power detection and voltage control on PA gain control pin. SECTION D Maximum Power Rating Please specify the maximum power rating(s) of your device(s) as defined in the applicable part(s) of the FCC rules. Device Name/Model Max Power (W) FCC Part NWJ21C001A / EB-X800 1.0 Watts 24.232 SECTION E DC Voltages Please specify the DC voltages applied to the DC currents into the several elements of the final radio frequency amplifying device for normal operation over the power range. Device Name/Model Power Level DC Voltage Component NWJ21C001A / EB-X800 Max power (1.0 W) 3.7VDC nominal, 2.5A RF Power Amplifier (PA) SECTION F Tune Up Procedure Please provide Information about your Tune Up Procedure over the power range (previously specified) or at the specific power levels (also specified). For equipment employing digital modulation techniques, a detailed description of the modulation system to be employed must be provided. This will at least include the response characteristics (Frequency, Phase and Amplitude) or any filters provided, and a description of the modulation wave train, this shall be submitted for the maximum rated conditions under which the equipment will be operated. See details in document below Panasonic Panasonic Mobile Communications Development of Europe Limited Supplement to FCC Form A. Model: EB-X800 FCC ID: NWJ21C001A Function of the Active Devices -- Pursuant 2.983 (d6) Transmitter U501 PMB2258 GSM Limiter Amplifier IC U503 RF3146TR13 Tri Band PA Module Receiver U500 PMB6258 GSM Transceiver IC U502 GN06006L01MC Antenna Switch Module Synthesizer Y500 MAA3260A Voltage Controlled Temperature Compensated Crystal Oscillator Power control U300 AN32061A Regulator/Audio IC U304 PMB6811 Regulator IC Q300 MCH3411-TL-E Switching Transistor Q301 SI3443DV-T1 Switching Transistor U100 PMB8870 Base Band IC U200 OMAP310GZZGR Application IC Panasonic Panasonic Mobile Communications Development of Europe Limited Panasonic Mobile Communications Development of Europe Limited 2 Gables Way, Colthrop, Thatcham, Berkshire RG19 4ZB Tel: +44 (0) 1635 871466 Fax: +44 (0) 1635 871345 VAT Reg No. GB765338211 Web: www.panasonicmobile.com Registered in England No. 4188880 Circuit Descriptions A. Means for Stabilizing Transmitter Output Frequency To meet requirements of Subpart J Section 2.983(d10) As a result of the following approach, the frequency stabilization requirement is achieved 1. Phase Locking A Voltage Controlled local Oscillator (VCO) whose frequency output is divided in half to produce the desired RF frequency produces the transmitter carrier. The oscillator is phase locked to a reference oscillator by an independent PLL (Phased Locked Loop) circuit. The reference oscillator is a Voltage Controlled Temperature Compensated Crystal Oscillator (VCTCXO). Therefore, the transmitter carrier frequency has the same stability as the VCTCXO. 2. VCTCXO The output frequency of the VCTCXO is frequency locked to the RF signal transmitted from a cellular base station by means of an Automatic Frequency Control (AFC) circuit. The received reference signal from the base station is down converted and compared to the mobile station internal frequency. Any differences between the base station reference frequency and the mobile station internal frequency are corrected by fine tuning the VCTCXO frequency. The AFC control circuit is designed such that the transmitter carrier output is maintained within ±0.1ppm of the base station reference frequency. B. Means for Suppressing Spurious Radiation To meet requirements of Subpart J Section 2.983(d-11) As a result of the following approach, the attenuation requirement for spurious and harmonic radiation is achieved. 1. Shielding The RF and Digital sections are enclosed by 3 shield can enclosures. These enclosures are soldered on the gold plated ground of the PCB. All oscillators are enclosed. 2. Filtering Filtering is provided at multiple points in the transmitter chain. Between the modulator and limiter amplifier IC, integrated low pass filters are included to reduce TX harmonics. For 900MHz operation the transmit signal is filtered with a SAW TXBPF (Surface Acoustical Wave Transmit Band Pass Filter) prior to final amplification by the PA Module. Following amplification by the PA module additional low pass filtering is provided in the ASM (Antenna Switch Module). The low pass filters contained in the ASM are separated by band. One filter is provided for 900MHz operation and a separate filter is provided for 1800 & 1900 MHz operation. Panasonic Panasonic Mobile Communications Development of Europe Limited Panasonic Mobile Communications Development of Europe Limited 2 Gables Way, Colthrop, Thatcham, Berkshire RG19 4ZB Tel: +44 (0) 1635 871466 Fax: +44 (0) 1635 871345 VAT Reg No. GB765338211 Web: www.panasonicmobile.com Registered in England No. 4188880 C. Means for limiting Transmitter Output Power To meet requirements of Subpart J Section 2.983(d-11) The PA modul…
Text truncated - open the document above for the full version.
RF Exposure Info
TEST REPORT FROM RFI GLOBAL SERVICES LTD Test of: Panasonic Mobile Communications Development of Europe X800 Mobile Station with Personal Handsfree Accessory To: OET Bulletin 65 Supplement C: (2001-01) Measurements were performed on the DASY4 System Test Report Serial No: RFI/SARE2/RP70944JD05A Supersedes Test Report Serial No: RFI/SARE1/RP70944JD05A This Test Report Is Issued Under The Authority Of Andrew Brown, Operations Manager: Tested By: Scott D'Adamo Checked By: Joe Lomako pp Report Copy No: PDF01 Issue Date: 01 Feburary 2005 Test Dates: 10 December 2004 to 13 December 2004 It should be noted that the standard, OET Bulletin 65 Supplement C: (2001-01) is not listed on RFI’s current UKAS schedule and is therefore “not UKAS accredited”. This report may be reproduced in full. Partial reproduction may only be made with the written consent of RFI Global Services Ltd The results in this report apply only to the sample(s) tested. RFI GLOBAL SERVICES LTD TEST REPORT S.No. RFI/SARE2/RP70944JD05A Page 2 of 64 Issue Date: 01 Feburary 2005 Test Of: Panasonic Mobile Communications Development of Europe X800 Mobile Station with Personal Handsfree Accessory To: OET Bulletin 65 Supplement C: (2001-01) This page has been left intentionally blank. Test Report Serial No: RFI/SARE2/RP70944JD05A Supersedes Test Report Serial No: RFI/SARE1/RP70944JD05A RFI GLOBAL SERVICES LTD TEST REPORT S.No. RFI/SARE2/RP70944JD05A Page 3 of 64 Issue Date: 01 Feburary 2005 Test Of: Panasonic Mobile Communications Development of Europe X800 Mobile Station with Personal Handsfree Accessory To: OET Bulletin 65 Supplement C: (2001-01) Table of Contents 1. Client Information ............................................................................................................................ 4 2. Equipment Under Test (EUT) .......................................................................................................... 5 3. Test Specification, Methods and Procedures ............................................................................... 9 4. Deviations from the Test Specification........................................................................................ 10 5. Operation of the EUT During Testing........................................................................................... 11 6. Summary of Test Results .............................................................................................................. 12 7. SAR Measurement System............................................................................................................ 17 8. SAR Safety Limits .......................................................................................................................... 18 9. Details of SAR Evaluation ............................................................................................................. 19 10. Evaluation Procedures ................................................................................................................ 20 11. System Validation ........................................................................................................................ 21 12. Simulated Tissues ....................................................................................................................... 22 13. Tissue Parameters ....................................................................................................................... 23 14. DASY4 Systems Specifications .................................................................................................. 24 15. Validation Results – 1900 MHz Band (Head) ............................................................................. 25 16. Validation Results – 1900 MHz Band (Head) ............................................................................. 26 17. Validation Results – 1800 MHz Band (Body) ............................................................................. 27 18. Measurement Uncertainty ........................................................................................................... 28 Appendix 1. Test Equipment Used ................................................................................................... 30 Appendix 2. SAR Distribution Scans ............................................................................................... 32 Appendix 3. Test Configuration Photograph................................................................................... 33 Appendix 4. Calibration Data ............................................................................................................ 35 Appendix 5 Photographs of EUT ...................................................................................................... 37 RFI GLOBAL SERVICES LTD TEST REPORT S.No. RFI/SARE2/RP70944JD05A Page 4 of 64 Issue Date: 01 Feburary 2005 Test Of: Panasonic Mobile Communications Development of Europe X800 Mobile Station with Personal Handsfree Accessory To: OET Bulletin 65 Supplement C: (2001-01) 1. Client Information Company Name: Panasonic Mobile Communications De…
Text truncated - open the document above for the full version.
Contact Information
Applicant
Pieter C. Seidel(Manager of Hardware Verification)
Technical Contact
Panasonic Mobile Comms Europe LtdMichael Hargreaves
[email protected]+44 1635 587734
2 Gables Way · Thatcham, Berks · United Kingdom
Test Firm
RFI Global Services Ltd.Allan Hume
Technical Specifications
| # | Rule Parts | Frequency Range | Power Output | Emission | Tolerance |
|---|---|---|---|---|---|
| 1 | 24E | 1.85 GHz - 1.91 GHz | 692.00 mW | 245KGXW | 0.1000000000 ppm |
Other Applications from Panasonic Mobile Communications Development Corporation of USA
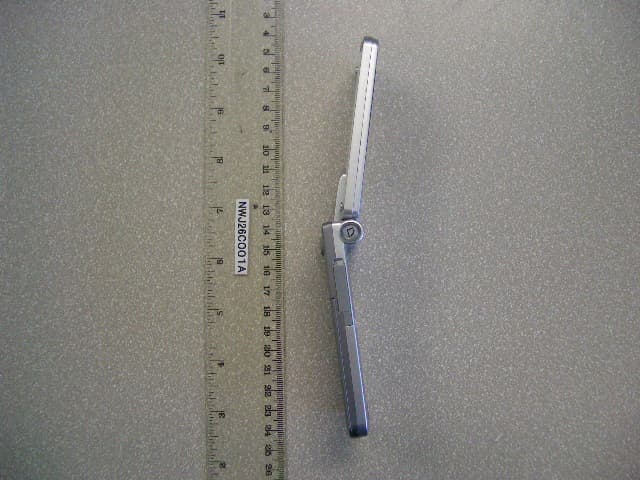
NWJ26C001A
Jun 14, 2005GSM Cellular Mobile Radio
Equipment Class
PCE - PCS Licensed Transmitter held to ear
NWJ22A001A
Nov 04, 2004GSM PCS Handset w/Bluetooth
Equipment Class
DSS - Part 15 Spread Spectrum Transmitter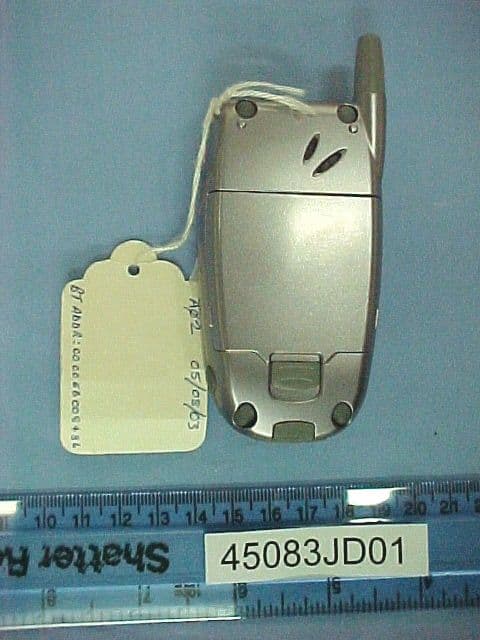
NWJ22B002A
Feb 26, 2004GSM Cellular Mobile Radio
Equipment Class
PCE - PCS Licensed Transmitter held to ear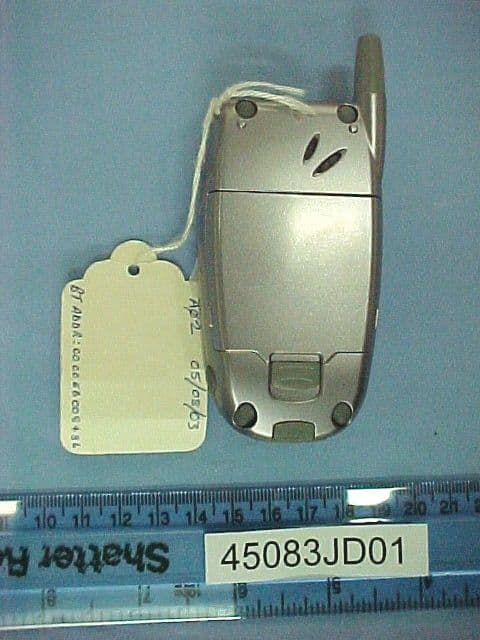
NWJ22B001A
Oct 26, 2003GSM Cellular Mobile Radio
Equipment Class
PCE - PCS Licensed Transmitter held to ear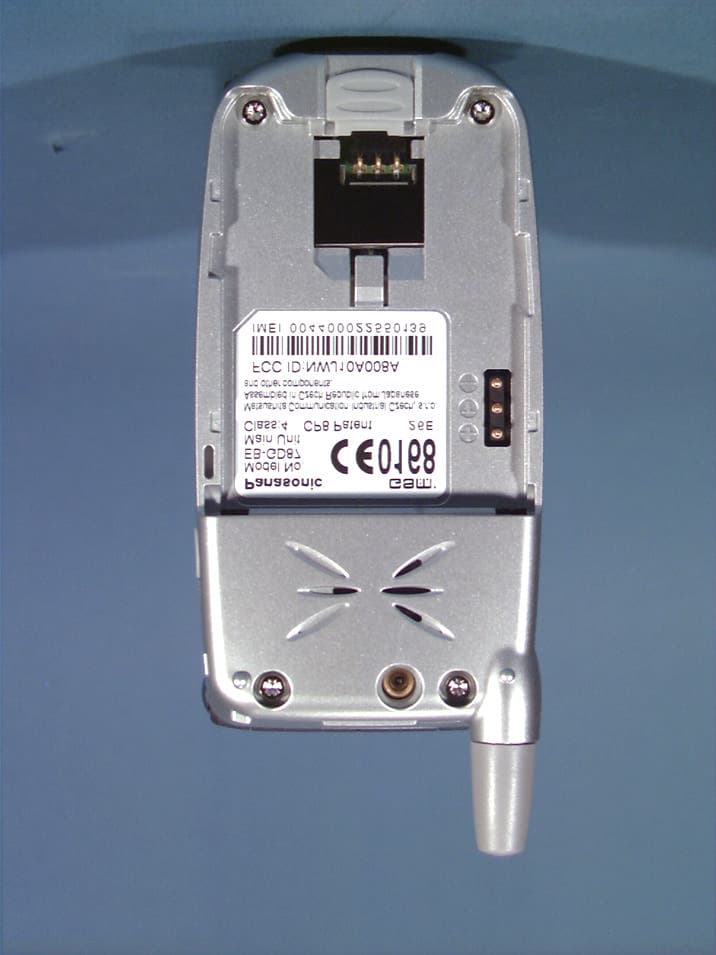
NWJ10A008A
Aug 11, 2002Single-Band PCS GSM Phone
Equipment Class
PCE - PCS Licensed Transmitter held to ear