QISU8800PROHSPA+/UMTS/GPRS/GSM/EDGE Mobile Phone with BT
Huawei Technologies Co.,Ltd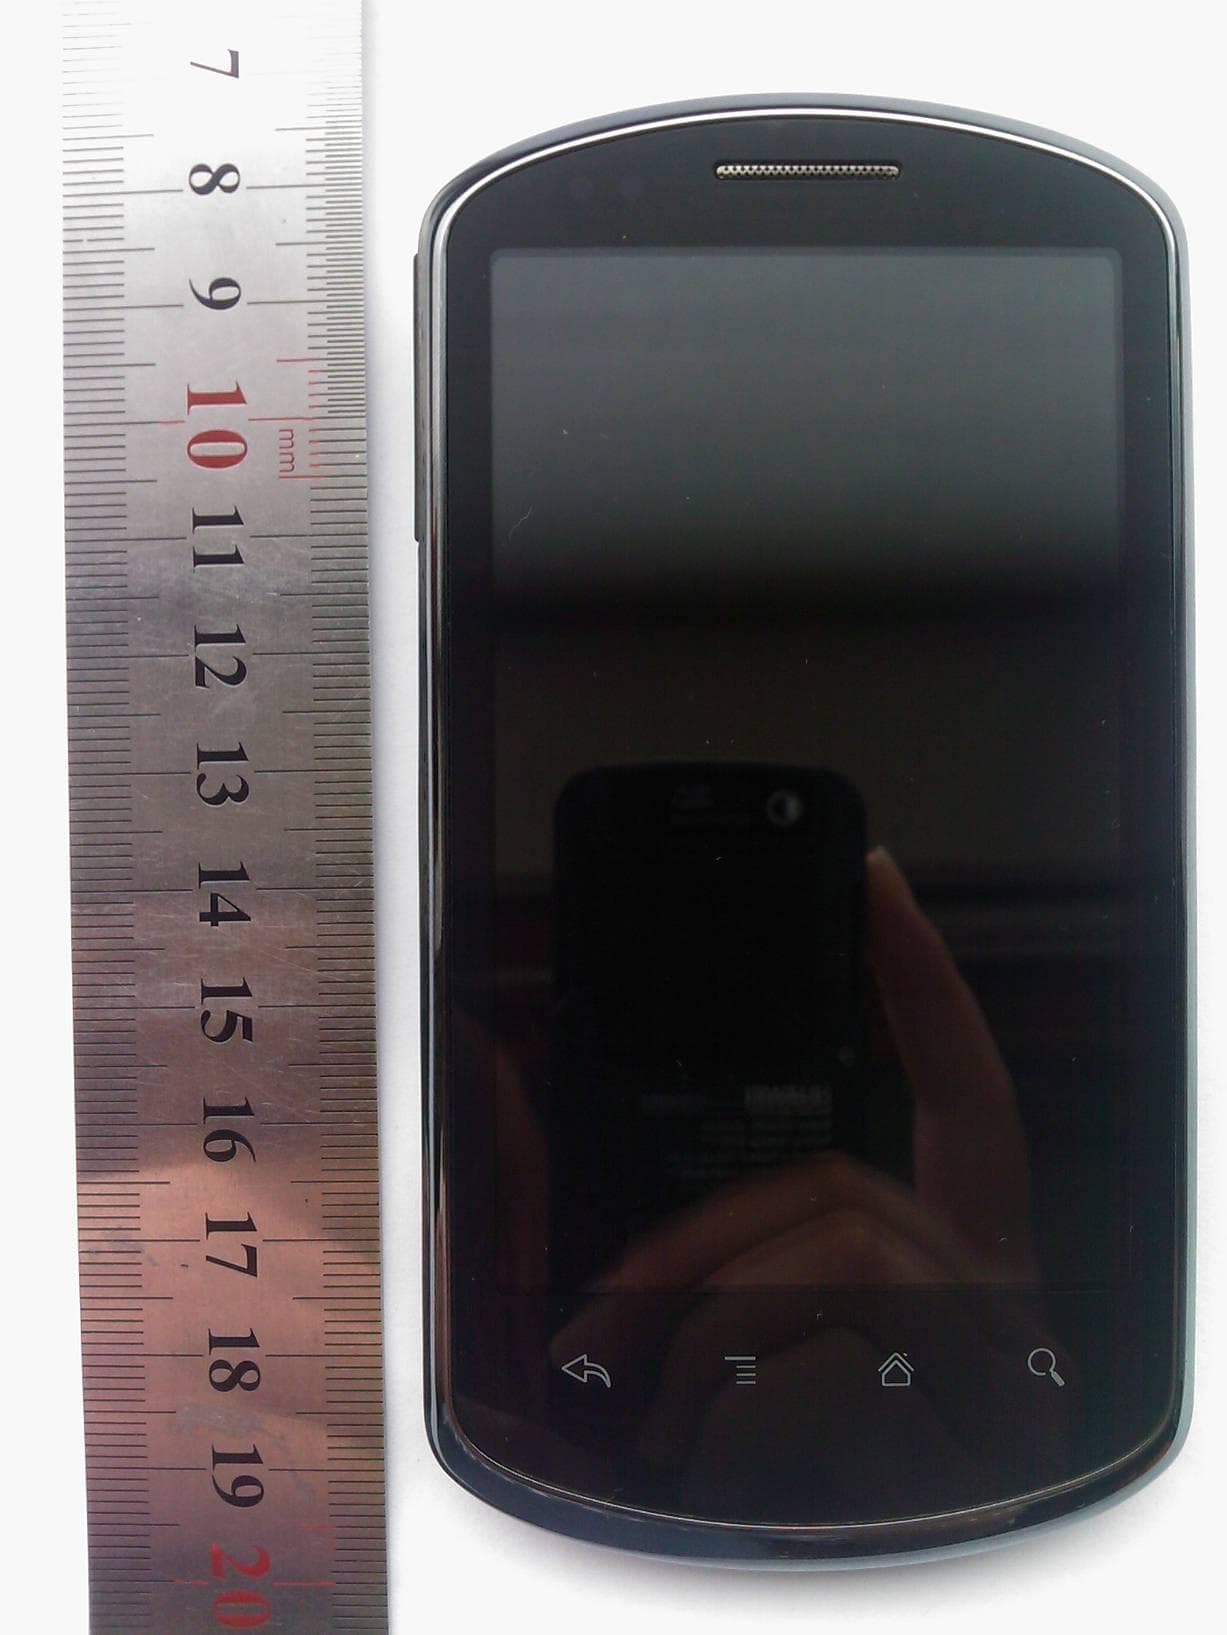
Click to zoom
Application Details
- Equipment Class
- JBP - Part 15 Class B Computing Device Peripheral
- Date of Grant
- Sep 28, 2011
- Application Purpose
- Original Equipment
- Date of Application
- Sep 28, 2011
- Equipment Note
- HSPA+/UMTS/GPRS/GSM/EDGE Mobile Phone with BT
- Company
- Huawei Technologies Co.,Ltd
- Country
- China
Documents & Files
Document Text
Text extracted from the exhibit documents filed with the FCC. Open a document above to read the original.
Users Manual
Welcome to HUAWEI User Guide HUAWEI U8800 Pro Contents i 1 Reading Before Proceeding................................................1 1.1 Safety Precautions....................................................................... 1 1.2 Legal Notice................................................................................. 2 1.3 Personal Information and Data Security ...................................... 5 2 Getting to Know Your Mobile Phone .................................6 2.1 Mobile Phone View ...................................................................... 6 2.2 Installing Your Mobile Phone ....................................................... 7 2.3 Power On or Off Your Mobile Phone ......................................... 10 2.4 Using the Touchscreen.............................................................. 11 2.5 Locking and Unlocking the Screen ............................................ 11 2.6 Home Screen............................................................................. 12 2.7 Application List........................................................................... 16 2.8 Using a microSD Card ............................................................... 16 3 Calling.................................................................................17 3.1 Making a Call ............................................................................. 17 3.2 Answering or Rejecting a Call.................................................... 19 3.3 Other Operations During a Call ................................................. 20 3.4 Using Call log............................................................................. 20 3.5 Using Airplane Mode ................................................................. 21 4 Contacts .............................................................................21 4.1 Opening the Contacts Application ............................................. 21 4.2 Importing Contacts from a SIM Card ......................................... 21 4.3 Adding a Contact ....................................................................... 22 4.4 Searching for a Contact ............................................................. 22 4.5 Editing a Contact ....................................................................... 22 4.6 Communicating with Your Contacts........................................... 23 4.7 Deleting a Contact ..................................................................... 23 ii 5 Using the Onscreen Keyboard .........................................23 5.1 Displaying the Keyboard Panel.................................................. 23 5.2 Customizing Keyboard Settings................................................. 26 6 Messaging ..........................................................................26 6.1 SMS and MMS........................................................................... 26 6.2 Email .......................................................................................... 28 7 Getting Connected.............................................................30 7.1 GPRS/3G................................................................................... 30 7.2 Wi-Fi .......................................................................................... 31 7.3 Sharing Your Phone’s Data Connection .................................... 32 7.4 Browser...................................................................................... 32 7.5 Bluetooth.................................................................................... 34 8 Entertainment.....................................................................36 8.1 Taking Photos and Recording Videos ....................................... 36 8.2 Using the Gallery ....................................................................... 37 8.3 Enjoying Music........................................................................... 39 9 Google Services.................................................................40 9.1 Creating a Google Account........................................................ 40 9.2 Using Gmail ............................................................................... 41 9.3 Using Talk.................................................................................. 42 9.4 Using Maps................................................................................ 44 9.5 Using YouTube .......................................................................... 45 9.6 Using Market.............................................................................. 45 10 Synchronizing Information .............................................47 10.1 Managing Your Accounts......................................................... 47 10.2 Customizing Your Account Synchronization ............................ 48 11 Using Other Applications................................................49 11.1 Using the Calendar .................................................................. 49 iii 11.2 Using the Clock........................................................................ 51 11.3 Using the Calculator ................................................................ 52 11.4 Using the Notepad ................................................................... 52 12 Managing Your Mobile Phone ........................................52 12.1 Setting the Date and Time ....................................................... 52 12.2 Setting the Display................................................................... 53 12.3 Setting Ringers ........................................................................ 53 12.4 Setting Phone Services ........................................................... 54 12.5 Setting Text-to-Speech ............................................................ 55 12.6 Protecting Your Mobile Phone ................................................. 55 12.7 Managing Applications.........…
Text truncated - open the document above for the full version.
Users Manual
14 • Touch Clear to clear all notifications. Closing the Notification Panel Touch and hold the bottom of the panel. Then flick up to close it. 2.6.3 Viewing Other Parts of the Home Screen Touch > Home settings > Advanced settings > Screen number to set the screen number. 2.6.4 Customizing the Home Screen Adding a New Screen Item 1. Touch and hold a blank area on the Home screen until the Select action menu is displayed. You can also touch > Add to display the Select action menu. 2. Select an item to add it to the Home screen. Removing a Screen Item 1. Touch and hold an item on the Home screen until the item expands and the mobile phone vibrates. Flick your finger left or right across the Home screen. Touch to view thumbnails of the Home screen and its extensions. Touch a thumbnail to open the screen. 10:23 10:23 15 2. Without lifting your finger, drag the item to the trash can. When the item and the trash can turn red, the item is ready to be removed. 3. Release the item to remove it from the Home screen. 2.6.5 Setting Home Screen Animations 1. On the Home screen, touch > Home settings > Animation. 2. Select an animation, and then touch Save. 2.6.6 Changing the Wallpaper 1. On the Home screen, touch > Wallpaper. 2. Do any of the following: • Touch Live wallpapers to select a picture and set it as the wallpaper. • Touch Gallery to select a picture and set it as the wallpaper. • Touch Wallpapers to select a picture and set it as the wallpaper. 2.6.7 Changing the Theme 1. On the Home screen, touch > Home settings. 2. Do any of the following: • Touch Theme to select a theme. • Touch Application icons to select a series of application icons. 3. Touch Save. 2.6.8 Editing a Screen Item 1. Touch and hold an item on the Home screen until the Select action menu is displayed. 2. Touch Edit icon, and then do any of the following: • Customize the title of the screen item. • Select a new icon for the screen item. 3. Touch Save. 16 2.7 Application List Application list holds icons for all of the applications on your phone. You can touch on the Home screen to open the application list. 2.7.1 Moving Icons in the Application List 1. In the application list, touch . 2. Touch and hold the icon you want to move in the application list until the phone vibrates. 3. Without lifting your finger, drag the icon to the desired location, and then release it. To move more icons, repeat step 2 and 3. 4. Touch or touch to save. 2.8 Using a microSD Card 2.8.1 Installing the microSD Card (Optional) Your mobile phone is already equipped with a large-volume built-in eMMC card. If you want to expand your phone memory, you can also insert a microSD card. 1. Remove the battery cover. 2. Insert the microSD card into the card slot as shown in the diagram. 2.8.2 Using the microSD Card as USB Mass Storage To transfer all your favorite music and pictures from your PC to your mobile phone’s microSD card, set the microSD card as USB mass storage. 12 17 1. Connect your mobile phone to your PC with the USB cable. Your PC will detect the microSD card as a removable disk. 2. Open the notification bar, and then touch USB connected. 3. Touch Turn on USB storage in the dialog box that opens to confirm that you want to transfer files. You can now transfer files from your PC to your mobile phone’s microSD card. When your microSD card acts as USB mass storage, your mobile phone will not use this memory space. Your PC will tell you how to safely disconnect the USB mass storage device (your mobile phone) when you have finished transferring files. 2.8.3 Removing the microSD Card 1. Touch > Settings. 2. Scroll down the screen, and then touch SD card & phone storage > Unmount SD card. 3. Carefully remove the microSD card. 3 Calling To make a phone call, you can dial a number or touch a number from your contact list, on a Web page. When you are on a call, you can answer other incoming calls or send them to your voicemail box. You can also set up conference calls with several participants. 3.1 Making a Call To make a call, you can use the Dialer application, or select a number from Contacts or Call log. When you are on a call, you can touch to use other functions. To return to the calling screen, flick the notification bar down and touch Current call. Do not block the microphone at the bottom of your phone if you want your voice heard. 18 3.1.1 Making a Call with the Dialer Application 1. Touch > Dialer to display the dialer. If you are already working with Contacts or Call log, touch the Dialer tab. 2. Touch the appropriate numeric keys to enter the phone number. 3. Touch to initiate the call. During a call, touch Dialpad to enter other numbers on the dialpad. 3.1.2 Making a Call from Contacts 1. Touch > Contacts to display the contact list. If you are already working with Dialer or Call log, touch the Contacts tab. 2. In the list, touch the contact you want to call. 3. Touch to dial the phone number. 3.1.3 Making a Call from Call log 1. If you are already working with Contacts or Dialer, touch the Call log tab. 2. Touch to the right of the log entry to dial. If you touch and hold a log entry, the options menu will open. 19 3.2 Answering or Rejecting a Call 3.2.1 Answering an Incoming Call When you receive a phone call, the incoming call screen opens with the caller's name and number that you have entered in Contacts. Drag the to the right to answer the call. 3.2.2 Ending a Call During a call, touch End to hang up. 3.2.3 Rejecting an Incoming Call Drag the to the left to reject the call. 20 3.3 Other Operations During a Call 3.3.1 Making a Conference Call If you receive a new call while you are already on a call, you can connect the second call to the call you are on. This feature is known as conference calling. You can also set up a conference call with multiple callers. Contact your network operator to learn if conference calls are supported and, if yes, how many can participate. 1. To initiate a conference call, dial the number of the first part…
Text truncated - open the document above for the full version.
Users Manual
31 7.1.2 Turning on the Data Service 1. Touch > Settings. 2. Touch Wireless & networks > Mobile networks. 3. Select the Data enabled check box to turn on the data connection. If you do not need a wireless network, you can uncheck the Data enabled check box to save data traffic costs. 7.2 Wi-Fi Wi-Fi gives you wireless access to broadband Internet access. To use Wi-Fi on your mobile phone, you need to have an access to wireless access points (hotspots). Obstacles that block the Wi-Fi signal will reduce its strength. 7.2.1 Turning On Wi-Fi 1. Touch > Settings. 2. Touch Wireless & networks, and then select the Wi-Fi check box to turn on Wi-Fi. 7.2.2 Connecting to a Wireless Network 1. After turning on Wi-Fi, touch > Settings. 2. Touch Wireless & networks > Wi-Fi settings. You will see a list of detected Wi-Fi networks in the Wi-Fi networks section. 3. Touch a Wi-Fi network to connect to it. • If you select an open network, you will be automatically connected to the network. • If you select a network that is secured with Wired Equivalent Privacy (WEP) and connect to it for the first time, enter the password, and then touch Connect. If you connect to a secured wireless network that you have already used, you will not be prompted to enter the password again unless you reset your mobile phone to its default settings. On the Wi-Fi settings screen, touch Add Wi-Fi network to add a new Wi-Fi network. 32 7.3 Sharing Your Phone’s Data Connection You can share your mobile phone's data connection with a single computer via a USB cable: USB tethering. You can share your mobile phone's data connection with devices at the same time, by turning your phone into a portable Wi-Fi hotspot. 7.3.1 Sharing Your Phone’s Data Connection via USB To use USB tethering in different operating systems, you may need to prepare your computer to establish a network connection via USB. You can not share your mobile phone’s data connection and SD card via USB at the same time. 1. Touch > Settings. 2. Touch Wireless & networks > Tethering & portable hotspot. 3. Select the USB tethering check box to share your data connection. 7.3.2 Sharing Your Phone’s Data Connection as a Portable Wi-Fi Hotspot 1. Touch > Settings. 2. Touch Wireless & networks > Tethering & portable hotspot. 3. Select the Portable Wi-Fi hotspot check box to share your data connection. When Portable Wi-Fi hotspot is selected, you can touch Portable Wi-Fi hotspot settings to change its network name or secure it. 7.4 Browser Your mobile phone comes with a browser. You can use Browser to access and browse the Internet. Your browser supports Flash applications. 33 7.4.1 Opening the Browser Touch > Browser to open the home page. When the known or open Wi-Fi networks and the mobile networks are present at the same time, your phone will preferably select a Wi-Fi network for internet access. Open the browser options menu and perform one of the following operations, touch : • New window: Touch to open a new window. • Bookmarks: Touch to display bookmarks. • Windows: Touch to go to the web preview screen. You can switch to another web page or open a new web page on this screen. • Refresh: Touch to refresh the current page. • Forward: Touch to browse the next web page. • More: Touch to open other menus and perform operations such as searching, selecting text, downloading, or setting options. 7.4.2 Opening a Web Page 1. In a browser window, touch the URL field at the top of the screen. 2. Use the keyboard to enter the web page address. You can touch to enter the web page address by voice. 3. As you enter the address, matching web page addresses will appear on the sc reen. If you see the address you want, touch it and go directly to that web page or complete entering the address of the web page you want. 7.4.3 Setting a Home Page 1. In a browser window, touch . 2. Touch More > Settings > Set home page. 3. Enter the address of the desired home page, and then touch OK. 7.4.4 Managing Bookmarks You can store as many bookmarks as you want on your mobile phone. 34 Adding a Bookmark 1. In a browser screen, go to the web page you want to save as a bookmark. 2. Touch , and then touch Bookmarks > Add. The add bookmark screen opens. 3. Edit the bookmark name as needed and then touch OK. Opening a Bookmark 1. In a browser window, touch , and then touch Bookmarks. On the Bookmarks screen, touch the History tab to view the pages you have visited. Or touch the Most visited tab to view the pages you have visited most frequently. 2. Touch the bookmark of the website you want to open. 7.4.5 Customizing the Browser Settings Customize the browser to suit your browsing style. Use Browser to set page content, privacy, and security preferences. In the browser screen, touch , and then touch More > Settings. 7.5 Bluetooth Your mobile phone has Bluetooth, which allows you to create a wireless connection with other Bluetooth devices so you can share files with your friends, talk hands-free with a Bluetooth headset, or even transfer photos on your phone to your PC. If you are using Bluetooth, remember to stay within 10 meters (33 feet) of other Bluetooth devices. Be aware that obstacles like walls or other electronic equipment may interfere with your Bluetooth connection. 7.5.1 Turning On Bluetooth 1. Touch > Settings. 2. Touch Wireless & networks, and then select the Bluetooth check box to turn on Bluetooth. When Bluetooth is turned on, the Bluetooth icon appears in the notification bar. 3. Touch Bluetooth settings, and then select the Discoverable to make your mobile phone visible to other Bluetooth devices. 35 7.5.2 Pairing and Connecting a Bluetooth Device Your mobile Bluetooth lets you do the following: • Hands Free Profile (HFP): allows you to use a hands-free Bluetooth device. • Headset Profile (HSP): allows you to use a mono Bluetooth headset. • Object Push Profile (OPP): allows you to transfer files through Bluetooth. • Advanced Audio Distribution Profile (A2DP): allows you to use a stereo…
Text truncated - open the document above for the full version.
Users Manual
48 on the kind of account and the configuration of the service to which you are connecting. 5. Configure the account. Depending on the kind of account, you may be asked to configure what kind of data you want to sync to the mobile phone, to name the account, and for other details. When you are finished, the account is added to the list in the Accounts & sync screen. 10.1.2 Removing an Account You can remove an account, deleting it and all information associated with it from your mobile phone, including email, contacts, settings, and so on. You cannot, however, remove some accounts, such as the first account you signed into on the mobile phone. If you attempt to remove certain accounts, all personal information associated with it will be deleted. You can only remove a Gmail account by resetting the phone to factory defaults. 1. On the Accounts & sync screen, touch the account to delete. 2. Touch Sign Out. 3. Confirm that you want to remove the account. 10.2 Customizing Your Account Synchronization You can configure background data use and synchronization options for all the applications on your phone. You can also configure what kind of data you synchronize for each account. For some accounts, synchronizing is two-directional; changes that you make to the information on your mobile phone are made to the copy of that information on the web. Some accounts support only one-way synchronize; the information on your mobile phone is read-only. 10.2.1 Configuring General Sync Settings On the Accounts & sync screen, do the following: 49 • Select or clear the Background data check box to control whether applications and services can transmit data when you are not working with them directly (that is, when they are running in the background). If you clear this option, Gmail stops receiving new mail, Calendar stops synchronizing events, and so on, until you touch the Refresh menu item or send an email. • Select or clear the Auto-sync check box to control whether changes you make to information on the phone or on the web are automatically synchronized with each other. For example, when this option is selected, changes that you make in Contacts on the phone are automatically made in Google Contacts on the web. 10.2.2 Changing an Account’s Synchronization Settings 1. On the Accounts & sync screen, touch the account whose synchronization settings you want to change. The data and synchronization screen opens, displaying a list of the kinds of information the account can synchronize. 2. Selected items are configured to synchronize to your mobile phone. 3. Select or clear the check box of information you want to synchronize to the mobile phone. 11 Using Other Applications 11.1 Using the Calendar Use Calendar to create and manage events, meetings, and appointments. Depending on your synchronization settings, the calendar on your phone can be synchronized with the internet-based calendar you use. 11.1.1 Opening the Calendar Touch > Calendar to open the application. To access Google calendar, touch , and then touch More > Calendars. 50 11.1.2 Creating an Event 1. On any calendar view, touch > New event to open the Event details screen. 2. Enter the event name. • If there is a time frame for the event, touch From and To to set the beginning and end times of the event. • If the event is a special occasion such as a birthday or a day-long activity, set the da te for From and To, and then select the All day check box. 3. Enter the location of the event and a description. 4. Set the time of your event reminder in Reminders, and then specify in Repetition whether the event recurs and, if it does, how frequently. 5. Touch Done. To quickly create an event in the Day, Week, or Month view, touch and hold an empty time slot, and then touch New event. A new event details screen will appear with the selected time slot and date in the From and To fields. 11.1.3 Setting an Event Reminder 1. On any calendar view, touch an event to view its details or an event summary. 2. Touch the Add reminder button to add a reminder. Or touch the reminder’s “-” button to delete an existing reminder. 3. Touch the reminder time, and then touch the length of time before the event when you want to be reminded. When the time comes, you will receive a notification about the event. 11.1.4 Customizing the Calendar Settings On any calendar view, touch . Then touch More > Settings. • Hide declined events: Select to hide events for which you have declined invitations. • Set alerts & notifications: Touch to set event reminders to alert you, send you a notification, or to turn off event notifications on your mobile phone. • Select ringtone: Touch to select the ringtone to sound when you receive an event reminder. • Vibrate: Select to vibrate the mobile phone when you receive an event notification. 51 • Default reminder time: Touch to select the default time before an event for event reminders to occur. 11.2 Using the Clock In addition to displaying the date and time, the Clock application displays information about the weather and your phone. You can also use Clock to turn your mobile phone into an alarm clock. 11.2.1 Opening the Clock Touch > Clock to open the application. Clock opens with the date and time displayed on your Home screen wallpaper, along with your local weather and other useful information. 11.2.2 Opening the Alarms On the Clock screen, touch to open the Alarms. Adding an Alarm 1. On the alarm list screen, touch Add alarm. 2. Set the alarm, and then touch Done. Setting an Alarm 1. On the alarm list screen, touch one of the alarms on the screen. 2. Touch Time to set the time of the alarm. 3. Touch Repeat to set the days when you want the alarm to sound. 4. Touch Ringtone to select a ringtone for the alarm. 5. Select the Vibrate check box to have the phone vibrate, in addition to playing the ringtone. 6. Touch Label to enter a name for the alarm. 7. Touch Done. Customizing Alarm Settings On the alarm list screen, touch , and then touch Set…
Text truncated - open the document above for the full version.
Cover Letter(s)
Huawei Technologies Co., Ltd. Address:Huawei Industrial Base,Bantian Longgang,Shenzhen 518129, P.R China Post ZIP:518129 Page :1/1 To: CETECOM Fax : NULL From:Zhang Xinghai Fax:0086-755-89652518 Tel:0086-755-89651014 Email address: [email protected] Http: www.huawei.com Subject:Letter of Confidentiality Federal Communications Commission 7435 Oakland Mills Road Columbia, MD 21046 Gentlemen: This letter is to comply with the Code of Federal Regulations Title 47 Section 0.457 and 0.459 pertaining to confidential material. Huawei Technologies Co., Ltd. would like the following documents regarding this submission for FCC ID: QISU8800PRO to be kept confidential: 1. Schematic diagram. 2. Block Diagram. 3. Parts list (BOM) Information. 4. Operational description. 5. Tune-up procedure The above material contains trade secrets or technical data, which would customarily be guarded from competitors. We do not want these documents to be accessible to the general public. Sincerely, For and Behalf of: Huawei Technologies Co., Ltd. Zhang Xinghai EMC Laboratory Manager
External Photos
HUAWEI U8800 Pro/U8800 Pro HSPA+/UMTS/GPRS/GSM/EDGE Mobile Phone with Bluetooth SECRET Page1,Total 7 External Photos of HUAWEI U8800 Pro/U8800 Pro HUAWEI U8800 Pro/U8800 Pro HSPA+/UMTS/GPRS/GSM/EDGE Mobile Phone with Bluetooth SECRET Page2,Total 7 HUAWEI U8800 Pro/U8800 Pro HSPA+/UMTS/GPRS/GSM/EDGE Mobile Phone with Bluetooth SECRET Page3,Total 7 HUAWEI U8800 Pro/U8800 Pro HSPA+/UMTS/GPRS/GSM/EDGE Mobile Phone with Bluetooth SECRET Page4,Total 7 HUAWEI U8800 Pro/U8800 Pro HSPA+/UMTS/GPRS/GSM/EDGE Mobile Phone with Bluetooth SECRET Page5,Total 7 HUAWEI U8800 Pro/U8800 Pro HSPA+/UMTS/GPRS/GSM/EDGE Mobile Phone with Bluetooth SECRET Page6,Total 7 HUAWEI U8800 Pro/U8800 Pro HSPA+/UMTS/GPRS/GSM/EDGE Mobile Phone with Bluetooth SECRET Page7,Total 7
ID Label/Location Info
HUAWEI U8800 Pro/U8800 Pro HSPA+/UMTS/GPRS/GSM/EDGE Mobile Phone with Bluetooth SECRET Page1, Total 4 Label Location HUAWEI U8800 Pro/U8800 Pro HUAWEI U8800 Pro/U8800 Pro HSPA+/UMTS/GPRS/GSM/EDGE Mobile Phone with Bluetooth SECRET Page2, Total 4 HUAWEI U8800 Pro/U8800 Pro HSPA+/UMTS/GPRS/GSM/EDGE Mobile Phone with Bluetooth SECRET Page3, Total 4
Internal Photos
HUAWEI U8800 Pro/U8800 Pro HSPA+/UMTS/GPRS/GSM/EDGE Mobile Phone with Bluetooth SECRET Page1,Total 9 Internal Photos of HUAWEI U8800 Pro/U8800 Pro HUAWEI U8800 Pro/U8800 Pro HSPA+/UMTS/GPRS/GSM/EDGE Mobile Phone with Bluetooth SECRET Page2,Total 9 HUAWEI U8800 Pro/U8800 Pro HSPA+/UMTS/GPRS/GSM/EDGE Mobile Phone with Bluetooth SECRET Page3,Total 9 HUAWEI U8800 Pro/U8800 Pro HSPA+/UMTS/GPRS/GSM/EDGE Mobile Phone with Bluetooth SECRET Page4,Total 9 HUAWEI U8800 Pro/U8800 Pro HSPA+/UMTS/GPRS/GSM/EDGE Mobile Phone with Bluetooth SECRET Page5,Total 9 HUAWEI U8800 Pro/U8800 Pro HSPA+/UMTS/GPRS/GSM/EDGE Mobile Phone with Bluetooth SECRET Page6,Total 9 HUAWEI U8800 Pro/U8800 Pro HSPA+/UMTS/GPRS/GSM/EDGE Mobile Phone with Bluetooth SECRET Page7,Total 9 HUAWEI U8800 Pro/U8800 Pro HSPA+/UMTS/GPRS/GSM/EDGE Mobile Phone with Bluetooth SECRET Page8,Total 9 HUAWEI U8800 Pro/U8800 Pro HSPA+/UMTS/GPRS/GSM/EDGE Mobile Phone with Bluetooth SECRET Page9,Total 9
Test Setup Photos
FCC Test Report of HUAWEI U8800 Pro /U8800 Pro FCC ID:QISU8800PRO Security Level: secret Report No: SYBH(Z-EMC)149082011-2 Confidential Information of Huawei. No Distribution without Permission Page1, Total5 Photos of EUT FCC Test Report of HUAWEI U8800 Pro /U8800 Pro FCC ID:QISU8800PRO Security Level: secret Report No: SYBH(Z-EMC)149082011-2 Confidential Information of Huawei. No Distribution without Permission Page2, Total5 Figure1 EUT Appearance FCC Test Report of HUAWEI U8800 Pro /U8800 Pro FCC ID:QISU8800PRO Security Level: secret Report No: SYBH(Z-EMC)149082011-2 Confidential Information of Huawei. No Distribution without Permission Page3, Total5 Photos of Test Setup FCC Test Report of HUAWEI U8800 Pro /U8800 Pro FCC ID:QISU8800PRO Security Level: secret Report No: SYBH(Z-EMC)149082011-2 Confidential Information of Huawei. No Distribution without Permission Page4, Total5 1 Radiated Emissions Radiated Disturbance (30MHz-1GHz) Radiated Disturbance(1GHz-18GHz) FCC Test Report of HUAWEI U8800 Pro /U8800 Pro FCC ID:QISU8800PRO Security Level: secret Report No: SYBH(Z-EMC)149082011-2 Confidential Information of Huawei. No Distribution without Permission Page5, Total5 2 Conducted Emissions Conducted Emissions for AC Ports
Contact Information
Applicant
Zhang Xinghai
Test Firm
Huawei Technologies Co., LTDZhou Fengyum
Technical Specifications
| # | Rule Parts | Frequency Range | Power Output |
|---|---|---|---|
| 1 | 15B | - | - |
Other Applications from Huawei Technologies Co.,Ltd
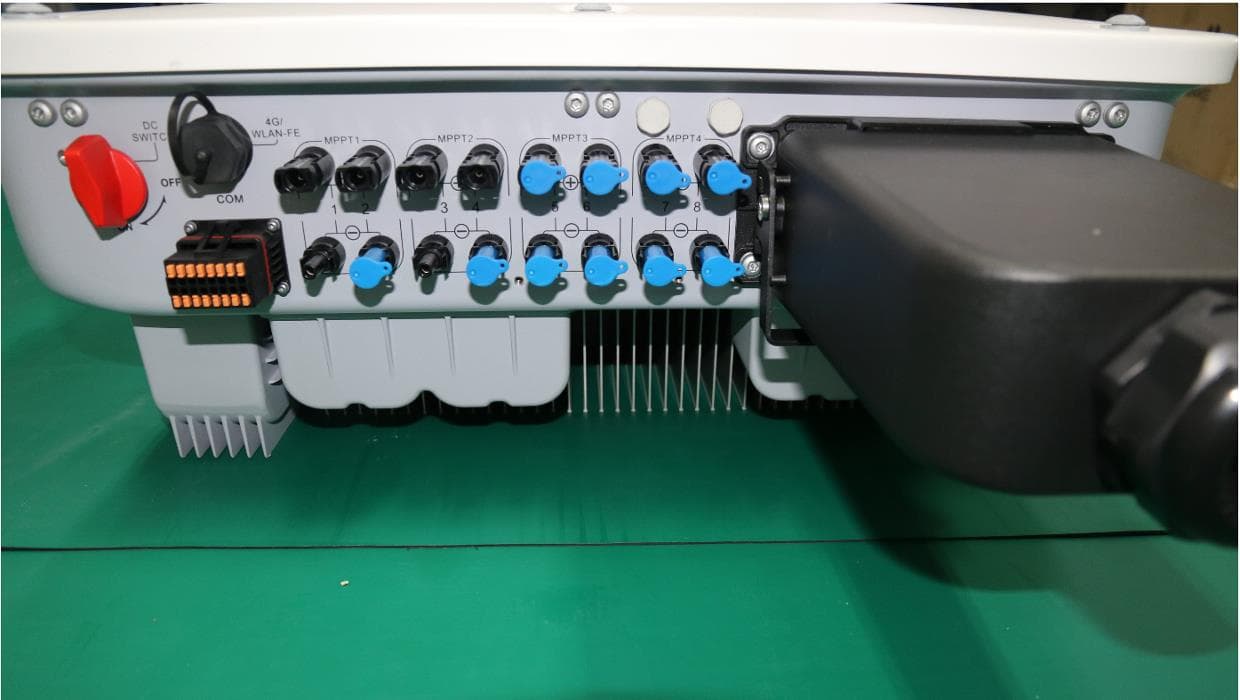
QISSUN2000
Jun 27, 2021Solar Inverter
Equipment Class
DTS - Digital Transmission System
QISCP81-1
Oct 22, 2020Watch Wireless Charger
Equipment Class
DCD - Part 15 Low Power Transmitter Below 1705 kHz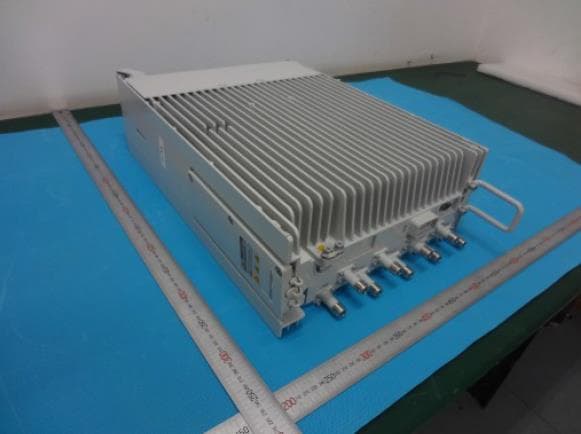
QISRRU3278
Sep 02, 2020Remote Radio Unit
Equipment Class
CBD - Citizens Band Category A and B Devices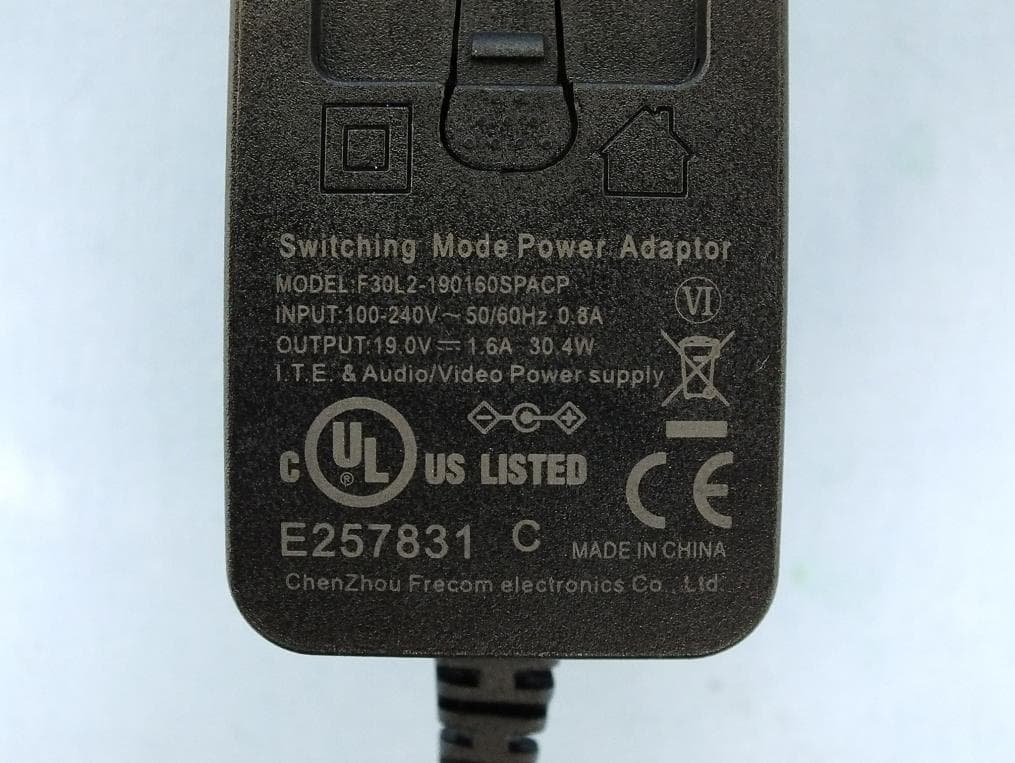
QISR2561
Jul 11, 2020Indoor Router
Equipment Class
DTS - Digital Transmission System
QISSMARTLOGGER310
Mar 23, 2020Solar Smart Monitor & Data Logger
Equipment Class
DTS - Digital Transmission System