R33CXMRCR11Wireless Contact/Relay Extender Model CXM-RCR1-B
Snap One, LLC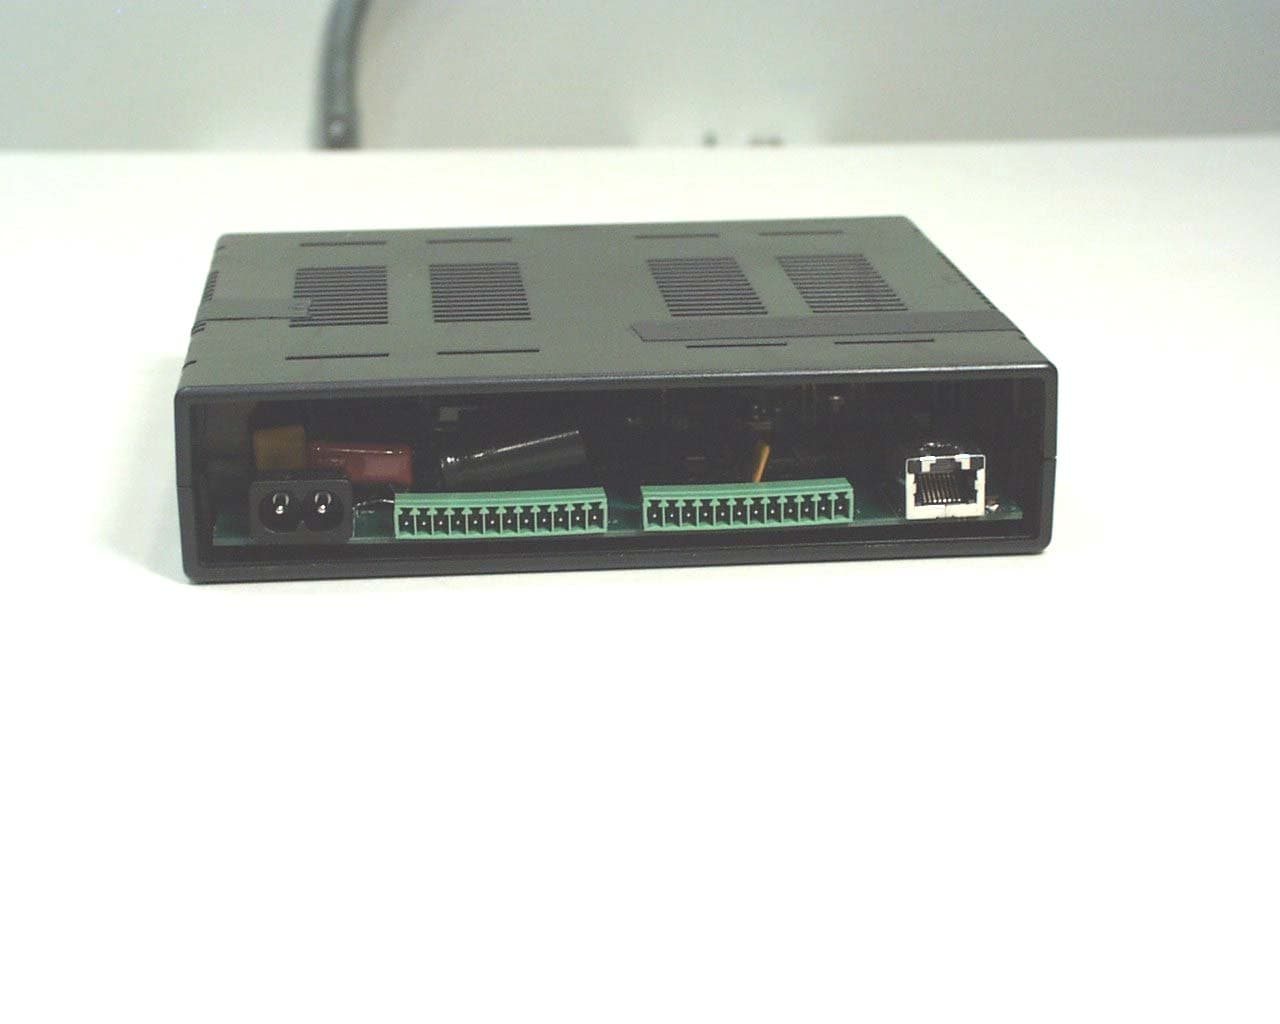
Click to zoom
Application Details
- Equipment Class
- DTS - Digital Transmission System
- Date of Grant
- Apr 26, 2005
- Application Purpose
- Original Equipment
- Date of Application
- Apr 26, 2005
- Equipment Note
- Wireless Contact/Relay Extender Model CXM-RCR1-B
- Frequency Range
- 2400.00000000 - 2483.50000000
- Company
- Snap One, LLC
- Country
- United States
Documents & Files
Document Text
Text extracted from the exhibit documents filed with the FCC. Open a document above to read the original.
Users Manual
Control4 Wireless Contact / Relay Extender Installation Guide 1 Wireless Contact / Relay Extender Installation Guide Features The Wireless Contact/Relay Extender is intended for use as a device you can control with your Control4 ® system. It is for the user who is looking for ways to control contact or relay devices in areas away from the main controller or who is simply looking for additional contacts and/or relays. When installed, the Contact/Relay Extender is physically connected to up to four contacts and/or four relays and communicates to the Control4 system using either an Ethernet connection or a ZigBee (wireless) connection. The Contact/Relay Extender is designed to sit on a standard rack shelf rather than be mounted with traditional rack ears. Its approximate dimensions are 6.5” wide (1/2 RU) x 1.5” tall (just under 1 RU) x 7.0” deep and it comes with a small plastic rack that enables you to store it in a vertical position. WARNING! To reduce the risk of serious injury or death, turn all power OFF before installing this product. WARNING! Do NOT use this device to control a non-dimmable load. WARNING! This product generates heat. The device must be operated within specified operating temperature limits. Using this product in a manner other than outlined in this document voids your warranty. Further, Control4 is NOT liable for any damage incurred with the misuse of this product. See “Limited 1 Year Warranty.” Requirements Specifications ? ? ? What’s in the Box •Control4 Wireless Contact/Relay Extender •AC power cord (2-prong) •Vertical Mount Bracket •Wireless Contact / Relay Extender Installation Guide (this guide) About the Hardware Front Panel The front panel of the Contact/Relay Extender has three red LEDs indicating power and network connection status for Ethernet and ZigBee. A small button on the front panel enables you to identify the unit to the network during setup. ....and it acts as a “reset” when pressed for 10 seconds. [Reset not currently supported...Should it be?] 1. Ethernet LED: • Flashing = Searching for an Ethernet link • On = Ethernet link established 2. ZigBee LED: • Flashing = Searching for a ZigBee link • On = ZigBee link established 3. Power LED: • On = Power present 4. ID Button: • When appropriate during system setup, press to uniquely identify this Contact/ Relay Extender to the network. Or, when a reset is needed, press and hold for 10 seconds. [Reset not currently supported...Should it be?] Back Panel Become familiar with the back panel of the Wireless Contact/Relay Extender. 1.Power plug port—For supplied power cord only. 2.Contacts 1-4—Plugable Terminal Block connector for up to four dry con- tact closure, or logic input connections, such as door switches or motion sensors. 3.Relays 1-4—Plugable Terminal Block connector for up to four normally closed or normally opened switchable connections, such as blinds, fire- place, or projector screens. 4.Ethernet—RJ-45 for a 10/100 Ethernet connection. Models:CXM-RCR1-B Wireless Contact / Relay Extender (802.15.4) Power: _____VAC 50/60 Hz _____W Communications: ZigBee (802.15.4) 10/100 Ethernet 1 2 3 4 1 2 3 4 Control4 Wireless Contact / Relay Extender Installation Guide 2 Installation Instructions 1 Ensure that the location and intended use meet the following criteria: • Install in accordance with all national and local electrical codes. • The range and performance of the control system is highly dependent on the following: Distance between devices Layout of the home Walls separating devices Electrical equipment located near devices 2 Plan your connections. Use the following worksheet as needed. 3 Connect up to 4 contact inputs to the Contact/Relay Extender using the input ports found on the back of the device. 4 Connect up to 4 relay outputs to the Contact/Relay Extender using the output ports found on the back of the device. 5 Plug the CAT 5 wire from the wall into the Ethernet port (Ethernet 10/100 RJ45) on the back of the Contact/Relay Extender. 6 Plug the 2-prong AC power cord into the Contact/Relay Extender and into a standard 110 volt AC outlet. The Power LED on the front panel should be on.l 7 Configure this Contact/Relay Extender using the Control4 Composer software. Trained installers typically use Control4 Composer software installed on a connected PC to install and configure the Contact/Relay Extender on the existing network. (Refer to the Composer User Guide for more information on adding an audio component.) You will be prompted to press the small button on the front panel to identify the unit to the network. 8 Test to see if it is working properly: Control any of the system contact and relay devices that you connected to the Contact/Relay Extender in the extended location. You can use the many different interfaces available in a Control4 system (Remote Controls, Keypads, Touch Screens, or the On-Screen GUI) to set the control of devices attached to the Contact/Relay Extender. Regulatory Compliance This product complies with standards established by the following regulatory bodies: •Federal Communications Commission (FCC) •Industry Canada •Underwriters Laboratory (UL) FCC FCC ID: ___________: This device complies with Part 15 of the FCC Rules. Operation is subject to the following two conditions: (1) this device may not cause harmful interfence, and (2) this device must accept any interference received, including interference that may cause undesired operation. This equipment has been tested and found to comply with the limits for a Class B digital device, pursuant to Part 15 of the FCC Rules. These limits are designed to provide reasonable protection against harmful interference in a residential installation. This equipment generates, uses, and can radiate radio frequency energy and, if not installed and used in accordance with the instructions, may cause harmful interference to radio communications. However, there is no guarantee that interference will not occur in a particular installation. If…
Text truncated - open the document above for the full version.
Cover Letter(s)
11734 South Election Drive Suite 200 Draper, Utah 84020 (801) 523-3100 To: Federal Communications Commission Date: 4/29/04 445 12 th Street, SW Washington, DC 20554 Re: Non disclosure Request for FCC ID: R33CXMRCR11 We are requesting that the following documents be held and treated as confidential and proprietary information. These materials contain technical trade secret information and should be guarded from competitors as stated under the Code of Federal Regulations Title 47 Section 0.459 (3), (4) and (5). 1) Schematic 2) Block Diagrams 3) Operational Description James K. Russell Senior Electrical Engineer Control4 Technologies
External Photos
External Photos Front View of the EUT Back View of the EUT
Internal Photos
Internal Photos View of the Component Side of the PCB View of the Trace Side of the PCB
RF Exposure Info
1 MPE Calculations R33CXMRCR11 2 1.0 SCOPE_________________________________________________________3 2.0 REVISION LEVEL_______________________________________________4 3.0 REFERENCE DOCUMENTS______________________________________4 4.0 CALCULATIONS________________________________________________5 5.0 CONCLUSION___________________________________________________6 3 1.0 SCOPE: This Report Demonstrates Evaluation and Compliance for Human Exposure to Radiofrequency Electromagnetic Fields as Outlined by the Federal Communications Commission Office of Engineering and Technology Bulletin 65. 2.0 REVISION LEVEL: DATE COMMENTS REVISION 4/25/05 Created. 1.0 3.0 REFERANCE DOCUMENTS: (A) Limits for Maximum Permissible Exposure (MPE). Code of Federal Regulations Title 47, Volume 1, Section 1.1310. (B) Evaluating Compliance with FCC Guidelines for Human Exposure to Radiofrequency Electromagnetic Fields. OET Bulletin 67 Edition 97-01. 4.0 CALCULATIONS: The following worst case emissions are based on a PPt (Peak Power Total) measurement of 10.4 dBm. And the worst case antenna gain on axis is found to be 3.64 dBi. Total radiated power at the Transmitter: A) Pt = 7.0 dBm + 2.0 dBi = 9 EIRP 9.0 EIRP = 10.23 mW or .01023 Watts. Power density at a distance of .02 meters is: B) S = EIRP/4π·R^2 S = Power density (mW/cm^2) EIRP = Equivalent isotropically radiated power (mW) R = Distance to the center of radiation of the antenna (cm) 4 S = 40.71 mW per meter squared. Power density based on a Per Centimeter Squared is: 10.178 μW per centimeter squared. 5.0 CONCLUSION: Based on the FCC Limits for Maximum Permissible Exposure (MPE) given in Table 1 of reference document (A) this device falls under the required limits.
Test Report
COMMUNICATION CERTIFICATION LABORATORY 1940 West Alexander Street Salt Lake City, UT 84119 801-972-6146 Certification Test Report TEST OF: CXM-RCR1-B FCC ID: R33CXMRCR11 To FCC PART 15, Subpart C (15.203, 15.207, 15.247) Test Report Serial No: 73-8093 Applicant: Control4 11734 S. Election Drive, Suite 200 Draper, UT 84020 Date of Test: April 22, 2005 Issue Date: April 25, 2005 Equipment Receipt Date: April 22, 2005 Accredited Testing Laboratory By: NVLAPLabCode100272-0 COMMUNICATION CERTIFICATION LABORATORY TEST REPORT: 73-8099 FCC ID#: R33CXMRCR11 Page 2 of 49 CERTIFICATION OF ENGINEERING REPORT This report has been prepared by Communication Certification Laboratory to document compliance of the device described below with the requirements of Federal Communications Commission (FCC) Part 15, Subpart C, Sections 15.203, 15.207, and 15.247. This report may be reproduced in full, partial reproduction may only be made with the written consent of the laboratory. The results in this report apply only to the sample tested. - Applicant: Control4 - Manufacturer: Control4 - Brand Name: Control4 - Model Number: CXM-RCR1-B - FCC ID Number: R33CXMRCR11 On this 25 th day of April 2005, I, individually, and for Communication Certification Laboratory, certify that the statements made in this engineering report are true, complete, and correct to the best of my knowledge, and are made in good faith. Although NVLAP has recognized that the Communication Certification Laboratory EMC testing facilities are in good standing, this report must not be used to claim product certification, approval, or endorsement by NVLAP, NIST, or any agency of the federal government. COMMUNICATION CERTIFICATION LABORATORY Tested by: Norman P. Hansen EMC Technician COMMUNICATION CERTIFICATION LABORATORY TEST REPORT: 73-8099 FCC ID#: R33CXMRCR11 Page 3 of 49 TABLE OF CONTENTS PAGE SECTION 1.0 CLIENT INFORMATION .................................4 SECTION 2.0 EQUIPMENT UNDER TEST (EUT) ..........................5 SECTION 3.0 TEST SPECIFICATION, METHODS & PROCEDURES ...........9 SECTION 4.0 OPERATION OF EUT DURING TESTING ...................15 SECTION 5.0 SUMMARY OF TEST RESULTS ...........................17 SECTION 6.0 MEASUREMENTS, EXAMINATIONS AND DERIVED RESULTS .....18 APPENDIX 1 TEST PROCEDURES AND TEST EQUIPMENT ..................34 APPENDIX 2 PHOTOGRAPHS .........................................42 COMMUNICATION CERTIFICATION LABORATORY TEST REPORT: 73-8099 FCC ID#: R33CXMRCR11 Page 4 of 49 SECTION 1.0 CLIENT INFORMATION 1.1 Applicant: Company Name: Control4 11734 S. Election Drive, Suite 200 Draper, UT 84020 Contact Name: Jim Russell Title: Senior Hardware Engineer 1.2 Manufacturer: Company Name: Control4 11734 S. Election Drive, Suite 200 Draper, UT 84020 Contact Name: Jim Russell Title: Senior Hardware Engineer COMMUNICATION CERTIFICATION LABORATORY TEST REPORT: 73-8099 FCC ID#: R33CXMRCR11 Page 5 of 49 SECTION 2.0 EQUIPMENT UNDER TEST (EUT) 2.1 Identification of EUT: Brand Name: Control4 Model Name or Number: CXM-RCR1-B Serial Number: None Options Fitted: N/A Country of Manufacture: U.S.A. 2.2 Description of EUT: The Control4 Contact/Relay Extender works with other devices in the Control4 home automation system to provide expanded relay and contact closures. An Ethernet port connects to the network. Six contact and six relay closures can be controlled and monitored by the CXM-RCR1-B. An 802.15.4 Zigbee transceiver is incorporated in the CXM-RCR1-B. This report covers the 802.15.4 Zigbee radio subject to FCC Subpart C, §15.247. The digital circuitry subject to FCC Subpart B is to be covered in separate testing and CCL report #73-8098. The 802.15.4 transceiver uses 15 channels in the 2400 to 2483.5 MHz band. The individual channels are shown in the following plots. dBm 10 0 -10 -20 -30 -40 -50 -60 -70 -80 -90 73-8099 Control4 Trace A Start: 2.402500 GHzStop: 2.427500 GHz Res BW: 100 kHzVid BW: 300 kHzSweep: 20 ms 04/22/2005 1:54:05 PMHP8566B5LCHANS.SPT Trace ALower 5 Channel Plot 1 1 2.405175 GHz -0.2000 dBm 2 2 2.410175 GHz -2.2000 dBm 3 3 2.415225 GHz -1.6000 dBm 4 4 2.420275 GHz -0.7000 dBm 5 5 2.425275 GHz -1.8000 dBm COMMUNICATION CERTIFICATION LABORATORY TEST REPORT: 73-8099 FCC ID#: R33CXMRCR11 Page 6 of 49 dBm 10 0 -10 -20 -30 -40 -50 -60 -70 -80 -90 73-8099 Control4 Trace A Start: 2.427500 GHzStop: 2.452500 GHz Res BW: 100 kHzVid BW: 300 kHzSweep: 20 ms 04/22/2005 1:50:14 PMHP8566B5MCHANS.SPT Trace AMiddle 5 Channel Plot 1 1 2.430125 GHz -1.4000 dBm 2 2 2.435300 GHz -1.2000 dBm 3 3 2.440300 GHz -2.1000 dBm 4 4 2.445375 GHz -1.5000 dBm 5 5 2.450500 GHz -0.9000 dBm dBm 10 0 -10 -20 -30 -40 -50 -60 -70 -80 -90 73-8099 Control4 Trace A Start: 2.452500 GHzStop: 2.477500 GHz Res BW: 100 kHzVid BW: 300 kHzSweep: 20 ms 04/22/2005 1:46:22 PMHP8566B5UCHANS.SPT Trace AUpper 5 Channel Plot 1 1 2.455125 GHz -1.4000 dBm 2 2 2.460250 GHz -0.5000 dBm 3 3 2.465400 GHz -0.7000 dBm 4 4 2.470500 GHz -1.0000 dBm 5 5 2.475625 GHz -0.8000 dBm COMMUNICATION CERTIFICATION LABORATORY TEST REPORT: 73-8099 FCC ID#: R33CXMRCR11 Page 7 of 49 2.3 EUT and Support Equipment: The FCC ID numbers for all the EUT and support equipment used during the test (including inserted cards) are listed below: Brand Name Model Number Serial No. FCC ID NumberDescription Name of Interface Ports / Interface Cables BN: Control4 MN: CXM-RCR1-B (Note 1) R33CXMRCR11 Relay/ Contact Extender See Section 2.4 BN: Allied Telesyn International MN: AT-MC13 Verification Copper to Fiber Ethernet Adapter Ethernet/Cat5e with RJ45 connectors (Note 2) Note: (1) EUT 2) Interface port connected to EUT (See Section 2.4) ( The support equipment listed above was not modified in order to chieve compliance with this standard. a 2.4 Interface Ports on EUT: Name of Ports No. of Ports Fitted to EUT Cable Descriptions/Length Ethernet 1 Cat 5e cable with RJ45 connectors/20 meters Relay Out 1 Cat 5e cables/1 meter Contact In 1 Cat 5e cables/1 meter COMMUNICATION CERTIFICATION LABORATORY TEST REP…
Text truncated - open the document above for the full version.
Test Setup Photos
Test Set-up Photos Front View Radiated Disturbance Worst Case Configuration Back View Radiated Disturbance Worst Case Configuration Front View Conducted Disturbance Worst Case Configuration Back View Conducted Disturbance Worst Case Configuration
Contact Information
Applicant
Roger J Midgley(Principle Compliance Engineer)
Test Firm
Nemko-CCL, IncThomas Jackson
Technical Specifications
| # | Rule Parts | Frequency Range | Power Output |
|---|---|---|---|
| 1 | 15C | 2.40 GHz - 2.48 GHz | 6.46 mW |
Other Applications from Snap One, LLC
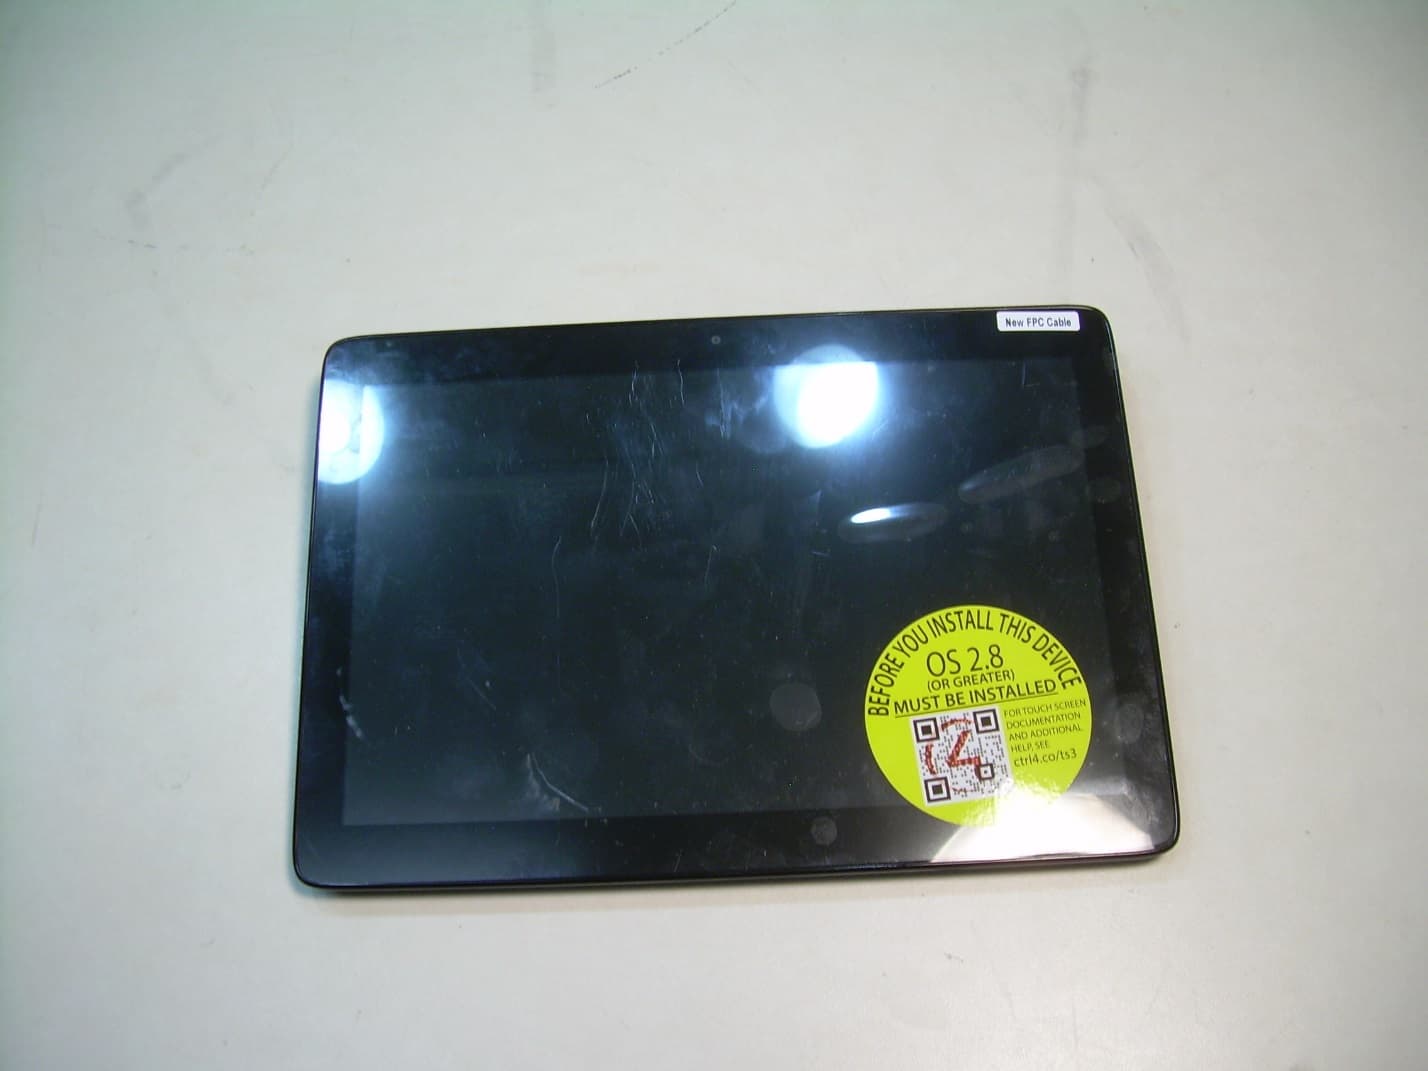
R33C4TT10
Jan 26, 2016Touchscreen Display for home automation system
Equipment Class
DTS - Digital Transmission System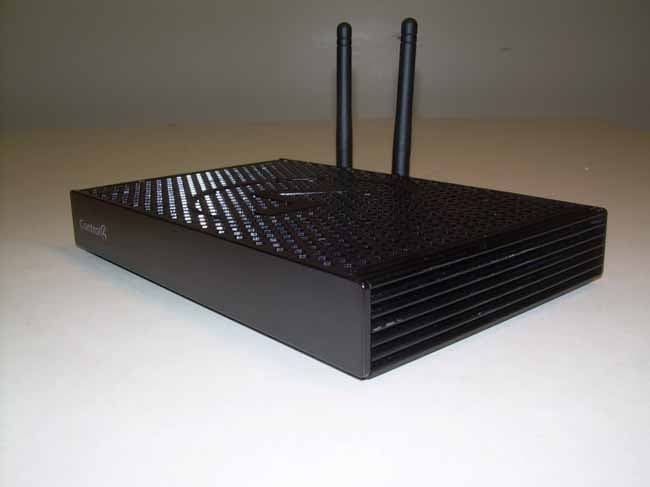
R33C4EA1
Jan 25, 2016Controller for home automation system
Equipment Class
DTS - Digital Transmission System
R33C4LGWM
Mar 24, 2015WIFI MODULE
Equipment Class
DTS - Digital Transmission System
R33C4SR260
Mar 18, 2015Remote control
Equipment Class
DTS - Digital Transmission System
R33C4THERM
Feb 09, 2015THERMOMETER
Equipment Class
DTS - Digital Transmission System