RXZ-WP81RL1WIRELESS PCI ADAPTER
Pro-Nets Technology Corporation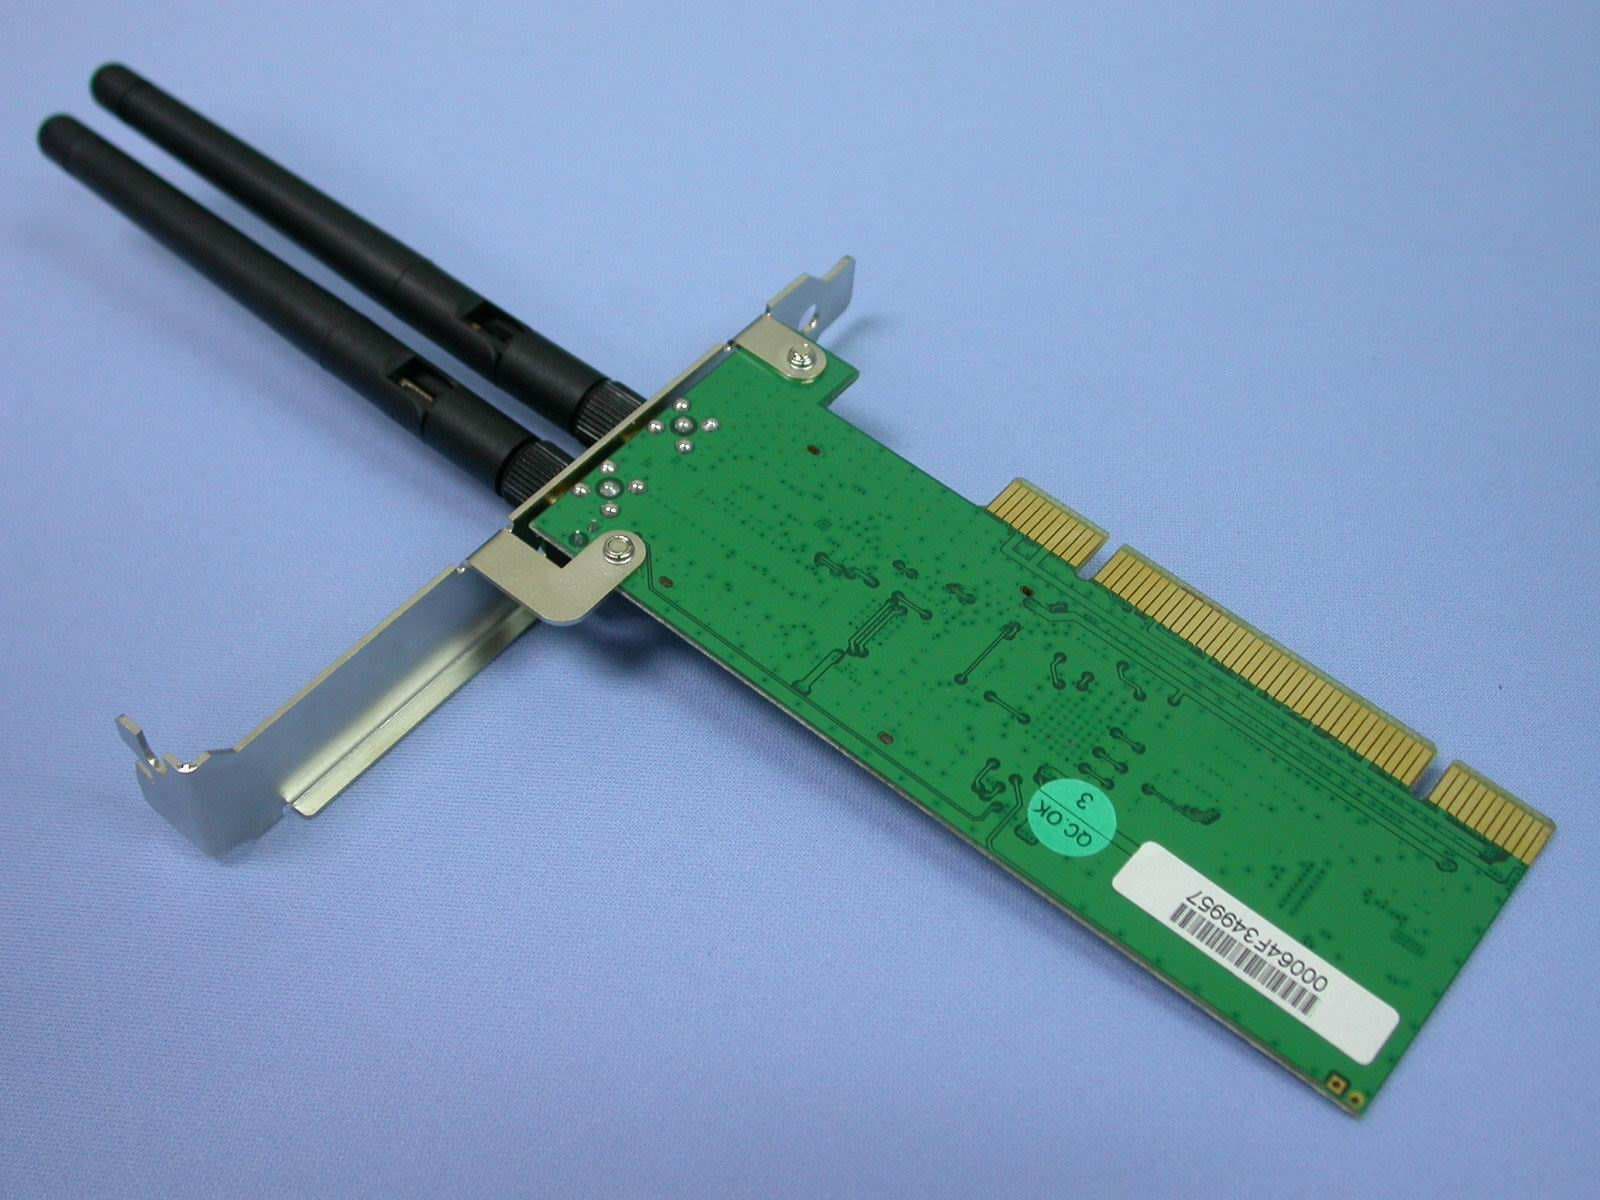
Click to zoom
Application Details
- Equipment Class
- DTS - Digital Transmission System
- Date of Grant
- Mar 19, 2008
- Application Purpose
- Original Equipment
- Date of Application
- Mar 18, 2008
- Equipment Note
- WIRELESS PCI ADAPTER
- Frequency Range
- 2422.00000000 - 2452.00000000
- Country
- Taiwan
Documents & Files
Document Text
Text extracted from the exhibit documents filed with the FCC. Open a document above to read the original.
Users Manual
IEEE 802.11n Wireless PCI Adapter User’s Manual March 2008 1 FCC Warning This equipment has been tested and found to comply with the limits for a Class C digital device, pursuant to part 15 of the FCC Rules. These limits are designed to provide reasonable protection against harmful interference in a residential installation. This equipment generates, uses, and can radiate radio frequency energy and, if not installed and used in accordance with the instructions, may cause harmful interference to radio communication. However, there is no guarantee that interference will not occur in a particular installation. If this equipment does cause harmful interference to radio or television reception, which can be determined by turning the equipment off and on, the user is encouraged to try to correct the interference by one or more of the following measures: - Reorient or relocate the receiving antenna. - Increase the separation between the equipment and receiver. - Connect the equipment into an outlet on a circuit different from that to which - Consult the dealer or an experienced radio/TV technician for help. the receiver is connected. FCC Caution: Any changes or modifications not expressly approved by the party responsible for compliance could void the user’s authority to operate this equipment. This device complies with Part 15 of the FCC Rules. Operation is subject to the following two conditions: (1) This device may not cause harmful interference, and (2) this device must accept any interference received, including interference that may cause undesired operation. IMPORTANT NOTE: FCC Radiation Exposure Statement: This equipment complies with FCC radiation exposure limits set forth for an uncontrolled environment. This equipment should be installed and operated with a minimum distance of about eight inches (20cm) between the radiator and your body. This transmitter must not be co-located or operated in conjunction with any other antenna or transmitter. 2 Revision History Revision History V2.0 Second release All brand and product names mentioned in this manual are trademarks and/or registered trademarks of their respective holders. 3 Contents 1. Introduction ............................................................................ 4 1.1 Features.................................................................................................. 4 1.2 LED Indicator ......................................................................................... 4 1.3 Package Contents ................................................................................. 5 1.4 Before you start ..................................................................................... 5 1.5 Hardware Installation ............................................................................ 5 2. Installation Procedure............................................................ 7 2.1 For Windows XP and 2000.................................................................... 7 2.2 For Vista ............................................................................................... 12 3. Wireless Network Configuration Utility.............................. 17 3.1 For Windows XP & 2000 .......................................................................... 17 3.1.1 Start........................................................................................... 23 3.1.2 Profile........................................................................................ 29 3.1.3 Network..................................................................................... 34 3.1.4 Advanced.................................................................................. 35 3.1.5 Statistics................................................................................... 36 3.1.6 WMM ......................................................................................... 37 3.1.7 WPS........................................................................................... 43 3.1.8 About ........................................................................................ 46 3.1.9 Link Status ............................................................................... 47 3.1.10 Enable AP Mode Feature in Windows 2000 OS ................... 48 3.2 For Windows Vista................................................................................... 53 3.2.1 Profile........................................................................................ 53 3.2.2 Link Status ............................................................................... 61 3.2.3 Site Survey ............................................................................... 62 3.2.4 Statistics................................................................................... 68 3.2.5 WPS Configuration .................................................................. 69 3.2.6 QoS ........................................................................................... 71 3.2.7 About ........................................................................................ 78 3.2.8 How to Manage Windows Profile ........................................... 79 4. Troubleshooting ................................................................... 83 4 1. Introduction This is a wireless client device that delivers unrivaled wireless performance for your Desktop PC. It complies with IEEE 802.11n draft standard and backward compatible with IEEE 802.11b/g. With this adapter, you can easily upgrade your Desktop PC wireless connectivity. Once the wireless PCI adapter is connected, access the network with high-speed Internet connection while sharing photos, files, music, video, printers, and storage. Get a better Internet experience with a faster wireless connection so you can enjoy smooth digital phone calls, gaming, downloading, and video streaming. It also provides peer-to-peer communication among any compatible wireless users and no Access Point required. T…
Text truncated - open the document above for the full version.
Users Manual
22 STEP8: Click “Properties” and then click “OK” button. STEP9: After filling appropriate value, click “OK” button. And the status will prompt up as below. STEP10: Click the Ralink’s icon will bring up RaUI main window. User can find the surrounding APs in the list. The current connected AP will also shown with the green icon indicated as below screen. User may user the available tab to configure more advanced features provided by Ralink’s wireless NIC. 23 3.1.1 Start When starting RaUI, system will connect to the AP with best signal strength without setting profile or matching profile setting. It will issue a scan command to wireless NIC. After two seconds, the AP list will updated with the result of BSS list scan. The AP list include most used fields, such as SSID, network type, channel used, wireless mode, security status and signal percentage. The arrow icon indicates the connected BSS or IBSS network. 24 There are three sections in RaUI. These sections are briefly described as below. Button Section: include Profile page, Network page, Advanced page, Statistics page, WMM page, WPS page, About button, Radio On/Off button and Help button. Î Button Section Î Move to the Left Î Move to the Right 25 Function Section: Corresponding button Î Profile Page Î Network Page Î Advanced Page 26 Î Statistics Page Î WMM Page Î WPS Page 27 Î About Page Status Section: Include Link Status, Authentication Status, AP’s information, Configuration and retrying the connection when authentication is failed. Î Link Status Î Authentication Status 28 Î AP’s Information Î Retry the Connection Î Configuration At the mean time of starting RaUI, there is also a small Ralink icon appears within windows taskbar as below. You may double click it to bring up the main menu if you selected to close RaUI menu earlier. You may also use mouse;s right button to close RaUI utility. 29 ÎÎ Ralink icon in system tray. Besides, the small icon will change color to reflect current wireless network connection status. The status indicates as follow: Î -- indicate Connected and Signal Strength is Good. Î -- indicate Connected and Signal Strength is Normal Î -- indicate Wireless NIC is not connected yet Î -- indicate Wireless NIC is not detected Î -- indicate Connected and Signal Strength is Weak 3.1.2 Profile Profile can book keeping your favorite wireless setting among your home, office, and other public hot-spot. You may save multiple profiles, and activate the correct one at your preference. [Definition of each field] Profile Name: Name of profile, preset to PROF ﹡(﹡indicate 1,2,3,...) SSID: AP or Ad-Hoc name Network Type: Network’s type, including infrastructure and Ad-Hoc. Authentication: Authentication mode Encryption: Encryption Type Use 802.1x: Whether or not use 802.1x feature Channel: channel in use for Ad-Hoc mode Power Save Mode: Choose from CAM (Constantly Awake Mode) or Power Saving Mode. Tx Power: Transmit power, the amount of power used by a radio transceiver to send the signal out. RTS Threshold: User can adjust the RTS threshold number by sliding the bar or key in the value directly. Fragment Threshold: User can adjust the Fragment threshold number by sliding the bar or 30 key in the value directly. [Icons and buttons] Î indicate connection is successful on currently activated profile Î indicate connection is failed on currently activate profile Î indicate network type is infrastructure mode Î indicate network type is Ad-Hoc Î indicate security-enabled wireless network Î Add a new profile Î Edit an existing profile Î Delete an existing profile Î Activate selected profile Î Show the information of Status Section Î Hide the information of Status Section 3.1.2.1 Add/Edit Profile There are 3 methods to open Profile Editor form: Î You can open it from “Add to Profile” button in Site Survey function Î You can open it form “Add” button in Profile function Î You can open it from “Edit” button in Profile function 31 Profile Name: User can chose name for this profile, or use default name defined by system. SSID: User can key in the intended SSID name or use pull down menu to select from available APs. Power Save Mode: Choose from CAM [Constantly Awake Mode] or Power Saving Mode. Network Type: There are two types, infrastructure and 802.11 Ad-Hoc mode. Under Ad-Hoc mode, user can also choose the preamble type, the available preamble type includes auto and long. In addition to that the channel field will be available for setup in Ad-Hoc mode. RTS Threshold: User can adjust the RTS threshold number by sliding the bar or key in the value directly. The default value is 2347. Fragment Threshold: User can adjust the Fragment threshold number by sliding the bar or key in the value directly. The default value is 2346. Channel: Only available for setting under Ad-Hoc mode. User can choose the channel frequency to start their Ad-Hoc network. Authentication Type: There are 7 type of authentication modes supported by RaUI. They are Open, Shared, LEAP, WPA, WPA-PSK, WPA2, WPA2-PSK. Encryption Type: For open and shared authentication mode, the selection of encryption type are None and WEP. For WPA, WPA2, WPA-PSK and WPA2-PSK authentication mode, the encryption type supports both TKIP and AES. 802.1x Setting: It is an authentication for WPA and WPA2 certificate to server. WPA Pre-Shared Key: This is the shared secret between AP and STA. For WPA-PSK and WPA2-PSK authentication mode, this field must be filled with character longer than 8 and less than 32 lengths. WEP Key: Only valid when using WEP encryption algorithm. The key must matched AP’s key. There are several formats to enter the keys: Î Hexadecimal – 40bits: 10 Hex characters Î Hexadecimal – 128bits: 26 Hex characters. Î ASCII – 40bits: 5 ASCII characters Î ASCII – 128bits: 13 ASCII characters 32 3.1.2.2 Example to Add Profile in Profile Step 1: Click Add in Profile function Step 2: Add Profile page will pop up. 33 Step 3: Change profile name to what you want to connect. Pul…
Text truncated - open the document above for the full version.
Users Manual
44 or external Registrar supports the configuration setup using PIN configuration method or PBC configuration setup using PIN configuration method or PBC configuration method through an internal or external Registrar. WPS AP List: Display the information of surrounding APs with WPS IE from last scan result. List information includes SSID, BSSID, Channel, ID (Device Password ID), Security-Enabled. Rescan: Issue a rescan command to wireless NIC to update information on surrounding wireless network. Information: Display the information about WPS IE on the selected network. List Information includes Authentication Type, Encryption Type, Config Methods, Device Password ID, Selected Registrar, State, Version, AP Setup Locked, UUID-E and RF Bands. PIN Code: 8-digit numbers. It is required to enter PIN Code into Registrar using PIN method. Each NIC Wireless has only one PIN Code of Enrollee. Config Mode: Our station role-playing as an Enrollee or an external Registrar. WPS Profile List: Display all of credentials got from the Registrar. List information includes SSID, MAC address, Authentication and Encryption Type. If STA Enrollee, credentials are created as soon as each WPS success. If STA Registrar, RaUI creates a new credential with WPA2-PSK/AES/64Hex-Key and doesn’t change until next switching to STA Registrar. Control items on WPS Profile List: Î Detail: Information about Security and Key in the credential Î Connect: Command to connect to the selected network inside credentials. The active selected credential is as like as the active selected Profile. Î Rotate: Command to rotate to connect to the next inside credentials Î Disconnect: Stop WPS action and disconnect this active link. And then select the last profile at the Profile Page of RaUI if exist. If there is an empty profile page, the driver will select any non-security AP. Î Delete: Delete an existing credential. And then select the next credential if exist. If there is an empty credential, the driver will select any non-security AP. PIN: Start to add to Registrar using PIN configuration method. IF STA Registrar, remember that enter PIN Code read from you Enrollee before starting PIN. PBC: Start to add to AP using PBC configuration method. ★ When you click PIN or PBC, please don’t do any rescan within two-minute connection. If you want to abort this setup within the interval, restart PIN/PBC or press Disconnect to stop WPS connection. WPS associate IE: Send the association request with WPS IE during WPS setup. It is optional for STA. WPS probe IE: Send the probe request with WPS IE during WPS setup. IT is optional for STA. Progress Bar: Display rate of progress from Start to Connected status. Status Bar: Display currently WPS Status. 45 [WPS Information on AP] WPS information contain authentication type, encryption type, config methods, device password ID, selected registrar, state, version, AP setup locked, UUID-E and RF bands. Authentication Type: There are three types of authentication modes supported by RaConfig. There are Open, Shared, WPA-PSK, and WPA system. Encryption Type: For Open and shared authentication mode, the selection of encryption are None and WEP. For WPA, WPA2, WPA-PSK, and WPA2-PSK authentication mode, the encryption type supports both TKIP and AES. Config Methods: Correspond to the methods the AP supports as an Enrollee for adding external Registrars. (A bitwise OR of values) 46 Device Password ID: Indicate the method or identifies the specific password that the selected Registrar intends to use. AP in PBC mode must indicate 0x0004 within two-minute Walk time. Selected Registrar: Indicate if the user has recently activated a Registrar to add an Enrollee. The values are “TRUE” and “FALSE” State: The current configuration state on AP. The value are “Unconfigured” and “Configured”. Version: WPS specified version. AP Setup Locked: Indicate if AP has entered a setup locked state. UUID-E: The universally unique identifier (UUID) element generated by the Enrollee. There is a value. It is 16 bytes. RF-Bands: Indicate All RF bands available on the AP. A dual-band AP must provide it. The values are “2.4GHz” and “5GHz” 3.1.8 About About function display the wireless card and driver version information. (1) Connect to Ralink’s Website: WWW.RALINKTECH.COM (2) Display Configuration Utility, Driver, and EEPROM version information (3) Display Wireless NIC MAC Address. 47 3.1.9 Link Status Link Status displays the detail information current connection Status: Current connection status. If no connection, it will show Disconnected. Otherwise, the SSID and BSSID will show here. Extra Info: Display link status in use. Channel: Display current channel in use. Authentication: Authentication mode in use. Encryption: Encryption type in use. Network Type: Network type in use. IP Address: IP address about current connection. Sub Mask: Sub Mast about current connection. Default Gateway: Default gateway about current connection. Link Speed: Show current transmit rate and receive rate. Throughout: Display transmits and receive throughput in unit of Mbps. Link Quality: Display Connection quality based on signal strength and Tx/Rx packet error rate. Signal Strength 1: Receive signal strength 1, user can choose to display as percentage or dBm format. Signal Strength 2: Receive signal strength 2, user can choose to display as percentage or dBm format. Signal Strength 3: Receive signal strength 3, user can choose to display as percentage or dBm format. Noise Strength: Display noise signal strength. HT: Display current HT Status in use, containing BW, GI, MCS, SNR0, and SNR1 value. (Show the information only for 802.11n wireless card) 48 3.1.10 Enable AP Mode Feature in Windows 2000 OS In Windows 2000 Operation System, the local network won’t be automatically established while using Wireless PCI adapter’s AP mode. Please follow the below steps to enable Internet Connection Sharing feature first before you switch Wireless PCI adapter’s AP mode. St…
Text truncated - open the document above for the full version.
Users Manual
66 Step 4 –After the profile is saved, click the “Activate” button on Profile Page to active the profile. ☉ Example 4:WPA/WPA2 Step 1 – Choose “WPA” or “WPA2” authentication type Step 2 – Choose “TKIP” or “AES” encryption type 67 Step 3 –After the profile is saved, click the “Activate” button on Profile Page to active the profile. Step 4 –The Windows profile setting dialog is popped-up for user to modify. 68 3.2.4 Statistics Statistics page displays the detail counter information based on 802.11 MIB counters. This page translates the MIB counters into a format easier for user to understand. You may reset the counters to Zero by clicking “Reset Counter”. [Transmit Statistics] Frames Transmitted Successfully: Frames successfully sent Frames Transmitted Successfully After Retry: Frames sent successfully with retry. Frames Fail to Receive ACK After All Retries: Frames failed transmit after hitting retry limit. RTS Frames Successfully Receive CTS: Successfully receive CTS after sending RTS frames. RTS Frames Fail To Receive CTS: Failed to receive CTS after sending RTS frames. [Receive Statistics] Frames Received Successfully: Frames received successfully. Frames Received with CRC Error: Frames received with CRC error. Frames Dropped Due to Out-of-Resource: Frames dropped due to resource issue. Duplicate Frames Received: Duplicate received frames. 69 3.2.5 WPS Configuration The primary goal of Wi-Fi Protected Setup (Wi-Fi Simple Configuration) is to simply the security setup and management of Wi-Fi Networks. WPS Associate IE: If the “WPS Associate IE” option is checked, station will send the association request with WPS IE during WPS setup. WPS Probe IE: If the “WPS Probe IE” option is checked, station will send the probe request with WPS IE during WPS setup. [Display WPS capable AP information] The WPS capable AP information is listed in the upper frame, and the display AP’s characters are SSID, BSSID, current operating channel, device password ID, authentication type, and encryption type. Re-Scanning: Clicking “re-scan” button performs the re-scanning action. WPS AP Information: Clicking the WPS information” button brings up the WPS capable AP information dialog. Authentication Type: there are three type of supported authentication modes, and there are Open, Shared, WPA-PSK and WPA modes. 70 Encryption Type: For Open & Shared authentication modes, the available encryption types are None and WEP. For WPA, WPA2, WPA-PSK and WPA2-PSK authentication modes, the available encryption types are TKIP and AES. Config Methods: This attributes contains the config methods supported and enabled by the selected Registrar. Device Password ID: Device Password ID indicates the method or identifies the specific password that the selected Registrar intends to use. Selected Registrar: Selected Registrar indicates if the user has recently activated a Registrar to add an Enrollee. State: This attribute is used to indicate the current configuration state. This attribute is either “Un-Configured” or “Configured”. Version: This attribute is the specified WPS version. AP Setup Locked: AP Setup Locked indicates if AP has entered a setup locked state. UUID-E: UUID-E is the universally unique identifier (UUID) generated by the Enrollee. RF-Bands: RF Bands indicate the available RF bands. [Configure WPS Profiles] The user can configure WPS profile with either PIN method or PBC method. PIN Method: Step 1 Î The Registrar enters the pin code generated by station. Step 2 Î Click the “PIN” button. PBC Method: Step 1 Î Click the “PBC” button within 2 second while the Registrar clicks the button. [Manage WPS Profiles] The Received WPS profiles are listed in the lower frame, and the listed WPS profile attributes are SSID, MAC address, authentication type, and encryption type. WPS profile detail information: Selecting a profile then clicking the “Detail” button brings up the WPS profile detail information dialog. Connect with WPS Profile: Clicking the “Connect” button will connect to AP with the select WPS profile. Rotate WPS profile: If there are more than two WPS profiles, clicking the “Rotate” button will rotate to next profile and connect to AP with this profile. If the connection can’t be made successfully, station will perform the WPS profile rotation repeatedly. Disconnect from WPS AP: Clicking the “Disconnect” button will stop the WPS 71 connection. Delete WPS profile: Clicking the “Delete” button will delete the selected WPS profile. 3.2.6 QoS The QoS Page of RaConfig. It involves “WMM Enable”, “WMM – Power Save Enable” and “DLS setup Enable”. ☉Configure to enable Wi-Fi Multi-Media If you want to use “WMM – Power Save” or “Direct Link”, you must enable WMM. The setting method of enabling WMM indicates as follows: Step1: Click “WMM Enable” Step2: Click “Apply”. 72 Step3: Change to “Site Survey Page”. And add an AP that supports WMM features to a Profile. The result will look like the below figure in Profile page. 73 ☉Enable WMM – Power Save Step1: Click “WMM – Power Save Enable”. And Click “Setting...” button. Step2: After clicking “Setting...” button, show “Power Save Setting” dialog. Please select which ACs you want to enable. Then click “Apply” button. The setting of enabling WMM – Power Save is successfully. 74 ☉ Enable DLS (Direct Link Setup) Step1: Click “Direct Link Setup Enable”. And Click “Apply” button Step2: Change to “Site Survey Page”. And add an AP that supports DLS features to a Profile. The result will look like the below figure in Profile page. 75 The Setting of DLS indicates as follow: 1. Fill in the blanks of Direct Link with MAC Address of STA. The STA must conform to two conditions as follow: Step1: Connect with the same AP that support DLS features. Step2: Have to enable DLS. 2. Timeout Value represents that it disconnect automatically after some seconds. The value is integer. The integer must be between 0~65535. It represents that it always connects if the value is z…
Text truncated - open the document above for the full version.
Cover Letter(s)
V 1.9 3 Device Name: WIRELESS PCI ADAPTER Model No.: WP81RL1 Date: 17/3/2008 To whom it may concern: I, the undersigned, hereby authorize Mr . Joe Hsieh / Application Examiner of ELECTRONICS TESTING CENTER, TAIWAN and hereafter referred to as ETC, to act on our behalf in all manners relating to application for equipment authorization, including signing of all documents relating to these matters. Any and all acts carried out by Mr. Joe Hsieh of ETC on our behalf shall have the same effect as acts of our own. We, the undersigned, hereby certify that we are not subject to a denial of federal benefits, that includes FCC benefits, pursuant to Section 5301 of the Anti-Drug Abuse Act of 1988, 21 U.S.C. 853(a). In authorizing ELECTRONICS TESTING CENTER, TAIWAN as our agent, we still recognize that we are responsible to: a) comply with the relevant provisions of the certification program; b) make all necessary arrangements for the conduct of the evaluation, including provision for examining documentation and access to all areas, records (including internal audit reports) and personnel for the purposes of evaluation (e.g. testing, inspection, assessment, surveillance, reassessment) and resolution of complaints; c) make claims regarding certification only in respect of the scope for which certification has been granted; d) do not use our product certification in such a manner as to bring the Certification Division into disrepute and not make any statement regarding our product certification which the Certification Division may consider misleading or unauthorized; e) upon suspension or cancellation of certification, discontinue use of all advertising matter that contains any reference thereto and return any certification documents as required by the Certification Division; f) use certification only to indicate the products are certified as being in conformity with specified standards; g) endeavor to ensure that no certificate or report nor any part thereof is used in a misleading manner; h) ensure that any reference to our product certification in communication media such as documents, brochures or advertising, complies with the requirements of the Certification Division; i) keep a record of all complaints made known to the us relating to the product compliance with requirements of the relevant standard and to make these records available to the Certification Division when requested; j) take appropriate action with respect to such complaints and any deficiencies found in products or services that affect compliance with the requirements for certification; k) document the actions taken. This authorization is valid until further written notice from the applicant. Sincerely Yours, By: Leon Hung Title : Product Manager Applicant : PRO-NETS Technology Corp. Address : 7F, No.95, Lide St,Chung Ho City 235,Taipei, Taiwan, R.O.C. Tel : +886-2-82218385 Fax: +886-2-82217229
Cover Letter(s)
V 1.9 4 FCC ID: RXZ- WP81RL1 Device Name: WIRELESS PCI ADAPTER Model No.: WP81RL1 Date: 17/3/2008 Federal Communications Commission Dear Sir: Pursuant to Section 0.457 and 0.459 of the Commission’s Rules, the Applicant hereby requests confidential treatment of information accompanying this Application as outlined below: Schematics Block Diagram Operational Descriptions The above materials contain trade secrets and proprietary information not customarily released to the public. The public disclosure of these matters might be harmful to the Applicant and provide unjustified benefits to its competitors. The Applicant understands that pursuant to Rule 0.457, disclosure of this Application and all accompanying documentation will not be made before the date of the Grant for this application. Sincerely Yours, By: Leon Hung Title : Product Manager Applicant : PRO-NETS Technology Corp. Address : 7F, No.95, Lide St,Chung Ho City 235,Taipei, Taiwan, R.O.C. Tel : +886-2-82218385 Fax: +886-2-82217229
External Photos
FCC ID: RXZ-WP81RL1 Sheet A1 of A1 Sheets ETC Report No. : 08-02-MAS-116-01 ANNEX A: EXTERNAL CONSTRUCTION PHOTOS OF EUT 1. Outside view 1 of EUT 2. Outside view 2 of EUT
Internal Photos
FCC ID: RXZ-WP81RL1 Sheet B1 of B3 Sheets ETC Report No. : 08-02-MAS-116-01 ANNEX B: INTERNAL CONSTRUCTION PHOTOS OF EUT 1. Inside View 1 of EUT 2. Inside View 2 of EUT FCC ID: RXZ-WP81RL1 Sheet B2 of B3 Sheets ETC Report No. : 08-02-MAS-116-01 3. Inside View 3 of EUT 4. Inside View 4 of EUT(antenna) FCC ID: RXZ-WP81RL1 Sheet B3 of B3 Sheets ETC Report No. : 08-02-MAS-116-01 5. Front view of PCB 6. Rear view of PCB
Parts List/Tune Up Info
2 SPECIFICATION 1. Description 100 TYPE 2.4G SMA PLUG REVERSE ANTENNA 2. Customer 3. Model No. 4. Part No. 100SPR-A 5. Standard IEEE 802.11b/g Wireless LAN 6. Antenna Profile 108 mm length (see Drawing) 7. Color Black 8. Electrical Characteristics Operating Frequency 2.4~2.5GHz Antenna Type 1/4λ Dipole Sleeve Polarization Type Linear Type of Radiation Toroidal Peak Gain 2.09 dBi Typical Impedance 50 Ohm nominal V.S.W.R. 2.0:1 Max. 9. Mechanical Characteristics Action Swivel Type Connector RP-SMA (M) Core N/A 10. Raw Material Coaxial Cable MIL-C-17 RG-178 B/U Housing TPU Hinge PC+ALLOY
Test Report
ETC Report No. : 08-02-MAS-116-05 Sheet 1 of 2 Sheets FCC ID. : RXZ-WP81RL1 Rev. No 1.0 MAXIMUM PERMISSIBLE EXPOSURE Standard Applicable Section 15.247 (b)(5) : Systems operating under the provisions of this section shall be operated in a manner that ensures that the public is not exposed to radio frequency energy levels in excess of the Commission's guidelines. See § 1.1307(b)(1) of this Chapter. Section 1.1310: The criteria listed in the following table shall be used to evaluate the environment impact of human exposure to radio frequency radiation as specified in 1.1307(b) LIMITS FOR MAXIMUM PERMISSIBLE EXPOSURE (MPE) Frequency Range (MHz) Electric Field Strength (V/m) Magnetic Field Strength (A/m) Power Density (nW/cm 2 ) Average Time (Minutes) (A) Limits for Occupational/control Exposures 300-1500 -- -- F/300 6 1500-100,000 -- -- 5 6 (B) Limits for General Population/Uncontrolled Exposures 300-1500 …
Text truncated - open the document above for the full version.
Contact Information
Applicant
Alex Chen(R & D DIRECTOR)
Test Firm
Electronics Testing Center, TaiwanWill Yauo
Technical Specifications
| # | Rule Parts | Frequency Range | Power Output |
|---|---|---|---|
| 2 | 15C | 2.42 GHz - 2.45 GHz | 26.00 mW |
Other Applications from Pro-Nets Technology Corporation
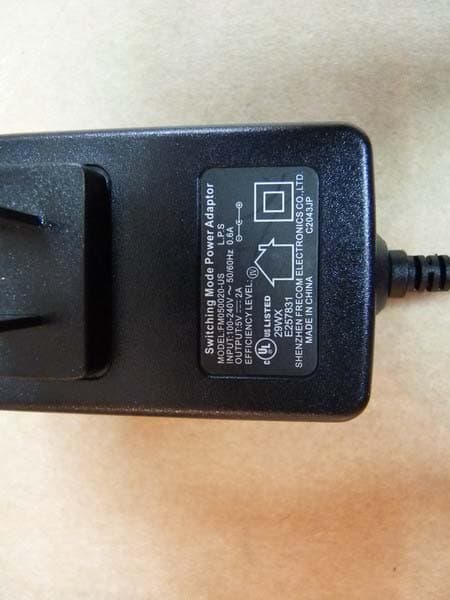
RXZ-WR861R
Jun 01, 2011Wireless Router
Equipment Class
DTS - Digital Transmission System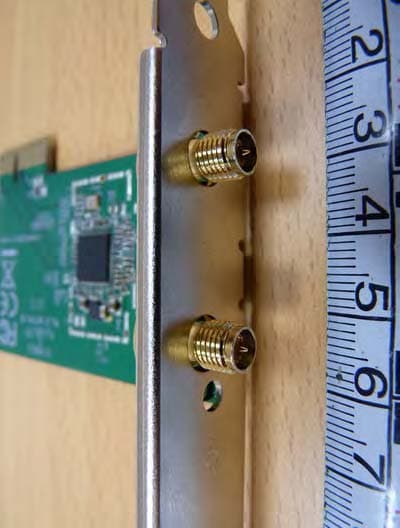
RXZ-WPE81R
Apr 20, 2011Wireless PCIE Card
Equipment Class
DTS - Digital Transmission System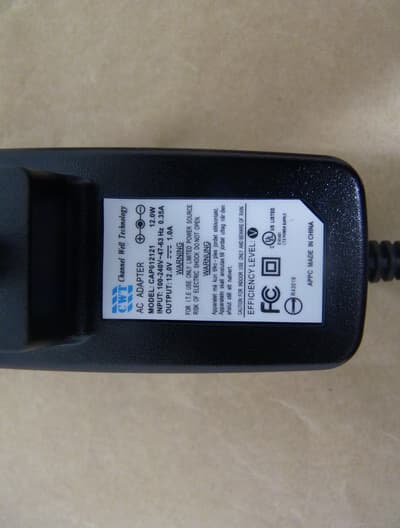
RXZ-WA45R1
Feb 01, 2011Wireless ADSL Router
Equipment Class
DTS - Digital Transmission System
RXZ-WU71R
Dec 06, 2010Wireless USB Dongle
Equipment Class
DTS - Digital Transmission System
RXZ-WP82RL
Oct 24, 2010Wireless PCI Card
Equipment Class
DTS - Digital Transmission System